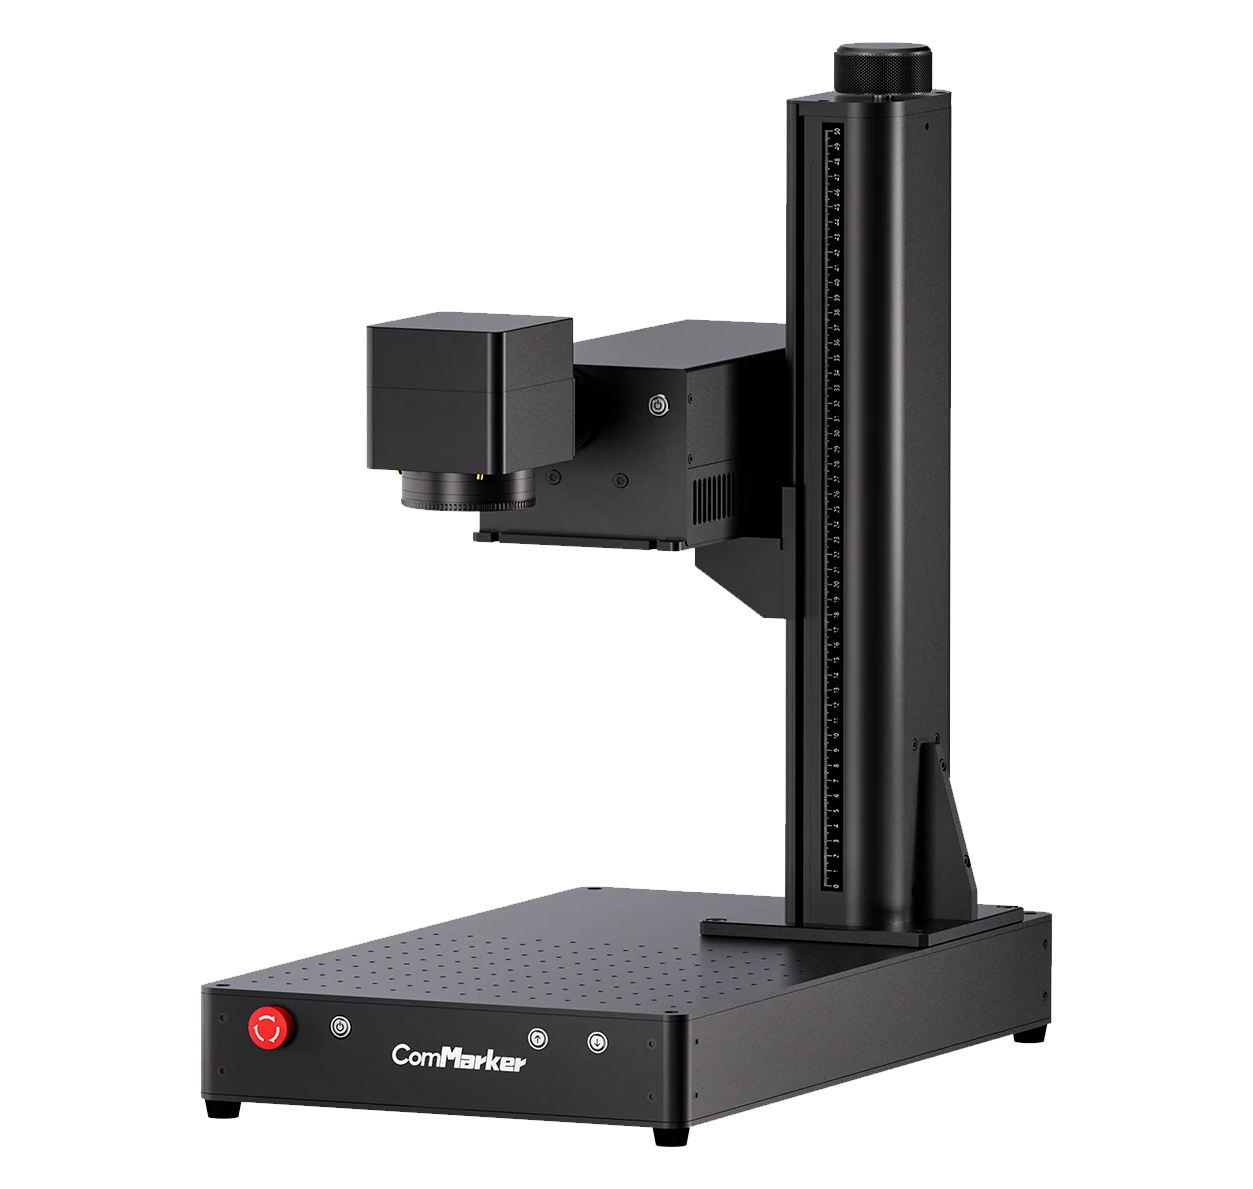
The ComMarker Omni 1 UV laser engraver is a powerful 5W desktop system designed for engraving plastics, wood, metals, glass, stone, and even organic materials. But if you’ve used it in LightBurn, you’ve probably noticed something unusual: many parameters (such as power) are greyed out.
Unlike CO₂ or fiber lasers, the Omni 1 relies primarily on two key controls:
-
Frequency (kHz) – how many laser pulses per second are delivered.
-
Q-Pulse width – the duration of each pulse, controlling the energy per shot.
This guide explains key settings for UV laser engravers, provides step-by-step references for 16 common materials, adapted from both real-world testing and community insights.
Why Material Settings Matter
-
Precision & Contrast: UV lasers interact differently depending on material type. Too much energy causes burning or cracks; too little leaves faint marks.
-
Productivity: Optimized frequency and Q-pulse shorten cycle time while maintaining quality.
-
Durability: Correct settings reduce wear on optics and extend your engraver’s lifespan.
-
Safety: Controlled passes and proper focus minimize fire hazards and toxic fumes.
Key Laser Parameters Explained
-
Speed (mm/s): Head movement speed. Higher speeds reduce heat marks but may lighten engraving.
-
Frequency (kHz): Pulse repetition rate. Higher frequency = smoother edges, especially on plastics/metals.
-
Q-Pulse width: Pulse duration. Longer pulses = more energy per shot, ideal for metal or leather.
-
Passes: Multiple light passes usually give better results than a single heavy one.
-
Line Interval (mm): Raster spacing. Tight intervals (0.03 mm) give sharper resolution.
-
Image Mode (LightBurn only): Enables dithering for grayscale or 2.5D effects.
Note:
Different lens size also affect engraving parameters. Smaller lens gather laser power better, therefore their laser setting should weaker compared with larger lens to prevent over burn.
For example, for 150 mm lens, the speed is 1000mm/s, and for 70 mm lens, the speed is 2000 mm/s.
Before You Start Engraving
-
Clean the work surface and secure material flat.
-
Focus carefully with the Omni 1’s red dot and motorized Z-axis.
-
Ventilate using the built-in exhaust fan or an external air filter.
Recommended Settings by Material
(Machine: Omni 1 UV 5W · Software: LightBurn)
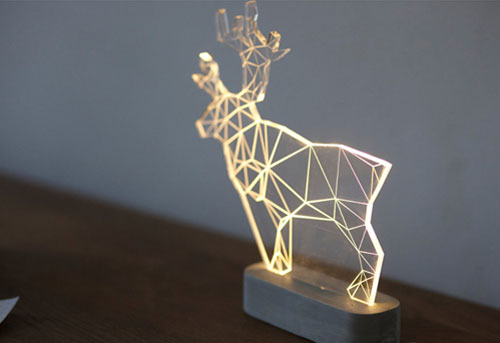
1. Clear Acrylic Engraving
-
Frequency: 40 kHz
-
Q-Pulse: 1
-
Speed: 1000 mm/s
-
Passes: 1
-
Line Interval: 0.03 mm
💡 Back-engrave for a frosted glass look. Mask the back with painter’s tape to prevent smoke marks.
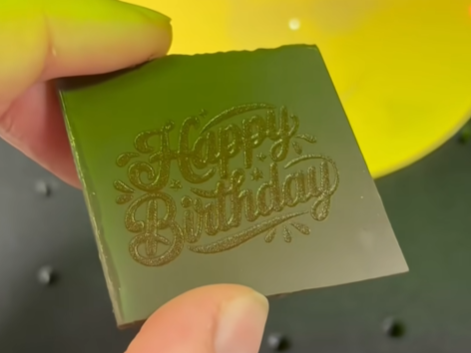
2. Chocolate (150 mm lens)
-
Frequency: 30 kHz
-
Q-Pulse: 5
-
Speed: 1500 mm/s
-
Line Interval: 0.03 mm
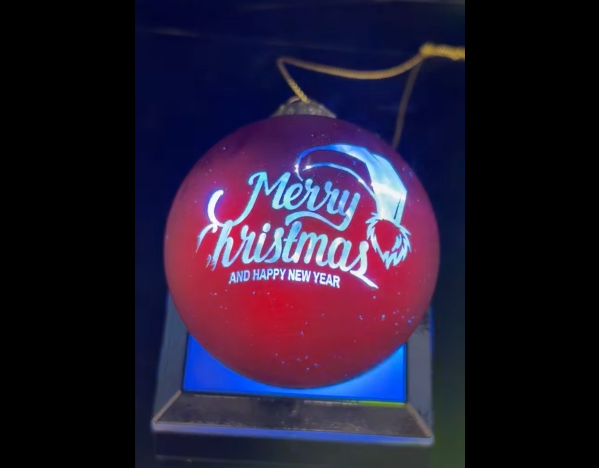
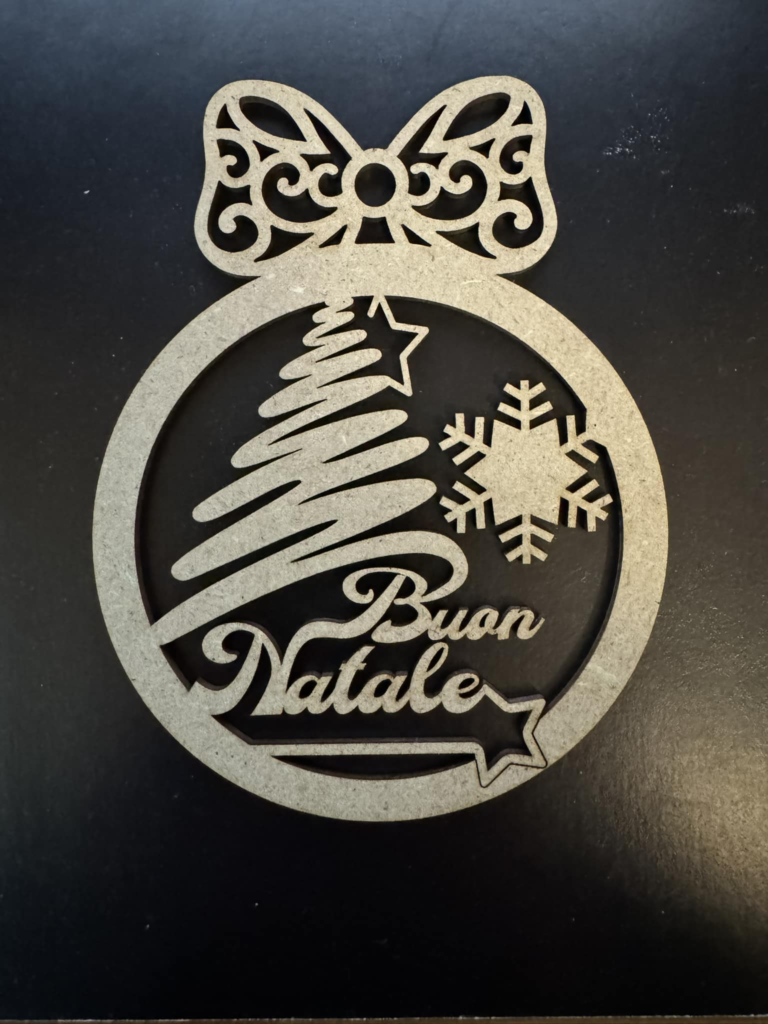
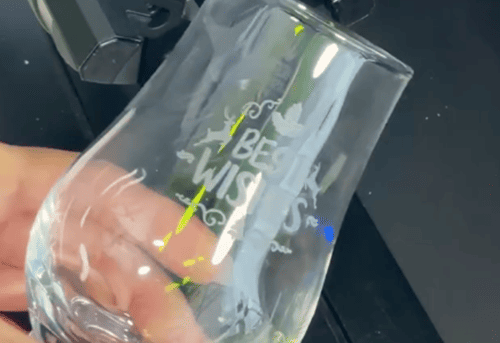
3. Glass Ornaments
-
Frequency: 40 kHz
-
Q-Pulse: 1
-
Speed: 200 mm/s
-
Passes: 1
-
Line Interval: 0.03 mm
💡 Use a damp paper towel or dish soap film to reduce micro-fractures.
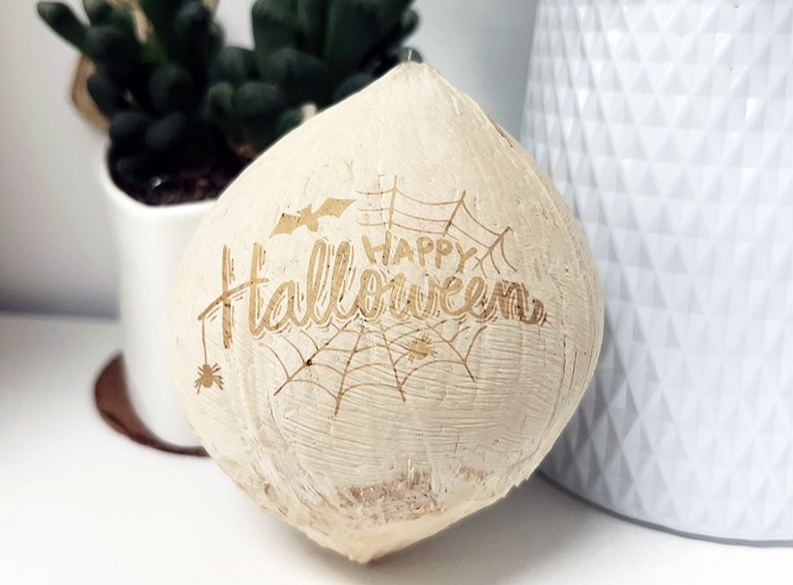
4. Coconut Shell
-
Frequency: 30 kHz
-
Q-Pulse: 1
-
Speed: 500 mm/s
-
Passes: 1
💡 Lightly sand first; shells vary, so test on a scrap piece.
5. Leather Badges (Engrave + Cut)
-
Engraving Pass: 30 kHz / Q-Pulse 20 / 1000 mm/s
-
Cutting Pass: 40 kHz / Q-Pulse 1 / 100 mm/s / 5 passes
💡 Always engrave first, then cut. Use vegetable-tanned leather for best contrast.
![]()
6. MDF 4 mm Cutting
-
Frequency: 40 kHz
-
Q-Pulse: 1
-
Speed: 75 mm/s
-
Passes: 10
💡 Use multiple passes to avoid heavy charring; vacuum debris every 2–3 passes.
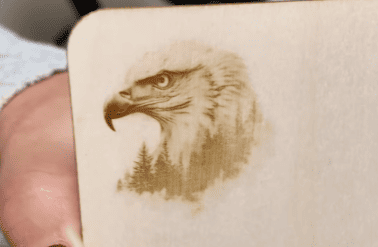
7. Wood (Engraving + Cutting)
-
Engraving: 40 kHz / Q-Pulse 1 / 200 mm/s / 3 passes
-
Cutting: 30 kHz / Q-Pulse 1 / 50 mm/s / 6 passes
💡 Crosshatch fill creates textured signs; birch plywood works consistently.
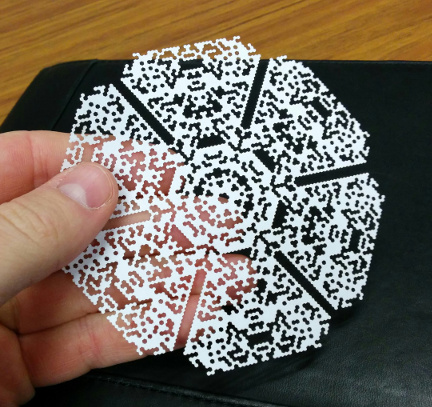
8. Rice Grain Micro-Engraving
-
Frequency: 40 kHz
-
Q-Pulse: 15
-
Speed: 100 mm/s
💡 Fix grains with double-sided tape; high Q-pulse ensures visible micro text.
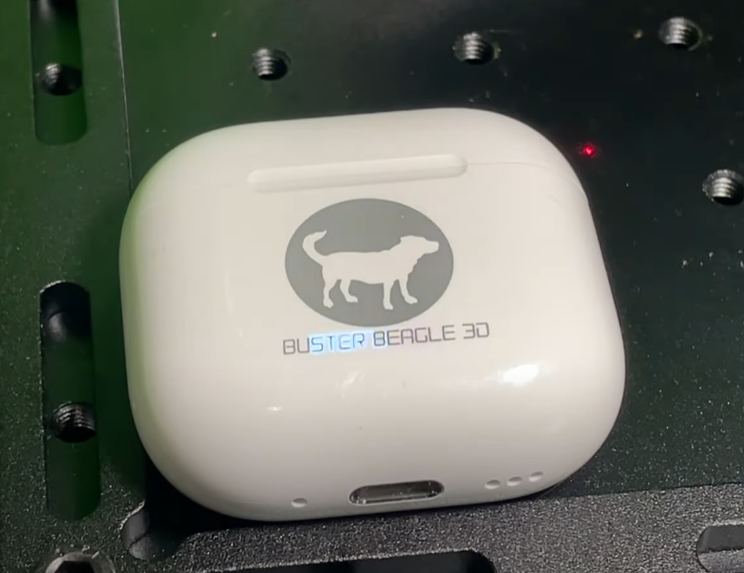
9. Plastic Earbud Case
-
Frequency: 40 kHz
-
Q-Pulse: 15
-
Speed: 1000 mm/s
💡 Cover with light masking tape to reduce melt lines. Fast speed prevents distortion.
10. Rotary Glass Bottle Engraving
-
Frequency: 40 kHz
-
Q-Pulse: 5
-
Speed: 600 mm/s
-
Passes: 2
💡 Secure bottle in rotary tool. Apply clear coat afterwards for durability.
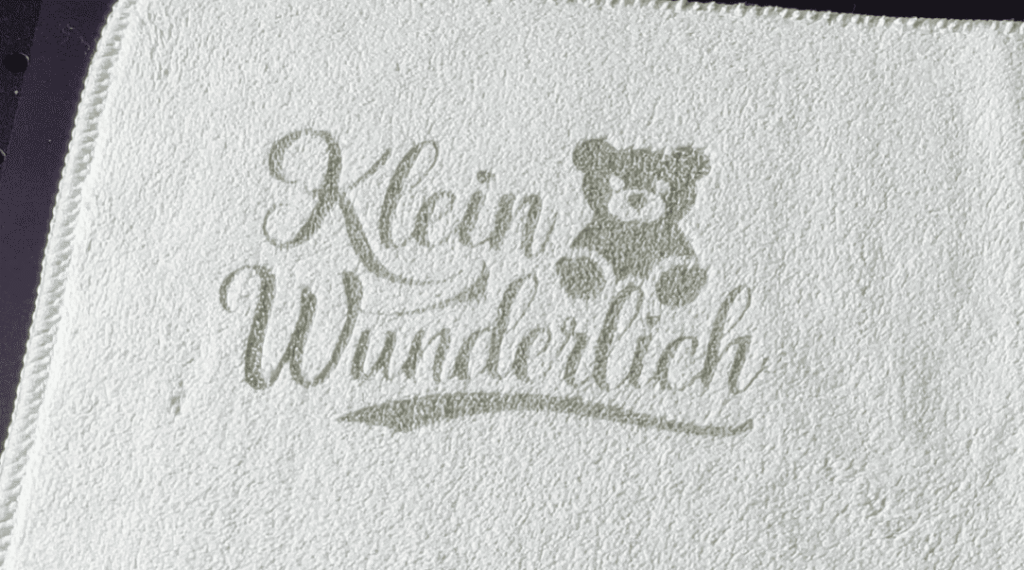
11. Towel (Textile Engraving)
-
Frequency: 30 kHz
-
Q-Pulse: 17
-
Speed: 2500 mm/s
💡 Use 100% cotton; one fast pass prevents scorching.
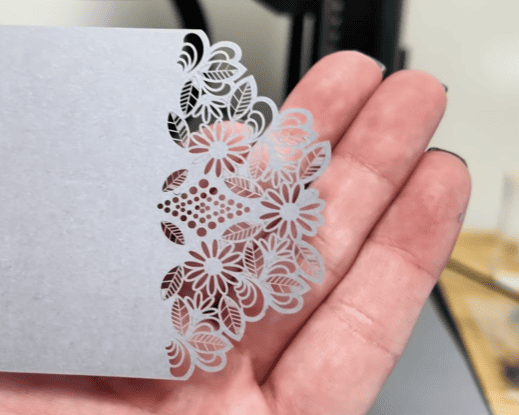
12. Paper / Cardboard Cutting
-
Frequency: 40 kHz
-
Q-Pulse: 1
-
Speed: 100 mm/s
-
Passes: 3–5
💡 Tape both sides to avoid burn-through. Works best on 200–300 gsm stock.
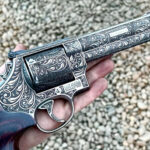
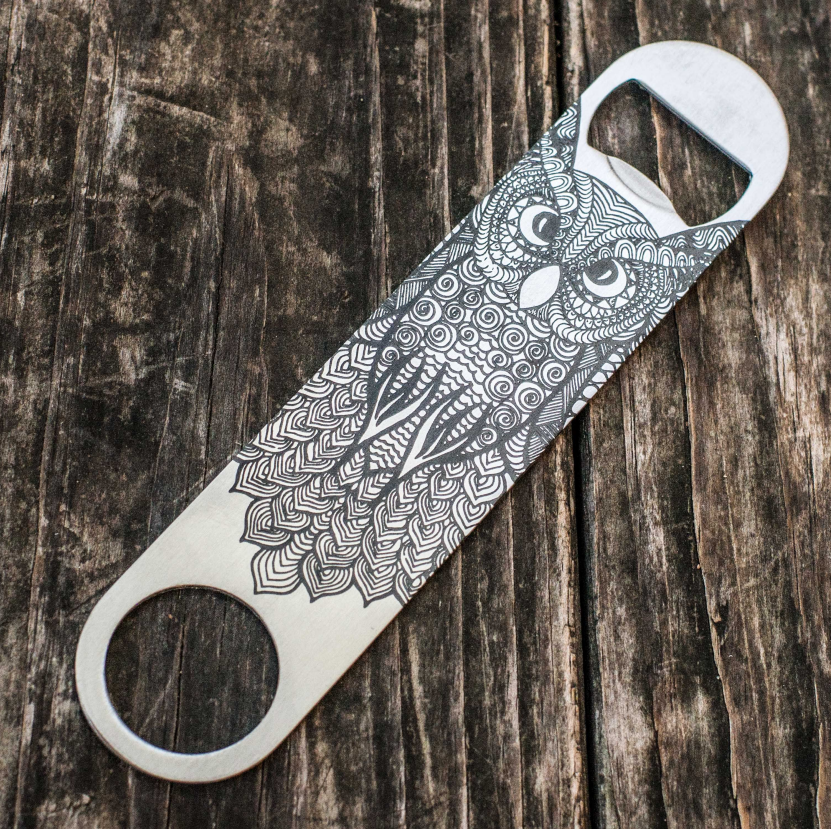
13. Stainless Steel Bottle Opener
-
Frequency: 40 kHz
-
Q-Pulse: 1
-
Speed: 10 mm/s
- Line Interval: 0.01 mm
💡 Clean with alcohol first. Seal with clear coat for abrasion resistance.
14. PU Leather Shoes
-
Frequency: 30 kHz
-
Q-Pulse: 20
-
Speed: 1000 mm/s
💡 Test on a hidden seam first; higher Q-pulse increases contrast.

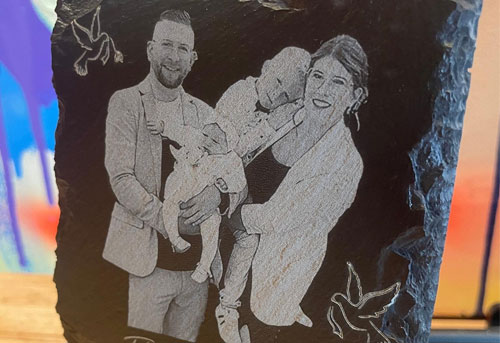
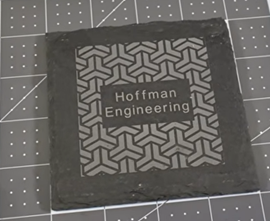
15. Slate Coasters
-
Frequency: 40 kHz
-
Q-Pulse: 1
-
Speed: 1000 mm/s
💡 One clean pass produces bright contrast without surface flaking.
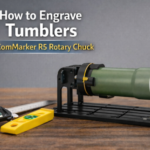
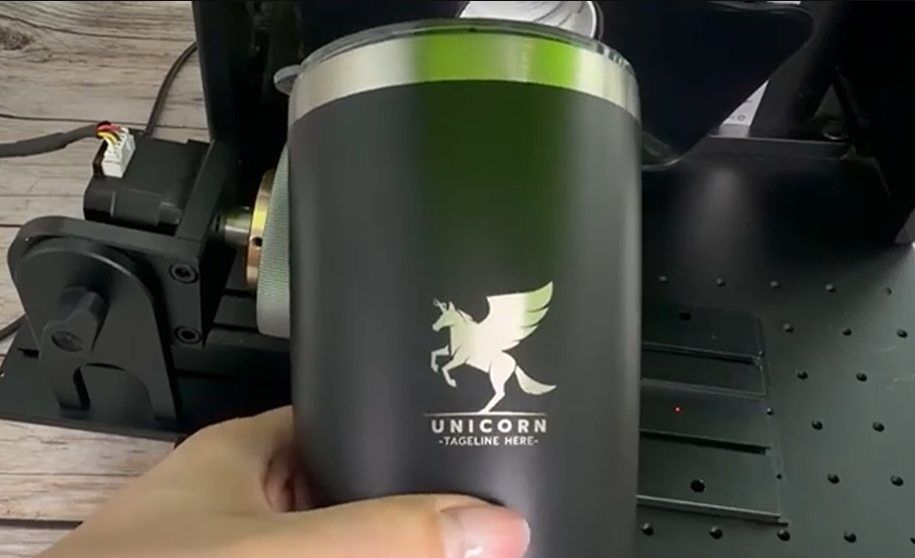
16. Black Tumblers (150 mm lens)
-
Frequency: 50 kHz
-
Q-Pulse: 1
-
Speed: 800 mm/s
-
Line Distance: 0.01 mm
- Pass: 2
Final Tips
-
Always test on scrap material first.
-
Adjust frequency and Q-pulse in small steps—they have the biggest impact on results.
-
Keep optics clean and check focus regularly.
The Omni 1 UV laser engraver might feel limited in LightBurn, but by mastering just two controls—frequency and Q-pulse—you unlock its full engraving potential. With the right settings, you can produce crisp holiday ornaments, fine text on metals, or detailed organic patterns with professional consistency.