Getting the perfect focus on your laser engraver is the secret to clean cuts, fine detail, and consistent results. But here’s the hard truth: those acrylic spacers or preset focus gauges your manufacturer included? They’re probably wrong. In fact, DIY expert Rich from Louisiana (a.k.a. The Louisiana Hobby Guy) discovered his official 18mm spacer was off by 2 full millimeters.
So how do you dial in your laser engraver the right way? It’s called the Focus Ramp Test, and it takes less than 15 minutes to run in LightBurn.
Let’s break it down, step by step.
🔧 Step-by-Step: How to Run a LightBurn Ramp Test for Laser Focus
Step 1: Set Up the Line in LightBurn
- Use the Pencil Tool to draw a straight line about 10 inches (240mm) long.
- Set the line to ENGRAVE mode, use low power (15–20%), and slow speed (400–620 mm/s).
- Turn OFF air assist to avoid beam interference.
- ✅ Pro Tip: Right-click the layer name and click “Make Default” to save these settings for future tests.
Step 2: Prep the Material
- Grab a piece of scrap wood or acrylic.
- Shim one side of the material up by 10–12mm to create a sloped ramp.
- Tape the material securely to your bed—movement will ruin the test.
Step 3: Position the Laser
- In LightBurn, switch to “Absolute Coordinates”.
- Move your laser head to the low end of the sloped material (where the burn will start).
- Make sure the beam will travel along the incline, not across it.
Step 4: Run the Engraving
- Start the job. The laser engraver will draw a thin line along the sloped surface.
- When complete, look for the thinnest, sharpest point of the line—that’s your sweet spot.
- Mark that point with a pencil or fine marker.
Step 5: Measure the Real Focus Height
- Use digital calipers to measure from the laser’s frame or bed to the marked spot.
- Repeat 2–3 times for accuracy.
- In Rich’s example, the correct height came out to around 16mm, not the 18mm spacer the manufacturer included.

🎯 Why This Test Beats Manufacturer Focus Tools
1. Factory Focus Spacers Are Often Inaccurate
Most acrylic blocks are mass-produced, and a 1–2mm error is not uncommon. That’s enough to throw off your engraving detail or require extra cutting passes.
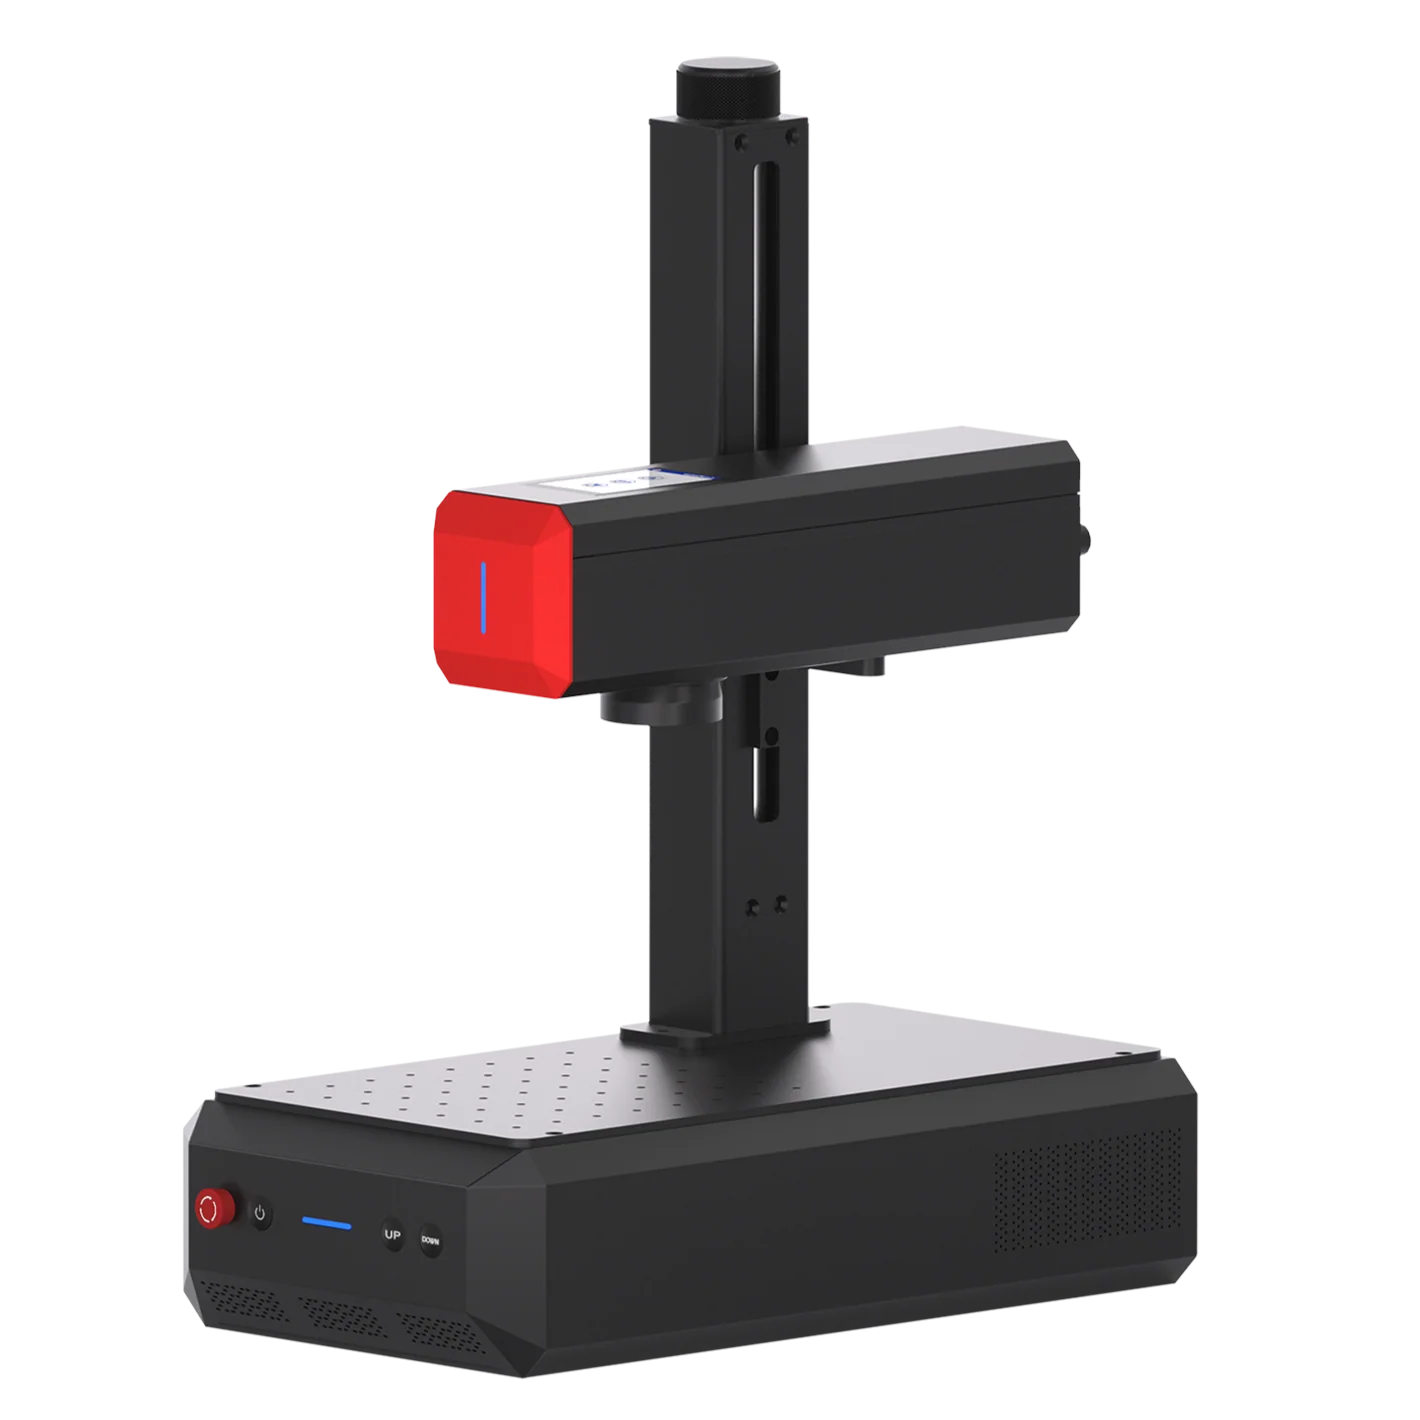
2. The Ramp Test Works with Any Laser Engraver
Diode, CO₂, fiber—just adjust your power and speed accordingly:
- CO₂ Laser Engraver: Use slightly higher power (~10–15%) and faster speed to prevent burning.
- Diode Laser: Use 15–20% power, slower speed.
- Fiber Laser: Stick to low marking settings and short line distances.
3. No Fancy Tools Needed
Just:
- Scrap material
- Calipers
- Tape
- LightBurn software
- Your laser engraver
🔍 Pro Tips from Rich (Louisiana Hobby Guy)
- Name your layers in LightBurn. Save engraving and cutting profiles with default labels like “Wood Cut” or “Metal Mark.”
- Quick flip shortcut: Tap the comma
,or period.to flip your design horizontally or vertically. - Invest in Calipers: A good set of digital calipers costs less than $25 and lasts forever.
- Check Often: Repeat the ramp test every time you change materials, swap lenses, or move your laser.
📊 What Happens When Focus Is Dialed In Perfectly?
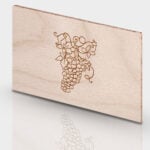
- Sharper detail (e.g., firefighter logos, name badges, small text)
- Cleaner cuts with fewer passes and less char
- Consistent depth—especially important for engraving on curved surfaces
- More efficiency—saves time, saves money
Whether you’re engraving leather luggage tags, customizing dog tags, or batch cutting keychains, precision focus equals better profit.