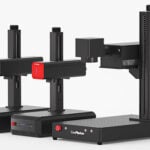
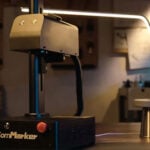
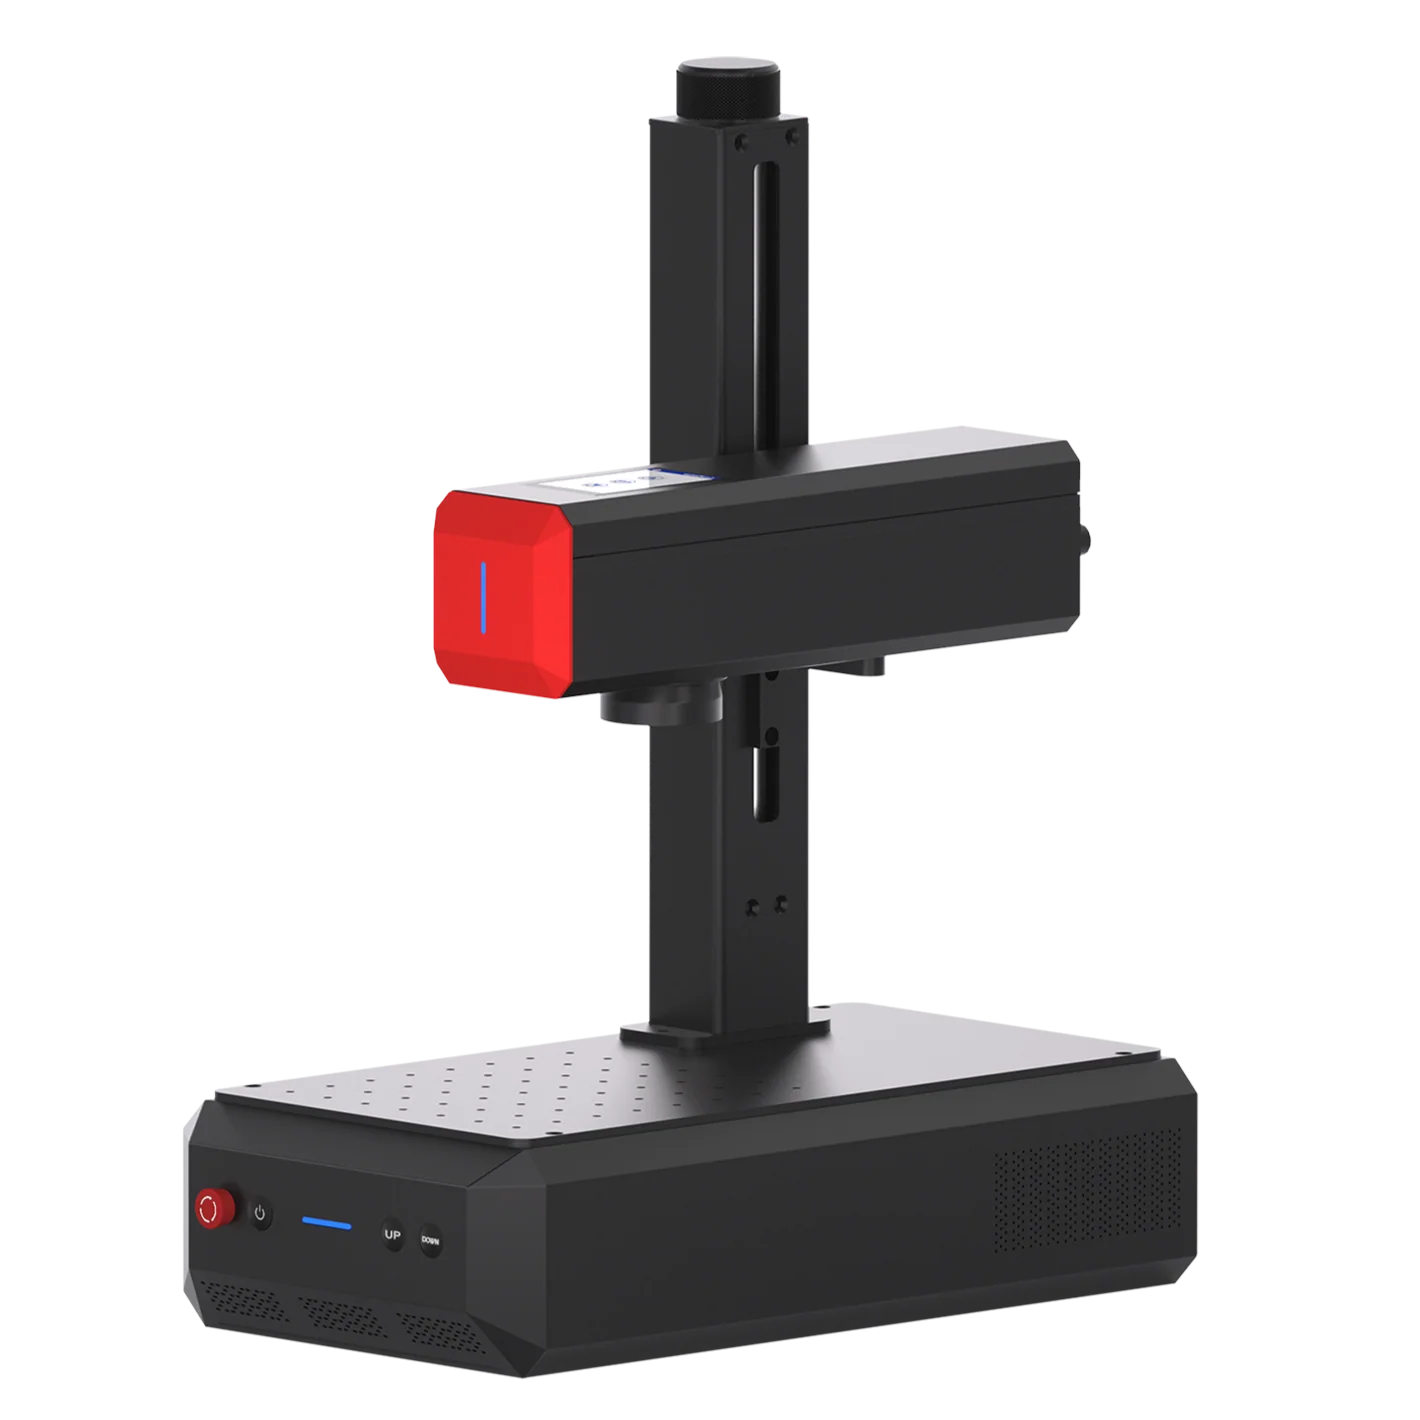
When working with a ComMarker laser engraver, it’s natural to run into a few challenges—especially with autofocus, 3D internal engraving, and system settings. To save you time (and frustration), we’ve compiled solutions to the most frequently asked questions from our users.
1. Autofocus Sensor Issues with Tall Objects
Problem: When engraving objects of relatively high dimensions, the sensor’s detection range (120–280mm) may be insufficient for auto-focus operation.
Solution:
-
Loosen and slide the auto-focus sensor height adjuster upward to the top, then retighten.
-
Recalibrate focal length using the Continuous Engraving Method:
-
Place a flat glass or metal sheet on the workbench.
-
Import your design, apply fill settings, and click Preview.
-
Enable Continuous Processing and click Start.
-
While engraving, adjust the Z-axis manually (front panel button).
-
Stop when laser intensity increases with a sizzling sound.
-
Go to Device Setting > Field > Acquire height value, then click Confirm.
-
⚠️ Tip: Every time you adjust the sensor height, repeat this process to reconfirm focal length.
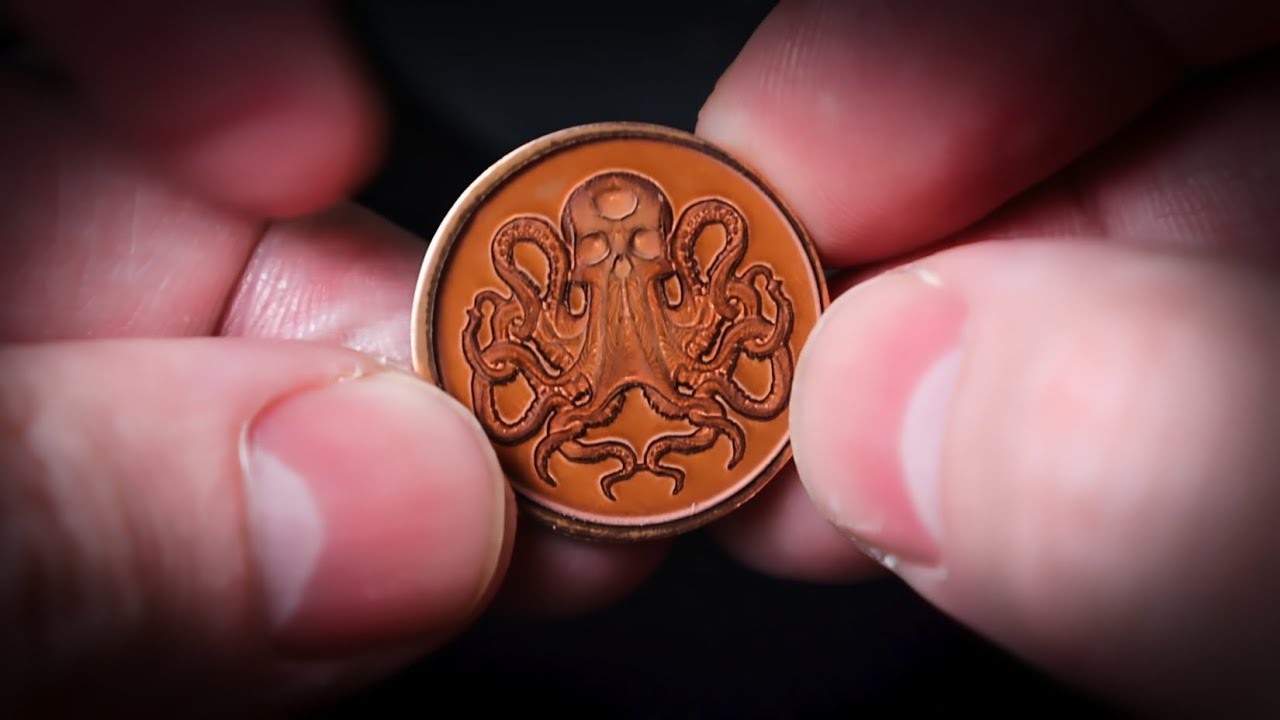
2. Speed & Clarity in 3D Internal Engraving
-
Q: How can I increase the speed of 3D internal engraving?
→ Reduce the dwell time while lowering the pulse width slightly. -
Q: Why are 3D engraved patterns blurry?
→ Lower dwell time and increase pulse width for sharper results. -
Q: Why does the Z-axis look sharp but X/Y look less clear?
→ Use a 70×70mm lens, then fine-tune by lowering dwell time and increasing pulse width. -
Q: Why are 3D engraved patterns incomplete?
→ Lower the pulse width to enhance completeness.
3. Focusing Problems After Replacing a Field Lens
Problem: The engraver fails to focus properly after swapping out the field lens.
Solution: Different lenses have different focal lengths.
-
Go to Device Setting > Other
-
Enable Use B-field lens
-
Re-focus with the new lens.
4. Rotary & Slide Extension Door Error
Problem: When using the rotary or slide extension, the system keeps showing that the safety door is not closed.
Solution: Temporarily disable the safety door function:
-
Go to Device Setting > Laser Tools
-
Disable Safety Door
5. Autofocus Says “Optimal” But Isn’t
Problem: The software shows “focusing completed” even though the focal length is wrong.
Solution: This usually happens if the software is disconnected.
-
Check the software status and ensure it shows Connected before focusing.
6. Can I Change “Device Setting” Parameters?
Answer: Most of the parameters are pre-configured for your machine and generally don’t need modification.
-
Default password: 123456
Final Thoughts
Troubleshooting your ComMarker laser engraver doesn’t have to be a headache. Whether it’s autofocus calibration, 3D engraving clarity, or field lens compatibility, these step-by-step solutions should help you get back on track quickly.
If you encounter other issues or need personalized support, don’t hesitate to reach out at [email protected].
👉 Have you experienced any of these issues with your laser engraver? Share your experience in the comments—we’d love to hear how you solved them!