Laser engrave Yeti cup with personalized designs has become a popular trend for hobbyists and professionals alike.
With the right approach, you can add custom graphics, names, or patterns onto stainless steel surfaces like Yeti cups.
Here, we’ll explain each step in detail, introduce the necessary tools and equipment, and provide tips for beginners.

1. Overview of Laser Engraving Cups for Beginners
Laser Engraving: This technique uses a laser beam to mark or engrave materials like metal. The laser vaporizes a small part of the surface, leaving a permanent mark.
-
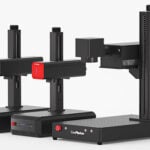
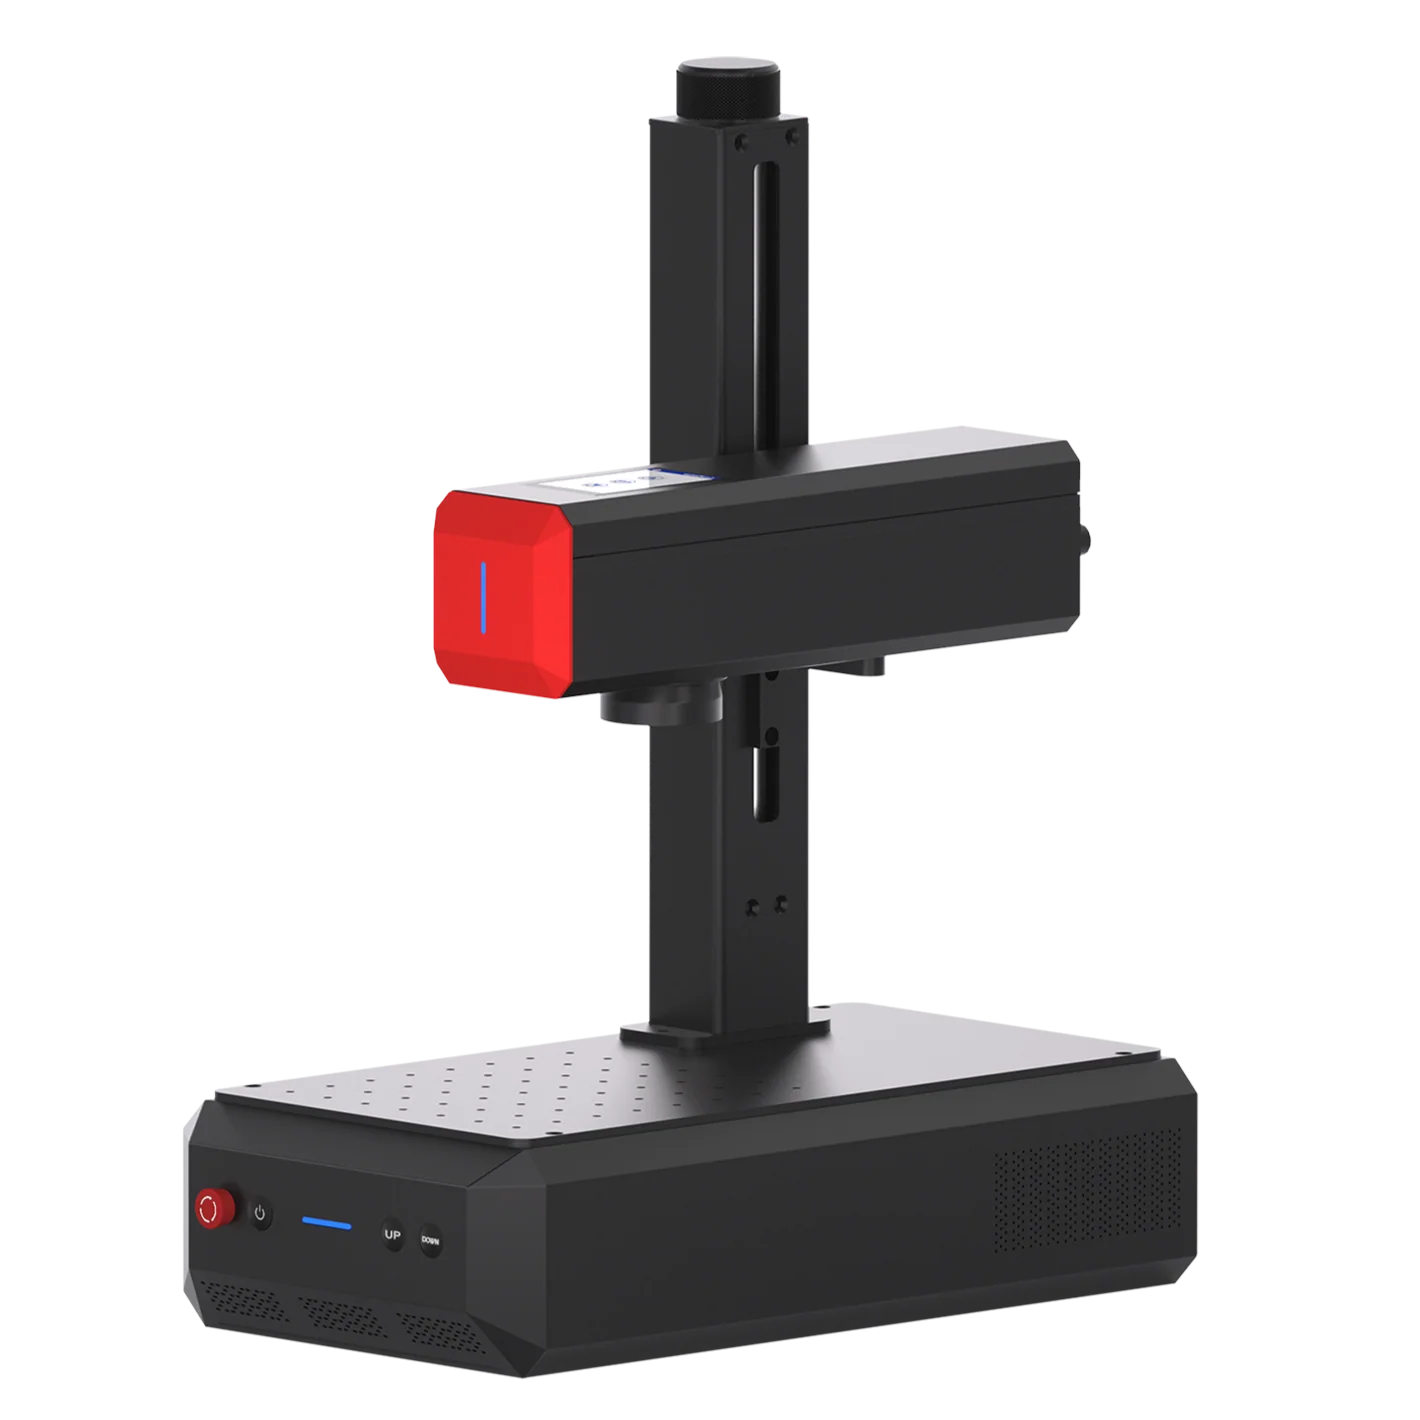
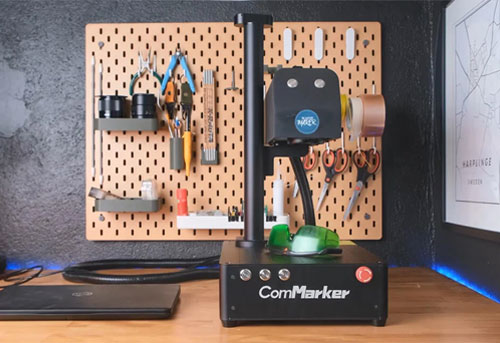
- Laser Engraver Machine: A laser engraver machine removes cups surface paint to engrave text, images, or patterns. Many hobbyists and businesses use laser etching on Yeti cups made from stainless steel, creating logos, names, or artwork.
- Types of laser for Yeti cup engraving: Lasers commonly used for engraving Yeti include CO2, UV, and fiber lasers.
-
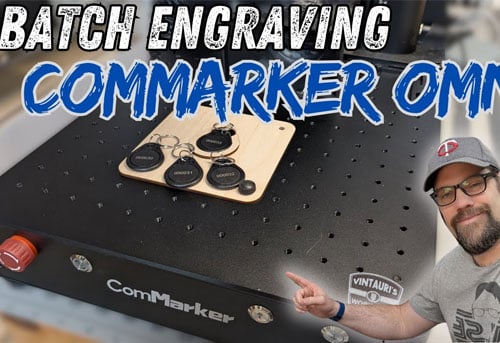
- CO2 Lasers: Handle larger areas, making them suitable for batch Yeti cup engraving machine.
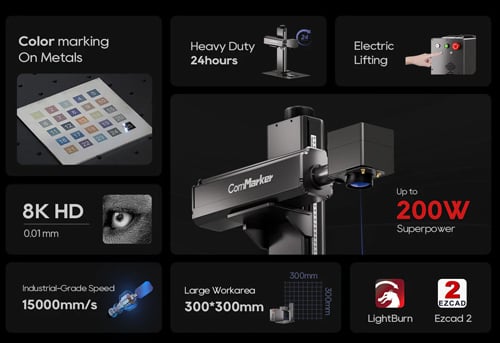
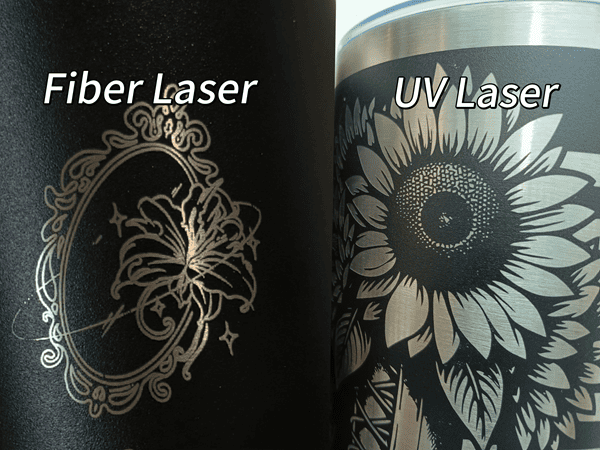
- UV Lasers: Deliver high-precision designs with minimal heat, often considered the best laser engraver for Yeti cups.
- Fiber Lasers: Best for metals,ideal for laser etching Yeti cups providing deep clean markings.
2. Required Tools and Equipment
- Laser Engraver: For metal engraving, uv laser engravers are highly recommended due to their precision.
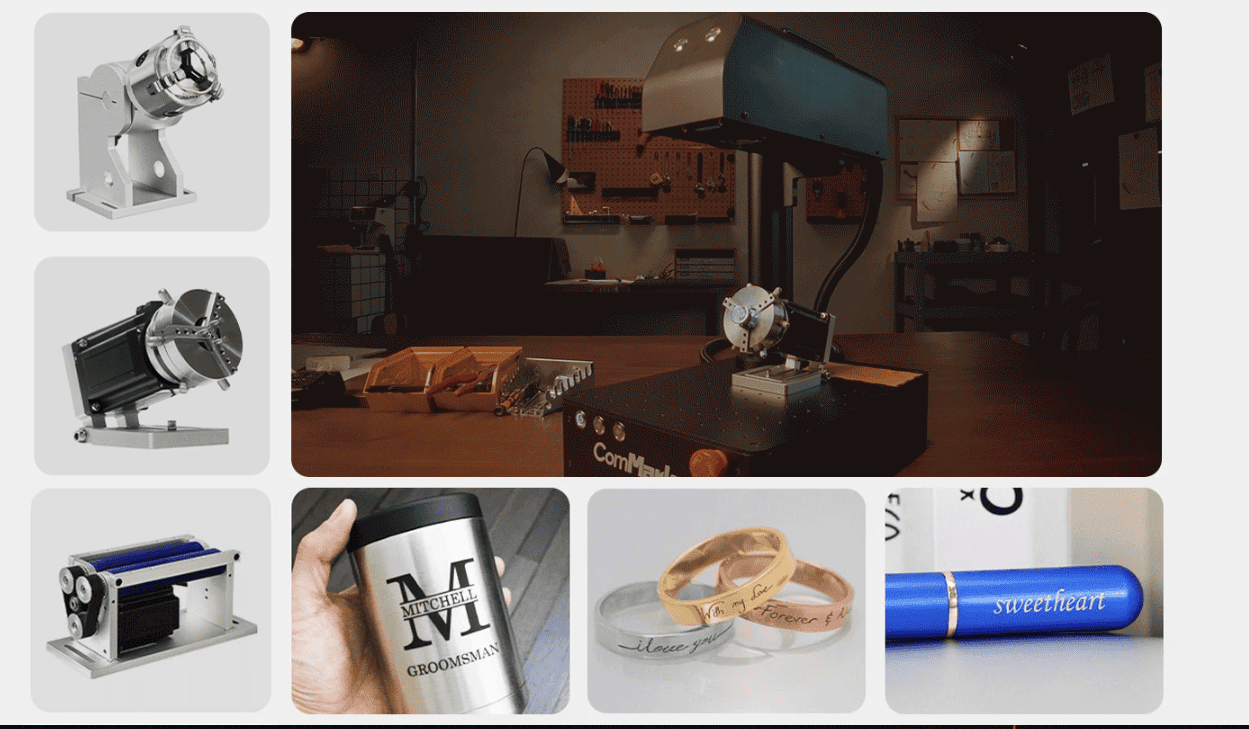
- Rotary Attachment: Ensures the Yeti cup rotates smoothly, providing an even engraving around its curved surface.
- Design Software: Software like LightBurn, EZCAD or ComMarker Studio is commonly used to create and transfer designs.
- Protective Gear: Safety glasses for laser operation are crucial due to high-powered beams.
3. Preparing the Yeti Cup for Engraving
- Cleaning the Surface: Wipe down the cup with rubbing alcohol to remove any dust or oils that could interfere with the engraving.
- Masking the Surface (optional): Applying a masking tape layer allows for more controlled etching and limits potential residue buildup.
4. Creating and Uploading a Design
Use vector design software to create your artwork. Vector files (SVG, DXF) allow for better control in terms of detail and scaling.
- Designing in Software: Software like LightBurn or EZCAD makes it easy to draw shapes or upload images. You can also add text or intricate designs.
- Uploading the File: Export your design from the software and upload it to the laser engraver machine for precise settings adjustments.
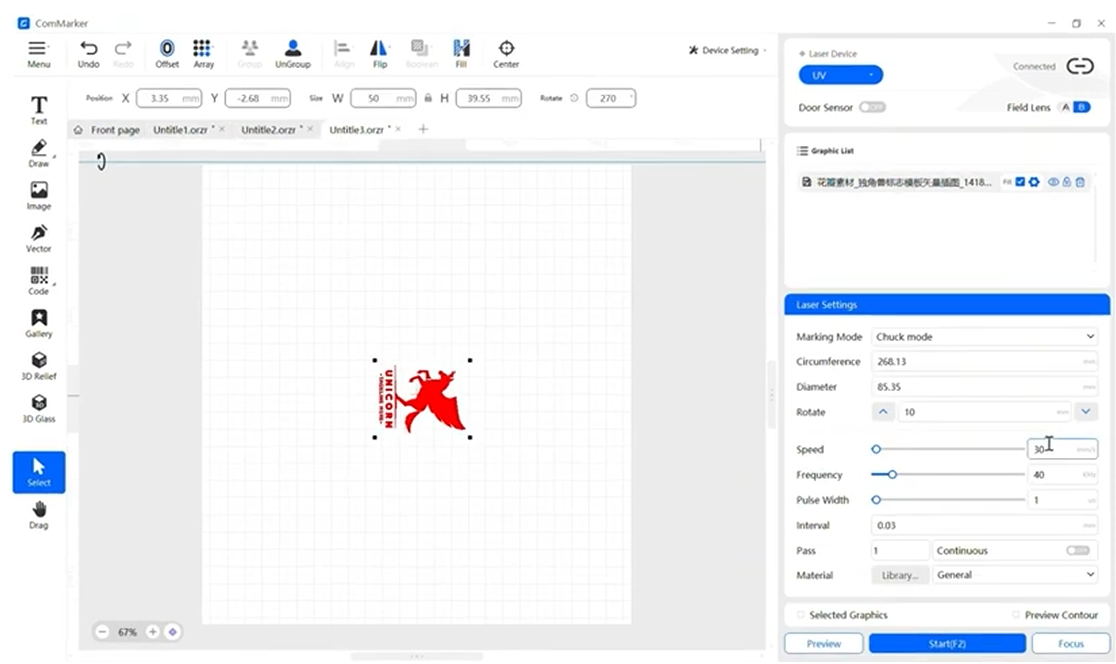
5. Laser Engraver Setup and Calibration
- Power and Speed Settings:
- For stainless steel cups engraving with fiber laser engraver, higher power with moderate speed ensures a clean cut.
- Conduct a test on a similar metal to determine the best settings.
- Using the Rotary Attachment: Attach your Yeti cup securely to the rotary attachment to allow smooth rotation during engraving. Check detailed guide of laser engraving Yeti tumbler with ComMarker R5 Rotary
| ComMarker Omni X UV laser engraver 12w 250mm lens Yeti Cup Engraving Setting | ||||||
| Passes | Speed | Freq | Pulse | Line Distance | Note | |
| White Coated Yeti (Remove Coat) | 3 | 1200 | 50 | 1 | 0.01 | Defocus 10mm |
| Colour Coated Yeti (Remove Coat) | 1 | 1000 | 50 | 1 | 0.03 | Defocus 10mm |
| Black Coated Yeti (Remove Coat) | 3 | 600 | 40 | 1 | 0.03 | Defocus 10mm |
6. Engraving Process Step-by-Step
- Focus the Laser: Ensure the laser is properly focused on the cup surface.
- Begin Engraving: Start the engraving and observe to make sure the design is engraving evenly.
- Troubleshooting: If any part of the engraving appears faint or uneven, pause and adjust the settings.

7. Post-Engraving Finishing Touches
- Cleaning the Engraved Surface: Remove any residue using a microfiber cloth or a gentle cleaning solution.
- Polishing (Optional): For a professional finish, polish the engraved area lightly to enhance the contrast of the design.
8. Tips for Beginners
- Start Small: Begin with simple designs and gradually increase complexity.
- Use Test Material: Practice on similar metals to refine settings.
- Avoid Overheating: Prolonged engraving at high power can heat up the metal, so use cooling intervals if necessary.
Laser engraving on Yeti cups offers a fantastic way to create unique, personalized designs. With the right laser engraver machine, settings, and preparation, even beginners can achieve professional results.