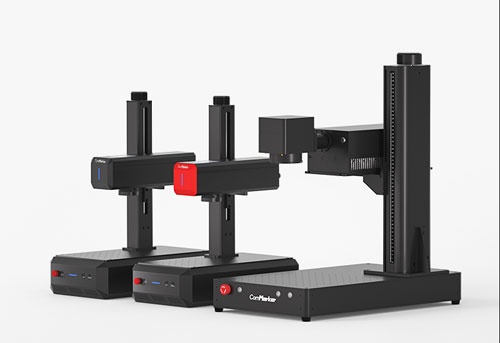
Manufacturers, software developers, and automation engineers may need a laser marking machine to work as part of a larger software-controlled process.
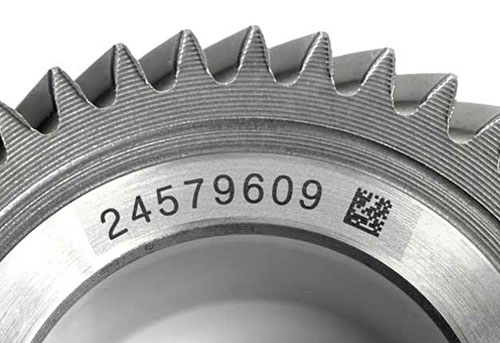
For example, a customer application may need to send variable text or DataMatrix data, load a controlled marking job, select laser parameters, trigger marking, and communicate with external equipment.
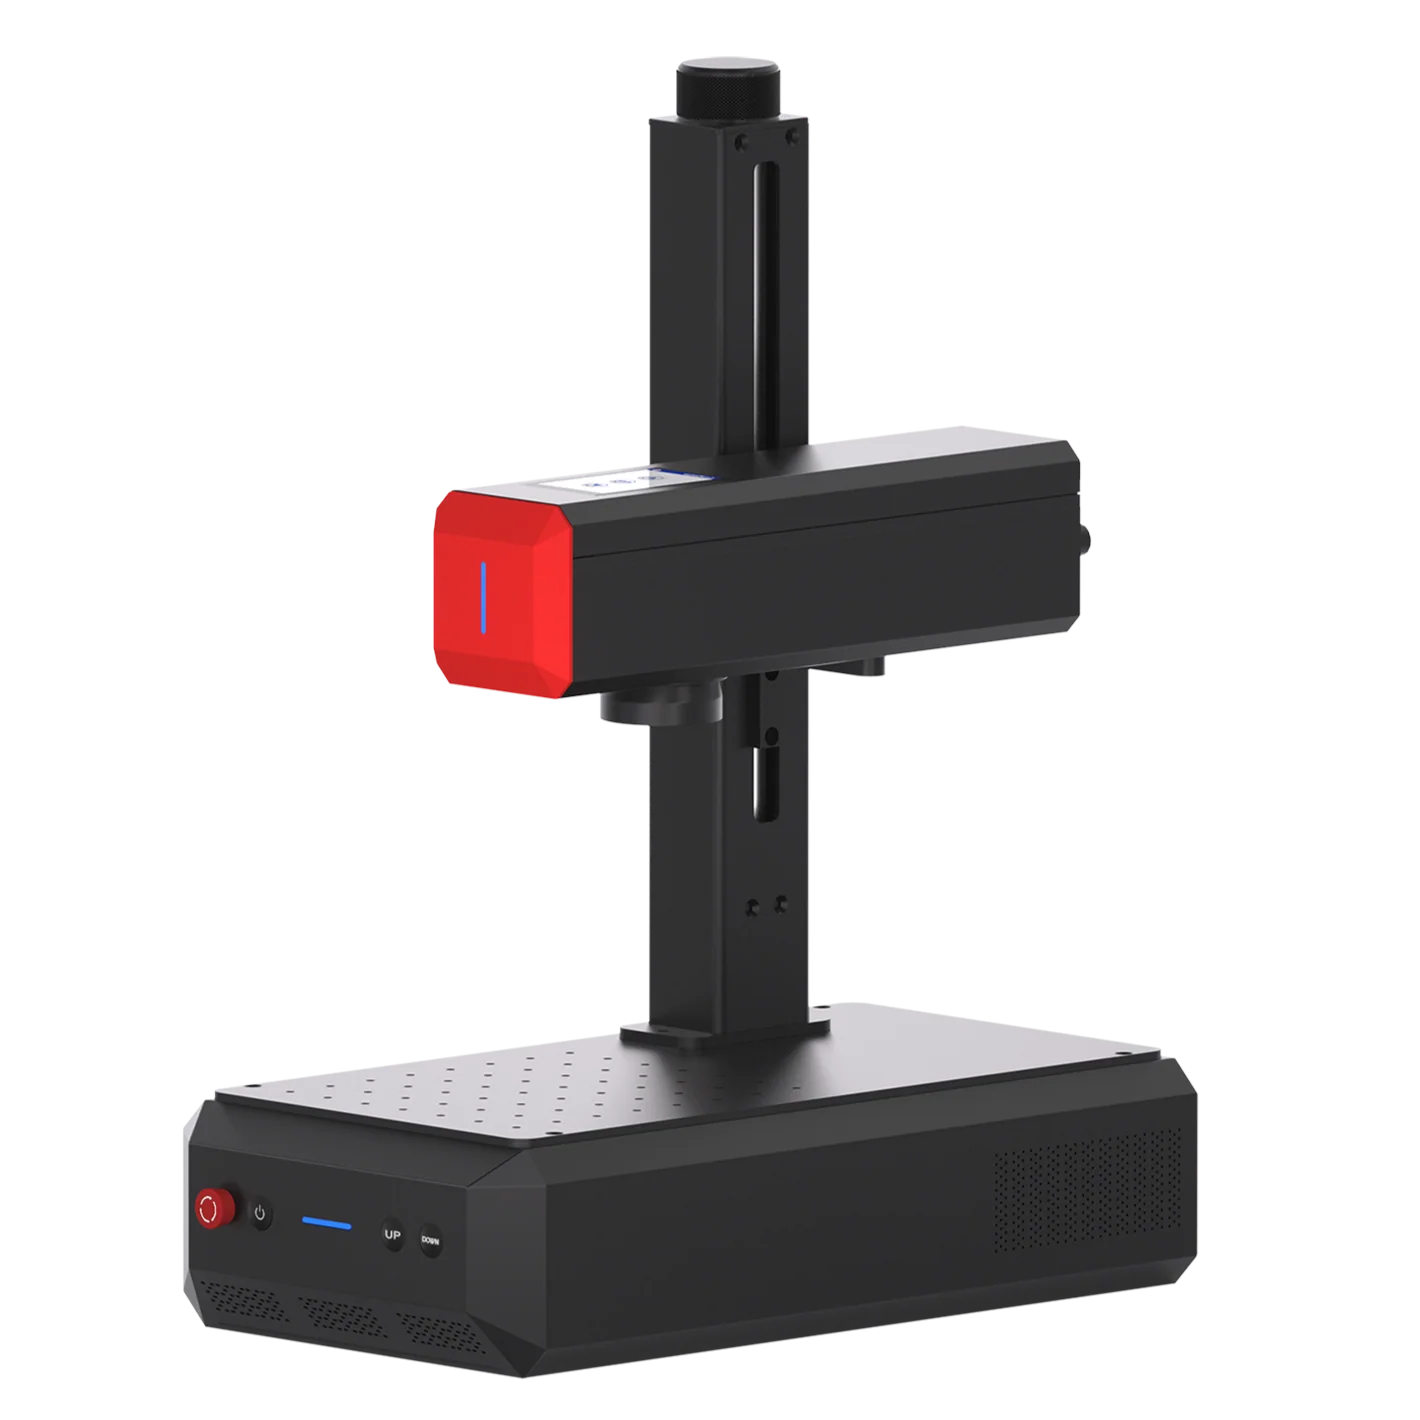
With customized hardware and SDK integration, a ComMarker desktop laser engraver can become a controllable component within your own software/control system.
This article explains how laser engraving can be integrated into hybrid manufacturing environments and how ComMarker supports integration-ready hardware and SDK resources.
1. When Does ComMarker SDK Integration Fit Your Workflow?
1.1 Custom Software Control
Customers may already have a C# or C++ application for production control, testing, inventory, or quality management and need the laser to work as part of that software environment.
Instead of manually opening the marking software, selecting a job, and entering marking data, they can use the ComMarker SDK to load supported marking content and control the laser from their own application.
1.2 Automated Marking Cycles
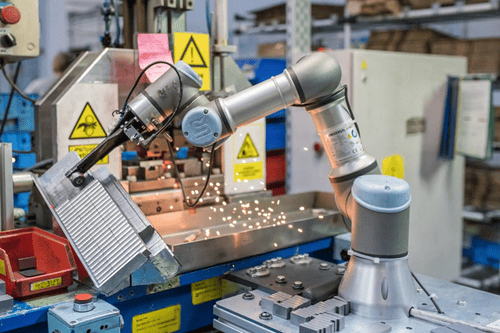
Some applications require the laser to participate in a repeated machine cycle rather than operate as an independent workstation.
For example, a hopper or conveyor may load a part, an external controller may trigger marking, and a servo or other mechanism may remove the part before the next one is loaded.
In this type of application, the integration needs to coordinate part loading, marking, status, and the next machine action through the available SDK and I/O functions.
1.3 QMS and Production Data Integration
Manufacturers may already manage part numbers, serial numbers, DataMatrix content, and other production information in a QMS or manufacturing software.
They may need this data to flow directly into the marking process.
A typical workflow is QMS → Part Data → Customer Software → Laser Marking, allowing the software system to determine what information should be marked on each part.
1.4 Laser Marking as a Production Step
For small-batch production, prototypes, custom equipment, and focused automation projects, a customer may not need a large dedicated laser marking system.
Instead, the laser can be added to an existing machine, workstation, or production process while positioning, inspection, loading, and other operations remain under the control of surrounding equipment.
In this setup, the ComMarker laser functions as a programmable marking station within a larger workflow, allowing customers to add controlled laser marking without building a complete laser automation system from scratch.
2. How Desktop Laser Integration Work?
A standalone desktop laser engraver normally operates through dedicated software:
User → ComMarker Studio → Laser Machine
The operator prepares the file, adjusts parameters, and starts the marking process manually.
For qualified automation and integration projects, ComMarker can provide an additional customization service based on the following architecture:
Customer Software → SDK / API → Customized Control Hardware → ComMarker Laser System
Depending on project requirements, this integration functions may include:
• Sending marking jobs
• Loading files
• Controlling workflow commands
• Starting and stopping processes
• Reading available marking status and I/O states
Through this architecture, a ComMarker desktop laser engraver can be integrated into custom equipment, robotic systems, or automated manufacturing workflows.
3. ComMarker Custom Integration Solutions
ComMarker understands that not every customer uses a laser engraver as a standalone machine.
For automation projects, OEM applications, and research projects, ComMarker can provide integration-ready hardware and SDK development resources for ComMarker laser machines.
Important: SDK integration is an additional customization service available at an extra cost and is not included with standard ComMarker desktop laser engravers.
This service is intended for customers who want to develop custom software or integrate a ComMarker desktop laser engraver to build a more automatic workflow.
Customized Control Hardware
For qualified integration projects, ComMarker can provide customized control board solutions designed for external software communication with ComMarker machines.
The customized hardware acts as the connection layer between customer applications and the laser system.
SDK/API Development Resources
ComMarker provides SDK-related development resources that allow customers to connect laser functions with their own laser marking control software or equipment.
Possible integration support includes:
• Communication documentation
• SDK files for C++ & C#
4. ComMarker Integration Solution vs. Automation System Integrators
Another common approach is hiring an automation system integrator to develop a complete customized production solution.
Automation system integrators typically provide services including mechanical design, PLC programming, robotics integration, vision systems, installation, commissioning, and after-sales support. In complex industrial applications, these services are valuable because they reduce the customer’s need for internal automation expertise.
A Flexible Alternative for Modern Manufacturing
ComMarker does not aim to replace fully automated industrial laser systems designed for large-scale production.
SDK integration provides a way to connect the desktop laser with customer-developed software and equipment; it does not change the machine’s underlying mechanical or laser specifications.
For companies requiring 24/7 high-speed production, advanced robotics, or complete turnkey automation, professional industrial laser systems and automation integrators remain the better choice.
Instead, ComMarker provides a compact and cost-effective integration option for small businesses, startups, and manufacturers that want to move beyond manual engraving and add laser marking capabilities to their own workflows.
The difference can be summarized as follows:
| Consideration | ComMarker SDK Integration Solution | Automation System Integrator |
|---|---|---|
| Main purpose | Provide a programmable desktop laser engraver for customer-developed systems | Deliver a complete automation project |
| Delivered solution | Laser machine + customized control hardware + SDK Development Resources | Complete engineering service, including hardware, software, installation, and commissioning |
| Technical requirement | Requires customer-side software/electrical development capability | Requires minimal customer-side automation knowledge |
| Customization control | Customer develops and controls their own workflow | Integrator manages system development |
| Best for | Small-batch manufacturing, product development, flexible workflows | Complex production lines and turnkey automation |
| Production scale | Prototyping, small-batch production, and growing manufacturing workflows | High-volume industrial production |
Which Solution Should You Choose?
|
Choose a ComMarker SDK Integration Solution if: • You run small-batch production and want simple automation • You want to reduce manual marking without a full industrial system • You need a compact and affordable integration option • You can work with SDK files and basic development resources • You want flexibility to expand your workflow |
Choose a professional industrial laser solution or automation system integrator if: • You run high-volume production lines • You need 24/7 industrial automation • You require vision, MES, or robotic integration • You need complete installation and engineering services |
5. How Can Laser Integration Support Your Workflow?
With SDK and customized control hardware, a ComMarker desktop laser can be integrated as a laser marking station within a larger system or used to simplify repetitive marking steps in a customer’s existing workflow.
The laser remains responsible for the marking operation, while the customer’s software and external equipment can handle other parts of the workflow.
5.1 Use the Laser as a Dedicated Processing Station
A ComMarker laser can be integrated as one processing point within a larger manufacturing or testing system.
For example:
Part Manufacturing → Positioning → ComMarker Laser Marking → Inspection → Next Process
The part can be brought to the laser marking position by a conveyor, fixture, robot, or other positioning equipment. The customer’s control system can then initiate the marking process before the part moves to the next stage.
This allows laser marking to become a defined processing point in an existing workflow without requiring the laser to control the entire production line.
5.2 Simplify Repetitive Marking Workflows
SDK integration can also reduce the number of manual steps required for repeated marking tasks.
Instead of an operator repeatedly:
Load File → Select Parameters → Position Part → Start Marking → Repeat
a customer-developed system can combine some of these steps into a simplified workflow.
For example, a production application may provide the required part information, select the corresponding marking job, and initiate the marking process from the customer’s own interface.
This can be useful when the same type of marking operation is performed repeatedly across a batch of parts.
5.3 Mark Different Parts with Different Data
For applications that require serialized or variable information, the laser can be integrated into a workflow where marking data is provided by the customer’s software.
For example:
Part ID → Corresponding Marking Data → Laser Marking
Instead of manually changing the marking content for every part, the customer’s system can provide the appropriate data for each marking operation.
This can simplify workflows involving serial numbers, product IDs, DataMatrix codes, or other variable information.
5.4 Start with a Focused Automation Cell
For small businesses, product developers, and model or prototype demonstrations, integrating a ComMarker desktop laser can provide a compact and flexible way to add automation to selected marking processes without requiring a large industrial production system.
By using the laser as a programmable marking point and combining it with existing equipment, fixtures, positioning systems, or customer-developed software, you can build a workflow around your specific needs while keeping the setup relatively compact and manageable.
This approach can help businesses reduce repetitive manual work, demonstrate automated production concepts, and gradually develop their manufacturing capabilities as the business grows.
As production requirements increase, businesses can scale their operations by investing in larger professional laser systems and dedicated automation solutions for applications involving large workpieces, very high-volume production, or more complex industrial workflows.

6. Composite Manufacturing Case Studies
6.1 Materials & Process Compatibility
| Material Combination | 3D Printing Method | Laser Process | Key Considerations |
|---|---|---|---|
| Wood-filled PLA + Acrylic | FDM with wood-PLA | UV laser engraving | Wood-PLA’s charred residue must be cleaned; UV avoids burns. |
| Nylon + PETG | SLS + FDM | Fiber laser marking | Nylon’s dark surface absorbs fiber laser for high-contrast marks. |
| Metal-filled resin + Metal | SLA with metal resin | Fiber laser etching | Pre-sintering vs. full sintering; resin ash must be removed. |
| Ceramic composite + Glass | DLP resin-cast | UV/CO₂ laser ablation | Glass adhesion layer required; masking for crisp edges. |
• Wood + Plastic: Wood-PLA filaments can mimic natural grain. After printing, the Omni ’s UV laser cleanly engraves text or art without scorching the plastic matrix.
• Metal + Ceramic: Ceramic-filled SLA resins form complex shapes, then get post-cured. A high-power fiber laser like the Titan 1 JPT MOPA (60–200 W) can deep-etch serial numbers into the sintered metal for industrial traceability.
ComMarker has already provided such customized integration solutions for customers.
6.2 Decorative Lamp Shades (Wood + Acrylic)
Application Example: A design studio printed an intricate lattice lamp shade using clear acrylic filament on an FDM machine. They then used the ComMarker Omni UV to engrave custom patterns on thin wood-veneer panels, which were laminated to the acrylic. The result: a warm wood finish combined with geometric acrylic forms—impossible to mold conventionally.
• Laser Settings: UV 10 W, Speed 500 mm/s, Frequency 40 kHz, Line Interval 0.02 mm.
• Outcome: Zero-burn edges, consistent detail across 50+ units in under an hour.
6.3 Custom Drone Frames (Nylon + Aluminum)
Application Example: An R&D team prints lightweight drone arms in nylon via SLS. Using the ComMarker Titan MOPA (100 W), they etch part numbers and QR codes directly into the nylon for post-flight data logging. They also used the Titan 1 to cut and vein-engrave aluminum mounting plates, achieving 0.01 mm precision on each edge.
• SLS Print: 0.1 mm layer height, carbon-filled nylon.
• Laser Etch: Power 30%, Speed 1000 mm/s, Q-Pulse 200 ns, Passes 1.
• Metal Cut: Titan 1 at 100 W, Speed 50 mm/s for cuts; 200 mm/s for surface engraving.
7. Build Your Own Manufacturing Workflow with ComMarker
With customized hardware integration and SDK support, your production machines can become a manufacturing ecosystem.
Whether you are connecting CNC equipment, 3D printing workflows, robotic systems, or developing a completely new application, ComMarker provides a pathway for integrating laser technology into modern digital manufacturing.
From standalone engraving to connected manufacturing, ComMarker helps developers and businesses explore new possibilities with compact, programmable laser systems.
For inquiries about custom hardware integration, SDK resources, or workflow customization, please contact us at [email protected]. We are happy to discuss your specific requirements.