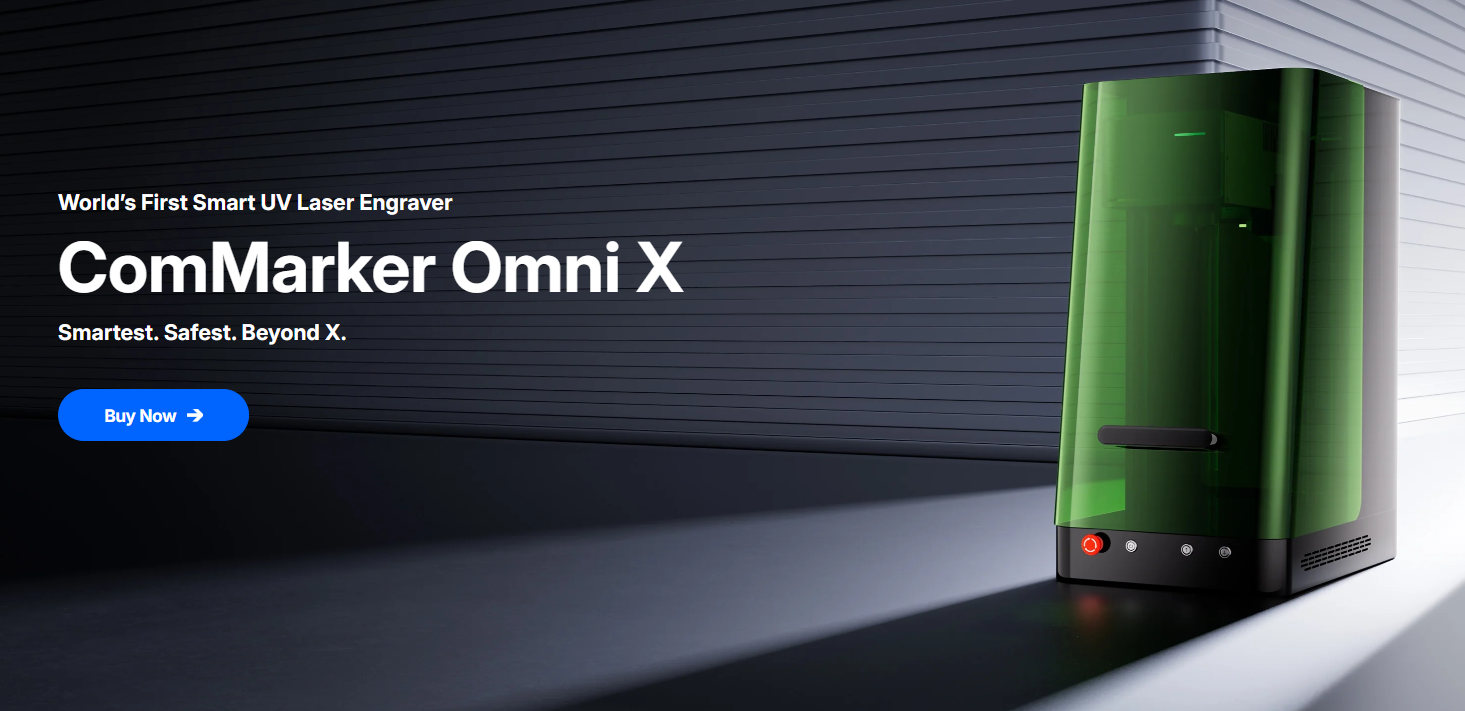
If you’ve been curious about what a UV Laser Engraver can really do, the ComMarker Omni X is worth a closer look. I’ve spent time in the workshop with this machine, testing everything from subsurface crystal engraving (the star of the show) to basic marking on different materials. In this article, I’ll share my hands-on experience, setup notes, and engraving results, so you can see if the Omni X fits your own shop or creative projects.
What’s New with the Omni X
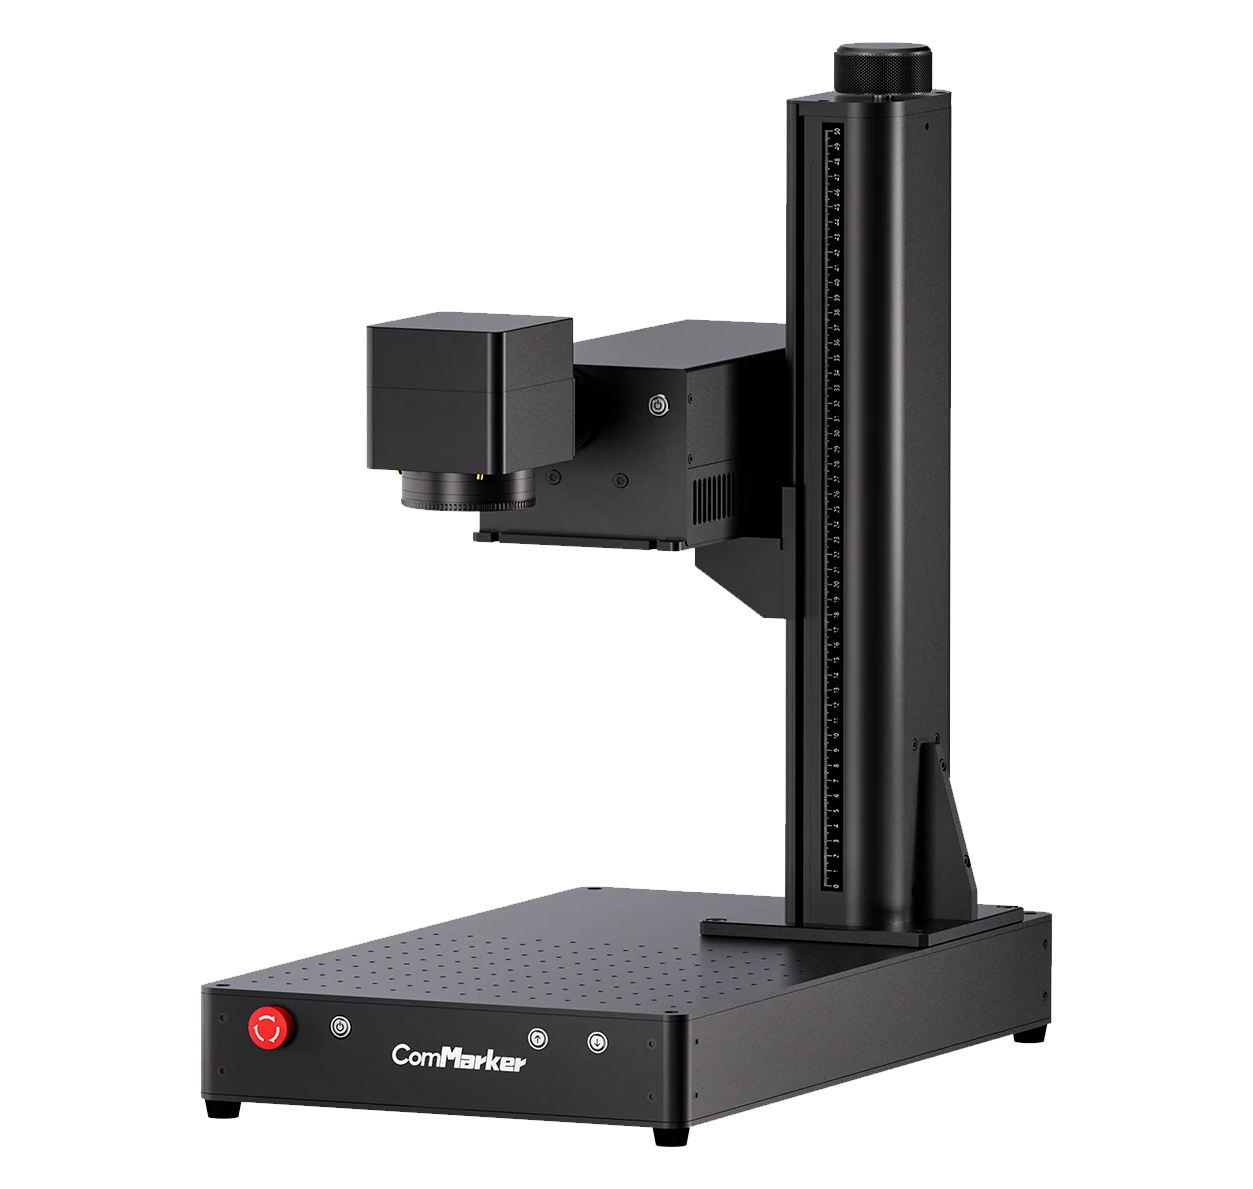
I’ve tested ComMarker’s fiber lasers and their earlier ComMarker Omni 1 UV laser, but the Omni X introduces some big upgrades.
-
Fully Enclosed Design: Unlike the open-frame Omni 1, the Omni X comes in a safety enclosure with a slide extension. That means better protection from UV light and easier fume management.
-
Safety Features: Built-in switches prevent the laser from firing with the lid open, though you can override this when using accessories like a rotary or slide bed.
-
Certified Safety Glasses: Included in a protective case, rated for UV, diode, and IR wavelengths.
Yes, it’s bigger and heavier (about 27 inches tall, 21 inches deep and 13 inches wide, 32kg), and you’ll notice the fans make it loud, but that’s the nature of UV laser engravers. Cooling is critical, so expect a bit of workshop background noise.
The latest batch has been equipped with temperature sensors to maximize fan operating time and keep the laser temperature within a reasonable range.

Unboxing & Accessories
Here’s what came with my test unit:
-
Two lenses (70 mm and 150 mm) for different engraving areas and focus sizes.
-
ComMarker Studio software on a USB drive (needed for 3D subsurface engraving).
-
Manuals & setup guides with clear instructions.
-
Safety glasses with certified OD6 protection.
-
Foot switch for repetitive jobs.
-
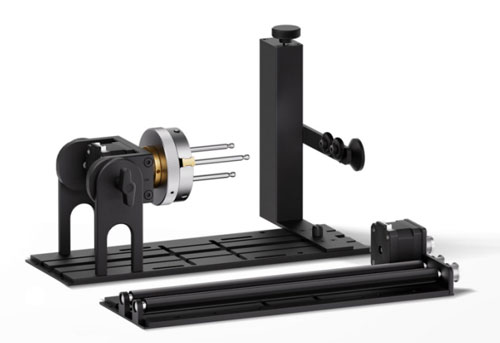
Scissor jack to adjust material height.
-
Exhaust fan (though I used my own dust extraction setup).
The autofocus feature is another plus. With a button press, you can set the laser to the right focal distance. For precision work, like crystal engraving, that’s a time-saver.

Software & Workflow
The Omni X works with both ComMarker Studio and LightBurn.
-
LightBurn handles 2D engraving tasks like marking and surface etching.
-
ComMarker Studio is required for 3D subsurface crystal engraving. It supports STL and OBJ files (popular formats for 3D models).
The workflow is straightforward:
-
Import your STL file (I grabbed some models from sites like Printables).
-
Scale and position it to fit your crystal size.
-
Adjust laser parameters (frequency, pulse width, XY spacing, dwell time).
-
Slice and send to the Omni X.
Pro tip: Choosing a high-detail model makes all the difference in your final results.

Hands-On Tests: Crystal Subsurface Engraving
This is where the UV Laser Engraver really shines. I ran a few different tests, and here’s what stood out:
-
Han Solo in Carbonite: A detailed 3D model, but the height pushed the limits. The engraving took around 1 hour 16 minutes. Good detail, but not the best model for crystal work.
-
Weeping Angel (Doctor Who): Much better result—crisper details and only 33 minutes of engraving time. Looked stunning when lit from underneath.
-
Darth Vader Bust: Another sci-fi favorite, this one balanced detail and depth nicely. Took about an hour, but the 3D effect floating inside the cube was worth it.
The process isn’t fast, but the results are impressive. When you nail the right model and settings, the effect is like frozen light suspended inside the glass.
Beyond Crystal: Other Applications
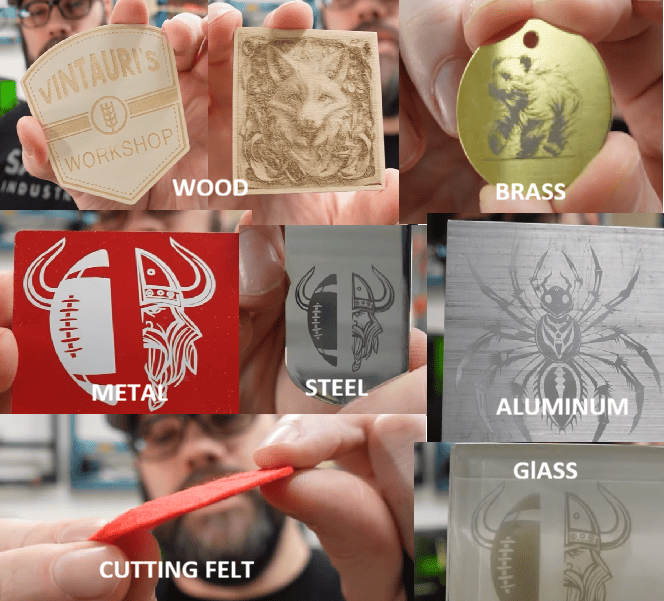
While crystal engraving gets the spotlight, remember this UV Laser Engraver also handles:
-
Marking wood, plastics, metals, and ceramics with clean precision.
-
Light cutting (though not as fast as CO₂ or diode lasers).
-
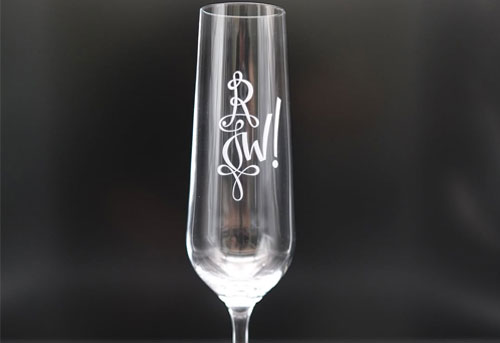
Everyday branding work like logos, serial numbers, or personalized gifts.
The best UV laser engraver feature cold burning process, perfect for precision marking while producing less heat damage and cleaner edges compared to other laser types.
Final Thoughts: Is the ComMarker Omni X the Best UV Laser Engraver?
If you’re looking for a UV Laser Engraver that pushes beyond basic marking into 3D crystal engraving, the ComMarker Omni X is an exciting option. It’s not silent, it’s not ultra-portable, and it’s not the fastest engraver out there—but the quality and versatility are hard to beat.
-
For DIYers and makers, it opens the door to creative projects like custom crystal keepsakes.
-
For small businesses, it’s a professional tool that adds high-value engraving services.
Overall, the Omni X feels like a big step forward from ComMarker’s earlier UV units—and for me, it was a lot of fun to test in the workshop.
✅ Key Takeaway: The ComMarker Omni X proves that a UV Laser Engraver isn’t just about flat surface marking—it’s about exploring new creative dimensions, literally inside the glass.