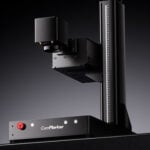
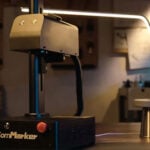
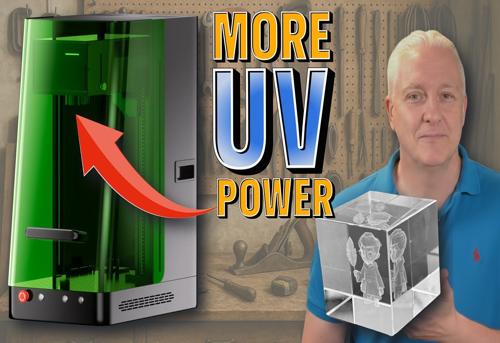
Getting the best engraving results starts with mastering your material settings. Whether you’re working with glass, plastic, metal, or coated surfaces, the ComMarker Omni X UV Laser Engraver gives you precise control through adjustable frequency, speed, and pulse.
This article breaks down how to set up your Omni X for different materials based on the official material parameter recommendations—helping you engrave smarter, not harder.
1. Why Material Settings Matter
Each material reacts differently to UV laser energy. For example:
-
Plastic and coated surfaces may need higher speed and higher frequency for clean marks without melting.
-
Metal or ceramics require slower speed and smaller frequency to achieve deep, durable results.
Meanwhile,
-
Incorrect settings can lead to burnt edges, uneven marks, or poor contrast.
-
Different setting create different effect on same material.
-
Smaller lens create better detail as it focus laser power better.
-
Different laser output power perform differently on same setting.
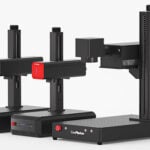
That’s why ComMarker provides optimized parameters for the 70mm and 150mm lenses; 6W and 12W model of the Omni X UV laser.

Engraving Results Under the Same Settings (Left: Omni X 6W, Right: Omni X 12W)
2. Understanding UV Laser Parameters in ComMarker Studio
Once you open ComMarker Studio (the official ComMarker Software), you can modify:
-
Speed (mm/s) – The scanning speed of the laser beam. Faster speeds = shallower engraving; slower speeds = deeper engraving.
-
Frequency (kHz) – The number of laser pulses per second. Higher = cleaner vertical cuts; lower = softer edges.
-
Pulse – Duration of each laser pulse. Shorter pulses produce finer details, while longer pulses result in deeper, darker marks.
-
Line Interval – The spacing between adjacent laser lines. Smaller values yield denser fills and higher precision.
These four variables work together—fine-tuning them gives you precise control over engraving depth, sharpness, and color tone.

ComMarker Studio
3. Recommended Settings for ComMarker Omni X UV Laser Engravers
Here, we listed some typical setting for ComMarker Omni X UV laser engravers. For more setting, please visit ComMarker Download Center.
3.1 Recommended Settings for the 70mm Field Lens
The 70mm lens is perfect for precision engraving and fine details on smaller surfaces.
Here’s a general guide based on the Omni X 6W UV laser parameters:
| Material | Speed (mm/s) | Frequency (kHz) | Pulse | Line Interval (mm) | Notes |
|---|---|---|---|---|---|
| ABS Plastic | 2000 | 40 | 18 | 0.02 | Crisp dark mark without deformation |
| Glass | 400 | 40 | 1 | 0.02 | |
| Ceramic | 1000 | 40 | 1 | 0.02 | Smooth and frosty finish |
| Aluminum | 2000 | 40 | 1 | 0.02 | Great contrast |
| Stainless Steel | 2000 | 40 | 1 | 0.02 | Fine dark marking |
| Coated Metal | 2000 | 40 | 1 | 0.02 |
💡 Pro Tip: For high-gloss or reflective materials, use the “cross-hatch fill” in your design software to ensure even coverage.

Omni X UV Laser Engraving Inside Glass
3.2 Recommended Settings for the 150mm Field Lens
The Omni X 6W UV laser 150mm lens provides a larger work area, ideal for bigger engravings or batch production. However, since the laser energy is spread over a larger area, you may need slower Speed and smaller Frqeuency.
| Material | Speed (mm/s) | Frequency (kHz) | Pulse | Line Interval (mm) | Notes |
|---|---|---|---|---|---|
| ABS | 1000 | 40 | 15 | 0.03 | Balanced clarity |
| Black Acrylic | 1000 | 40 | 1 | 0.03 | |
| Stainless Steel | 1000 | 40 | 1 | 0.03 | Rich dark effect |
| Anodized Aluminum | 1000 | 40 | 1 | 0.03 | Clean surface contrast |
| Glass | 200 | 40 | 1 | 0.03 |
💡 Pro Tip: For transparent materials like acrylic or glass, applying a thin layer of masking tape can help diffuse the beam and improve clarity.
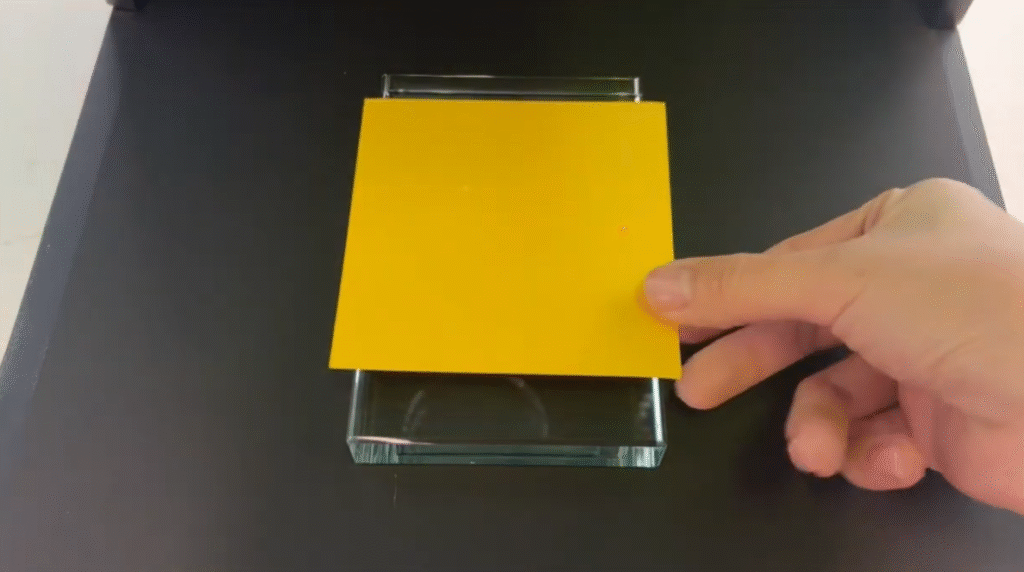
Apply Paper For Focusing
3.3 Recommended Settings for the 250mm Field Lens
The Omni X 12W UV laser support 250mm engraving area.
| Material | Speed (mm/s) | Frequency (kHz) | Pulse | Line Interval (mm) | Notes |
|---|---|---|---|---|---|
| Wood | 1000 | 50 | 5 | 0.03 | Light Marking |
| Black Acrylic | 1500 | 60 | 10 | 0.03 | |
| Stainless Steel | 1500 | 50 | 1 | 0.03 | Yellow Mark |
| Anodized Aluminum | 1500 | 50 | 1 | 0.03 | |
| Glass | 300 | 40 | 1 | 0.03 |
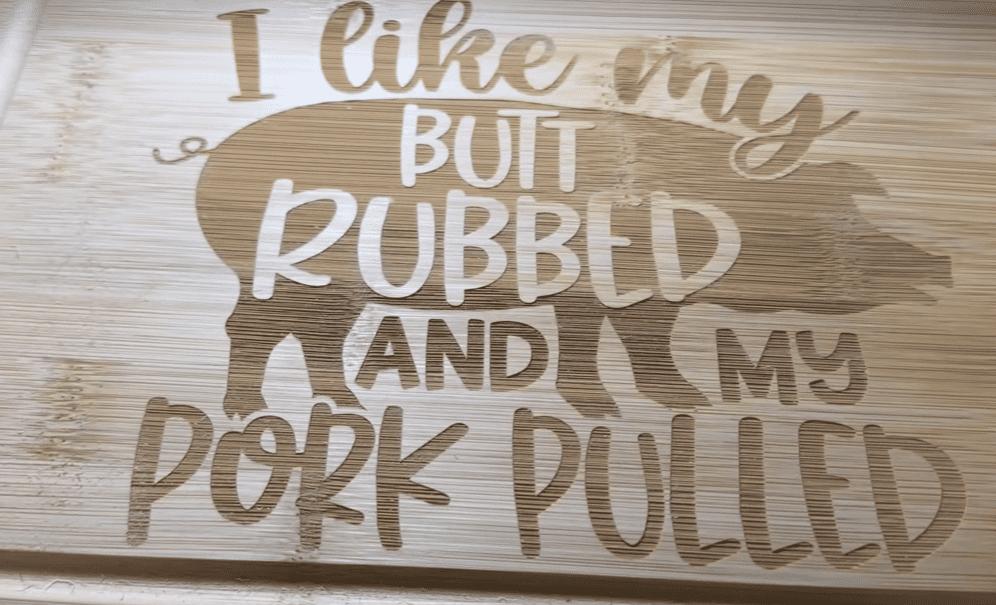
ComMarker Omni X 12W Engraving Wood Cutting Board
4. Testing and Calibration Tips
Before engraving on your final product:
-
Run a Material Test on the same material. Check How to Perform Material Test with ComMarker Studio
-
Adjust the focus height using the auto-focus or manual Z-axis controls by using the up and down button and Z-axis function in Device Setting.
-
Observe the result and record the satisfactory settings for next time.

ComMarker Studio Material Test Button
5. Common Engraving Issues and Fixes
| Issue | Possible Cause | Solution |
|---|---|---|
| Engraving too light | Speed to fast or Frequency too high | Reduce speed and Frequency |
| Burn marks | Speed too slow | Increase Speed or raise Frequency |
| Uneven engraving | Surface not leveled | Check with a gradienter or use a Jig |
| Poor contrast | Wrong focus | Check the distance between laser head and |
| Blurry Result | Line interval too small or DPI too Large | Increase Line Interval or Reduce DPI |
If you need further help, please contact [email protected]
Experiment, Record, and Master
The ComMarker Omni X UV Laser Engraver offers incredible versatility, but the real magic happens when you dial in your settings. With the right combination of speed, frequency, pulse and line spacing, you can bring any design to life with precision and style.