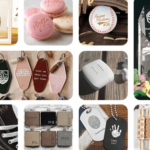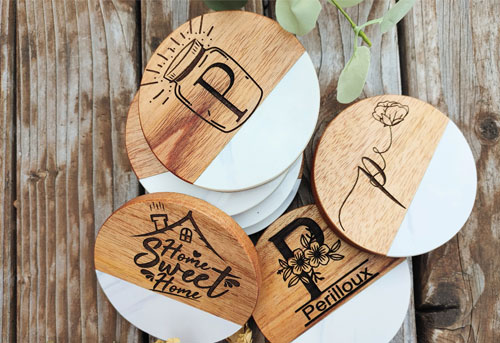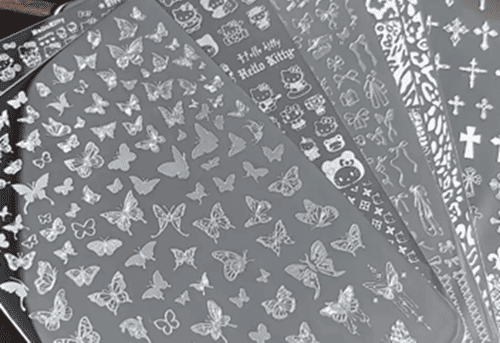
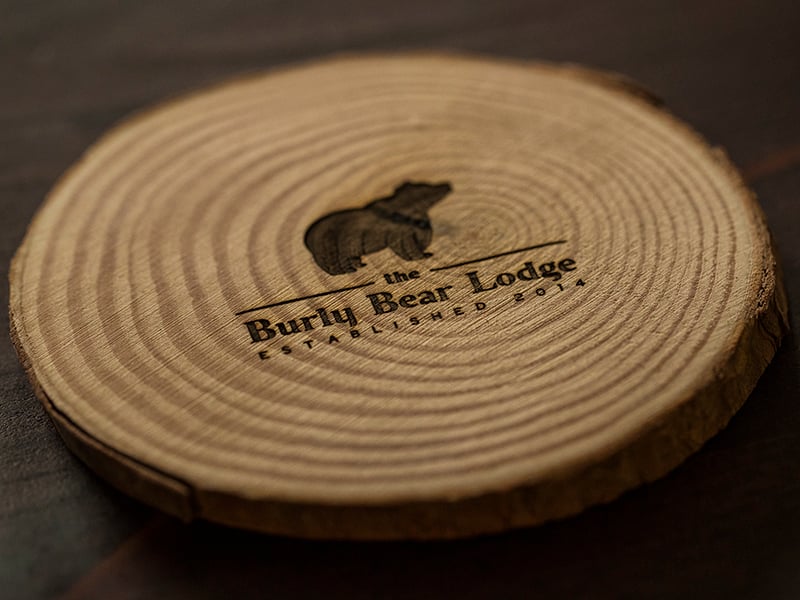
From company logos, wildlife artwork to personalized gifts, deep laser engraving allows creators to turn ordinary wood into three-dimensional artwork.
By removing multiple layers of material, a laser engraver can create relief effects that look similar to CNC carving, revealing depth, shadows, and natural wood textures.
However, achieving the desired depth requires careful control over factors such as power, speed, and the material’s properties.
Can Laser Deep Engrave Wood?
Yes. Deep laser engraving wood uses a laser to remove material layer by layer, creating a noticeable and touchable depth typically ranging from 1mm to 20mm.
Deep engraving on wood is achieved by making multiple passes over the same design, gradually removing layers of wood until the desired depth is reached.
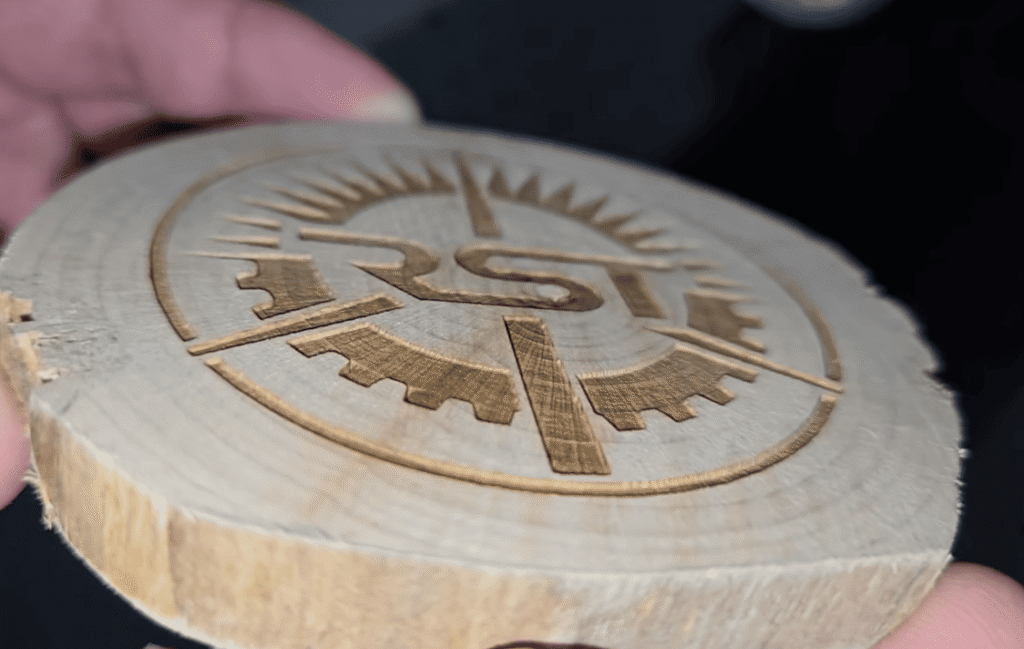
3D relief wood laser engraving uses controlled laser passes to remove wood at varying depths, creating raised and recessed areas that form a three-dimensional relief effect.
Traditional 3D laser engraving uses grayscale images to simulate depth: darker areas are engraved deeper, while lighter areas remain higher to create a 3D effect.
Modern 3D relief engraving workflows, such as those supported by ComMarker Omni X and COX, use 3D height data to control material removal more precisely, allowing creators to produce detailed wood relief artwork.
Best Laser Engraver for Deep Wood Engraving
If your goal is detailed wood artwork rather than simple marking, choosing the right laser source is critical.
|
Laser Type |
Best Use Case |
|
|
ComMarker Omni X UV Laser |
Zeroburn wood deep engrave with high-detail 3D relief engraving |
|
|
ComMarker COX RF CO2 Galvo Laser |
Fast wood processing and deep engraving |
|
|
Diode Laser |
Affordable deep engraving projects and hobby applications |
|
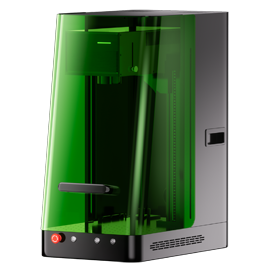
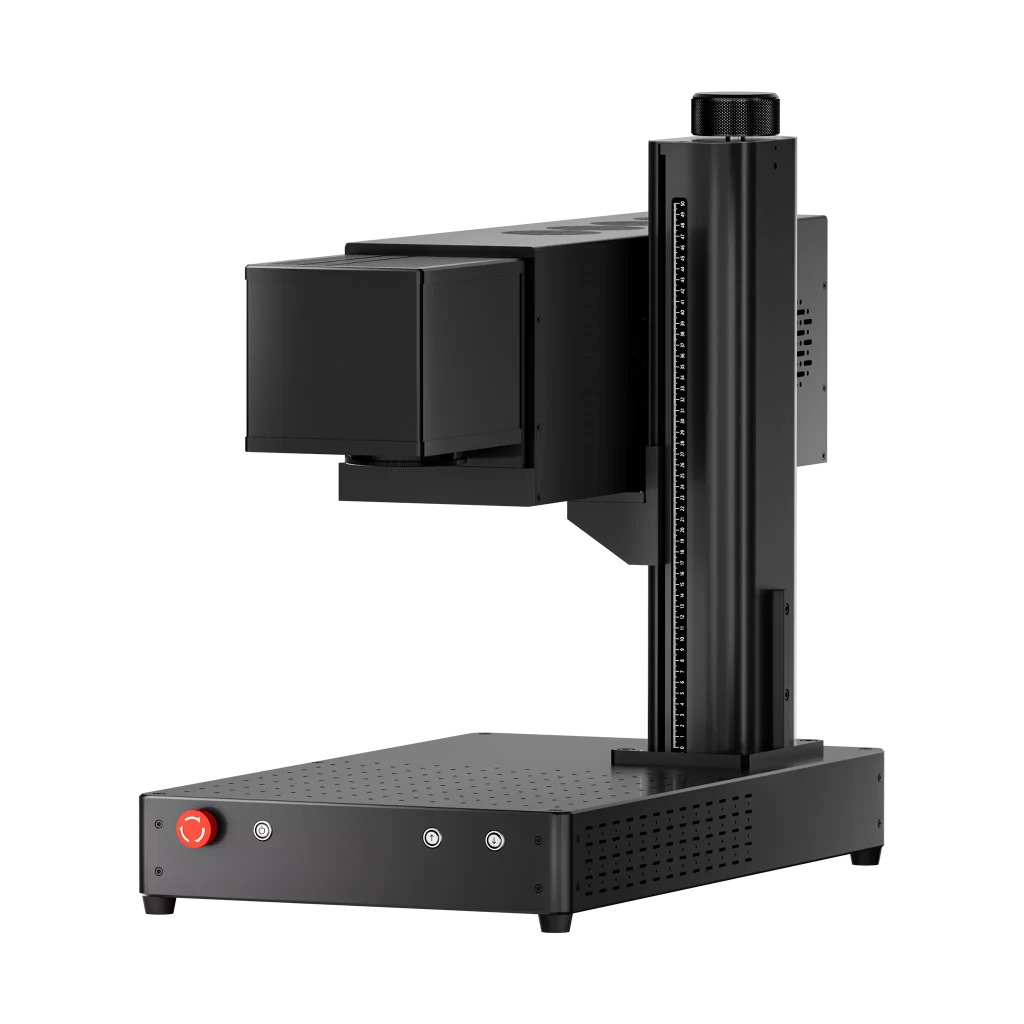
For beginners, powerful diode lasers are a popular way to explore deep wood engraving because they offer an affordable entry point.
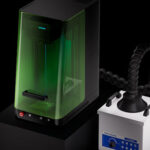
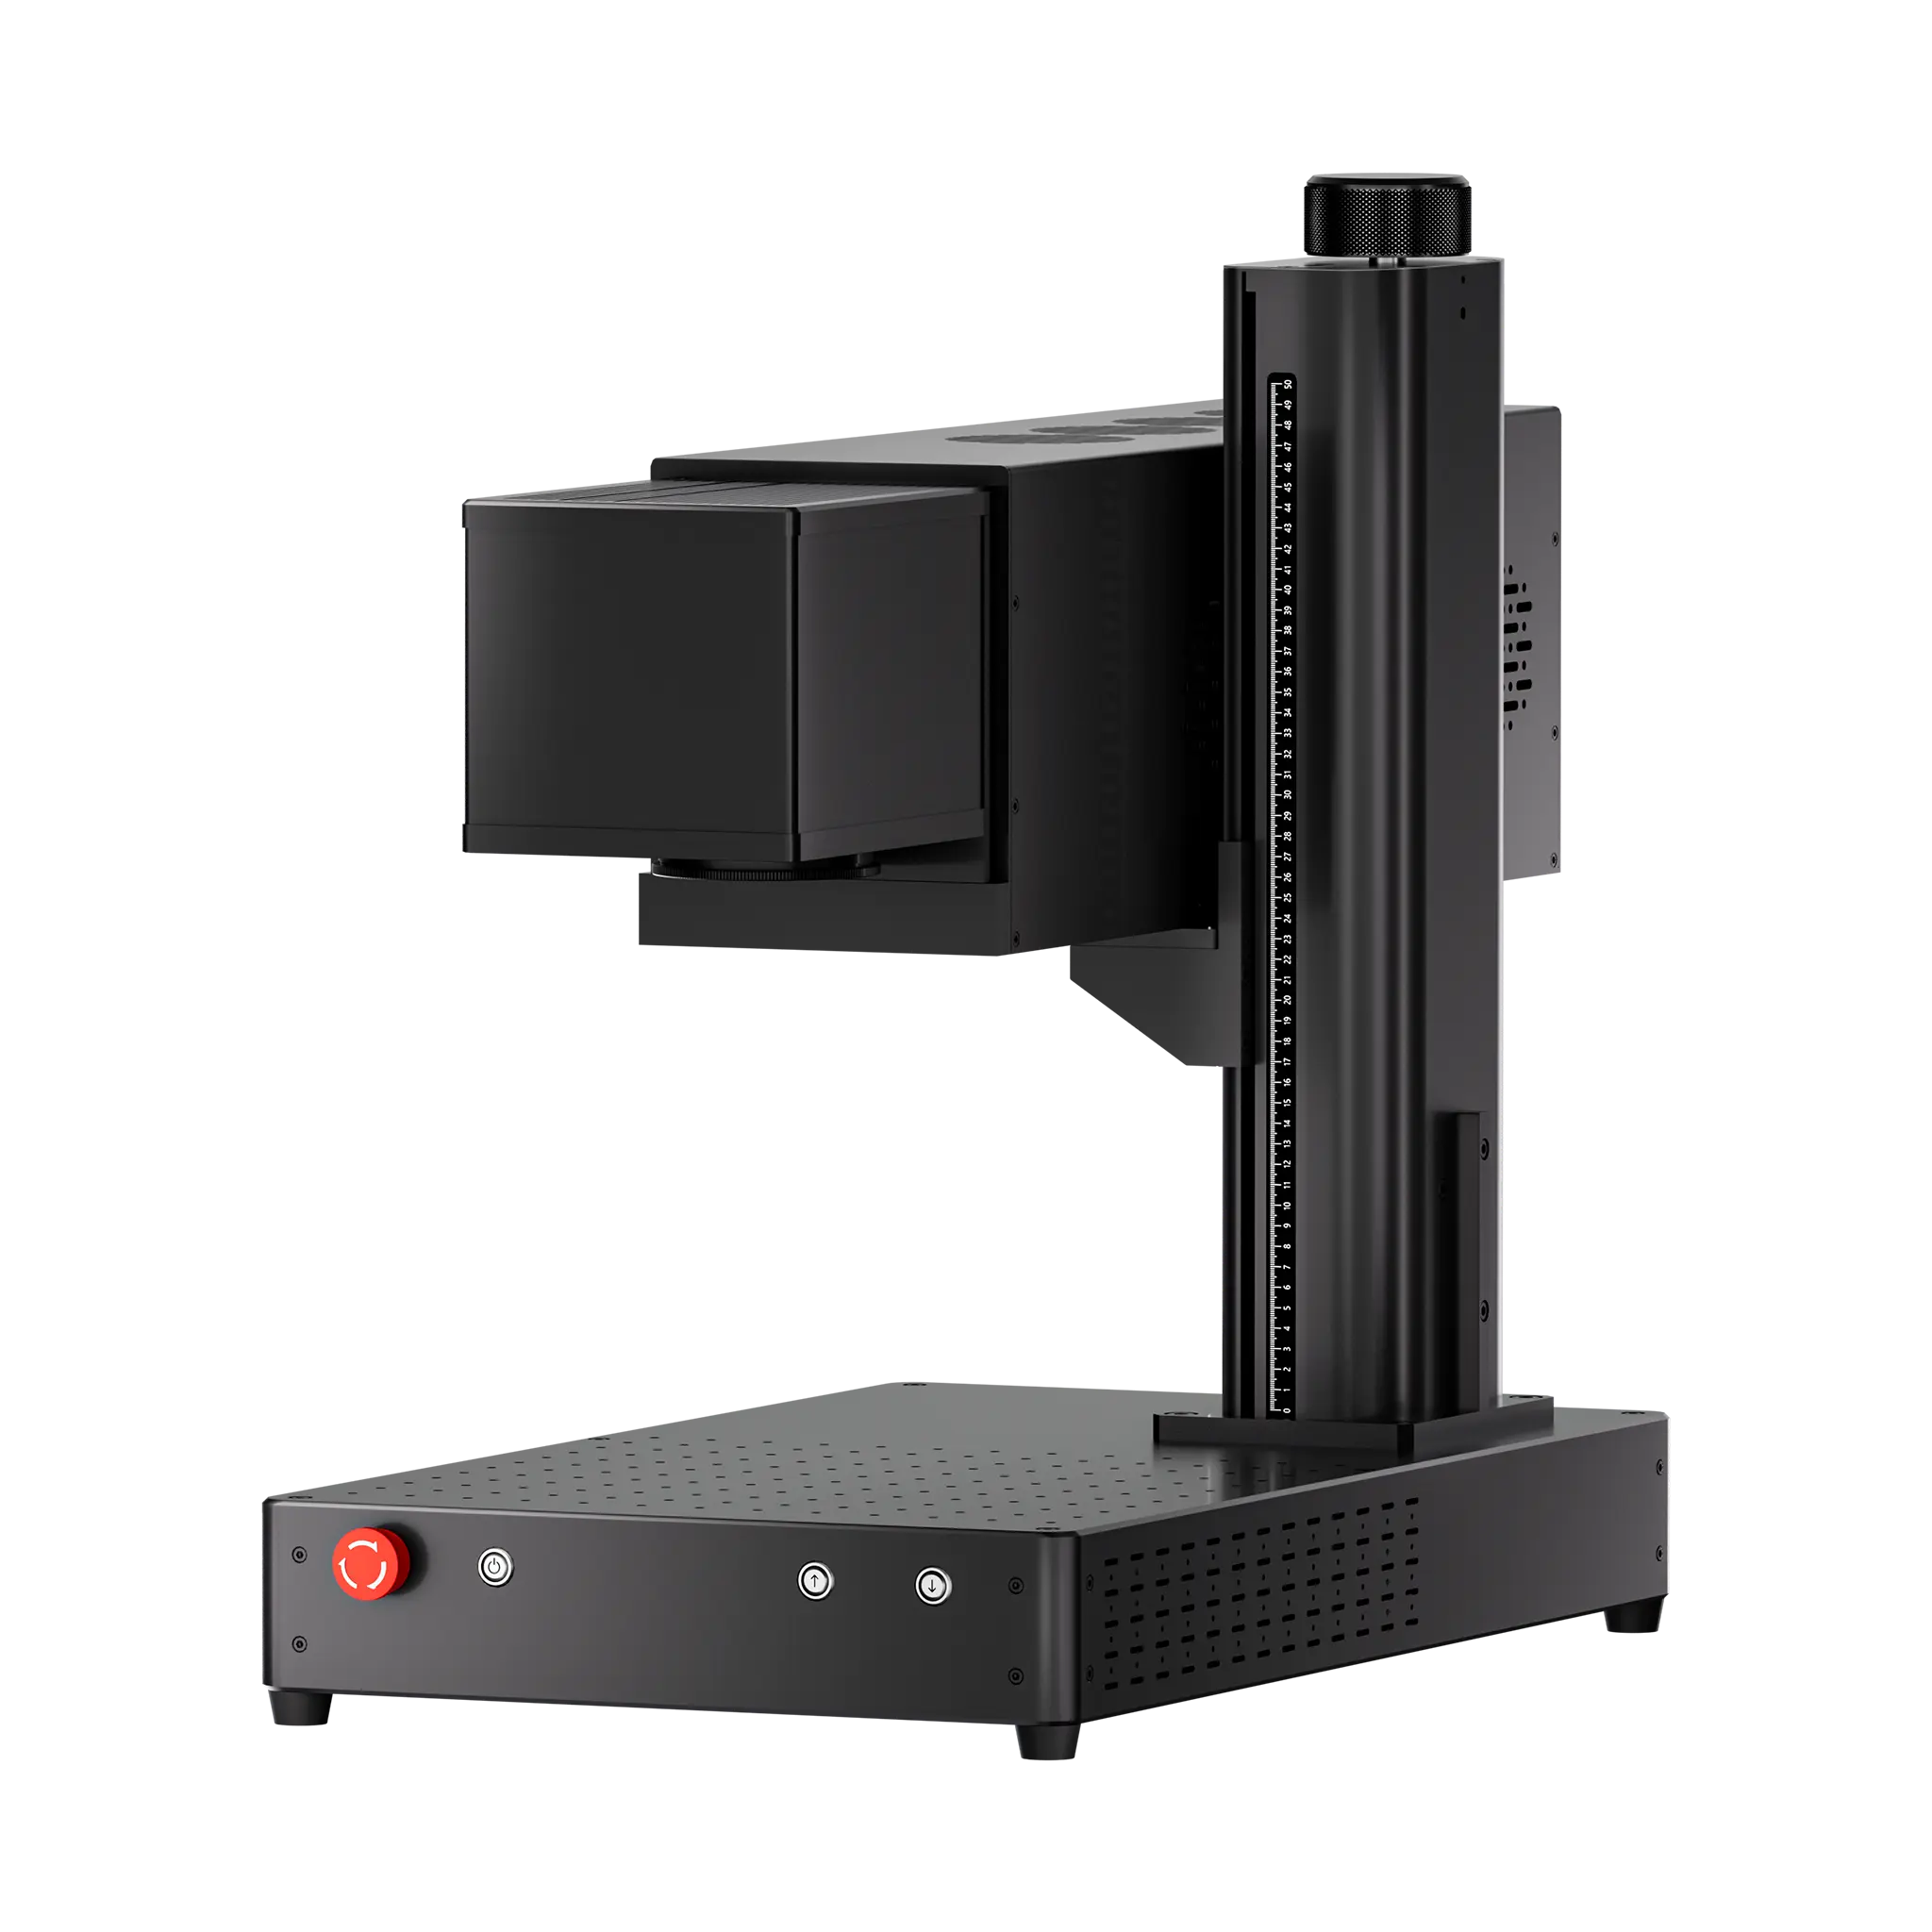
For professional creators and businesses producing premium wood artwork, the ComMarker Omni X UV Laser Engraver delivers exceptional detail, cold processing, and precise surface engraving capabilities for intricate 3D relief designs and fine wood textures.
Key Factors for Adjusting Wood Laser Engraving Depth
A successful deep engraving depends on balancing:
|
Factor |
Effect on Engraving |
|
Laser power |
Determines material removal ability Higher power:removes more material per pass |
|
Engraving speed |
Lower speed: deeper engraving; darker marks; longer processing time |
|
Line interval |
Smaller line interval: higher resolution; smoother surface; longer engraving time |
|
Number of passes |
Determines final depth. Multiple passes are usually better than one extremely powerful pass for cleaner details and less burning |
|
Wood density |
Affects consistency and finished texture |
Understanding Wood Types and How They Affect Engraving Depth
Different types of wood have unique textures, grain densities, and compositions, which directly impact engraving depth and appearance. Let’s go over a few common wood types and how they interact with UV laser engraving.
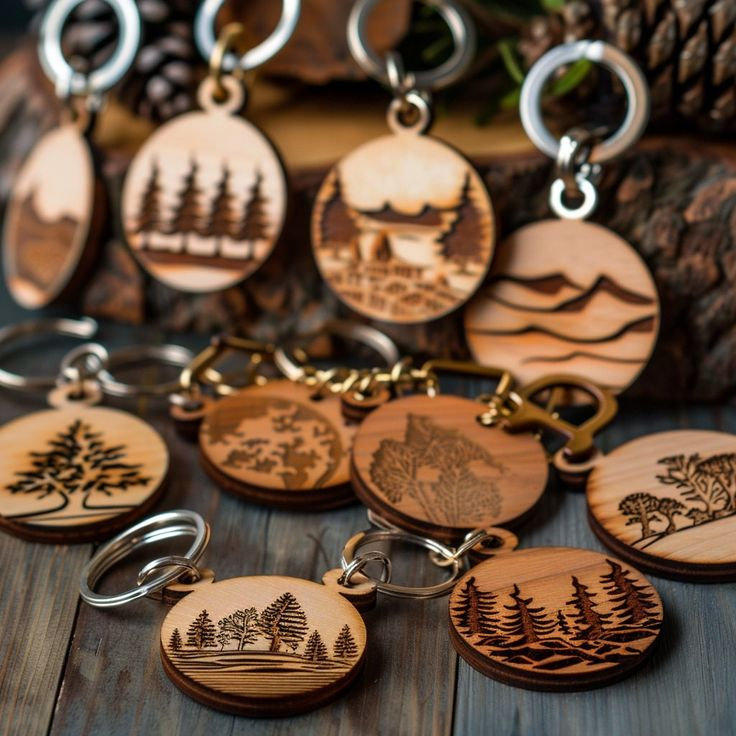
Hardwoods (e.g., Oak, Maple, Walnut): Usually provides more consistent density, tighter grain, and better edge retention, resulting in sharper details, smoother gradients, and cleaner depth transitions. It is ideal for detailed work such as portraits and fine textures.
Requiring higher power settings, slower engraving speeds and more passes to achieve significant depth.
Softwoods (e.g., Pine, Cedar): Has varying densities between earlywood and growth rings, causing uneven material removal and more visible natural patterns. It works better for rustic designs that highlight wood texture.
Require less power and may engrave deeply more easily.
Exotic Woods (e.g., Teak, Ebony): These can have varying densities and natural oils that react differently to UV laser light. High-density exotic woods like ebony may need slow speeds and high power to achieve depth without charring.
|
Wood Type |
Performance |
Why It Works |
|
Hard Maple |
★★★★★ |
Dense grain and sharp details |
|
Yellow Heart |
★★★★★ |
Bright color and good depth retention |
|
Walnut |
★★★★ |
Beautiful color and premium appearance |
|
Ipe (Brazilian Walnut) |
★★★★ |
Extremely dense structure |
|
Plywood |
★★★★ |
While offering uniform internal structure, the glue differences may affect result and uneven colors after deep engraving may appear/ |
|
Pine |
★★★ |
visible growth rings bring uneven engraving depth |
Traditional Method: Deep 3D Wood Engraving with LightBurn Step-by-Step Guide
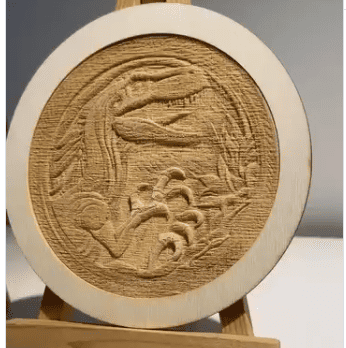
(lightburn wood relief laser engraving)
Step 1: Prepare a Depth Map
A depth map converts image brightness into engraving depth.
The laser interprets:
• White areas as higher surfaces
• Gray areas as middle depth
• Black areas as deeper sections
Before engraving, image adjustments can significantly improve results.
|
Brightness Brightness controls overall engraving depth. Lower brightness can create deeper engraving. Higher brightness produces a lighter and shallower result. |
Contrast Contrast controls the difference between high and low areas. Increasing contrast can create stronger shadows and a more dramatic 3D appearance. |
|
Gamma Gamma adjustment improves midtone details. Useful for: • faces • fur • feathers • small textures It helps reveal details that may disappear in the middle gray areas. |
Sharpening Light sharpening improves: • edges • fine lines • surface details Avoid excessive sharpening because it can create unnatural artifacts. |
Practical advice: If a picture has rich details but they are not clear enough, you can adjust with: Slightly reduce the brightness + Increase the Gamma value + Slightly raise the contrast.This helps improve mid-tone details while maintaining overall depth.
Step 2: Use Multiple Passes for Better Relief Depth
A common deep engraving workflow uses different passes for different purpose.
|
Engraving Layer |
Purpose |
How to Create This Layer |
Recommended Settings (30W Diode Laser) |
|
Pass 1: Main Relief Engraving Layer |
Creates the primary depth and overall 3D shape by removing material according to grayscale values. |
Import your grayscale depth map into LightBurn and set it as the main image engraving layer. Select Grayscale Mode so the laser adjusts output according to image brightness. |
Speed: 5000 mm/min Max Power: 100% Min Power: 10% Line Interval: 0.05 mm Scanning: Bi-directional Mode: Grayscale Image Mode |
|
Pass 2: Cleaning and Smoothing Layer |
Removes leftover carbon, uneven edges, and rough areas from the first engraving pass, creating a cleaner relief surface. |
Duplicate the original grayscale image and place it on a second layer. Keep the same alignment but use a faster speed, smaller line interval and lower power to perform a cleanup engraving. |
Speed: 20,000 mm/min Max Power: 60% Min Power: 10% Line Interval: 0.04 mm Mode: Grayscale Image Mode |
|
Pass 3: Detail Enhancement Layer |
Sharpens important contours and improves the visual definition of fine features such as facial details, fur, feathers, and textures. |
Duplicate the grayscale image again. Use Trace Image → Sketch Trace in LightBurn to convert image edges into vector paths. Remove unnecessary outer borders, keep useful internal details, and align this layer with the original engraving. |
Speed: 6000 mm/min Power: 60% Mode: Line Mode |
The exact settings depend on laser power, wood species, and desired depth.
Modern Solution: ComMarker Omni X for 3D Wood Relief Engraving
Traditional grayscale engraving can produce impressive results, but it relies heavily on image preparation and parameter testing.
The deeper the engraving becomes, the more challenging it can be to maintain:
• Accurate depth transitions
• Consistent focus
• Fine surface details
The ComMarker Omni X introduces a different workflow through 3D Relief Engraving.
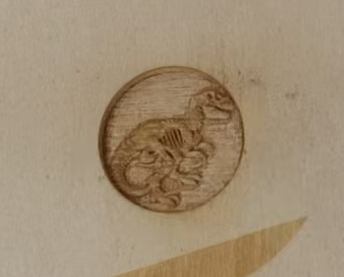
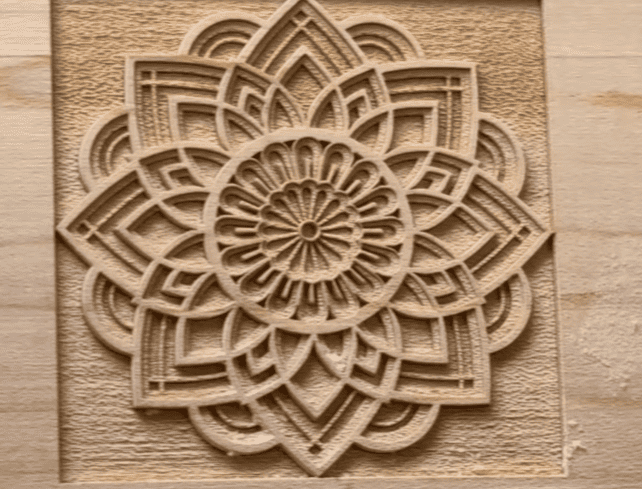
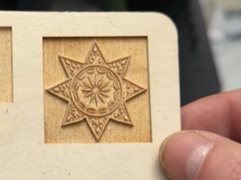
(ComMarker Omni X wood relief engrave result- 15*15 mm size)
How Omni X 3D Relief Engraving Works
Step 1: Prepare a 3D Model
You can start with:
• Existing STL files
• Generated 3D relief models from greyscale image or AI tools
Step 2: Import the STL File
In the 3D Relief module, import the STL file and set the engraving area.
The frame, position, and size can be adjusted before processing.
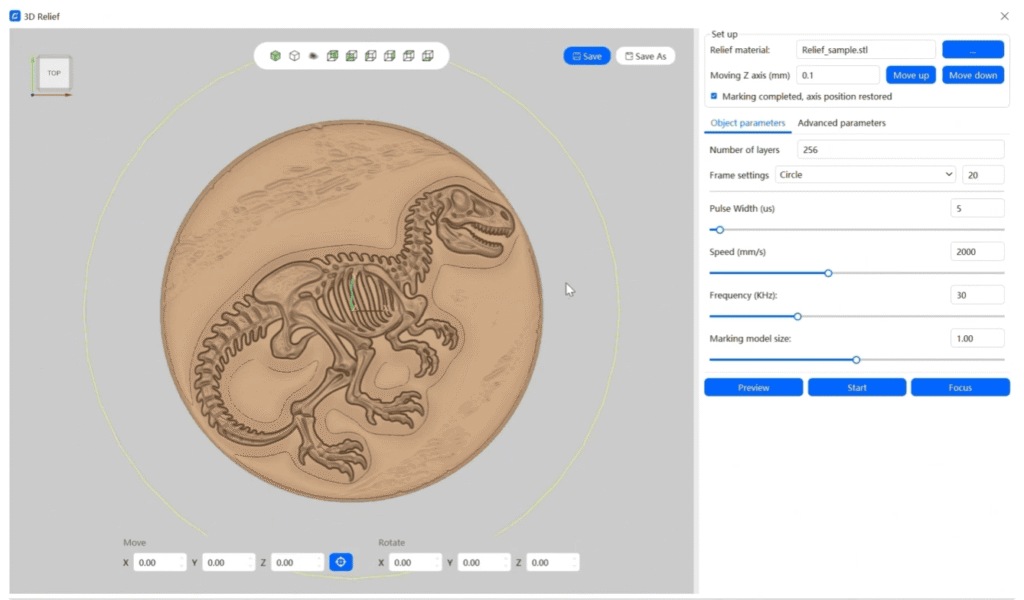
Step 3: Adjust Layer and Engraving Settings
|
Layer Number |
Result |
|
Lower layer count |
Shallow relief, faster engraving |
|
Medium layer count (Usually around 40) |
Balanced depth and details |
|
Higher layer count |
Deeper 3D effect, longer processing time |
More layers do not always mean better results. If too much material is removed per layer, the relief can become vertically stretched and look unnatural.
Test different laser parameters to understand how much material is removed per layer, then adjust the layer count accordingly to preserve natural height transitions while achieving the desired 3D relief effect.
|
Material |
Number of Layers |
Speed(mm/s) |
Freq (KHz) |
Pulse-Width |
Filling density |
|
Wood (3D Engraving) |
30 |
500 |
40 |
1 |
0.03 |
Step 4: Autofocus and Preview
After setting the material parameters:
1.Place the material and press autofocus
2.Preview the engraving area and confirm the position
3.Start engraving
Why Choose ComMarker Omni X for Deep Laser Engraving Wood?
Unlike fixed grayscale engraving, using grayscale images to simulate depth, the ComMarker Omni X allows users to fine-tune the relationship between relief layers and engraving depth
This gives creators more control over the final appearance. A shallow relief can preserve delicate textures for decorative panels, while deeper layer settings can create stronger embossed effects for premium wooden artwork.
Omni X 3D Relief Engraving vs. Traditional Grayscale Engraving
|
Traditional Grayscale Engraving |
ComMarker Omni X 3D Relief Engraving |
|
Depth is simulated through image brightness and laser intensity |
Depth is controlled through 3D relief data and layer settings |
|
Requires more adjustment of image processing and engraving parameters |
Allows direct control of relief depth through layer settings |
|
Flat image-based workflow |
3D model-based engraving workflow |
|
Deep engraving may require balancing detail and darkness |
Layer control helps maintain depth while preserving details |
|
|
|
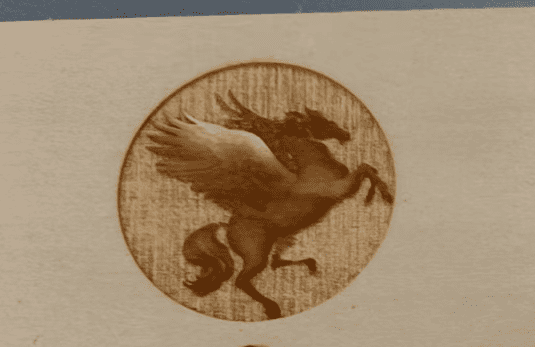
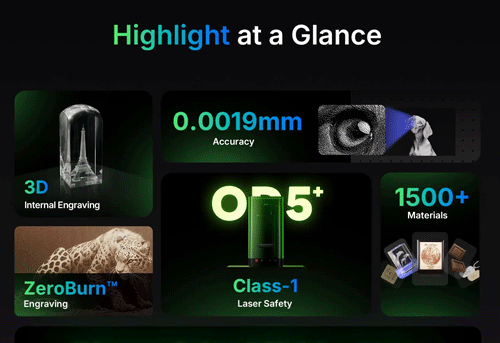
With its 0.0019 mm laser spot, Omni X delivers the precision needed for detailed 3D relief engraving. The high-resolution laser performance helps capture fine textures, from facial details and fur to feathers, decorative patterns, and premium packaging designs.
Combined with fully adjustable laser setting, Omni X gives creators precise control over both depth and detail, making it possible to achieve consistent, professional-quality 3D artwork.
Deep Laser Engraving Wood Business Ideas
Deep wood engraving can create premium products. Popular applications include:
Personalized Wood Artwork
Deep relief engraving transforms photos and memories into premium keepsakes with a handcrafted appearance.
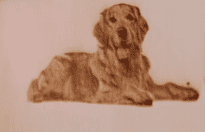
Popular example: 3D family portraits, Pet portraits, Memorial plaques
Home Decoration
3D wood engraving creates dimensional wall art that adds texture and natural warmth to interiors.
Popular example: Wooden maps, Wall signs, Wildlife artwork
Business & Premium Products
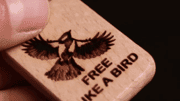
Deep engraving adds a carved, high-value appearance to branded products and corporate gifts.
Business Products: Custom awards; Brand logos; Corporate gifts
Final Thoughts
With the right combination of wood selection, image preparation, laser parameters, and finishing techniques, a laser engraver can create detailed 3D relief artwork with impressive depth, texture, and visual impact.
Traditional grayscale engraving remains a powerful method for creating wooden artwork from images, while modern 3D relief engraving technology offers a more efficient way to control shape, depth, and surface details through 3D models and layer settings.
If you are looking for a laser engraver that can help you create high-detail wood deep engraving artwork, explore the ComMarker Omni X UV Laser Engraver. With advanced 3D relief engraving capabilities and Zeroburn technology, Omni X helps creators turn designs into professional-quality wooden artwork, custom gifts, and premium products.
FAQ: Common Deep Wood Engraving Problems
How Deep Can a Laser Engrave Wood?
The engraving depth depends on laser power, wood density, speed, and the number of passes.
|
Laser Type |
Typical Wood Engraving Depth |
|
20W–40W Diode Laser |
Around 1–5 mm with multiple passes |
|
5W UV Laser |
Around 1–5 mm for detailed relief engraving |
|
CO₂ Laser |
Up to 10–20 mm with multiple passes |
How do I test wood before deep engraving?
Create small test samples and adjust speed, power, and line interval to find the combination for maximum depth and minimum burn mark.
How can I improve the appearance of deep wood engraving?
After engraving, remove dust and ash with compressed air or a soft brush. Light sanding can reduce dust and reveal more natural wood contrast but avoid over-sanding as it may remove details. Applying a clear coat can further enhance the grain, protect the surface, and make the engraving appear deeper.
Why is my wood engraving depth uneven?
Uneven depth is usually caused by inconsistent wood density, inadequate surface, or laser style (gantry or galvo). Try different wood types and adjust speed, power, and engraving depth to achieve more consistent results.
Adjust the laser focus if going for extreme depth. A slight adjustment between passes ensures consistent depth, as wood density can vary with each layer.
Why does my engraving look too burnt?
Over burning usually happens when the laser power is too high, the speed is too slow, or ventilation is insufficient. Increasing speed, reducing power, and using proper air assist can help achieve cleaner results.
For deeper engravings, clean the wood surface between passes, using compressed air to remove residue and cool the surface.
Why are my details disappearing?
Fine details can be lost when the image preparation is poor, the engraving depth is too aggressive, or the line spacing is too large. Use higher-quality files, optimize image resolution, and reduce engraving depth when detail preservation is more important than maximum depth.
Can a fiber laser deep engrave wood?
Generally, no. Some treated wood surfaces can be marked with a fiber laser, but as multiple passes are applied, heat accumulation can cause charring and unusable finish.
Is a CNC router better for deep wood carving?
CNC routers can create deep, detailed carvings, but they are often slower, noisier, and produce a large amount of sawdust. Laser engraving offers a cleaner, more flexible workflow for detailed relief artwork without physical cutting tools.