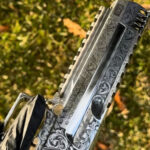
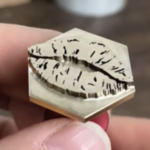
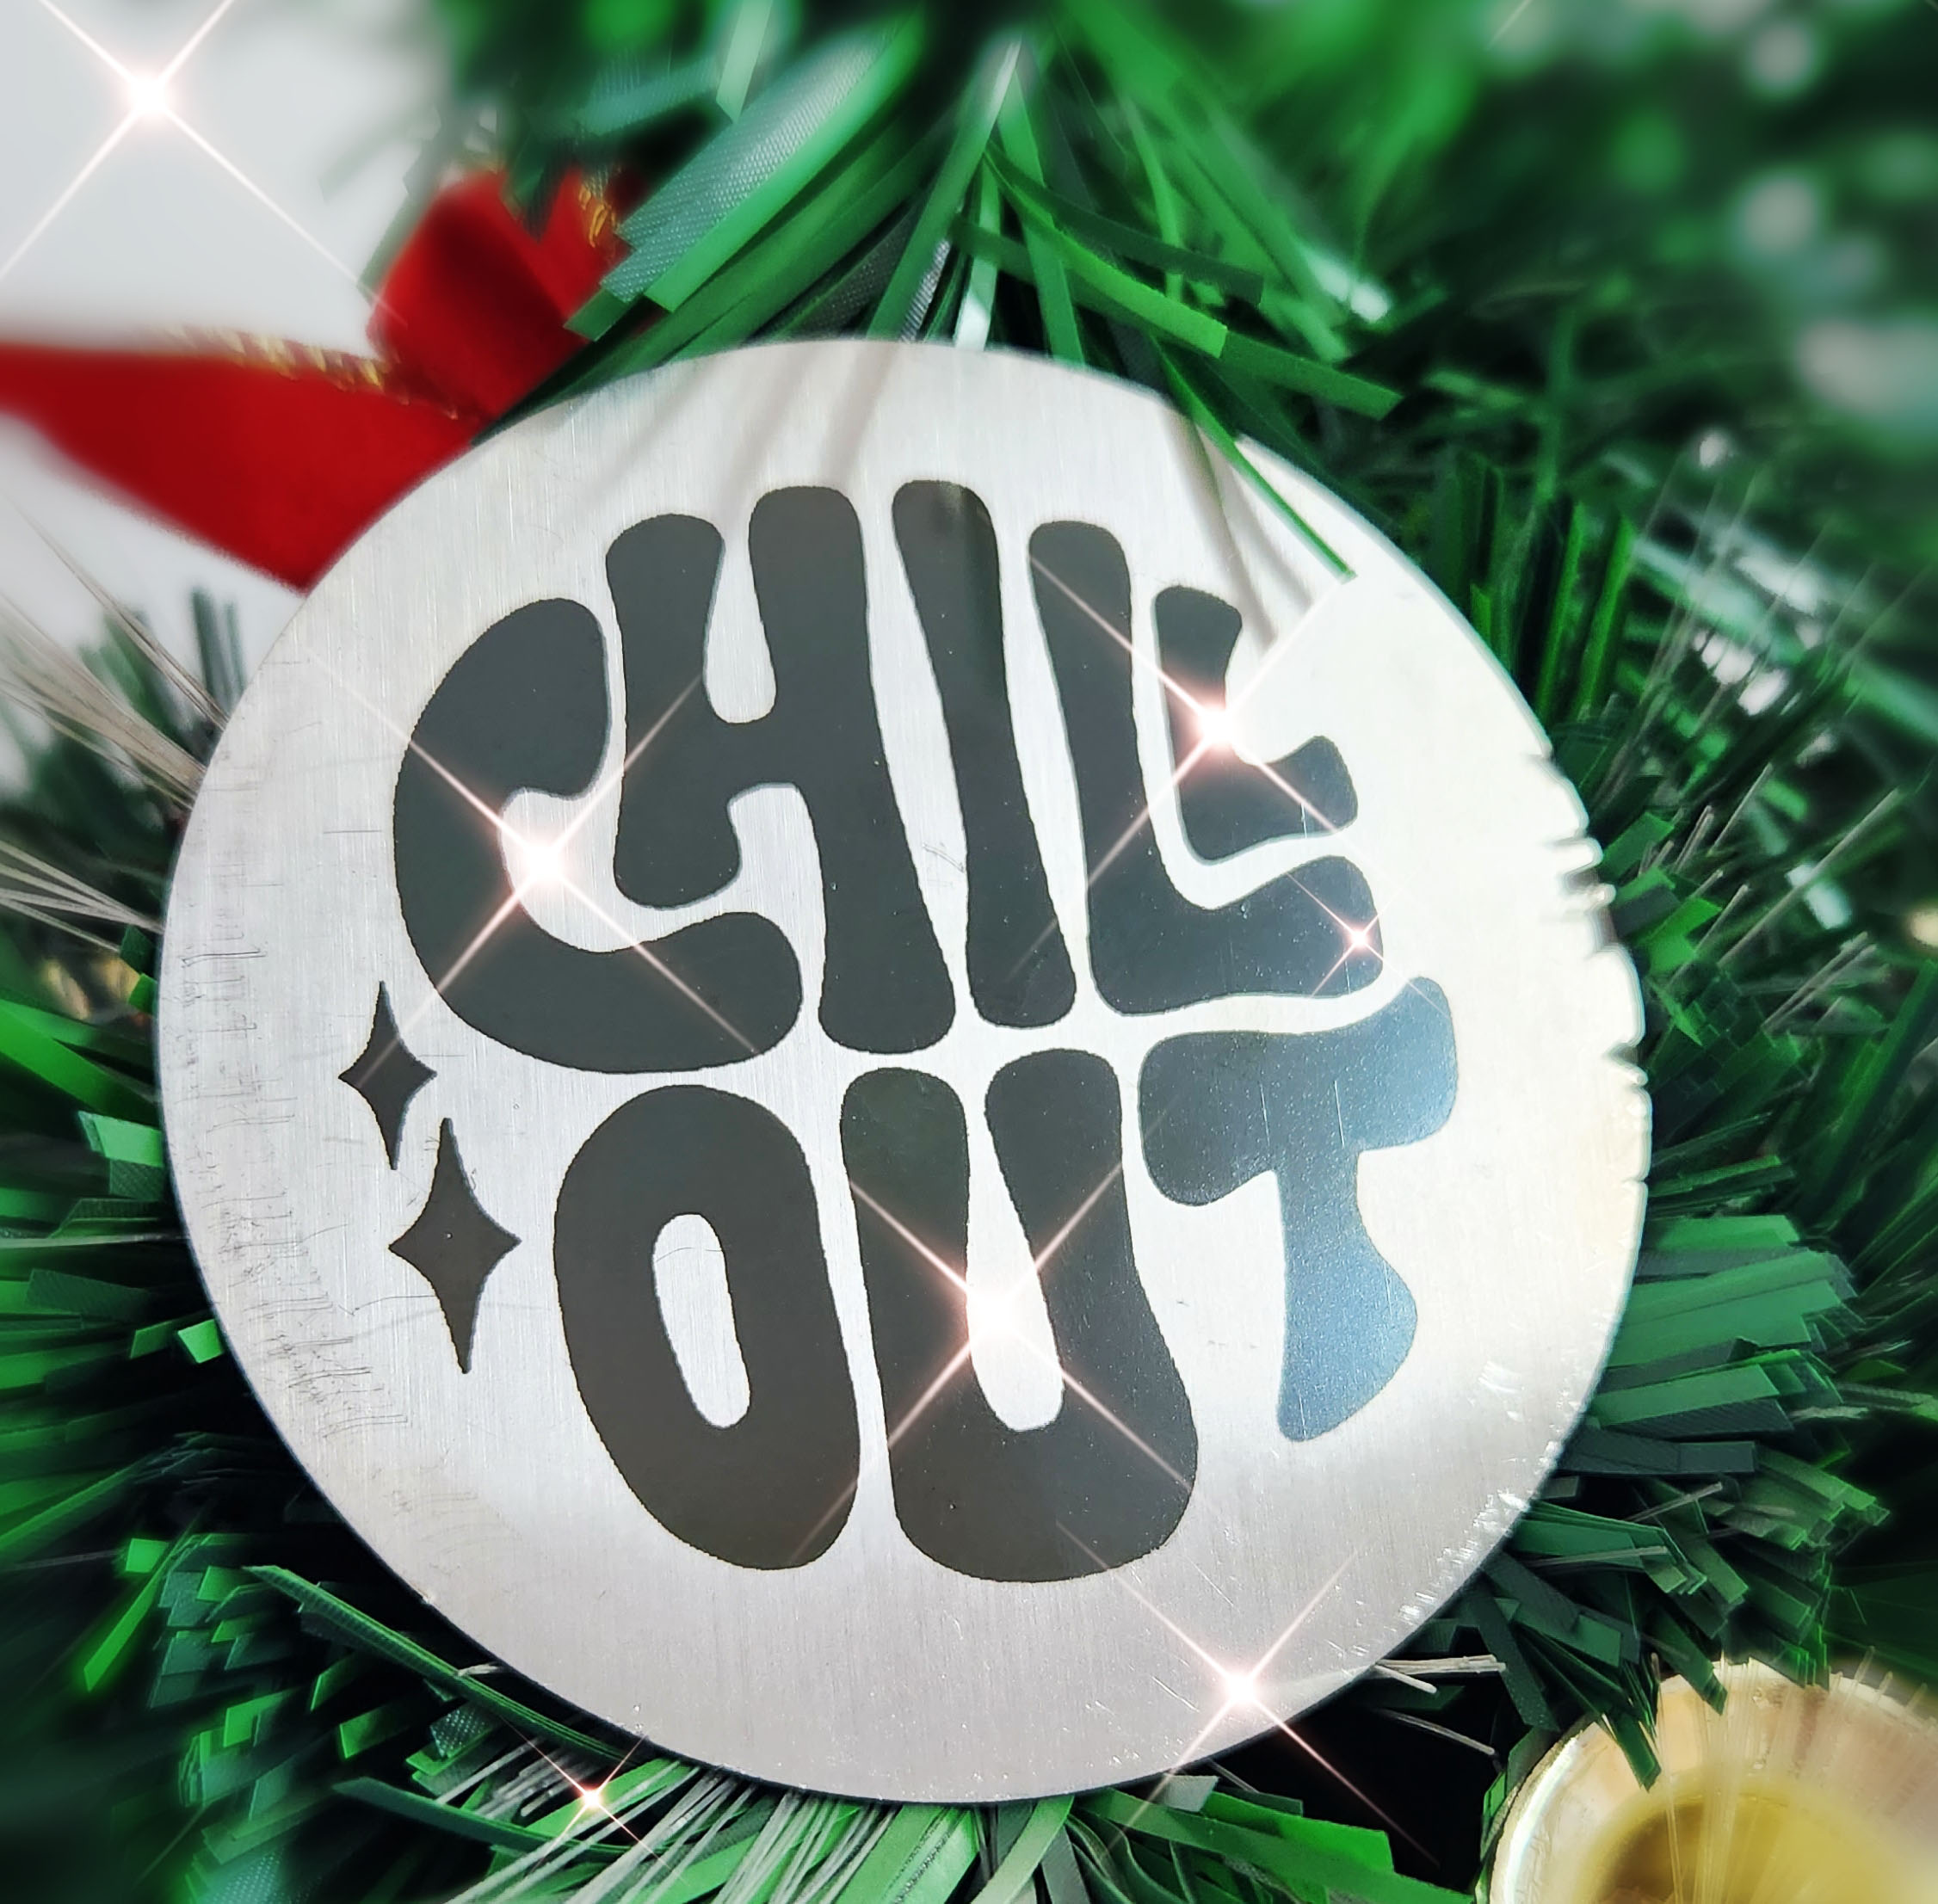
With the ability to capture micro-level detail, produce clean, non-contact cuts, and maintain consistent quality across batches, laser engraving silver delivers refined, personalized jewelry at speed. Whether for custom gifts or retail collections, a ComMarker B6 MOPA fiber laser engraver for jewellery turns every silver blank into a professional, repeatable, and high-value creation.
Why silver is hard to laser engrave?
Silver is one of the most challenging metals to engrave with a laser because of how it interacts with both light and heat.
Most of the energy from a 1064 nm laser is reflected directly off silver’s mirror-like surface, resulting in extremely low absorption. Without sufficient energy absorption, heat cannot build up on the surface, which leads to weak or inconsistent engraving results.
At the same time, silver’s exceptional thermal conductivity rapidly dissipates any heat that does form, further reducing engraving efficiency.
Moreover, reflected light can easily damage laser equipment.
Therefore, through MOPA laser breaking surface with pulse, repeated scanning, and surface pre-treatment, better engraving results on silver be achieved.
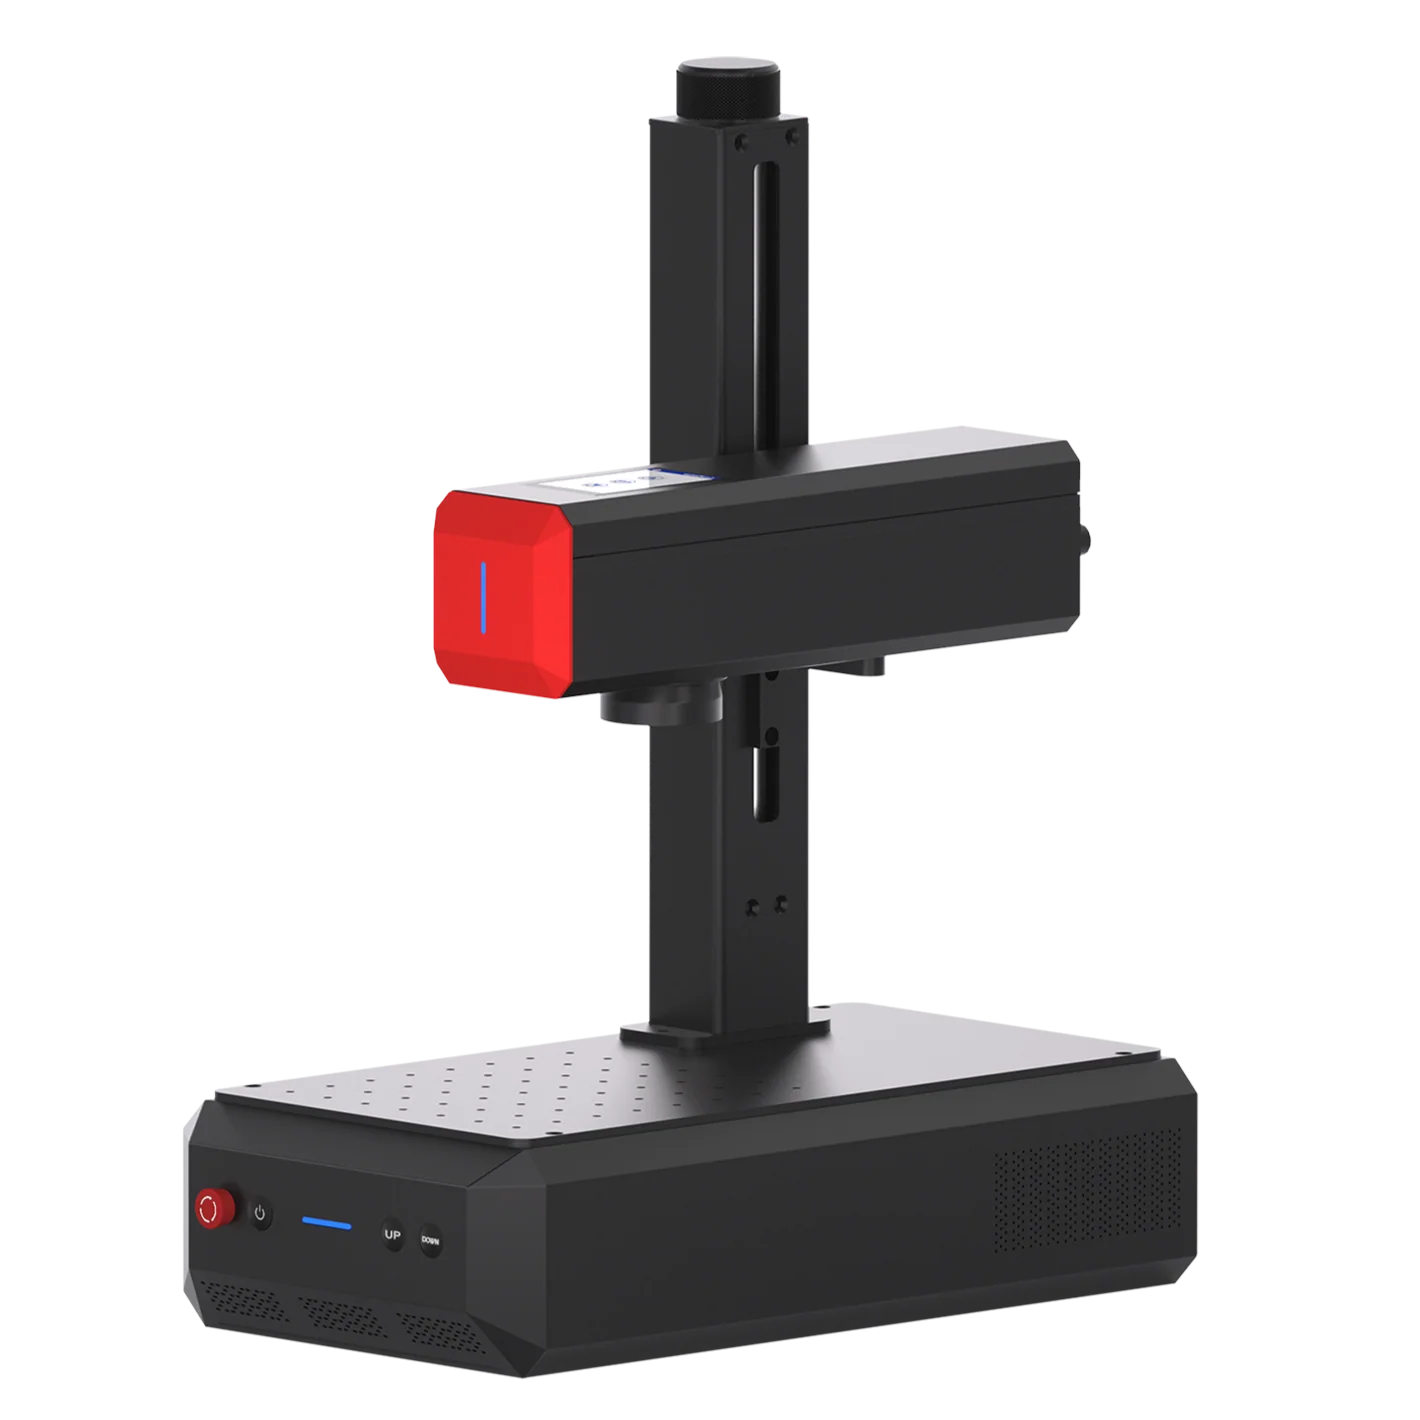
What Makes the ComMarker B6 MOPA fiber laser Ideal for Silver Jewelry Makers
The ComMarker B6 MOPA is a portable, professional-grade laser engraver built for creators working with metals like silver, brass, and stainless steel.
| Feature | Benefit |
|---|---|
| 60W MOPA Fiber Laser | Handles both detailed engraving & enought power for effective cutting |
| Compact Size of 13.5 KG | Great for desktops, jewelry shop, craft rooms, and mobile setups |
| Touch Screen Auto focus | Convenient Setup for beginners and complex jewelry shape |
| Fast Scan Speeds | 15000 mm/s Shortens project times without sacrificing quality |

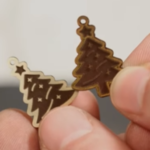
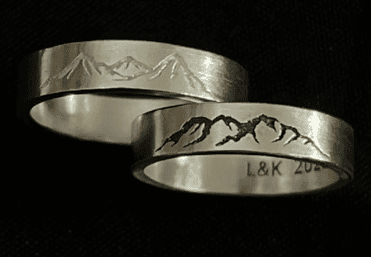
Step-by-Step Workflow for Crafting Pendants with a Laser Engraver
1️⃣ Designing Your Pendant
- Use software like LightBurn or EZCad
- Create vector outlines for shape + engraving layers
- Incorporate text, dates, floral elements, or symbols
2️⃣ Securing the Material
- Fix silver blanks using soft clamps or double-sided tape
- Use guide frames or jigs for consistent alignment
3️⃣ Laser Settings for Cutting & Engraving Silver ( 60W B6 MOPA Fiber Laser)
Silver Laser Cut Settings:
- Power: 50%
- Speed: 100 mm/s
- Frequency: 37 kHz
- Q-Pulse: 200 ns
- Passes: depending on thickness
Engraving Settings Option 1:
- Power: 60%
- Speed: 200 mm/s
- Frequency: 45 kHz
- Q-Pulse: 15 ns
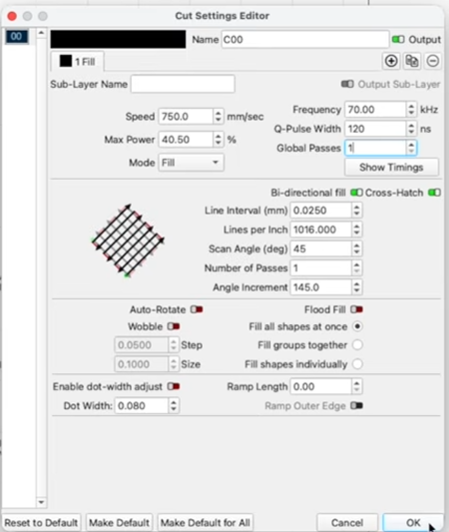
Engraving Settings Option 2:
- Power: 40.5%
- Speed: 750 mm/s
- Frequency: 70 kHz
- Q-Pulse: 120 ns
Test settings on scrap silver before running your final design.

Cleaning and Polishing After Silver Laser engraving
After laser work, the pendant may have residue or slight tarnishing. Here’s how to finish like a pro:
Steps:
- Place in a mild ultrasonic cleaner with jewelry-safe solution
- Rinse thoroughly with distilled water
- Dry with a lint-free cloth, then buff with silver polish for shine
Safety:
Metal dust and residue from silver cutting are conductive. Always clean work surfaces thoroughly and wear protective gear during long runs.

Pro Tips for Jewelry Makers Using a Laser Engraver
Use Magnets or Custom Jigs to prevent movement and curving during engraving
Roughening, coating, or preheating before engraving to improve absorption.
Batch Layouts in LightBurn streamline production
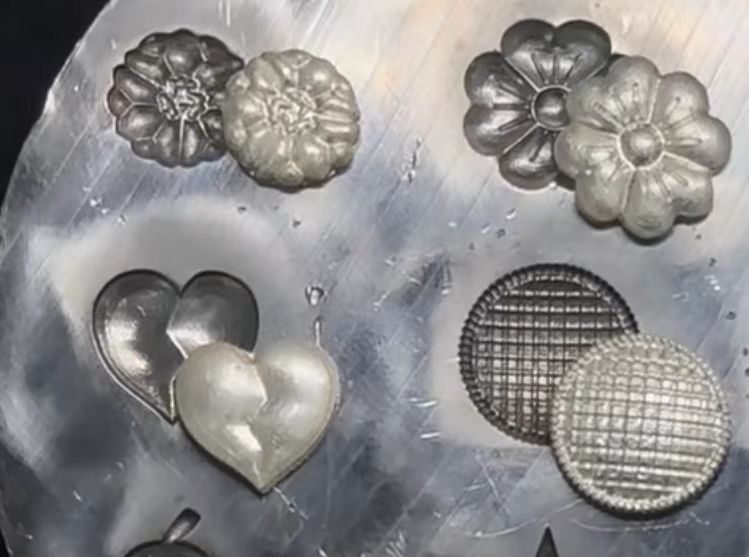
Fiber laser can also make Impression Dies for silver by deep 3D laser engraving, check detailed guide at: How to Make Custom Stamps with Fiber Laser Engraver
FAQs About Using a Laser Engraver for Silver Jewelry
Q1: Is the ComMarker B6 powerful enough to cut silver?
Yes, especially with multiple passes and proper focus.
Q2: What makes MOPA better for jewelry?
MOPA lasers offer greater control over pulse width, making them ideal for fine detail and contrast on metals.
Q3: Can I use it on other jewelry metals?
Absolutely. The B6 also works great on stainless steel, gold-plated items, brass, and copper.
Q4: Will engraving affect the shine of polished silver?
Only where engraved. You can polish around it to restore luster.
Q5: How much silver is lost during engraving?
Research published through The University of Manchester has shown that optimized powder delivery and recovery systems in laser metal processing can significantly improve material utilization and reduce metal waste during production.

Start Designing Custom Pendants Today
Whether you’re a full-time jeweler or a weekend artisan, the ComMarker B6 laser engraver gives you the creative power to design professional, high-impact silver jewelry. Its precision, speed, and versatility make it a must-have tool for custom pendant production.
Take your jewelry game to the next level—one engraved pendant at a time