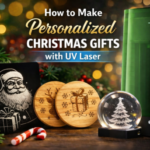
Christmas is the season of meaningful gifts.
Instead of mass-produced decorations, look for laser engraving ideas that produce an elegant, stunning holiday atmosphere.
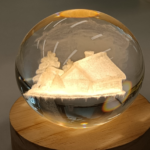
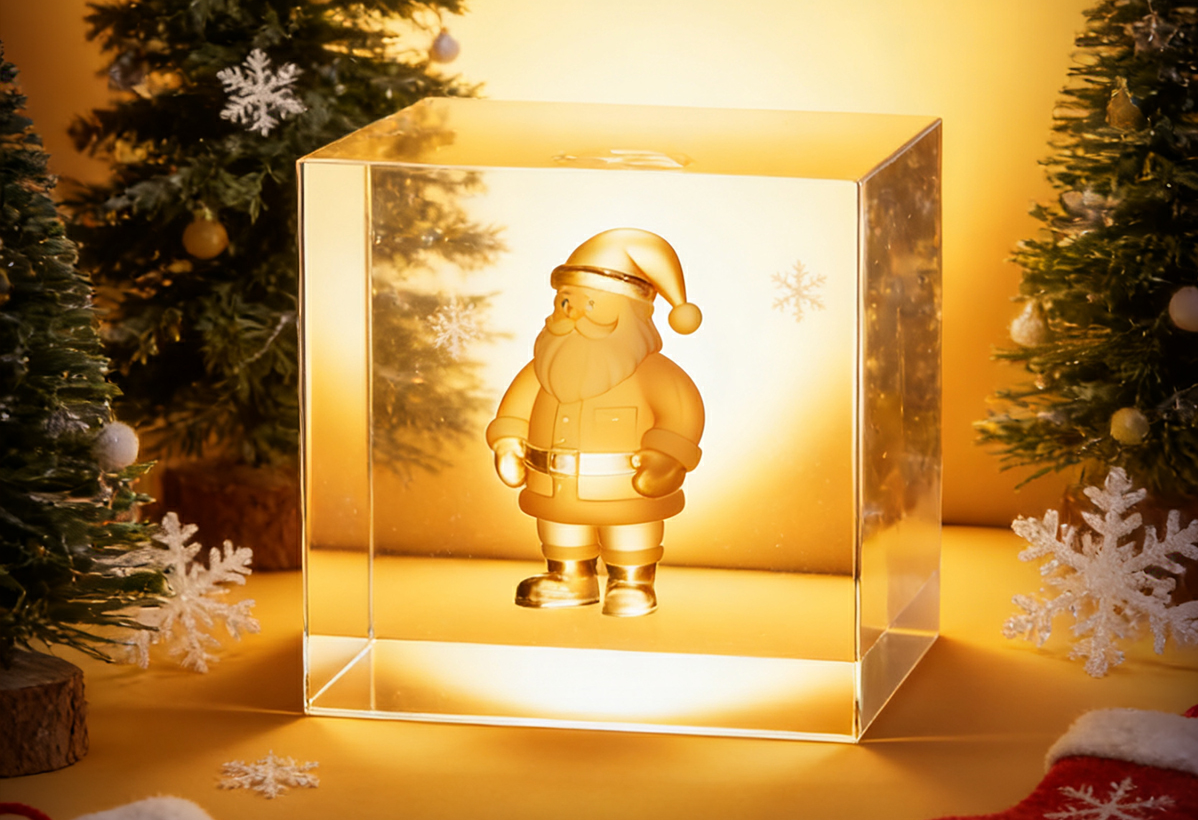
In this guide, we will share how to create a Santa Claus for Christmas glass engravingusing a UV laser engraver. The process is simple, repeatable, and ideal for seasonal gifts, decorations, or small-batch holiday projects.
What You Need for Christmas Glass Engraving
Before you start, make sure you have the following items ready:
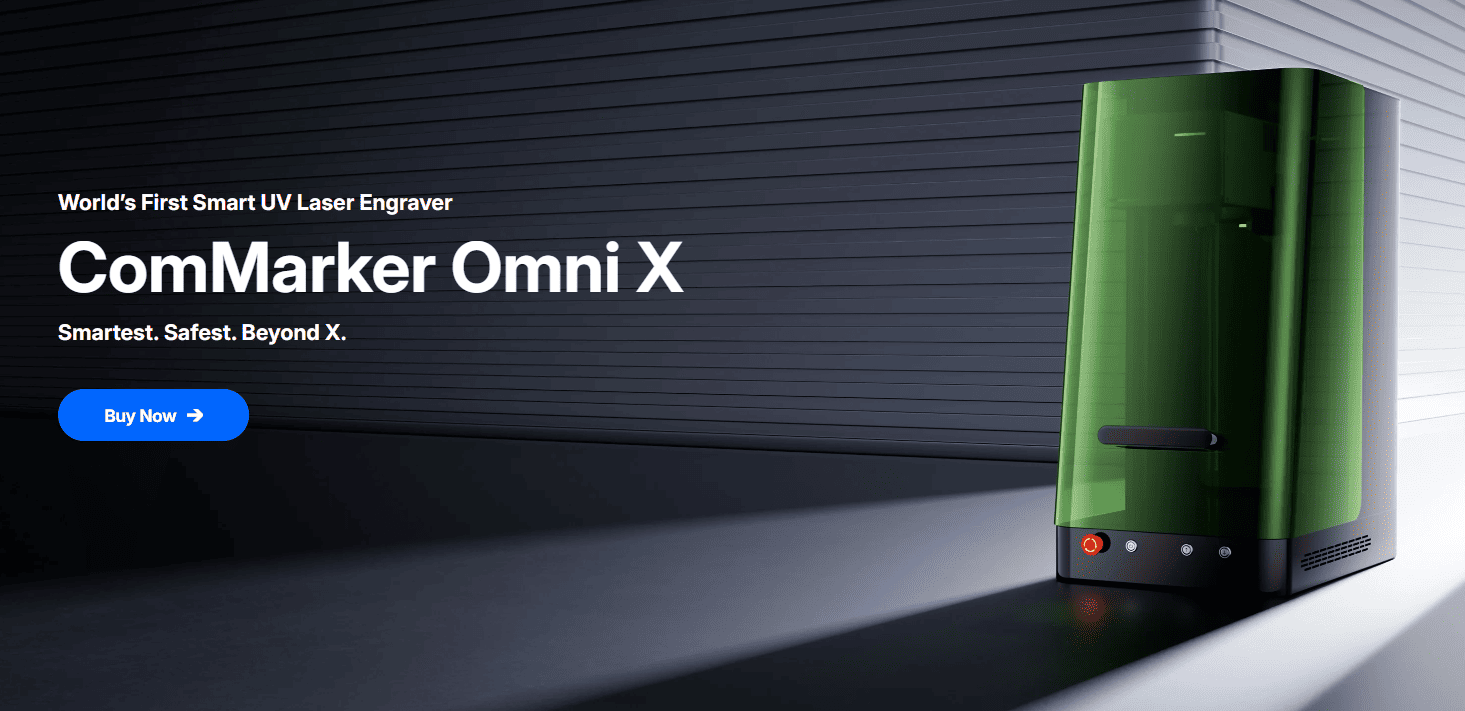
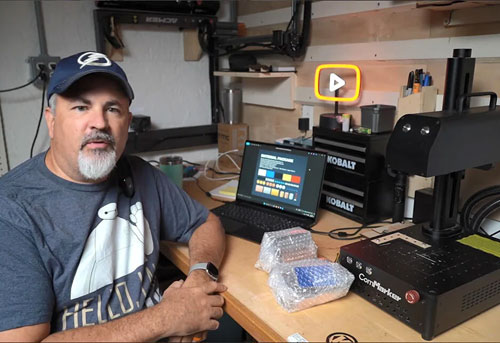
• ComMarker Omni X laser engraver
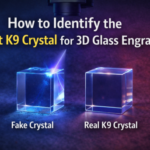
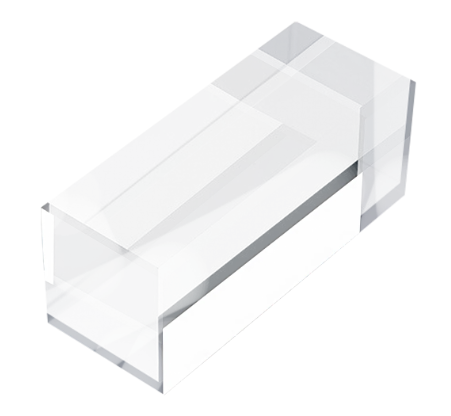
• K9 glass material
• ComMarker Studio software
• Santa Claus 3D engraving file
👉 Santa Claus 3D Model Download Link
https://drive.google.com/file/d/1fCWZT-ZFrAIxbgsvMsGgaeT7RDEaaPLl/view?usp=sharing
Having the right material and file is essential for achieving clean and detailed glass engraving results.
How to Do 3D Inner Engraving with a Laser Engraver
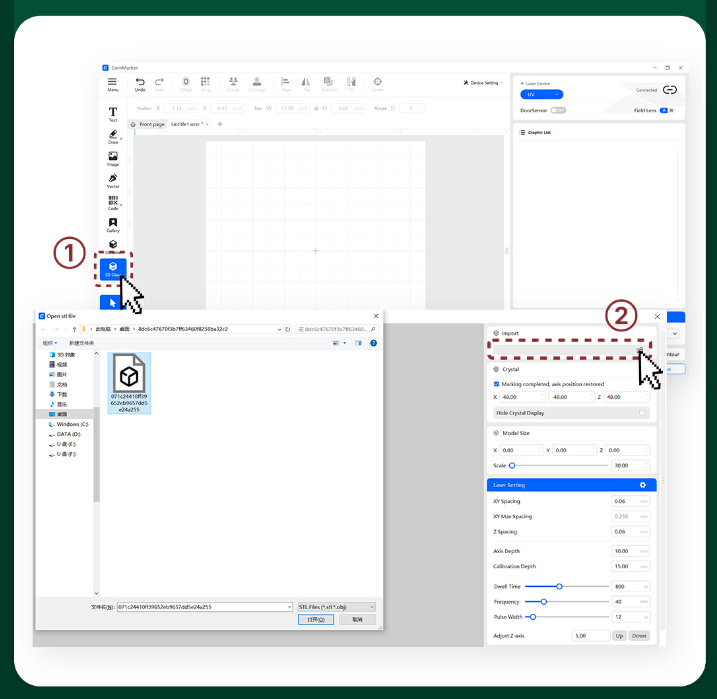
Step 1: Import the Santa Claus Engraving File
First, connect your laser engraver to your computer and launch the ComMarker Studio software.
-
Click “3D Glass” to enter the glass engraving interface.
-
Select “Import” and load the Santa Claus model you downloaded.
Once imported, the model should appear in the workspace, ready for adjustment.
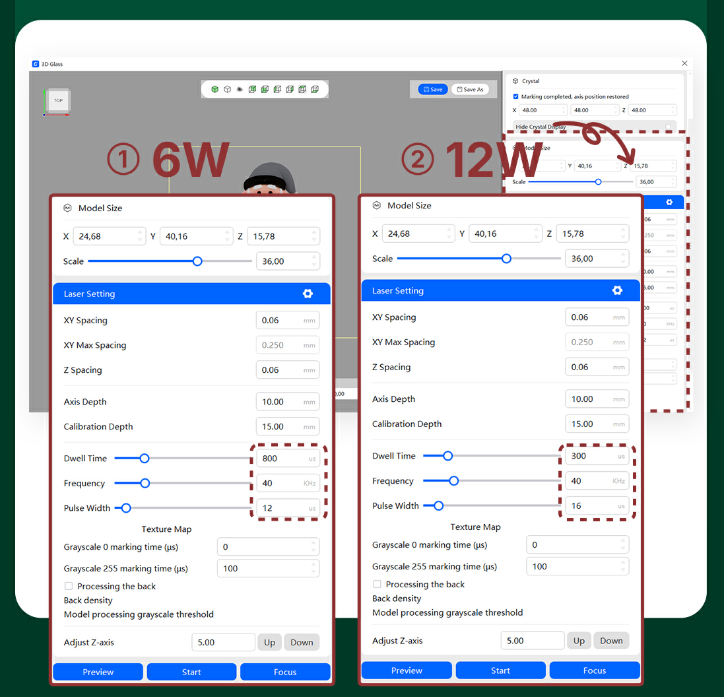
Step 2: Adjust the Size and Laser Settings
Next, you’ll need to set the correct parameters based on your laser power.
-
If you are using a 6W laser engraver, apply the parameters shown in Figure (1).
-
If you are using a 12W laser engraver, refer to Figure (2) for recommended settings.
Proper parameter selection ensures consistent dot depth and prevents cracks or uneven engraving inside the glass.
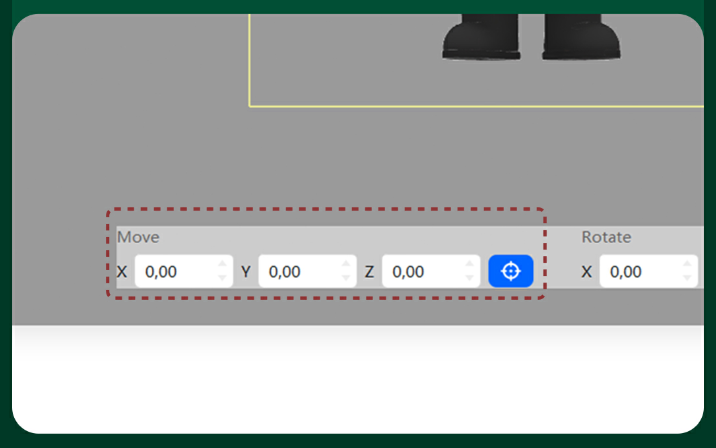
Step 3: Adjust the Model Position
After setting the parameters, carefully adjust the model’s position.
Make sure the Santa Claus design is centered inside the K9 crystal.
This step is important, especially for 3D glass engraving, as misalignment can affect the final visual balance.
Take a moment to rotate or move the model if needed.
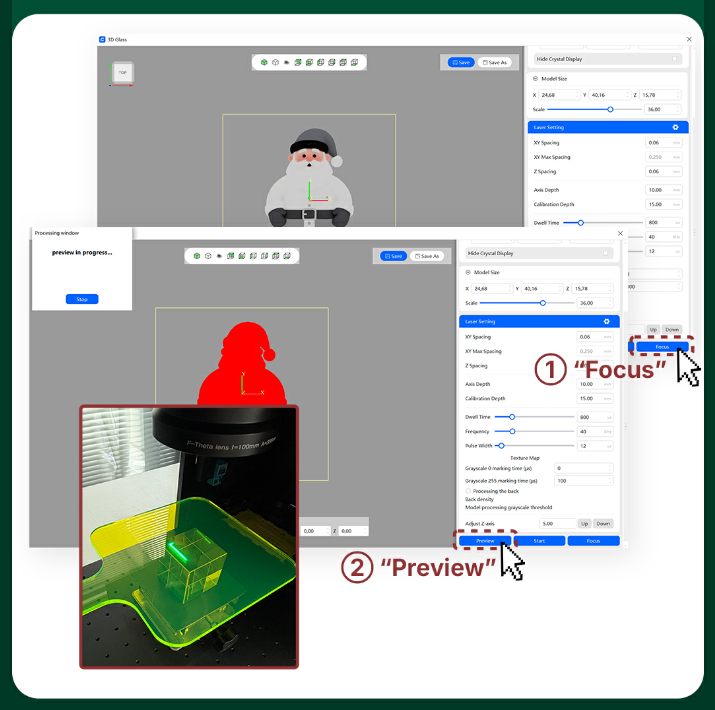
Step 4: Auto-Focus the Laser
Now it’s time to focus the laser.
-
Run the auto-focus function.
-
Tip: Set the focal point at the bottom of the crystal for best internal engraving results.
After focusing, click “Preview”.
Additionally, confirm that the preview frame is fully contained within the crystal boundaries.
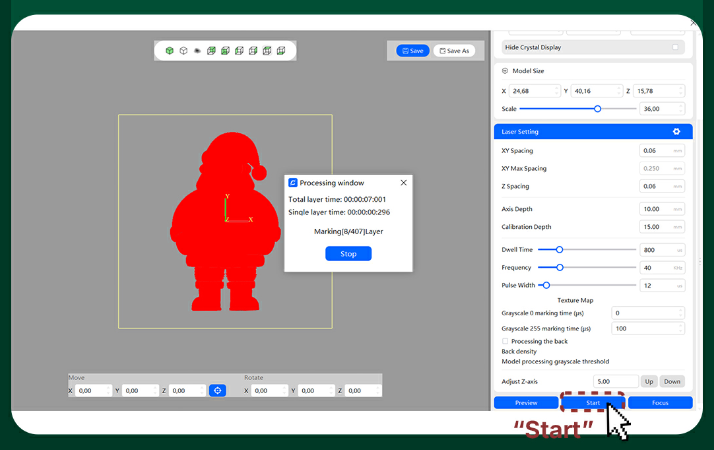
Step 5: Start Engraving and Finish
Once everything looks correct, close the safety door and click “Start.”
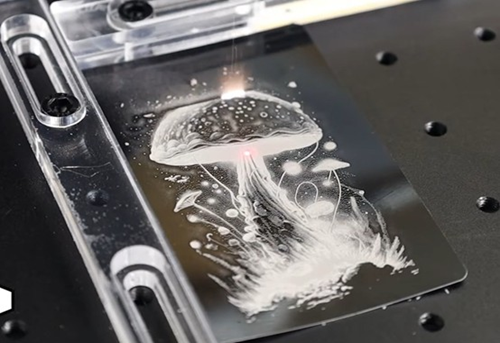
The laser engraver will begin creating the Santa Claus design inside the glass, layer by layer.
When the process finishes, you’ll have a clean, festive Christmas engraving with no surface damage.
Why UV Laser Engraving Is Perfect for Christmas Gifts
UV Laser engraving offers several advantages for holiday projects:
-
Clean and crack-free glass engraving
-
High detail for 3D Santa Claus designs
-
No ink, paint, or consumables required
-
Ideal for limited-edition Christmas products
Whether you’re creating gifts, ornaments, or display pieces, a laser engraver gives you professional and repeatable results.
Final Thoughts
With the right setup, laser engraving Santa Claus inside glass is easier than it looks.
Using a ComMarker Omni X laser engraver, K9 crystal, and a well-prepared 3D file, you can create stunning Christmas designs that truly stand out.
If you’re planning a seasonal engraving project, this workflow is a reliable place to start—and a great way to unlock your Christmas limited engraving ideas.