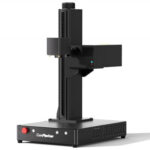
As ComMarker continues to expand the capabilities of the Omni X / Omni XE UV laser engraver, more users are exploring advanced engraving features such as 3D relief, 3D glass engraving, and extended slide applications.
With ComMarker Studio, calibration is simple. All configuration and correction parameters are preloaded into the machine. Users only need to load parameters during first setup—no manual calibration or file uploads required.
However, many professionals still prefer using LightBurn for laser engraving workflows. When using LightBurn with a UV laser engraver, a proper 9 Point Correction calibration is essential for accuracy.
This guide walks you through how to calibrate a ComMarker UV laser engraver in LightBurn step by step.
https://docs.lightburnsoftware.com/2.0/Reference/CalibrateGalvoLens/
Why 9 Point Correction Matters for UV Laser Engraving
Galvo-based laser engravers rely on precise lens correction to ensure that engraved designs remain accurate across the entire working area.
Without proper calibration, users may experience:
-
Distorted shapes at the edges
-
Inconsistent engraving size
-
Misalignment between artwork and output
The 9 Point Correction feature in LightBurn compensates for lens distortion and improves engraving precision—especially important for UV laser engraving, where fine detail is critical.
What You Need Before Starting Calibration
Before opening LightBurn’s calibration wizard, make sure you have the following ready:
-
A correctly configured LightBurn device profile and proper laser type selected in Device Settings
-
A material with strong marking contrast (Black construction paper works well for UV lasers)
-
A ruler or calipers for accurate measurement
Accurate measurements directly affect the quality of your calibration results.

How to Perform the 9 Point Correction in LightBurn
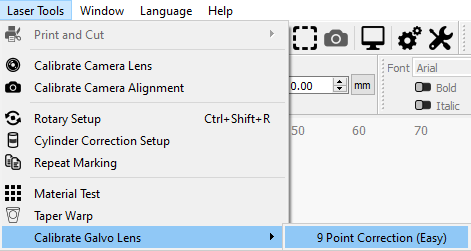
In LightBurn, navigate to:
Laser Tools → Calibrate Galvo Lens → 9 Point Correction (Easy)
This launches the Galvo Lens Calibration Wizard.
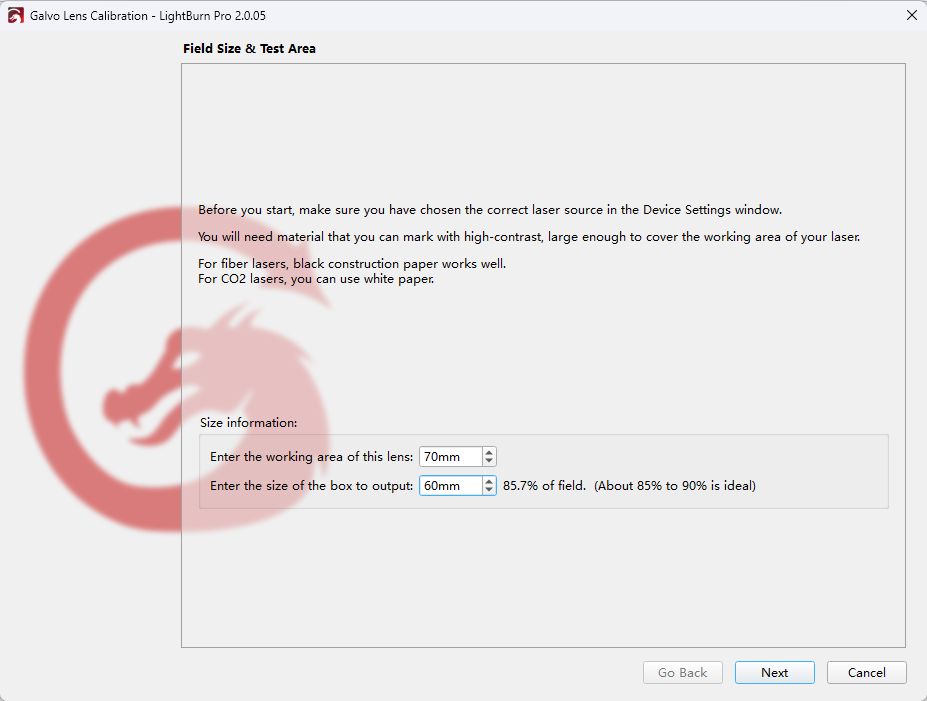
Step 1: Set Field Size and Test Area
LightBurn automatically populates the working area based on your device settings.
You should:
-
Confirm the lens working area provided by the manufacturer
-
Set the test box size to 85%–90% of the working area
This range ensures reliable correction without pushing the lens beyond its optimal zone.
Click Next to continue.
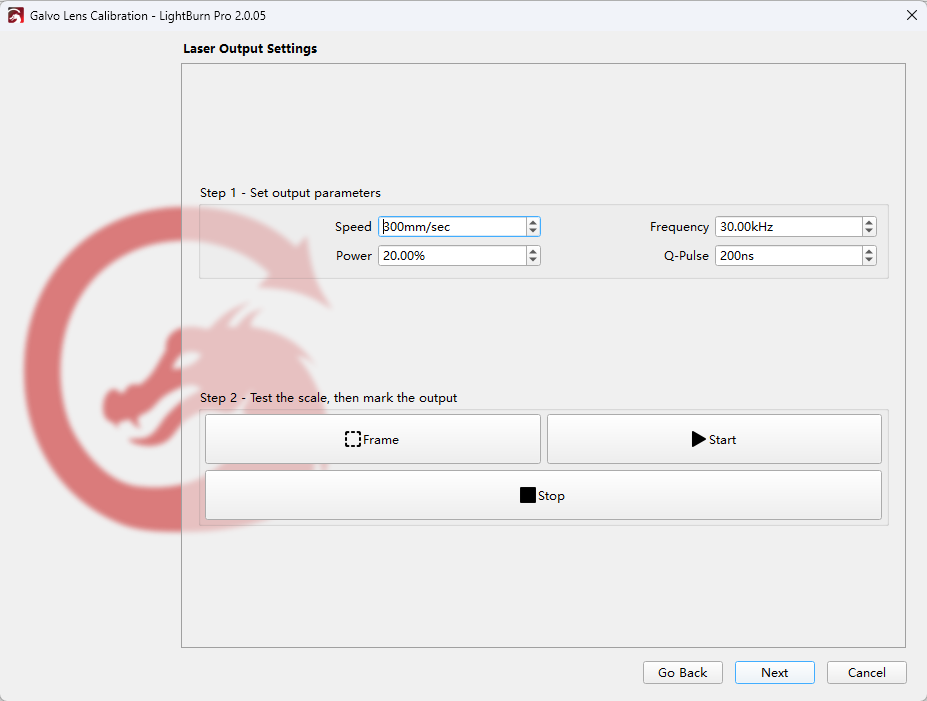
Step 2: Configure Laser Output Settings
Choose laser settings that create high-contrast marks on your selected material.
If unsure:
-
Run a Material Test first
-
Or consult ComMarker’s recommended UV laser parameters
Use Frame to verify the test area fits within the lens field, then click Start to mark.
Click Next to proceed.
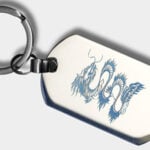
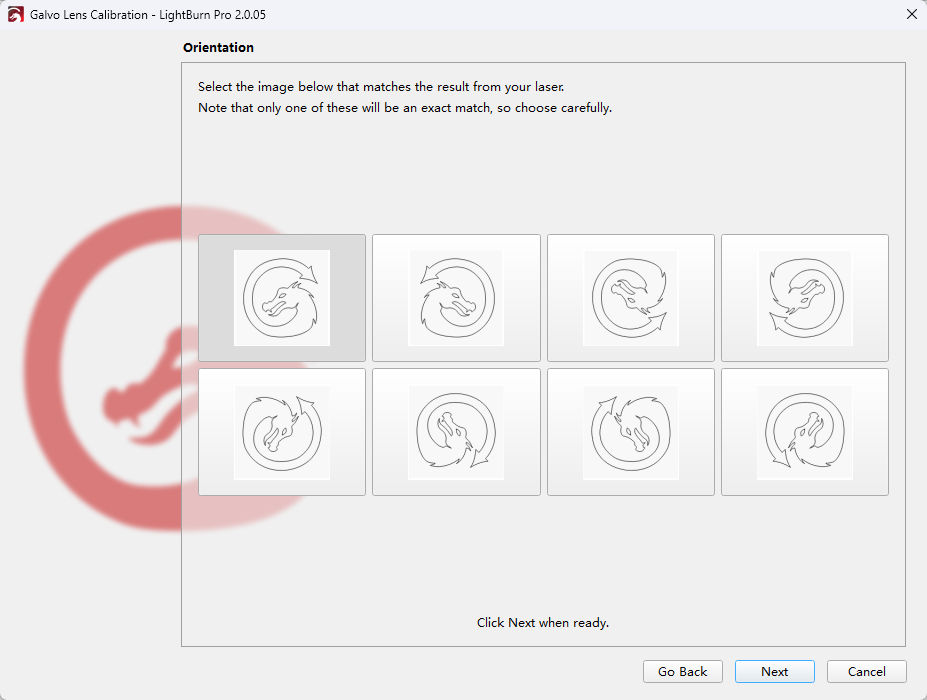
Step 3: Select Correct Orientation
LightBurn displays several dragon icons representing output orientation.
Carefully select the orientation that exactly matches your engraved result.
Only one option will align correctly.
Click Next once confirmed.
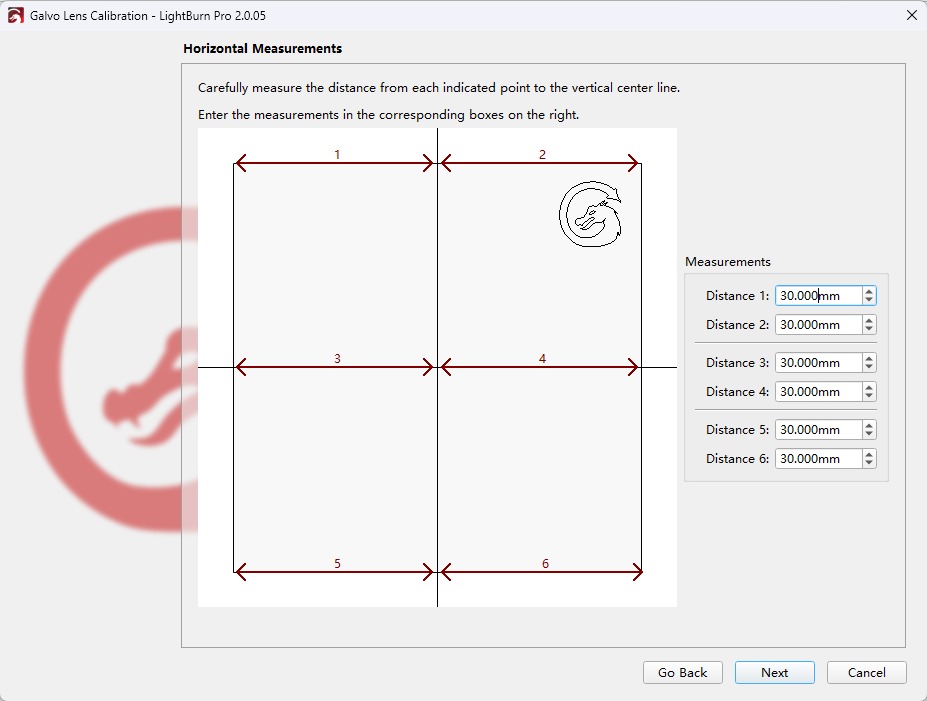
Step 4: Measure Horizontal Distances
Using a ruler or calipers:
-
Measure the horizontal distances between the engraved lines
-
Enter each value carefully into the wizard
Measurement accuracy directly affects lens correction quality.
Click Next to continue.
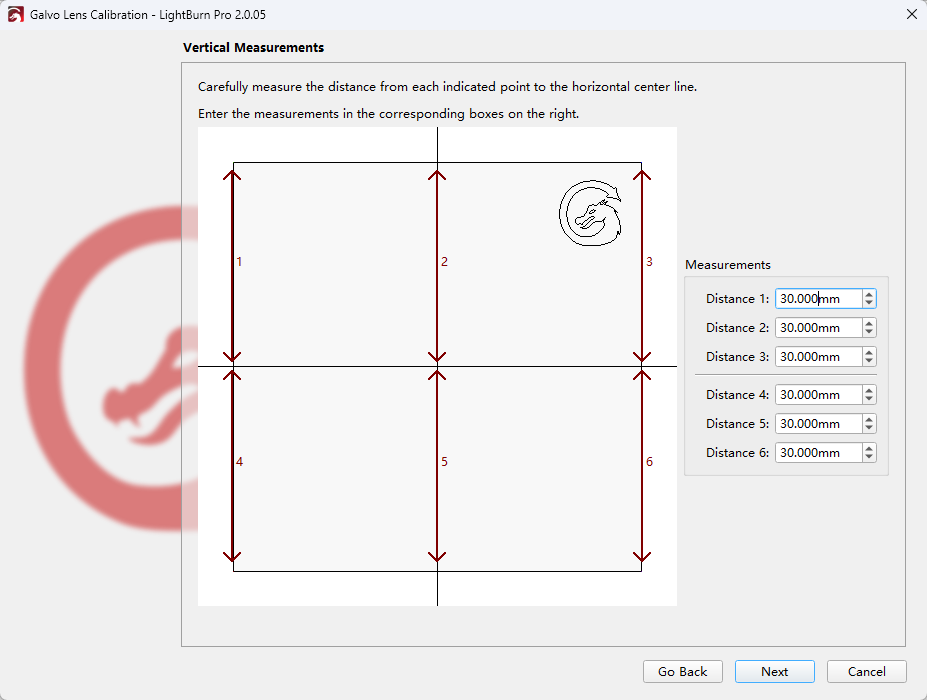
Step 5: Measure Vertical Distances
Repeat the same process for vertical measurements.
Take your time here—precise input ensures consistent laser engraving across the entire field.
Click Next to continue.
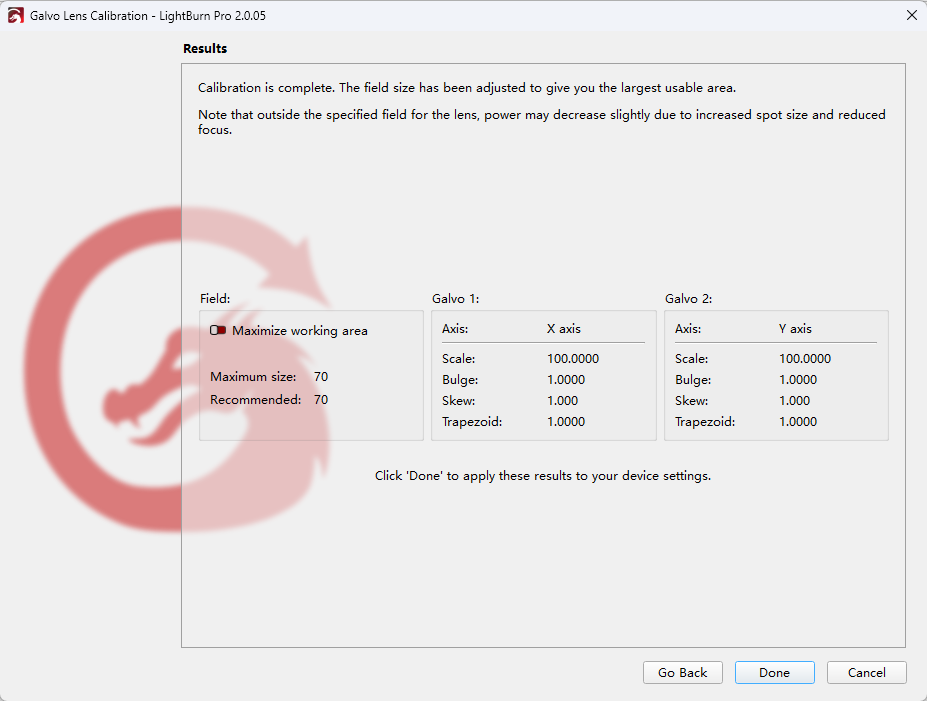
Step 6: Review and Apply Results
The final screen displays the correction values for each galvo.
Optional:
-
Enable Maximize Working Area to extend engraving size
-
Be aware that power may decrease outside the manufacturer’s rated field
Click Done to apply the correction automatically.
Fine-Tuning Accuracy with Axis Calibration
After completing 9 Point Correction, further improve accuracy by calibrating X and Y axes.
How to Calibrate Axis in LightBurn
-
Draw a 60 mm square using the shape tool
-
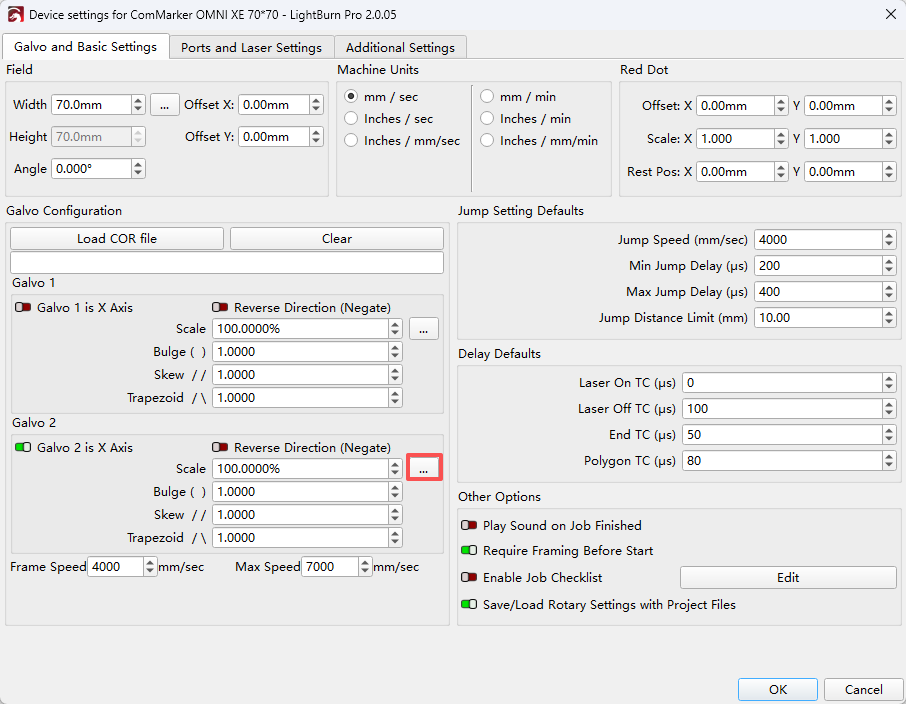
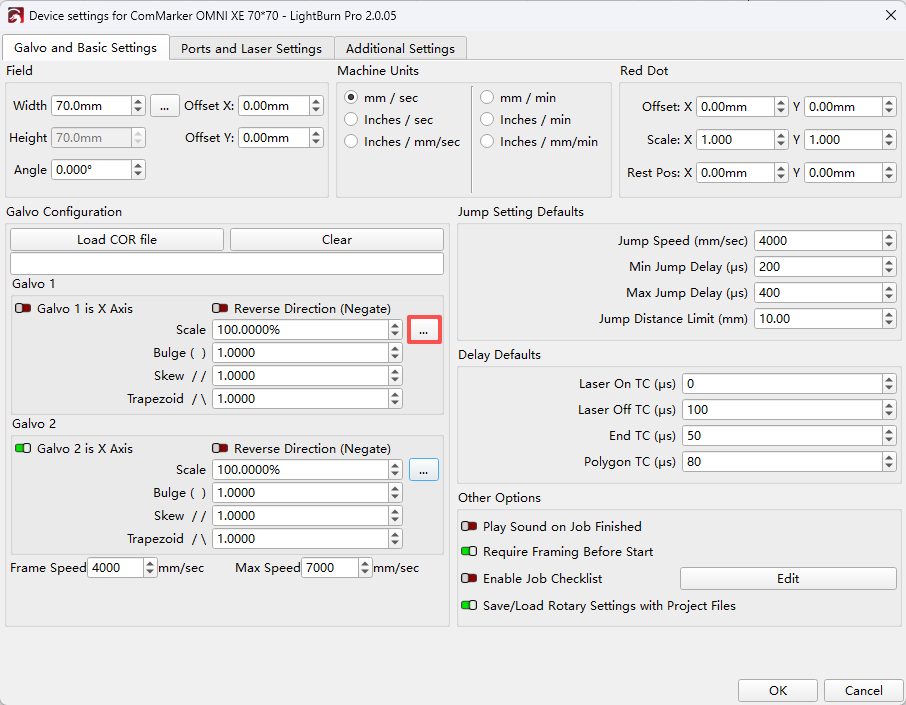
Open Device Settings
-
Click the … button under Galvo settings to open Calibrate Axis
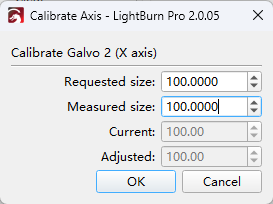
Measure the engraved result:
-
Enter Requested Size and Measured Size
-
Apply changes for X axis
-
Repeat for Y axis
You may rerun this process multiple times for optimal precision.
Final Thoughts
ComMarker Omni X/XE UV laser engravers offer unmatched convenience when paired with ComMarker Studio, thanks to preloaded calibration parameters.
But for users who prefer LightBurn, proper 9 Point Correction calibration ensures your UV laser engraver delivers the same high level of precision—especially for detailed laser engraving applications.
With correct setup, you can confidently unlock the full potential of your UV laser engraver across materials and advanced workflows.