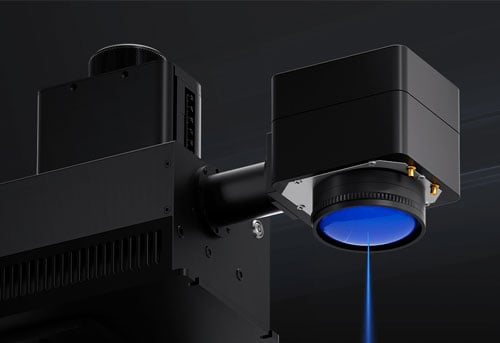
Accurate calibration is critical for laser engraving, especially when using a UV laser engraver with LightBurn. While LightBurn offers powerful tools like 9 point correction, many users still experience distorted engraving, incorrect scaling, or uneven results.
Most of these issues are not caused by the laser itself, but by small calibration mistakes that are easy to overlook. Below, we break down the most common LightBurn calibration errors with UV lasers—and how to avoid them.
Why Calibration Matters More on UV Lasers
UV laser engraver operate at a much shorter wavelength than fiber or CO₂ lasers. Because of this, they deliver extremely fine detail but are also far less forgiving when calibration is off.
Even minor inaccuracies in lens correction, axis scaling, or focus alignment can lead to:
-
Warped engraving near the edges
-
Inconsistent engraving depth
-
Mismatched design dimensions
-
Reduced usable working area
That’s why proper calibration is essential before running production jobs.
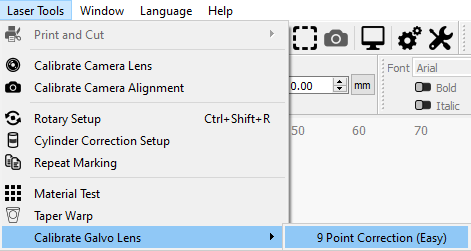
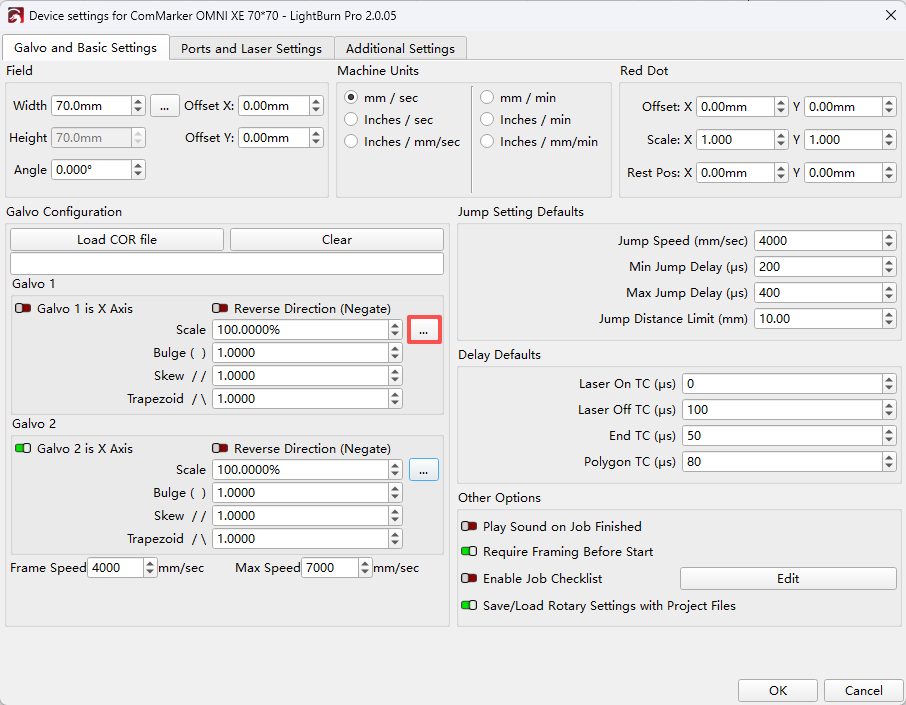
Mistake #1: Skipping 9 Point Correction Entirely
One of the most common mistakes is not running 9 point correction at all.
Many users assume that factory settings or default device profiles are “good enough.” However, with galvo-based UV laser engravers, lens distortion varies slightly between machines.
Without 9 point correction:
-
Circles may engrave as ovals
-
Straight lines may curve near the edges
-
Engraving accuracy drops across the field
Best practice:
Always run LightBurn’s 9 Point Correction (Easy) when setting up a new UV laser or changing lenses.
Mistake #2: Using the Wrong Calibration Material
Another frequent issue is choosing the wrong material for calibration.
Low-contrast materials make it difficult to measure distances accurately. This leads to incorrect correction values and poor results.
Recommended materials for UV laser calibration:
-
Black construction paper
-
UV-sensitive plastic
-
Coated metal with strong contrast
Avoid reflective or translucent materials, as they can blur the marking edges.
Mistake #3: Entering Inaccurate Measurements
The accuracy of LightBurn calibration depends entirely on how precisely you measure the test marks.
Common measurement mistakes include:
-
Measuring from the wrong edges
-
Using flexible rulers instead of calipers
-
Rounding numbers instead of entering exact values
Even a 0.2–0.3 mm error can noticeably affect engraving precision on a UV laser.
Tip:
Use digital calipers and double-check every measurement before clicking “Next.”
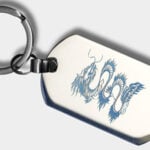
Mistake #4: Selecting the Wrong Orientation
During calibration, LightBurn asks you to select the correct dragon orientation that matches your laser’s output.
Choosing the wrong orientation will apply corrections in the wrong direction, making results worse instead of better.
How to avoid this:
-
Carefully compare the on-screen pattern with your engraved output
-
Do not guess—only one orientation will match perfectly
If the result looks distorted after calibration, redo this step first.
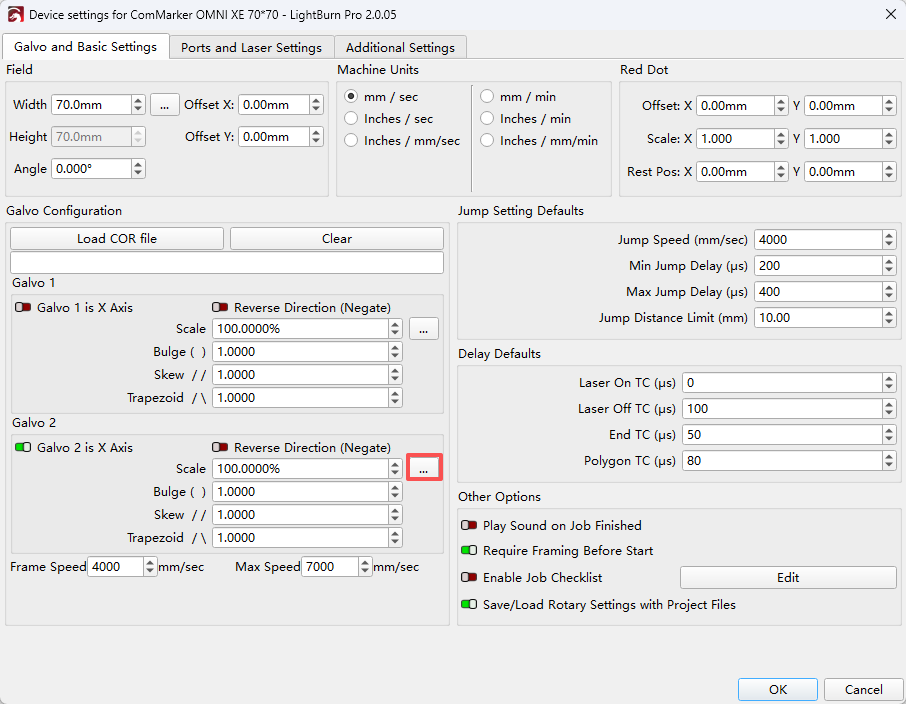
Mistake #5: Ignoring Axis Calibration After 9 Point Correction
Many users stop after completing 9 point correction, assuming calibration is finished.
In reality, axis calibration is just as important.
Without calibrating the X and Y axes:
-
A 100 mm design may engrave at 98 mm or 102 mm
-
Text spacing may look uneven
-
Production parts may fail dimensional requirements
Best practice:
After 9 point correction, always run Calibrate Axis for both X and Y directions.
Mistake #6: Calibrating at the Wrong Focus Height
UV lasers are extremely sensitive to focus height. Calibrating at one height and engraving at another can introduce distortion.
This often happens when:
-
Switching between fixtures
-
Engraving thicker materials
-
Using slide extensions or raised workpieces
Recommendation:
Calibrate at the same focal height you plan to use for most engraving jobs.
Final Thoughts: Better Calibration, Better Results
LightBurn is a powerful platform, but accurate calibration is the foundation of reliable laser engraving with a UV laser engraver.
By avoiding these common mistakes and taking time to properly run 9 point correction and axis calibration, you can:
-
Improve engraving accuracy
-
Maximize usable working area
-
Reduce material waste
-
Achieve consistent, professional results
If you regularly switch lenses, materials, or software setups, recalibration should be part of your workflow—not an afterthought.
Related Articles:
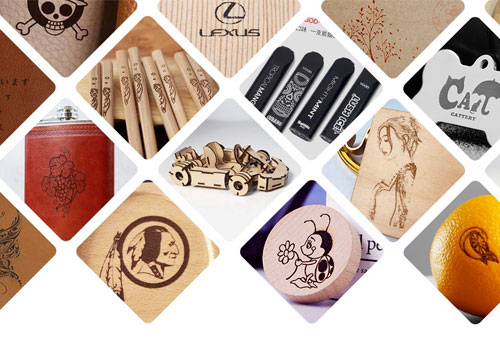
 Unleash Precision: The Power of UV Laser Engraving
 Introducing the New Industrial Laser Engraver: Empowering the Future of Precision Processing
 Step-by-Step Guide: Setting Up Your ComMarker Omni 1 for Stainless Steel Engraving
 Compare UV to Entry-Level Diode Machines: A Hobbyist’s Guide to Choosing a Laser Engraver