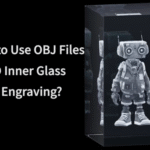
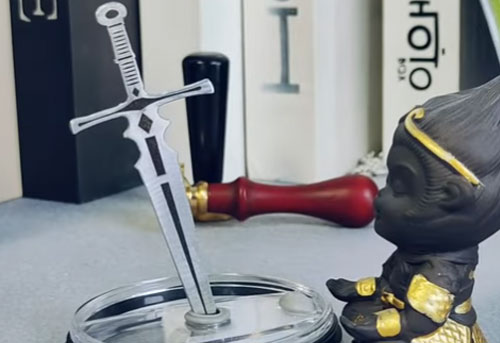
Engraving a photo inside glass is one of the most stunning effects you can achieve with a UV laser engraver. Many users want to turn flat images into detailed, permanent art inside crystal blocks—but aren’t sure how to get clean, sharp results. This guide explains the full process using a UV laser, including photo preparation, proper settings, and focusing methods to avoid cracks or haze.
1. Choose the Right Flat Photo for Laser Engraving
For the best glass photo engraving results, start with a high-quality photo. UV laser engraving is extremely detailed, so clarity matters.
Recommended photo qualities:
-
Clear edges and facial features
-
Good contrast and exposure
-
Not overly dark or blurred
After importing the photo into your engraving software, adjust brightness and contrast if needed. This helps the laser define shadows and highlights more accurately inside the glass.
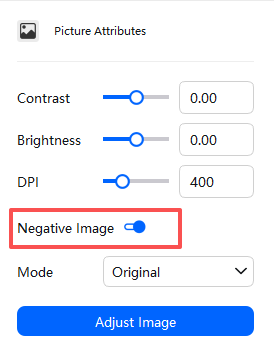
2. Enable “Reverse Image” Before Engraving
ComMarker Studio uses a logic that requires you to negtive the photo so the engraved image appears correctly when viewed from the front side of the crystal.
If you skip this step, the image may appear inverted inside the glass.
3. Recommended UV Laser Settings for Glass Photo Laser Engraving
For ComMarker OMNI X/XE 6W with a 150×150mm field lens, the following parameters produce clean, detailed engraving:
-
Frequency: 40 KHz
-
Pulse width: 1 us
-
Dwell time: 800 us
-
DPI: 400
For ComMarker OMNI X/XE 12W with a 250×250mm field lens, the following parameters produce clean, detailed engraving:
-
Frequency: 45 KHz
-
Pulse width: 2 us
-
Dwell time: 500 us
-
DPI: 400
This combination balances fine detail while preventing excessive heat buildup inside the crystal.
4. How to Correctly Focus a UV Laser on Glass
Focusing is the most important step when engraving photos inside crystal.
Because crystal is transparent and sensitive to heat, avoid focusing directly on the surface. Instead:
Proper focusing method
-
Place a thin piece of paper on top of the crystal.
-
Use auto-focus to focus on the paper (not the glass).
-
After auto-focus completes, remove the paper.
-
Use the machine’s up/down control to manually shift the focus slightly inside the crystal (The center of the crystal is the best.).
This ensures the laser energy forms the engraving dots inside the glass instead of burning the surface.
5. Choose the Right Glass Thickness
Thin crystals tend to crack or show surface haze when engraving photos internally.
Best thickness: 20mm or more.
This gives enough depth for the laser to create clean internal points without damaging the outer layers.
Final Thoughts
Engraving photos inside glass with a UV laser is easier when you follow a clear process:
-
Use a high-quality, well-contrasted image
-
Reverse the photo before engraving
-
Apply reliable UV laser settings
-
Focus inside the crystal—not on the surface
-
Choose thicker glass blocks (20mm recommended)
With the right preparation, you can create beautiful, long-lasting 3D photo engravings inside crystal using a UV laser engraver. Explore more about how UV laser can engrave glass: