Photo laser engraving is widely used in home décor, jewelry, and product customization. At the same time, understanding material selection, image preparation, and engraving techniques is key to achieving the best results.
In the following sections, we’ll explore how different materials affect photo engraving, how to prepare images correctly, and how to choose the best laser engraver for photo engraving.
How to Prepare Photos for Laser Engraving
Before choosing materials or machine settings, image preparation is a critical step in laser engraving photo . A laser interprets light and dark values as depth and texture. Proper photo adjustment ensures those details translate accurately onto the material.
Why Image Preparation Matters
Poor-quality or unedited photos often result in flat, blurry, or overly dark engravings.
A well-prepared image,produces clear depth, balanced tones, and recognizable features.
For best results, always start with a high-resolution image (at least 300 px or 200 KB) and a simple background. Busy or cluttered backgrounds reduce subject clarity and make engraving less defined.
Step and Basic Principles to Adjust an Image for Laser Engraving Photos
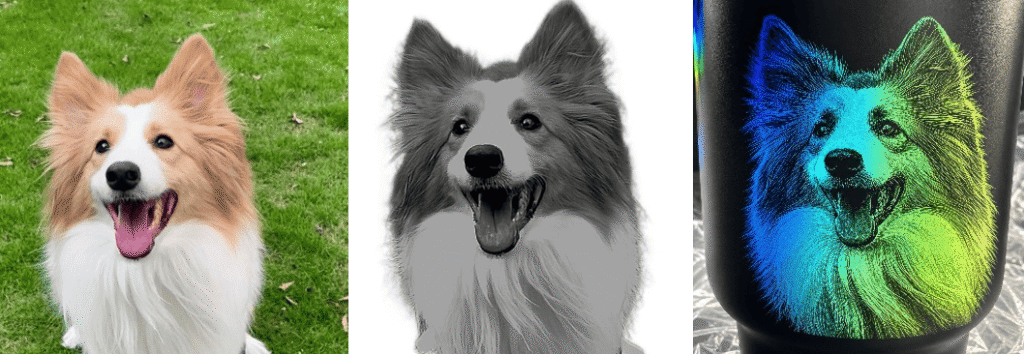
Step 1 Convert to Grayscale: This helps preview how the final result will appear.
Step 2 Adjust Contrast and Midtones: Extreme black-and-white contrast does not translate well to engraving. Instead, aim for balanced tones with strong midtone detail.
In practice, this means brighten shadows to recover hidden details and darken highlights to prevent washed-out areas
Step 3 Sharpen Details: Laser engraving benefits from slightly exaggerated detail. Increasing sharpness enhances edges, textures, and fine features such as hair or patterns, making them more visible after engraving.
Final Check: If the image still appears blurry or lacks detail after adjustments, the source file may not be suitable for engraving. In that case, replace it with a higher-quality image or enhance it using image processing tools.
For a deeper breakdown of image preparation principle, see our dedicated guide: “How to Prepare a Photo for Laser Engraving” where we explain the where we explain the role and meaning of each adjustment and how it influences engraving output.
If you’re unsure how far to adjust your image, refer to the material-specific guides below, where we provide detailed photo settings for each type.
How to Laser Engrave Photos on Different Materials
Different materials react differently to laser engraving, which directly affects image clarity, contrast, and durability. Below is a quick guide to the most common materials used for photo engraving, along with key considerations. For detailed step-by-step settings and workflows, explore the dedicated guides for each material.
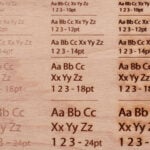
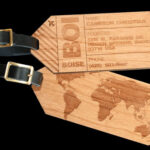
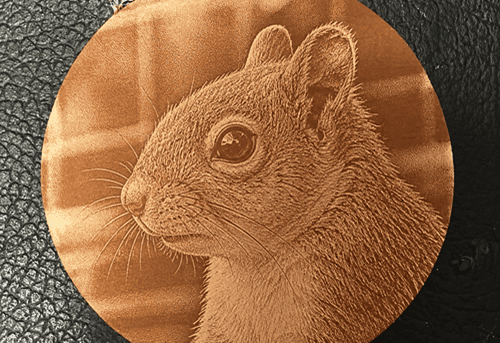
Laser Engraving on Wood
Wood is one of the most popular materials for photo engraving. For best results, choose light-colored woods such as maple, birch, or basswood, as they provide better contrast. Avoid wood with heavy grain or knots, as uneven textures can distort fine details in photos.Use high-resolution, high-contrast images and fine line intervals to capture detail
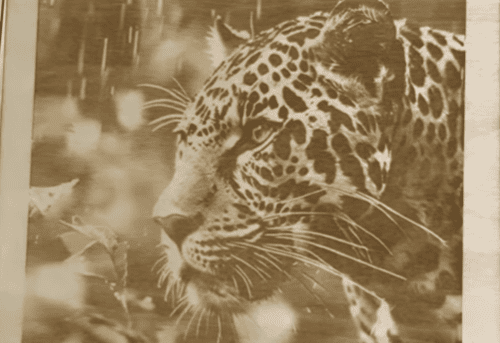
After engraving, gently clean the surface to remove residue. Applying a light oil or finish can enhance contrast and bring out the engraved image more clearly.
Read the full guide: How to Laser Engrave Photos on Wood
Laser Engraving on Acrylic
Acrylic produces a clean, frosted effect that works well for keychains, signage, and decorative pieces. For best results, use high-resolution, high-contrast images and opt for cast acrylic with good optical clarity.
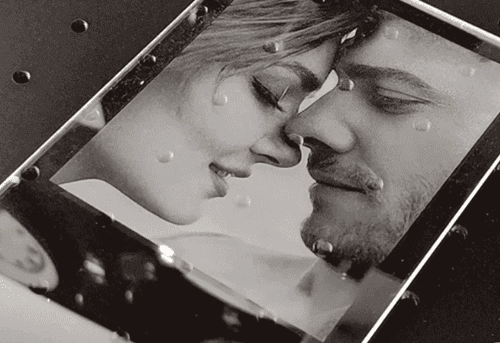
Material thickness also matters: thinner sheets (2–3 mm) are ideal for detailed photo engraving, while thicker acrylic (5–8 mm) is better for functional items. Use fine line intervals to capture detail, and always run a grid test to avoid cracking and optimize settings.
Read the full guide: How to Laser Engrave Photos on Acrylic
Laser Engraving on Metal
Metal offers the highest durability but requires more precise control due to its reflective surface. Stainless steel, anodized aluminum, and titanium are popular choices for photo engraving.
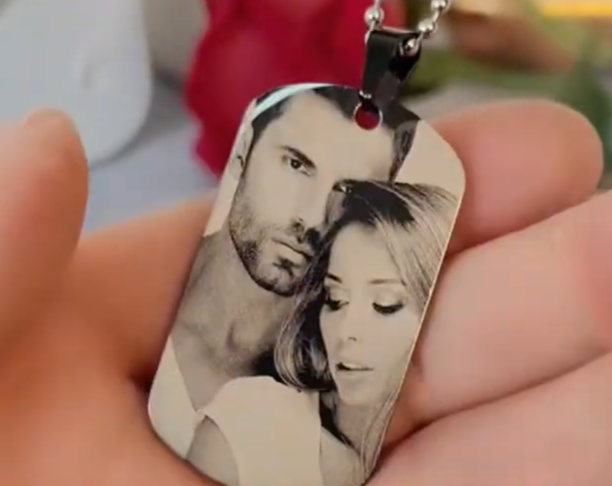
Use images at 600 DPI or higher for sharp detail. Adjust power based on material: lower for stainless steel, higher for titanium. Thicker sheets reduce heat distortion, while thinner sheets allow post-processing like cutting. Finishing with a sealant helps prevent oxidation.
Read the full guide: How to Laser Engrave Photos on Stainless Steel
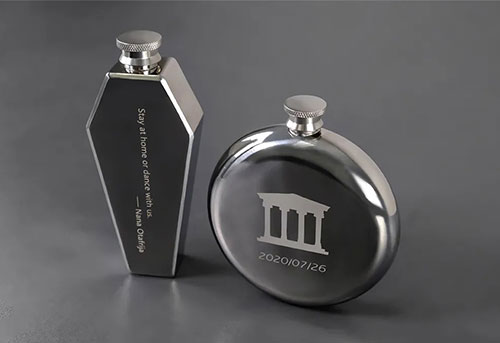
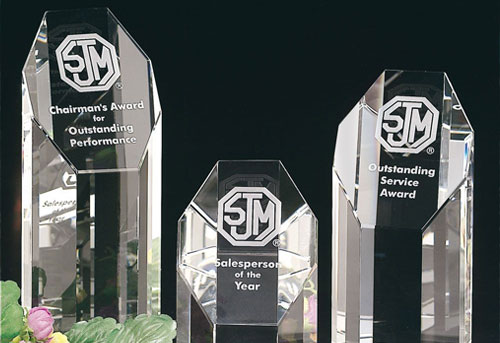
Laser Engraving on Glass
Glass engraving creates elegant, high-contrast results for drinkware and décor, but requires careful handling due to thermal stress.
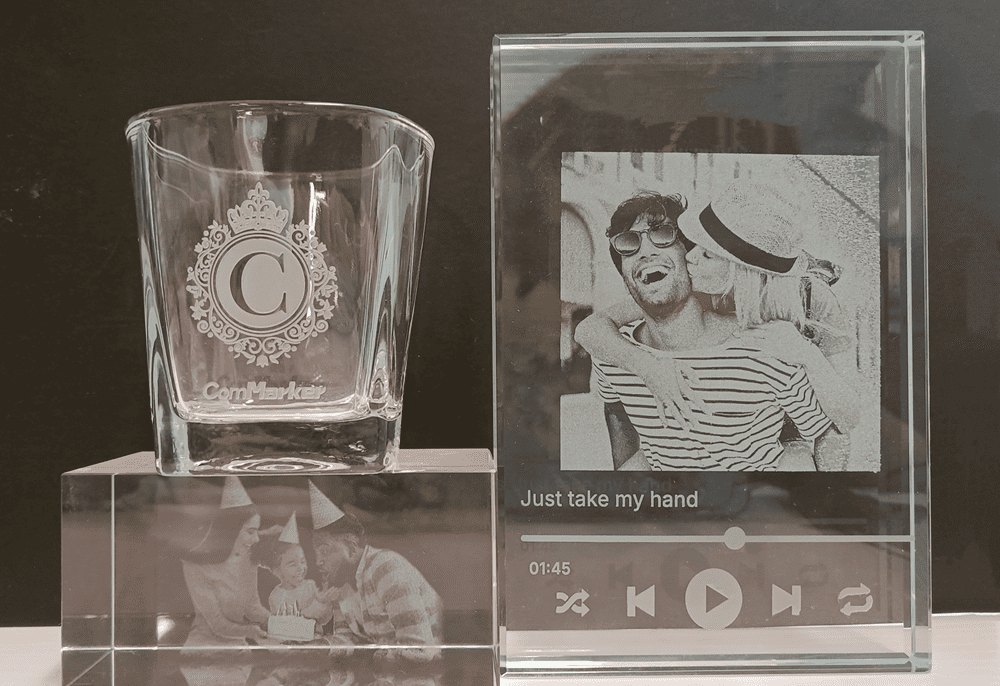
Choose high-resolution images (300 DPI or above), and consider inverting the image for a striking engraved effect. Different glass types (borosilicate, tempered, frosted) produce varied results. UV lasers are especially effective for consistent engraving across finishes.
Read the full guide: How to Laser Engrave Photos on Glass
Photo Laser Engraving on Leather
Leather produces a natural, high-contrast burn that works well for wallets, patches, and accessories. Vegetable-tanned leather is recommended for consistent results.
Use moderate power and avoid overburning to maintain detail. Image contrast is critical, as fine gradients can be lost on softer surfaces.
Read the full guide: How to Laser Engrave Photos on Leather
Photo Laser Engraving on Tumblers
Tumblers (especially coated stainless steel) are ideal for photo engraving and customization. Rotary attachments are typically required for consistent engraving on curved surfaces.
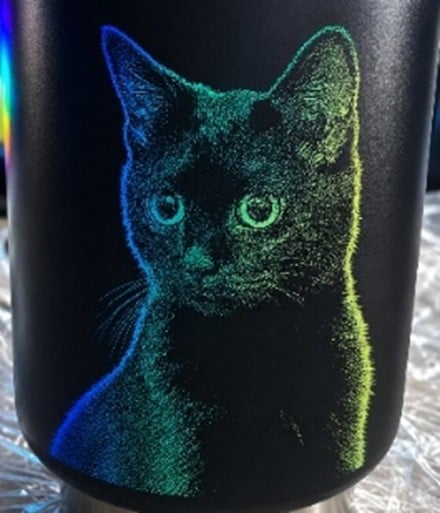
High-contrast images work best, and settings should be adjusted to remove the coating cleanly without damaging the base material.
Read the full guide: How to Laser Engrave Photos on Tumblers
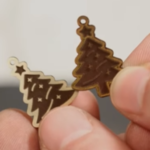
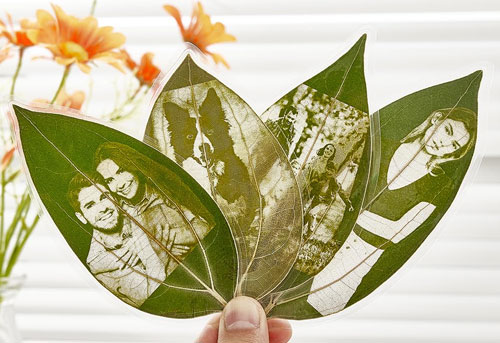
Photo Laser Engraving on Leaves
Leaves are a delicate natural material ideal for fine portrait and decorative engraving. Dry and flatten leaves before use to ensure stability and reduce cracking.
High-contrast, simplified images work best due to the fragile surface and limited detail tolerance. UV laser engravers are preferred for their precision and low heat impact, helping preserve vein texture while maintaining detail.
Read the full guide: How to Laser Engrave Leaf Portraits
Step-by-Step Guide to Laser Engraving Photos
Now that your image is properly prepared and you’ve selected the right material, it’s time to move on to the engraving process itself.
We’ll walk through how to engrave photos using ComMarker Studio, helping you get sharp, high-contrast results on any material. The steps could be used in other laser engraving software such as photo laser engraving with LightBurn or else.
Step 1: Prepare Your Setup
Before starting any engraving project, make sure your laser engraver and software are ready.
Checklist before engraving:
-
Install ComMarker Studio on your computer.
-
Connect the engraver using the data cable.
-
Remove the lens cap.
-
Turn on the laser machine.
-
Place and secure your engraving material on the work platform.
Pro Tip:
If you’re engraving on a transparent material like glass or clear acrylic, place a sheet of white paper underneath.
This ensures your red alignment dot is visible and your focus will be accurate.
Step 2: Set the Focus
Proper focus is everything in photo engraving. Without it, your image can look blurry or faint.
-
Click the Focus button in the bottom-right corner of ComMarker Studio to start autofocus.
-
If the focus seems off, use the Up or Down buttons to manually adjust, then click Focus again.
-
Check that the red alignment dot lands exactly on the surface of your material.
Once your focus is sharp, you’re ready to load your photo.
Step 3: Import and Prepare Your Photo
-
Click Import Image in ComMarker Studio.
-
Confirm that your lens selection matches the installed lens (e.g., 70mm or 150mm).
-
Adjust the image size to fit your engraving area.
Next, click Preview to project a non-engraving outline of your image onto the material.
This helps you visualize where your engraving will land before you start.
Move or resize your image until you’re happy with the placement.
Then, click Stop Preview to lock in the position.
Step 4: Adjust Image Settings
For photo engraving, the key to a realistic result lies in image contrast and engraving parameters.
-
Negative the Image – Click the “Negative” option in ComMarker Studio.
-
This inverts light and dark areas to ensure that dark parts of your photo appear engraved and bright parts remain untouched.
-
-
Fine-tune your engraving settings — including:
-
Speed: Controls how fast the laser moves. Slower speeds create darker, deeper images.
-
Frequency: Affects how dense your laser pulses are — higher frequency means smoother shading.
-
Power: Adjust based on your material. Start with a test piece before final engraving.
-
Tip:
If you’re unsure about exact parameter values, refer to the material-specific sections above, where we provide recommended settings for different surfaces.
Step 5: Preview and Start Engraving
Once your preview and settings look perfect:
-
Double-check your material position and focus.
-
Close the safety door of your laser engraver.
-
Click Start in the software to begin engraving.
The machine will automatically process your image line by line — translating every pixel into a tiny laser pulse.
When it’s done, open the safety door and carefully remove your engraved piece.
Recommended Testing Method
Before engraving the full image:
1. Create a small test square or crop a detailed area of your image (such as eyes or textures)
2. Run a test engraving using your current settings
3.If the result is too deep, reduce power and increase speed. If parts look too light, increase power or reduce speed slightly. High DPI might also cause overburn.
4. The ideal setting is achieved when edges are sharp and details are clear without overburning
Best laser engraver for photo engraving
It’s important to match the machine to your material and production needs, and different machine has different photo engraving precision.
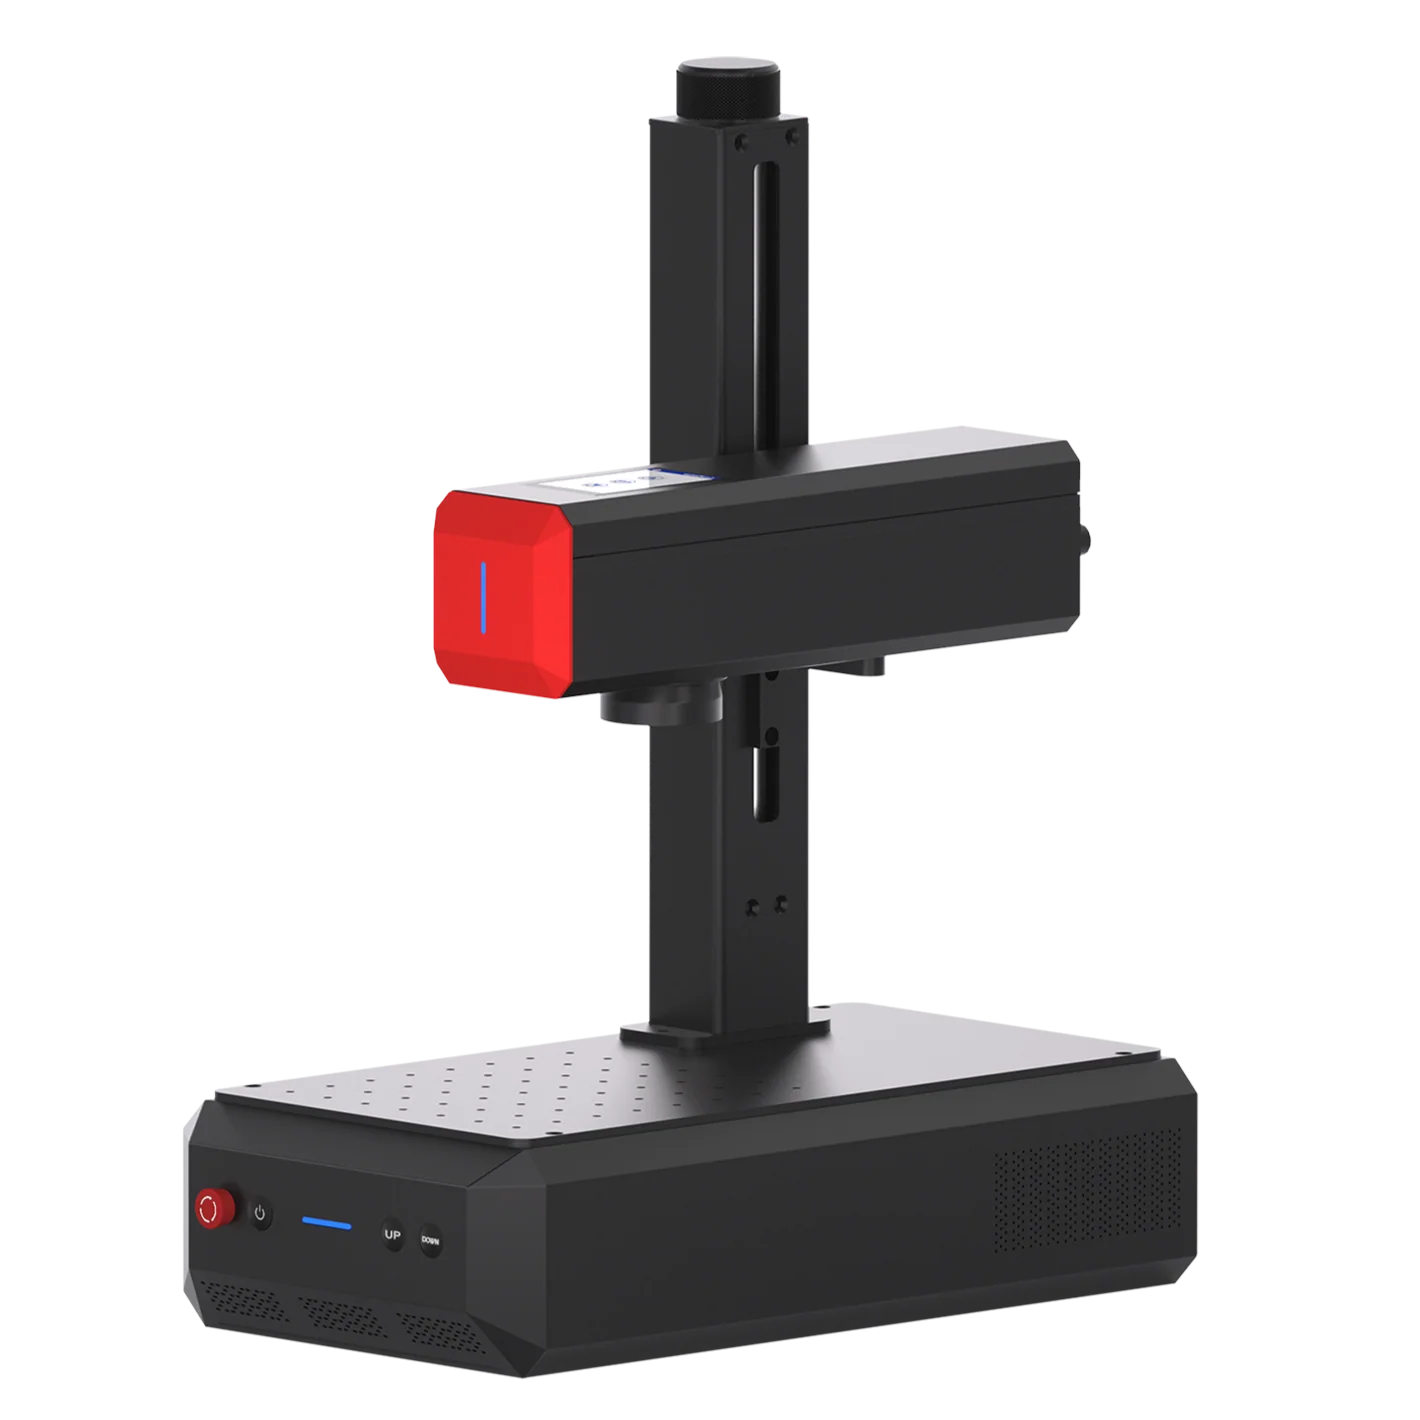
ComMarker Omni X UV laser engraver: Best for versatility and detail
• 0.0019 mm spot size for 16K HD high-detail photo engraving
• 1500+ materials engraving capability, including glass, acrylic, plastics, and coated metals.
• Zeroburn technology for protecting your material
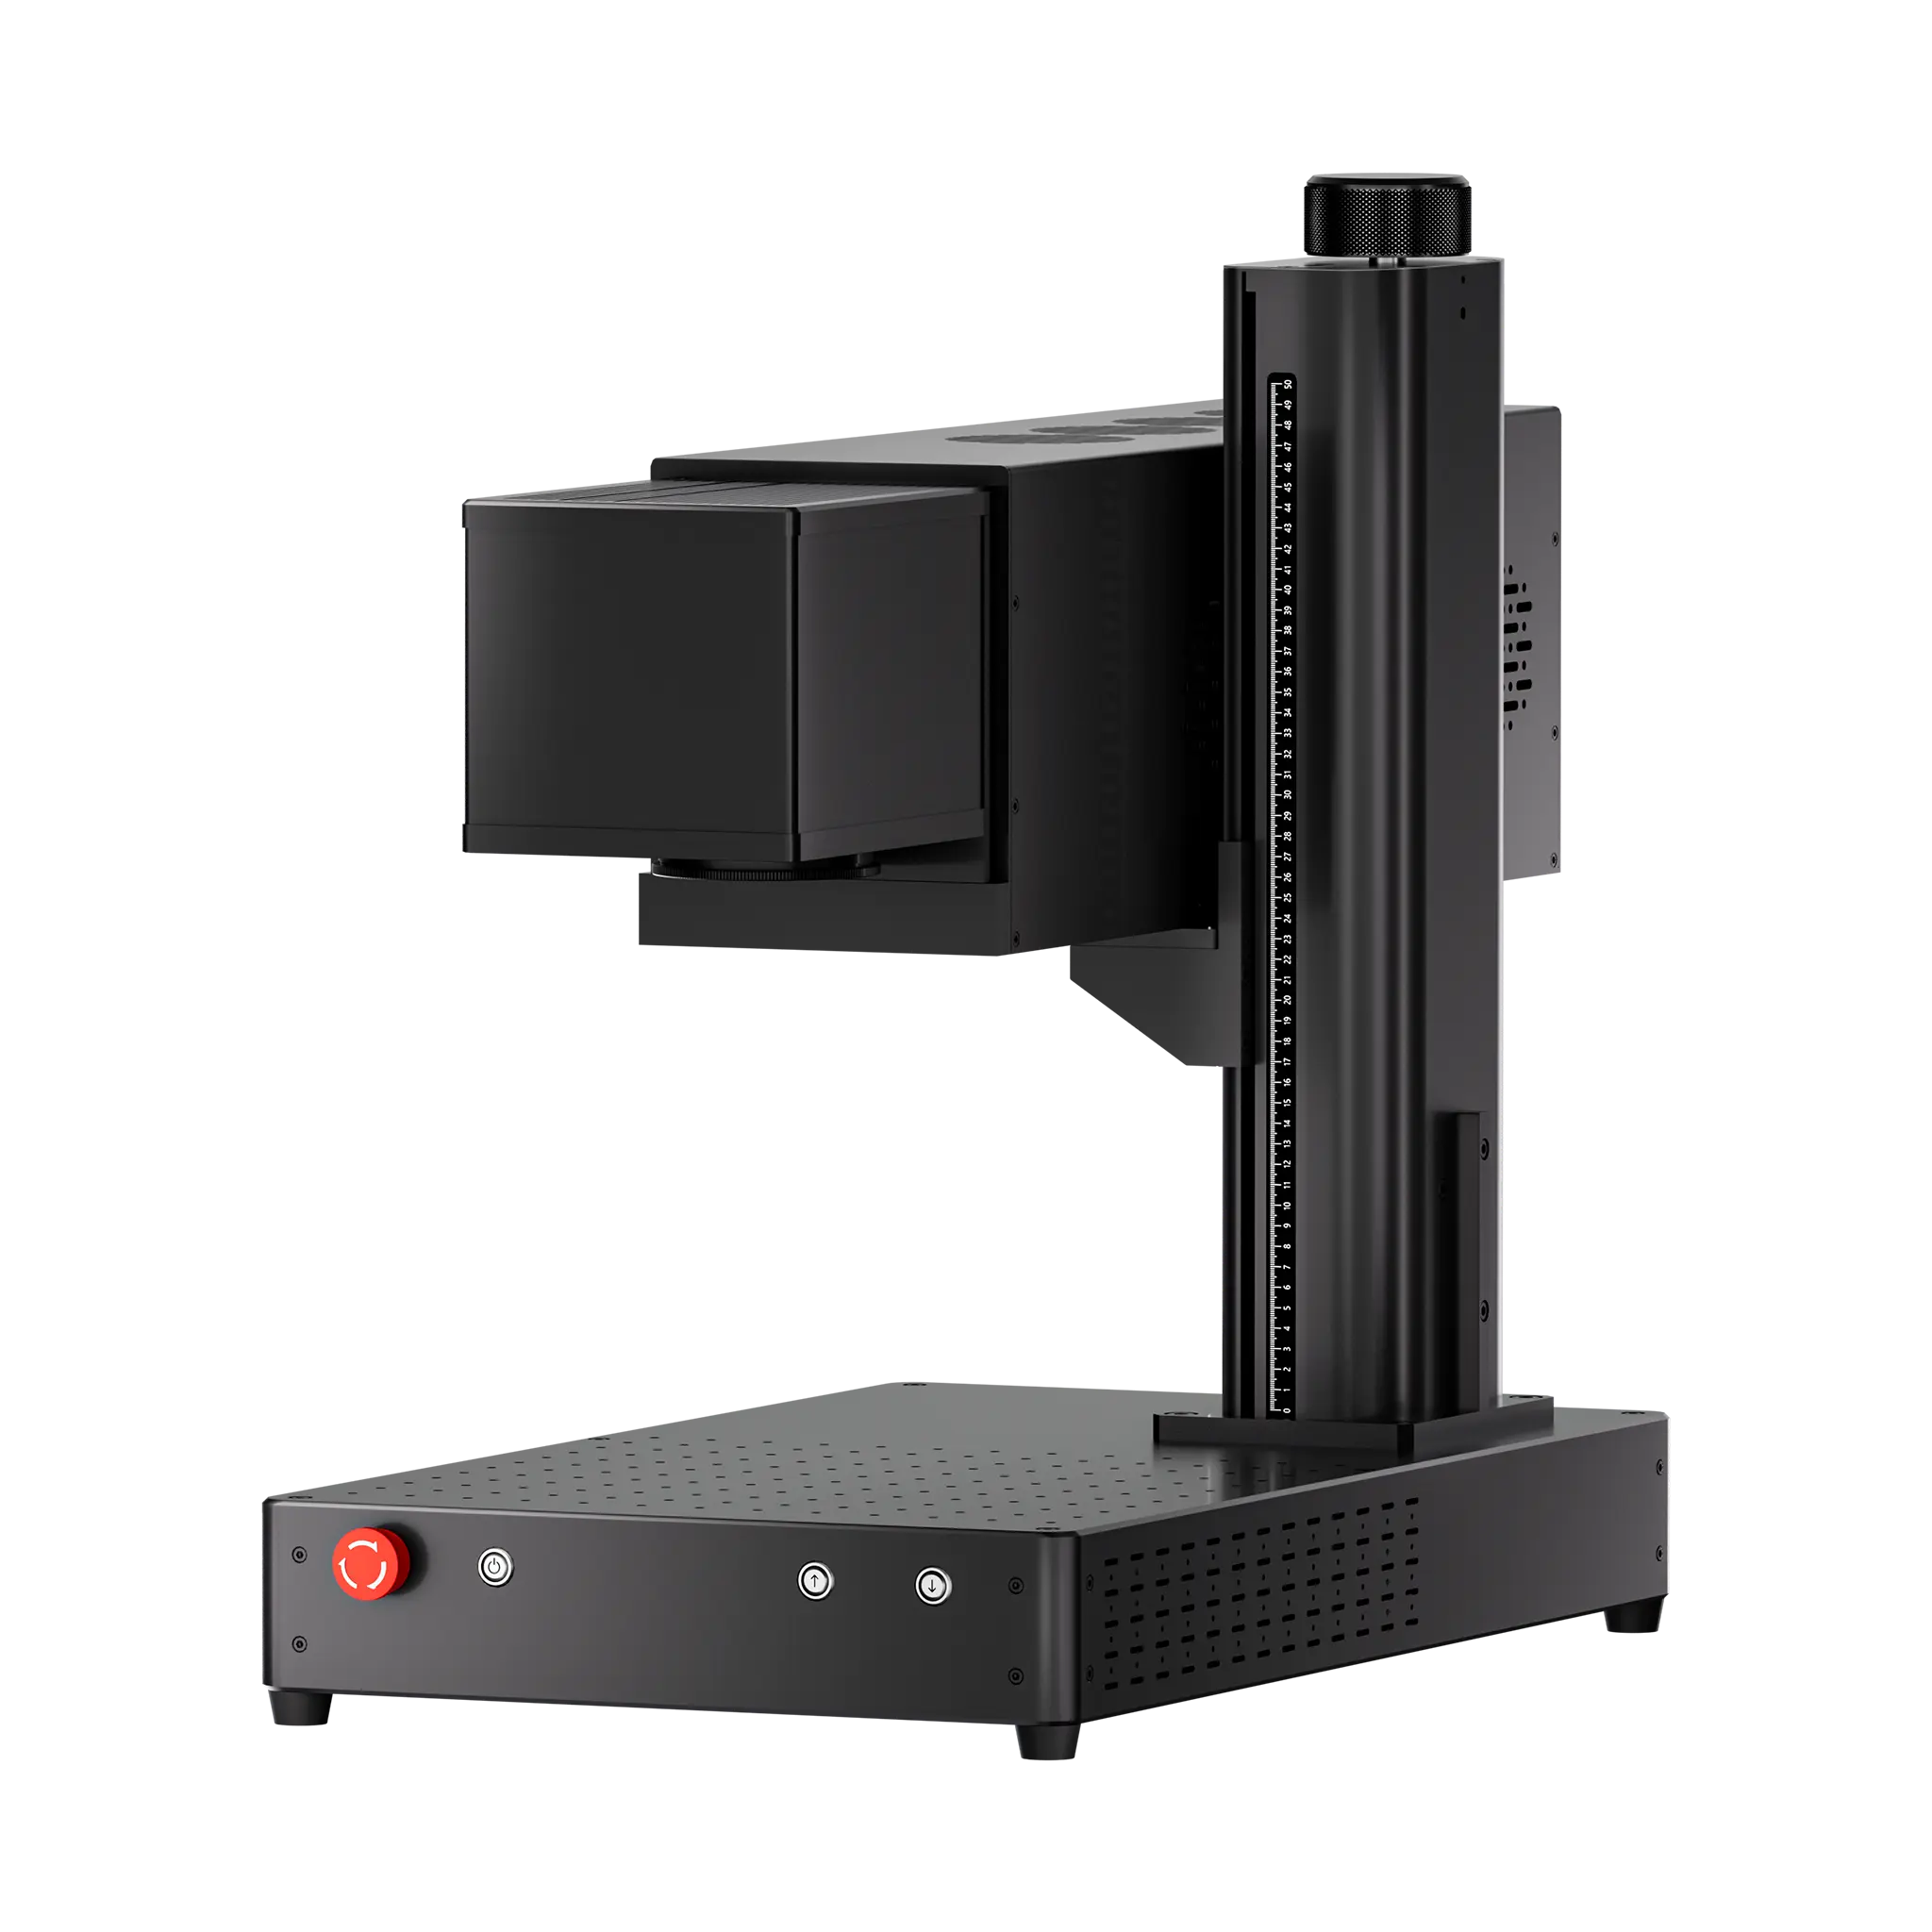
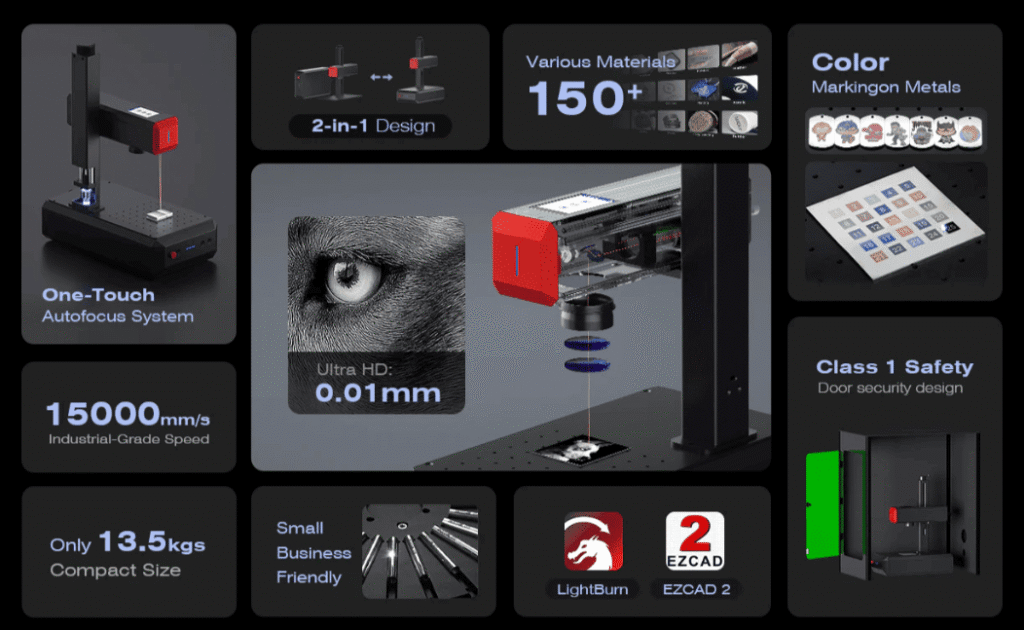
ComMarker B6 MOPA fiber laser engraver: For metal-specific applications
• 0.01 mm spot size for 8K HD detail
• 15000 mm/s engraving speed
• precise control over power and frequency for clean, high-contrast results on stainless steel, titanium, and anodized aluminum.
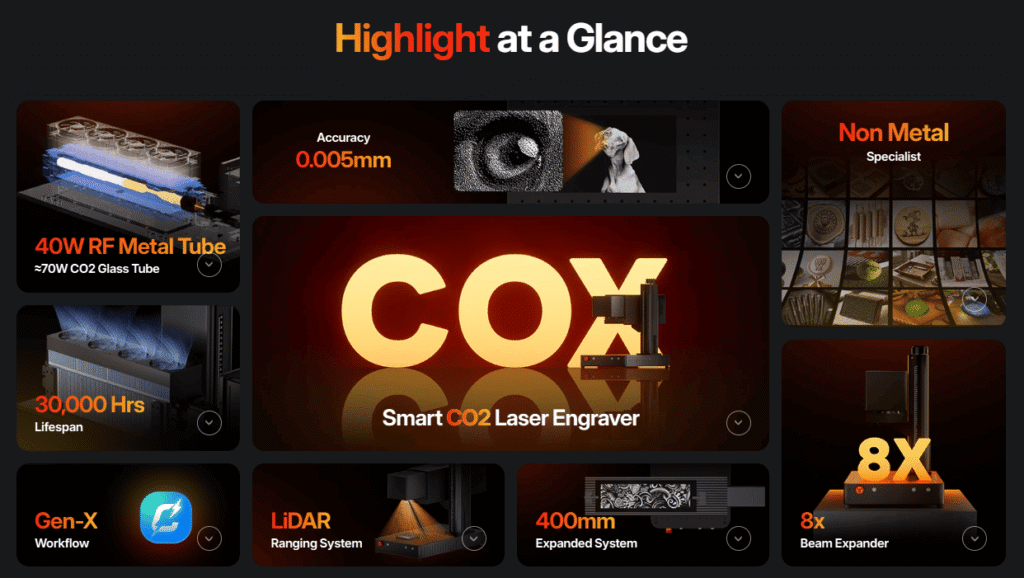
ComMarker COX CO2 laser engraver: for fast, batch, non metal photo engraving
• 15000 mm/s fast engraving on wood, acrylic, leather and tumblers
• 0.005 mm spot size for detail engraving
• 30000 hour lifespan from RF tube system for longtime service
Final Thoughts
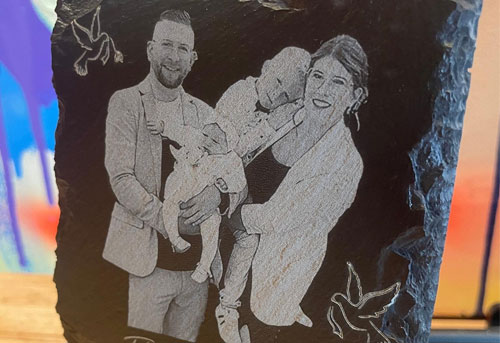
Photo engraving with a laser engraver is where technology meets artistry. Whether it’s a family portrait, a wedding photo, or your pet’s picture on stainless steel. Once you master the setup and image preparation, you’ll find that the possibilities are endless — from gifts and memorial keepsakes to professional engraving projects.
With ComMarker Laser Engravers and precise photo finetune, you can turn ordinary materials into permanent masterpieces.
So go ahead and let your laser engraver bring your memories to life in detail you can touch.