Want to control your UV laser engraver from your Android phone? The ComMarker App offers a user-friendly interface, allowing you to easily set up and manage your laser engraving projects. In this guide, we’ll walk you through installing the app, connecting it to your device, and starting your first engraving project — all from your Android phone.
Step 1: Install the ComMarker App
Before you can start engraving, you’ll need to install the ComMarker App on your Android device:
-
Go to the official download page: Laser Engraving Software Download ComMarker
-
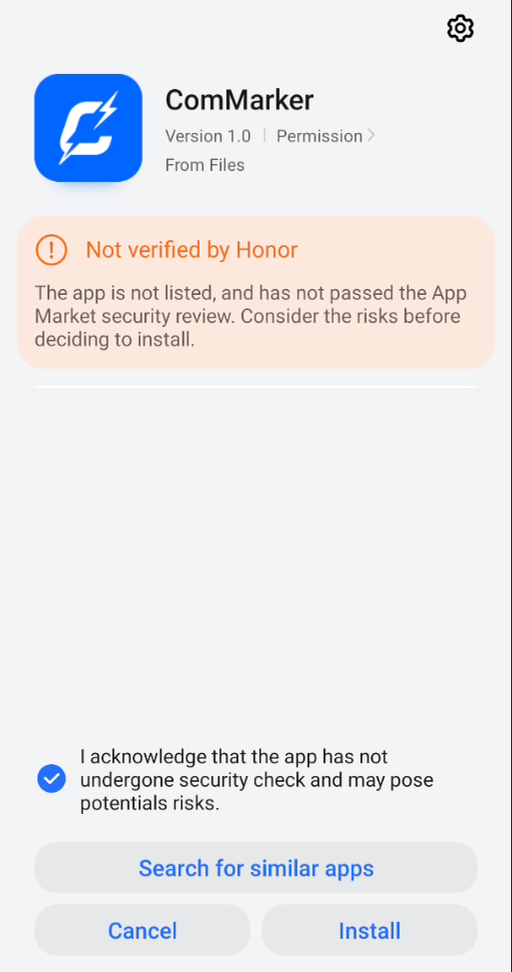
Download the app and complete the installation.
-
If prompted, agree to the security check to ensure the app installs correctly.
Step 2: Connect Your Phone to the Laser Engraver
Now, let’s get your phone connected to the ComMarker OMNI X/XE UV laser engraver:
-
Turn on Wi-Fi on your Android device.
-
Look for the network named “ComMarker_XXXX” (the suffix may vary).
-
Enter the password: commarker to connect your phone to the engraver.

Step 3: Pair the App with Your Engraver
Once connected, follow these steps to link the ComMarker App to your UV laser engraver:
-
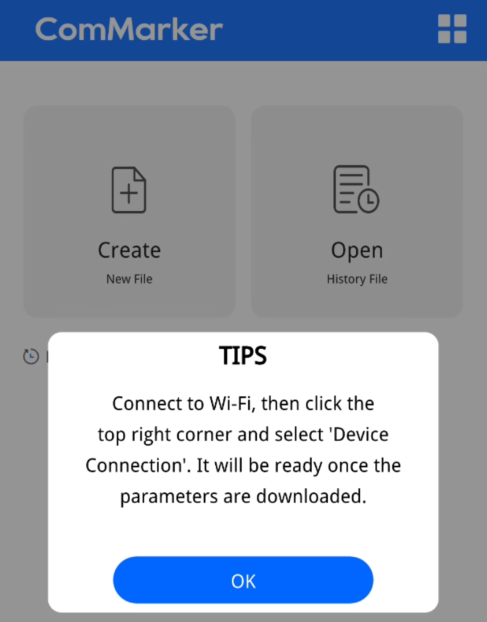
Open the ComMarker App and read the connection tips. Tap Agree to proceed.
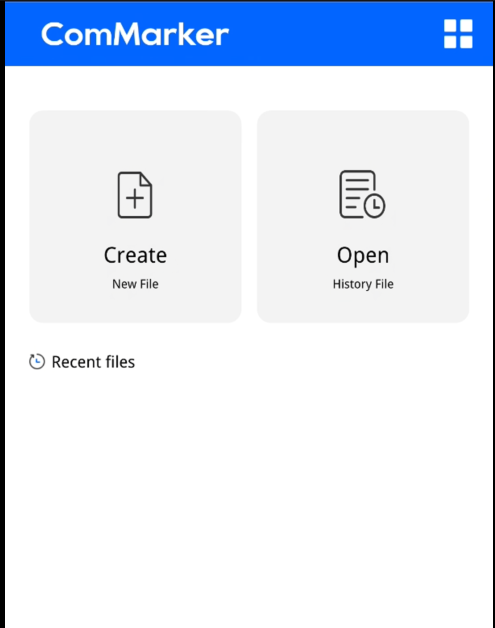
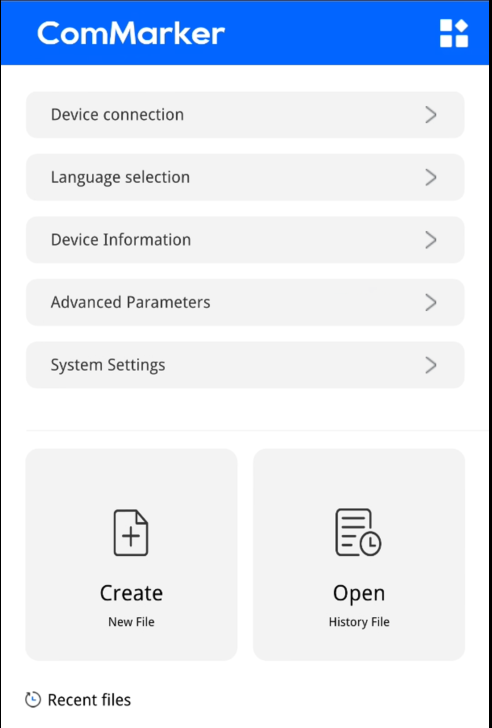
2. Tap the four-square icon in the top right corner of the screen.
3. Select Device Connection from the menu.
Note: This is also where you switch lens settings.
4. Allow the app to access your location when prompted.
5. The app will automatically detect your laser engraver and display a confirmation message that your device parameters have been synchronized.
Tip: Keep your phone connected to the ComMarker Wi-Fi network for the entire process.
Step 4: Start a New Engraving Project
Now that everything is connected, it’s time to begin your first engraving project:
-
Tap Create to start a new engraving.
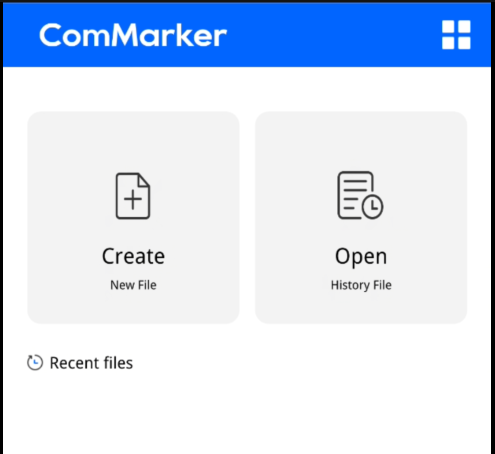
2. Select Text to add your engraving content.
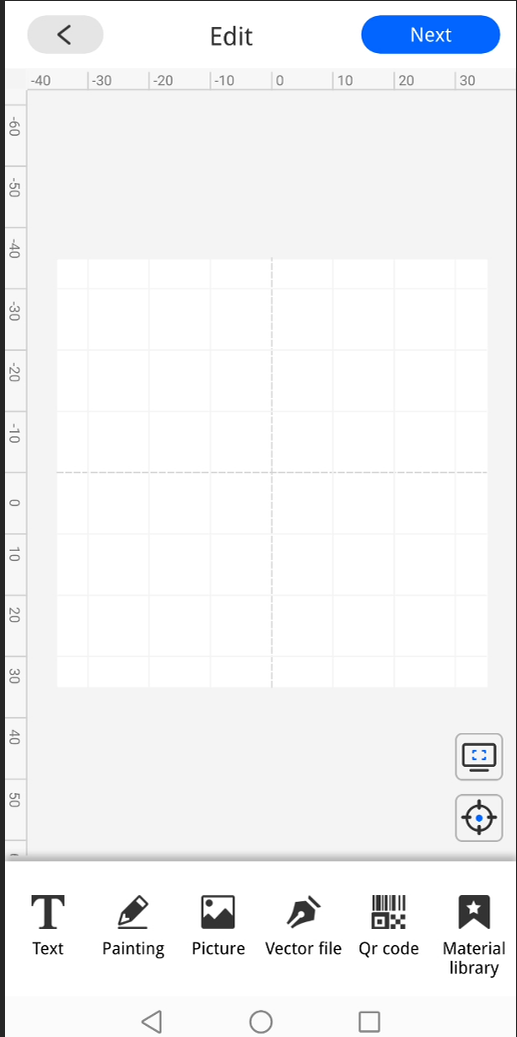
3. Adjust the font style, size, and layout according to your design.
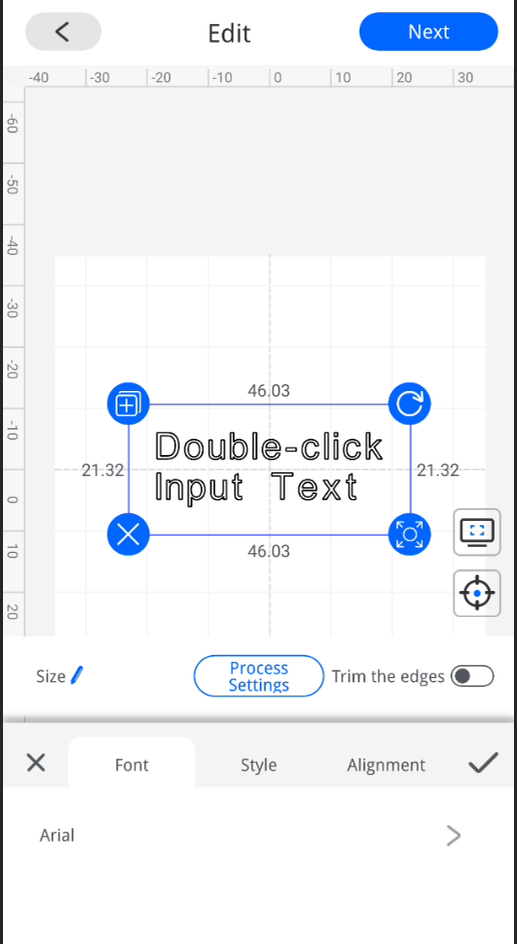
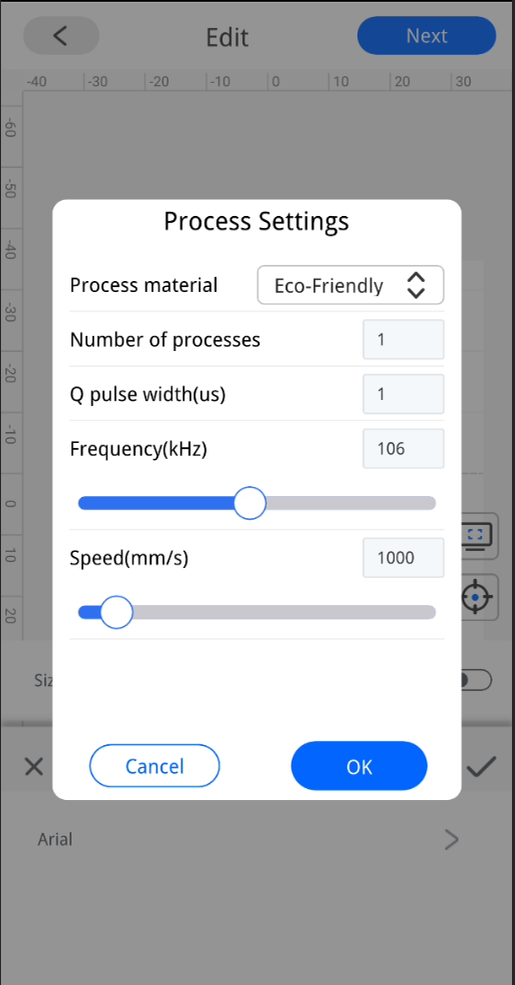
4. Tap Process Settings to enter your engraving parameters, such as power, speed, and resolution.
5. Once your settings are adjusted, tap OK, then Next to proceed.
Step 5: Prepare for Engraving
Before you begin engraving, ensure that everything is set up correctly:
-
Place your material securely on the engraving platform.
-
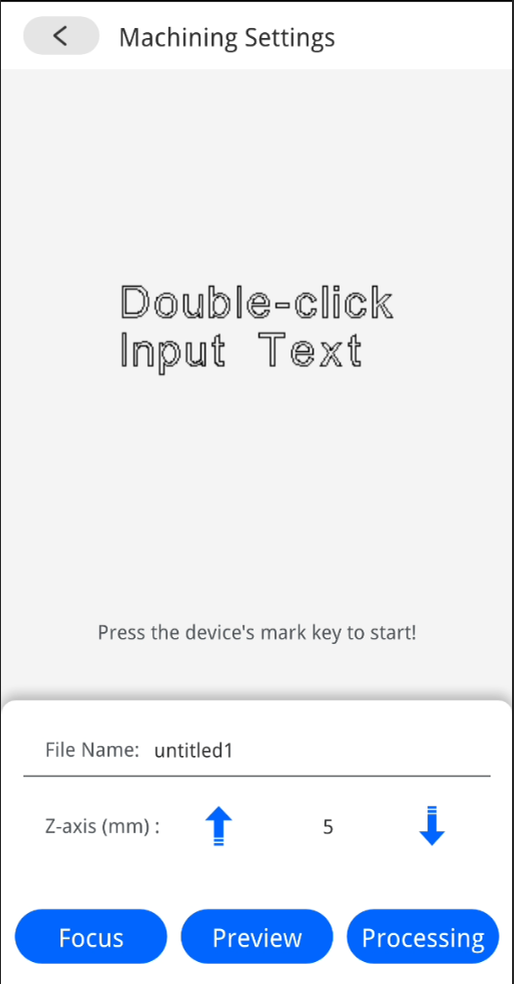
Tap Focus to auto-focus the laser on the engraving surface.
-
Tap Preview to check the engraving size and position on your material.
-
If any adjustments are needed, tap the back arrow to modify your design.
Step 6: Start Engraving
Once everything looks good, you’re ready to start:
-
Tap Processing to begin the engraving.
-
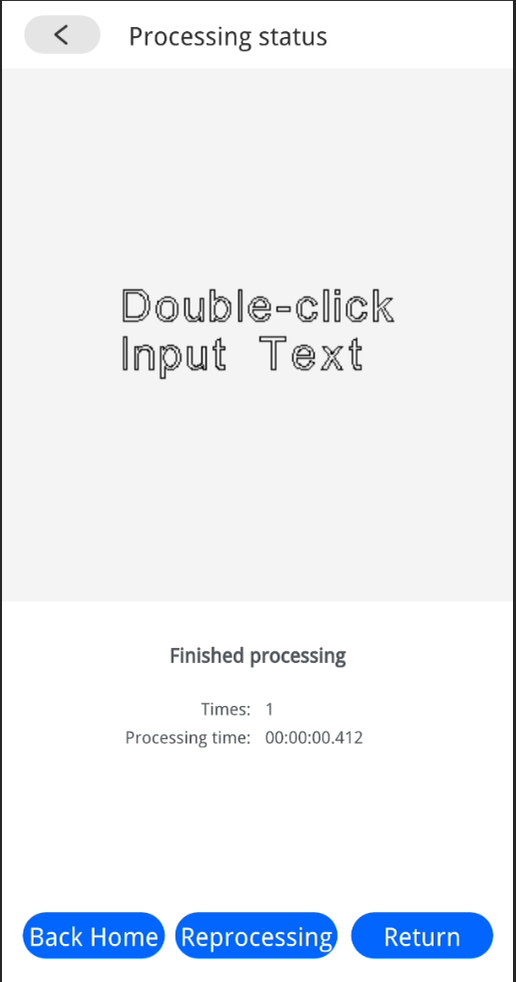
Wait for the engraving process to complete. The app will alert you when it’s finished.
Step 7: Finish Up
After the engraving is complete, you can either return to the main interface or continue working on other projects:
-
Tap Back Home to return to the main menu.
-
Or, tap Return to go back to your current project if you need to make any adjustments or start a new engraving.
Conclusion
The ComMarker App makes controlling your UV laser engraver from your Android device simple and intuitive. With easy-to-follow steps, you can set up your machine, adjust engraving settings, and create professional-quality engravings directly from your phone. Whether you’re engraving custom designs, logos, or intricate artwork, the ComMarker App gives you full control over your laser engraving process.
Ready to get started? Download the ComMarker App today and unlock the full potential of your UV laser engraver!