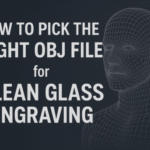
3D inner engraving is one of the most impressive applications of UV laser engraving—especially when you want highly detailed portraits, models, or miniature sculptures inside crystal blocks. Many users wonder whether they can use OBJ files instead of traditional STL files. The answer is yes—and OBJ files can actually deliver much richer surface detail.
This guide explains how to properly use OBJ files for best 3D inner glass engraving, what to prepare, and the step-by-step workflow for ComMarker Studio.
What Makes OBJ Files Better for 3D Inner Glass Engraving?
For laser engraving inside glass, the detail quality comes from how much information your 3D file carries.
Why OBJ files help:
-
OBJ supports surface textures, color maps, and detailed normal information.
-
STL only stores basic geometry—no texture or shading data.
-
For portraits or detailed models, OBJ preserves more visual depth, producing a more realistic inner engraving.
If your goal is to engrave a high-detail photo, 3D face scan, or character model, OBJ is the best choice.
Step-by-Step: How to do 3D Inner Glass Engraving with OBJ files
Important: Before starting a long 3D inner engraving job, turn off your computer’s sleep mode to avoid interruptions.
1. Prepare Your OBJ File Correctly
Before importing anything, open your OBJ file folder and confirm it includes:
-
.OBJ file (the model itself)
-
.MTL file (material file)
-
Texture files (usually .jpg, .png, etc.)
Without these supporting files, the model may import without detail.
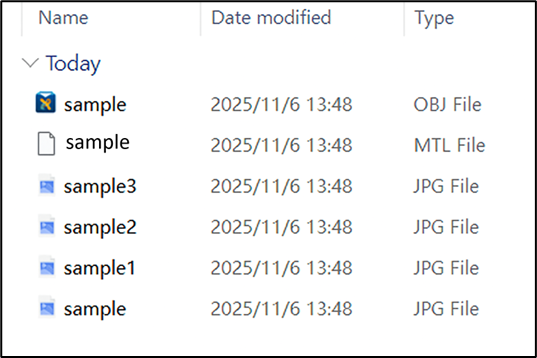
Image 1: Example of a complete and properly structured OBJ file folder
2. Import the OBJ File in ComMarker Studio
Open ComMarker Studio → Import.
📌 Tip: If the OBJ file does not appear in the browser window, manually type its full name in the file name field and press Open.

Image 2: Correct file import path
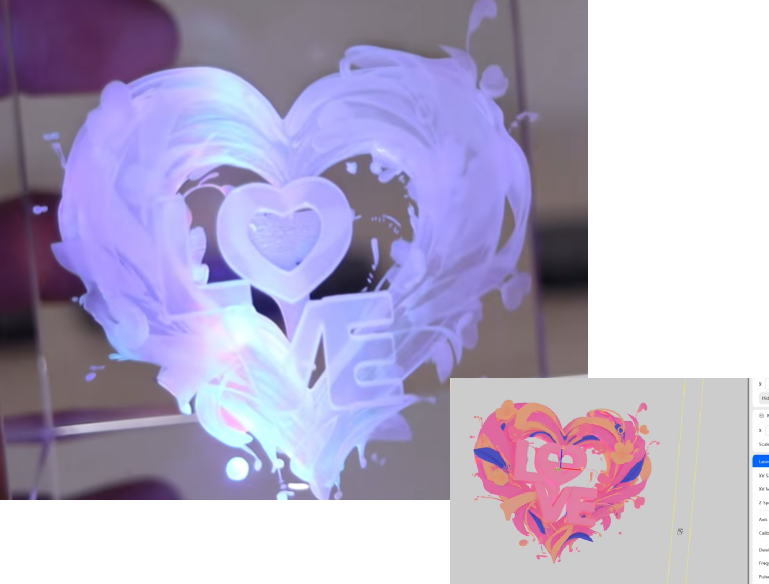
3. Confirm That Textures Loaded Successfully
If the OBJ folder was prepared correctly, the software will automatically read and apply the textures.
Check the preview window to ensure:
-
The model shows shading
-
The details appear smooth and not flat
If the model looks plain or untextured, check whether the MTL or texture images are missing.
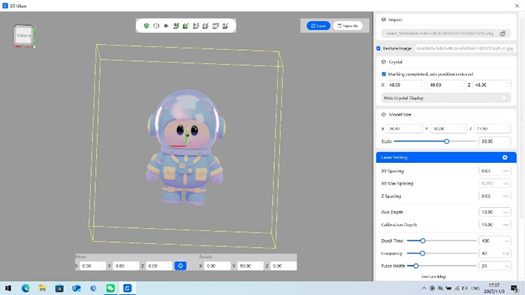
Image 3-1: Correct texture imported result

Image 3-2: Incorrect texture imported result
4. Enter the Dimensions of Your Crystal Block
The software needs to know the internal engraving space.
Input:
-
Width
-
Depth
-
Height
This ensures the engraving area matches the actual glass block.

Image 4: Import area for crystal block size
5. Scale the Model to Fit Inside the Glass
Use the software’s scale tools to resize the model proportionally.
General suggestion:
-
Leave 2–3 mm margin from all internal surfaces to avoid internal cracking.
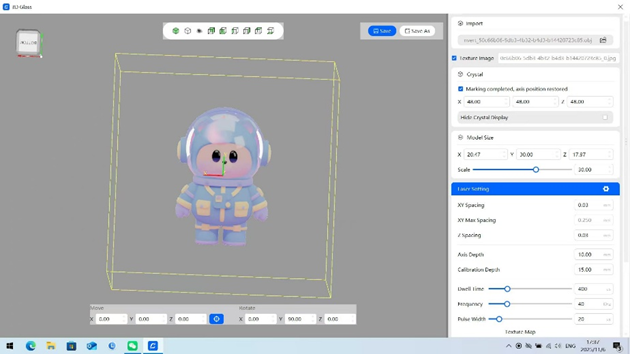
Image 5: Adjust area for model size
6. Rotate and Position the Model Properly
This step determines how the engraving will look from the viewing angle.
Key Tips for Better Result: Make the main viewing angle face the XY plane.
For example:
-
If engraving a human portrait, rotate the head so the face points forward.
-
If engraving a 3D figure, position the best angle on the XY plane.
This ensures your laser renders the cleanest detail on the front-facing side.
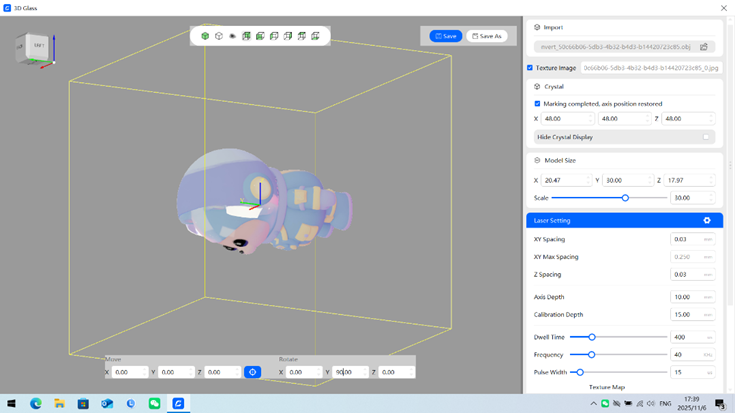
Image 6: Suggested model position and adjust area
7. Import the Recommended Engraving Settings
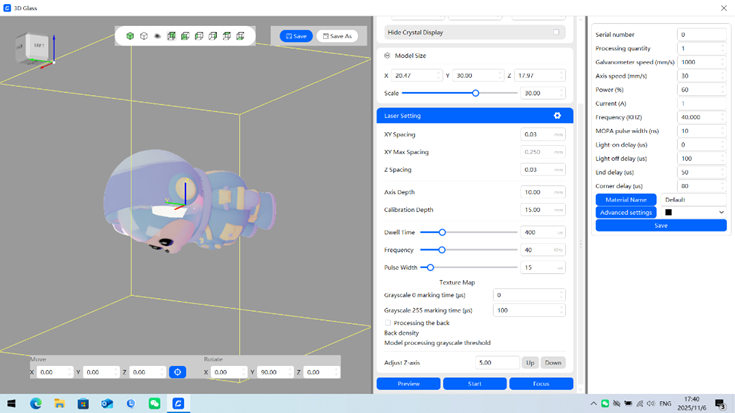
Image 7: Suggested setting
8. Focus the Laser Correctly
Before placing the crystal:
-
Make sure the red dot lands on the engraving bed.
-
Click Focus to perform autofocus.
This tells the machine where the base level is.
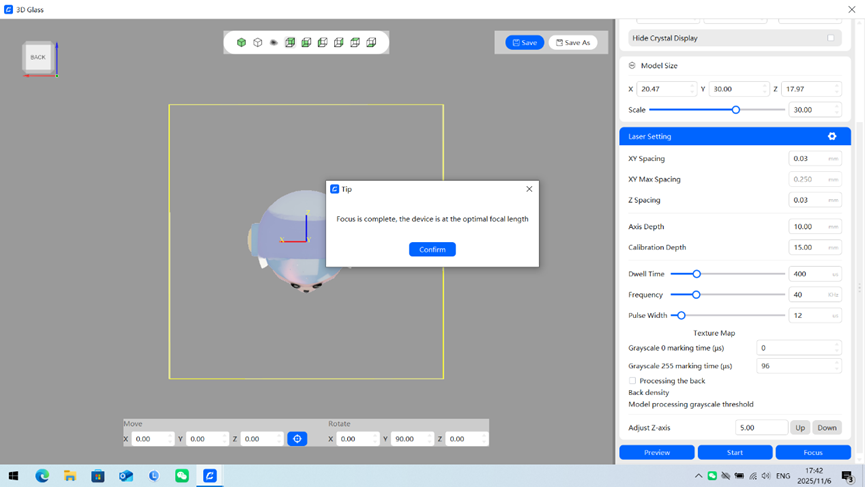
Image 8: Focus complete
9. Place the Crystal Block and Run a Preview
Set your glass block on the platform.
Click:
-
Preview
-
Hold the preview frame tool on the glass surface
-
Check alignment and size
Adjust position as needed.
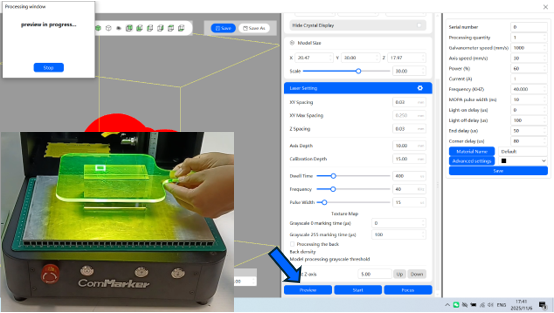
Image 9: Performing preview
10. Start the Engraving
Close the safety door → Click Start.
UV lasers engrave internally point-by-point, so large 3D models may take longer.
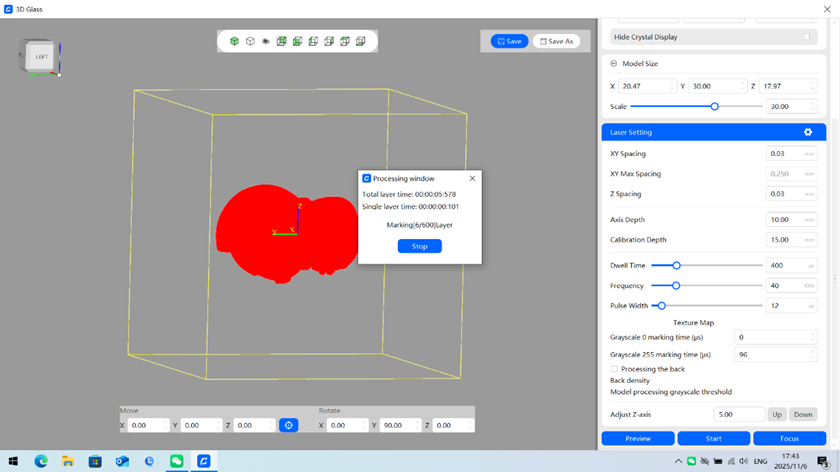
Image 10: Laser engraving in process
11. Check the Result
After the machine stops, remove the crystal and inspect details.
Key Tips for Better Result: If you notice missing dots, increase Greyscale 0 Marking Time.
This boosts dot consistency for difficult textures.
Choosing real K9 crystals for 3d inner laser engraving is also important, you can check K9 Crystal Buying Guide for Laser Engraving for tips of identifying true ones and best channels to get them.
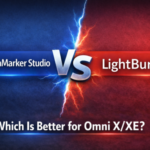
Exploring the ComMarker Omni X UV Laser Engraver: True 3D Glass Engraving and Beyond
Using OBJ files for 3D inner glass engraving unlocks far better detail compared to STL files—especially for faces, photos, or artistic models. The UV laser’s precision, combined with OBJ texture data, results in clean, lifelike engravings inside crystal blocks.
Whether you’re producing gifts, memorial engravings, or high-end art pieces, mastering OBJ-based workflows will greatly enhance your engraving results.