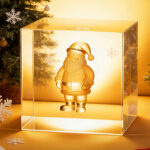
3D glass inner engraving with a UV laser is one of the most stunning ways to create custom gifts, portraits, and artistic crystal pieces. But many users discover that not all OBJ files produce clean or detailed results. Some models appear too bright, lose face details, or show unwanted marks inside the glass.
The good news: selecting the right model for inner glass engraving solves most of these problems.
This guide explains how to choose an OBJ file that works perfectly with UV laser engraving, and 3D inner glass tengraving—so your final crystal engraving looks sharp, clean, and realistic.
Why OBJ File Selection Matters for 3D Inner Glass Engraving
Unlike STL files, OBJ models can contain:
-
Texture maps
-
Surface brightness information
-
Fine detail shading
This helps UV lasers generate more lifelike engraving points inside the glass.
However, OBJ files also vary greatly in quality. If the model contains overlapping surfaces, or hollow structures, the laser will interpret these as real geometry, resulting in:
-
Missing facial features
-
Extra random dots
-
Washed-out textures
-
Ghost shadows inside the glass
That’s why proper model selection is essential.
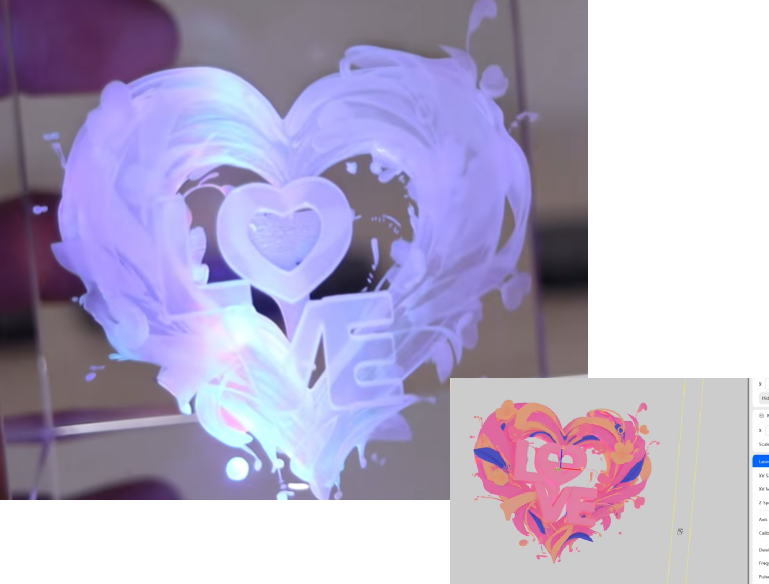
1. Preview Your OBJ Texture in Grayscale
Before engraving, take a screenshot of your OBJ model and convert it to black and white.
This helps you evaluate:
-
Whether the texture looks natural
-
Whether brightness and shadows are proportional
-
Whether any areas are overly bright or too flat
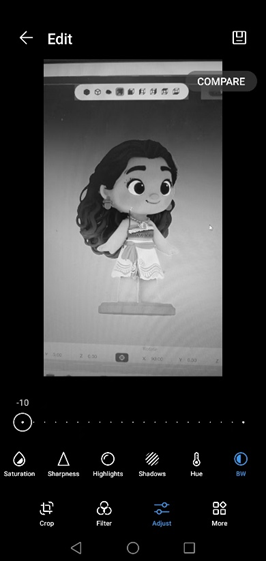
Image 1-1: Check the contrast of the model
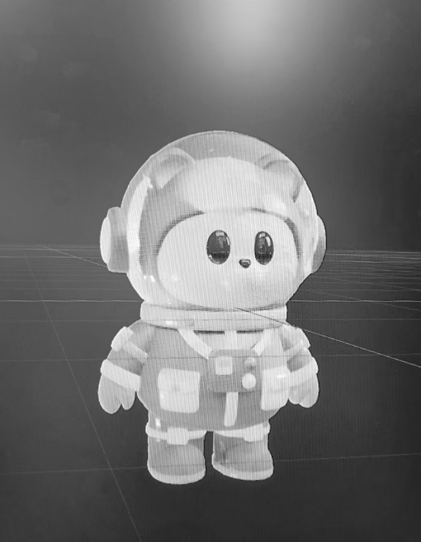
Image 1-2: Low-contrast model
Tip:
Almost all smartphones (iPhone/Android) let you apply a “B&W” filter directly in the photo editor.
If the grayscale preview looks muddy, blown-out, or lacking contrast, the inner engraving will also appear unclear.
2. Choose a Model Without Wall Thickness
For glass engraving, OBJ models should be:
-
Single-surface
-
Not hollow
-
No internal cavities
Why?
Because inner glass engraving relies on marking only one surface.
If the OBJ file contains walls or internal structures, the UV laser may produce:
-
Double outlines
-
Ghost shadows
-
Depth misalignment
These issues make faces, figures, or objects difficult to read from the front view.
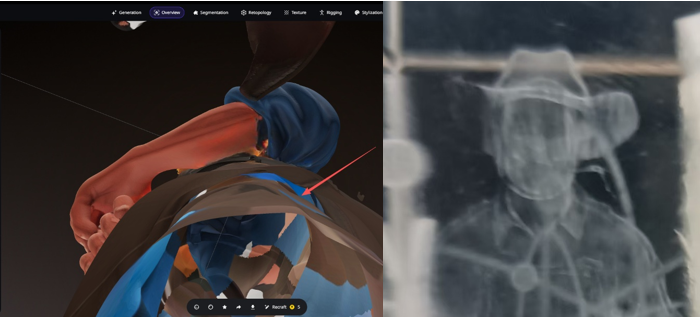
Image 2: Model with wall and the result
3. Choose a Model With a Clean Surface
AI-generated OBJ models often contain:
-
Random bumps
-
Microscopic artifacts
-
Speckled surfaces
These tiny imperfections become engraved dots, which can make the final crystal appear:
-
Rough
-
Dusty
-
Blurred
Before using a model:
-
Inspect it carefully under bright lighting in your 3D viewer
-
Ensure the skin, face, or shapes look smooth and consistent
The cleaner the surface, the cleaner the engraving.
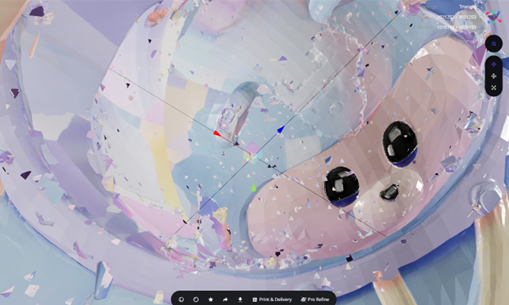
Image 3: Dirty model surface
4. Avoid Models With Overlapping Shells That Hide Important Details
Some models—especially characters wearing helmets, armor, or layered clothing—have thick outer shells.
This creates two problems:
-
The outer shell appears as a bright white mass in grayscale
-
The face (with softer white levels) blends into it and disappears
As a result:
-
Facial details become nearly invisible
-
The engraving loses depth and realism
If the outer shell covers or blends with important features, choose another model or remove the shell in your 3D software.
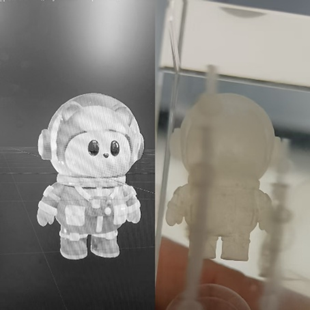
Image 4: Model with shell and its result
Final Thoughts
Getting a stunning 3D inner engraving inside glass is not only about the UV laser or engraving settings—it starts with choosing the right OBJ file.
To ensure the best results:
✔ Preview textures in grayscale
✔ Use models with no wall thickness
✔ Avoid noisy or artifact-heavy surfaces
✔ Stay away from models with overlapping shells over key details
Following these tips will dramatically improve clarity, detail, and realism inside crystal blocks—whether you’re engraving portraits, figures, pets, or 3D objects.