When using a laser engraver, matching the right laser source with the proper field lens isn’t just a technicality—it’s the secret to maximizing your engraving precision, power, and speed. Whether you’re working with metal, plastic, or ceramics, understanding how these two core components interact will directly impact the quality of your results. This guide will help you pair them effectively based on your material and application.

Understanding the Laser Source and Its Role
Before diving into lens selection, let’s review the three most common laser sources:
| Laser Type | Wavelength | Best For | Example Materials |
|---|---|---|---|
| CO₂ Laser | 10,600 nm | Organic materials | Wood, acrylic, leather |
| Fiber Laser | 1,064 nm | Metals & hard plastics | Stainless steel, aluminum, ABS |
| UV Laser | 355 nm | Heat-sensitive & fine detail work | Plastic, glass, ceramics |
Each laser source emits light at a specific wavelength, which affects how well it is absorbed by the target material. This is crucial because poor absorption means weak marking or even surface damage.

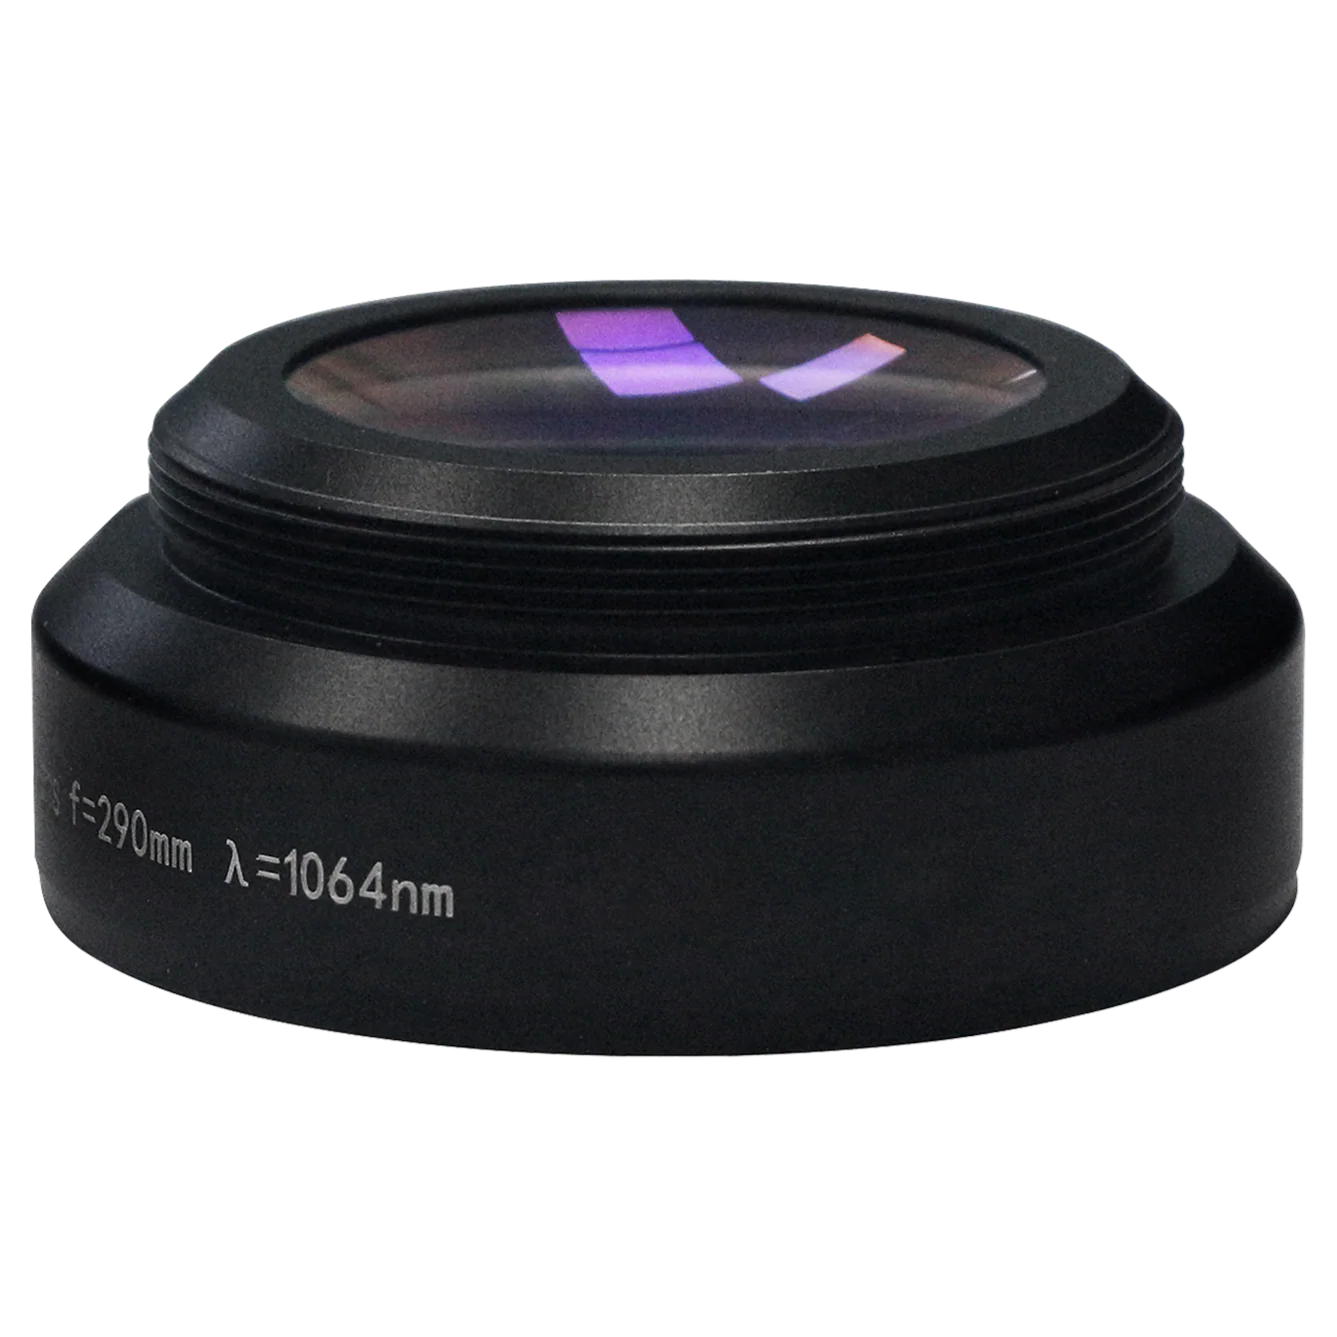
Choosing the Right Field Lens (F-Theta Lens)
The field lens, also called an F-theta lens, determines your engraving area and focus characteristics. Important factors include:
- Focal Length (e.g., 100mm, 200mm): Shorter focal lengths = smaller working area, tighter focus = higher detail.
- Spot Size: Smaller spot size = higher precision, but less depth.
- Distortion: A good F-theta lens minimizes edge distortion in large working fields.
Typical Pairings for Efficiency
| Laser Type | Typical F-Theta Lens | Use Case |
|---|---|---|
| CO₂ | 63.5mm or 100mm | Cutting/engraving wood or acrylic signs |
| Fiber | 160mm or 254mm | Deep metal engraving or color marking |
| UV | 110mm or 150mm | QR code etching on plastics, IC chips, glass bottles |
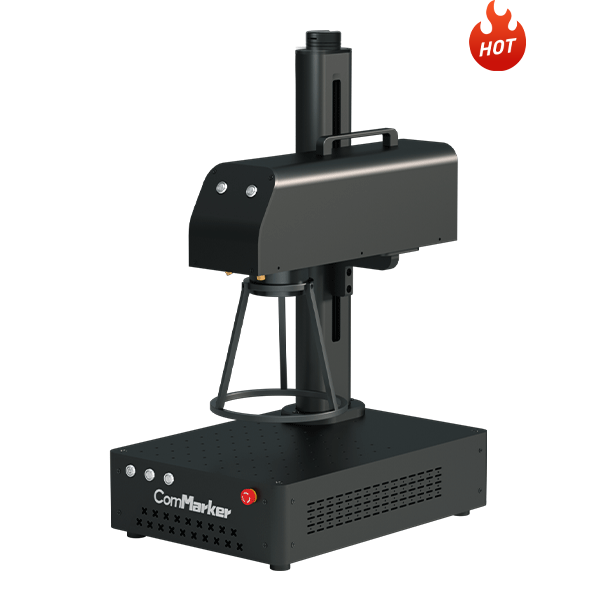
Tip: For the ComMarker Omni 1 UV laser engraver, a 110mm field lens gives excellent accuracy on small plastics, while a 150mm lens is better for glass or ceramic surfaces.

Matching Considerations That Matter
- Wavelength Compatibility
A lens designed for 1064nm (fiber) won’t transmit 355nm (UV) effectively. Make sure your lens matches your laser source wavelength. - Engraving Area vs. Precision
Larger field lenses cover more surface area, but with a larger spot size. If you’re marking fine logos or QR codes, use a smaller lens. - Material Type
- Metal: Fiber laser + 254mm lens for coverage or 160mm for depth.
- Plastic: UV laser + 110mm lens = crisp, high contrast.
- Organic: CO₂ + 63.5mm = fine details on wood or leather.

Recommended Setups for Beginners and Professionals
| Material | Best Laser Type | Ideal Lens | Use Case |
|---|---|---|---|
| Stainless Steel | Fiber Laser | 160mm | Deep engraving, tools |
| Plastic Products | UV Laser | 110mm | Serial numbers, QR codes |
| Glassware | UV Laser | 150mm | Logos on bottles |
| Leather Tags | CO₂ Laser | 63.5mm | Custom branding |
How to Match Laser Source and Lens for Maximum Engraving Efficiency
When using a laser engraver, matching the right laser s…
Matching Smartly Maximizes Your Laser Engraver’s Potential
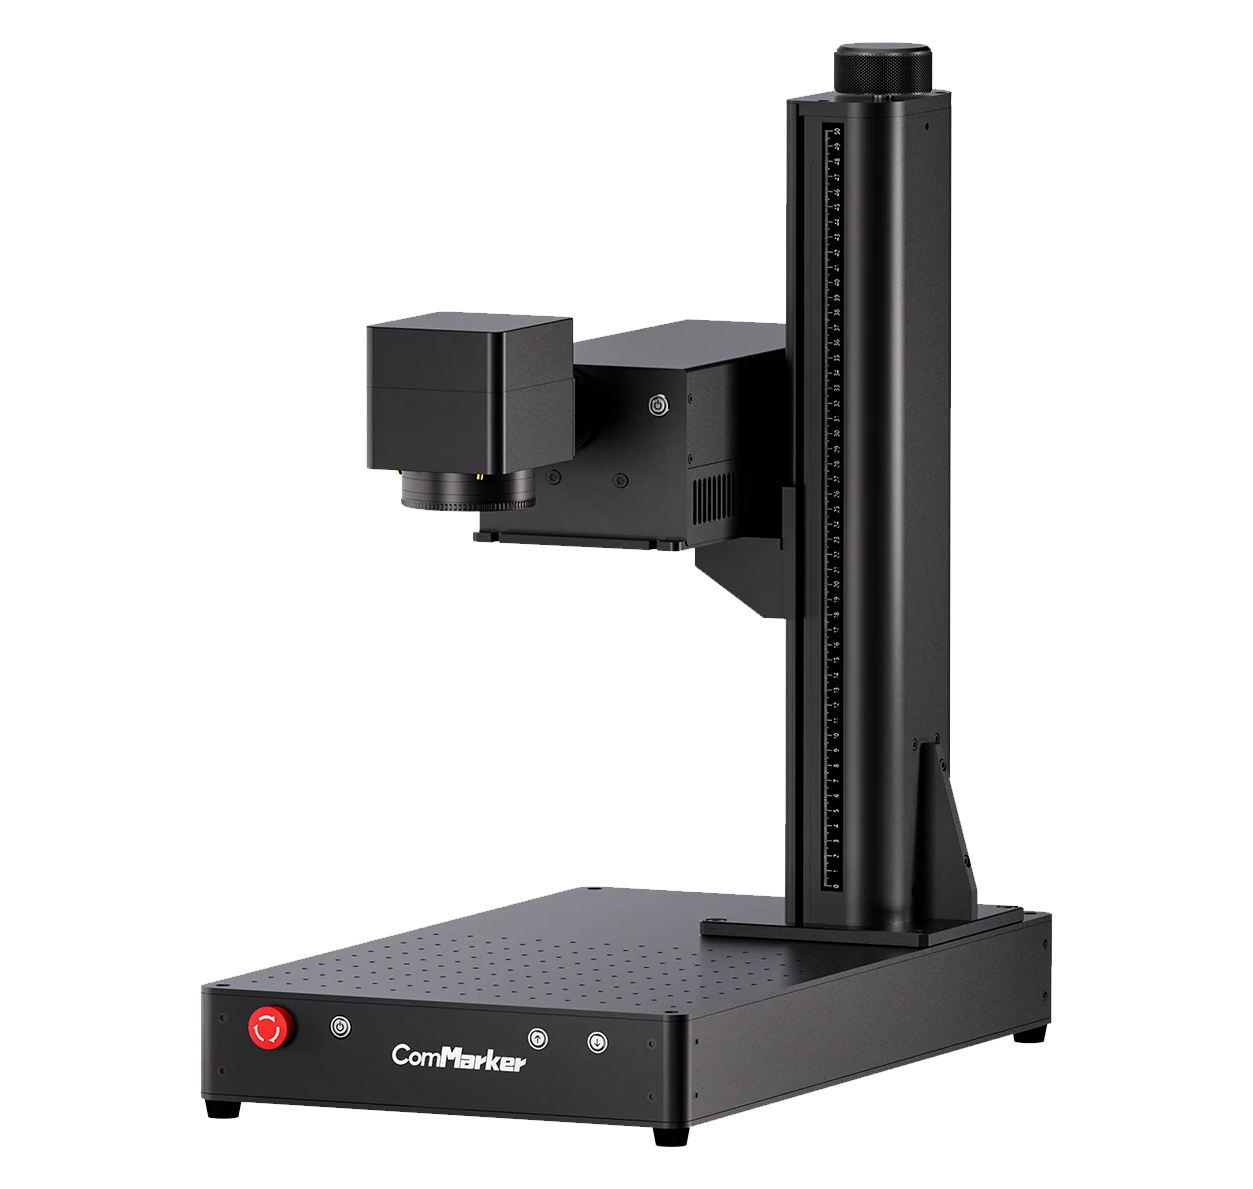
Choosing the right combination of laser source and lens is the foundation of getting pro-level engraving results—without wasting time or materials. If you’re just getting started or upgrading your current setup, the ComMarker Omni 1 UV offers pre-configured lens options with powerful wavelength precision, making it a flexible solution for plastic, glass, stone, and metal engraving.
Looking for an all-in-one solution? Check out the ComMarker Omni 1—a professional-grade laser engraver with customizable lens options and versatile UV laser power.