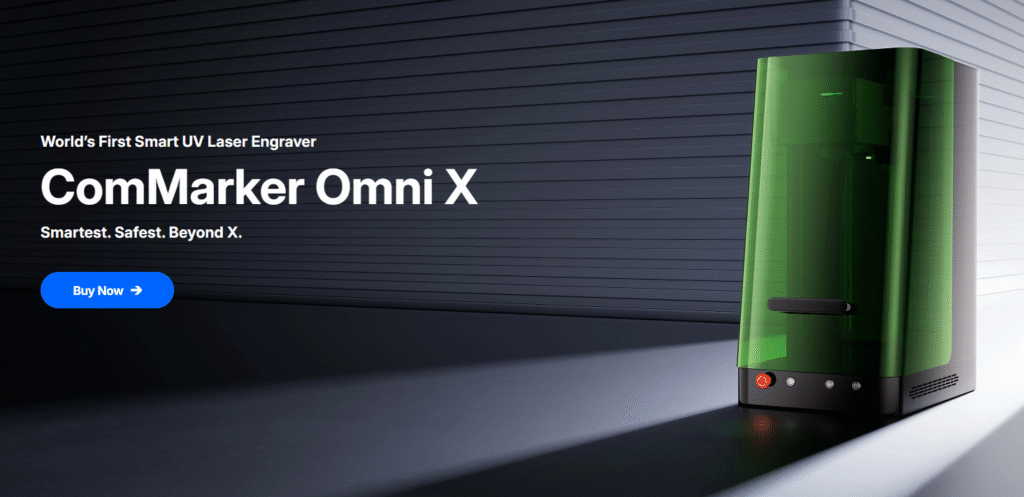
Engraving on glass can be one of the most rewarding — yet challenging — projects for any laser user. With the ComMarker Omni X UV Laser Engraver, beginners can achieve stunning, professional-looking results without the frustration that often comes with learning how to handle fragile materials like glass.
This guide walks you through everything you need to know to laser engrave glass, from choosing the right settings to tips that protect your material and improve engraving quality.
What is UV Laser Engraving on Glass?
UV laser engraving on glass uses ultraviolet (UV) lasers to etch designs into the surface of the material. UV lasers are particularly effective for glass because they can focus tightly and deliver high precision without causing thermal damage or cracking the glass. This makes them ideal for engraving high-quality, detailed designs on various types of glass, from crystal trophies to decorative glassware.
Unlike CO₂ or fiber lasers, UV laser engraver like the Omni X engraves glass with a 355 nm wavelength, allowing it to engrave delicate materials such as glass, crystal, and acrylic without excessive heat.
This means no cracking or chipping, sharper and cleaner lines and smooth, frosted engraving finish ideal for logos, text, or fine art patterns. See detailed compare on UV vs CO2 vs Fiber vs Diode laser glass engraving
How Can Lasers Engrave Glass?
Laser engraving on glass can be achieved in four main ways, each producing a different visual and physical effect:
1. Surface Engraving:Step-by-Step Guide
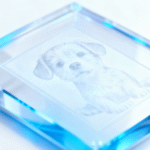
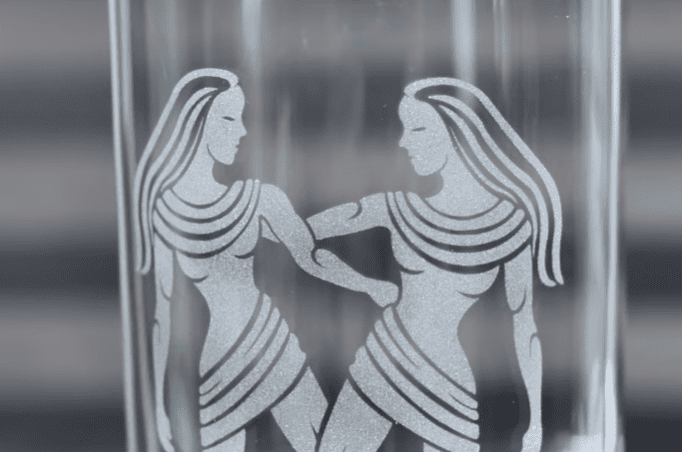
Surface engraving is the most common method. The laser creates tiny micro-fractures on the glass surface through thermal stress, forming a frosted white mark that contrasts with the smooth background.
1).Import Your Design and Set Parameters
The first step in any laser engraving project is to prepare your design. Open your engraving software and import your artwork. Adjust the settings, including engraving speed, power, and resolution. For UV laser engraving on glass, make sure the parameters are optimized to handle the material’s unique optical properties.
Recommended Glass Engraving Settings (Based on the Omni X Material Guide)
For the Omni X (5 W) with a 70 mm lens, here are the suggested beginner settings for glass engraving:
| Parameter | Recommended Value |
|---|---|
| Power (%) | 85–95% |
| Speed (mm/s) | 200–300 |
| Frequency (kHz) | 20 |
| Q-Pulse Width (ns) | 2–3 |
| Fill Interval (mm) | 0.02–0.03 |
| Passes | 1–2 |
2).Prepare the Glass Workpiece
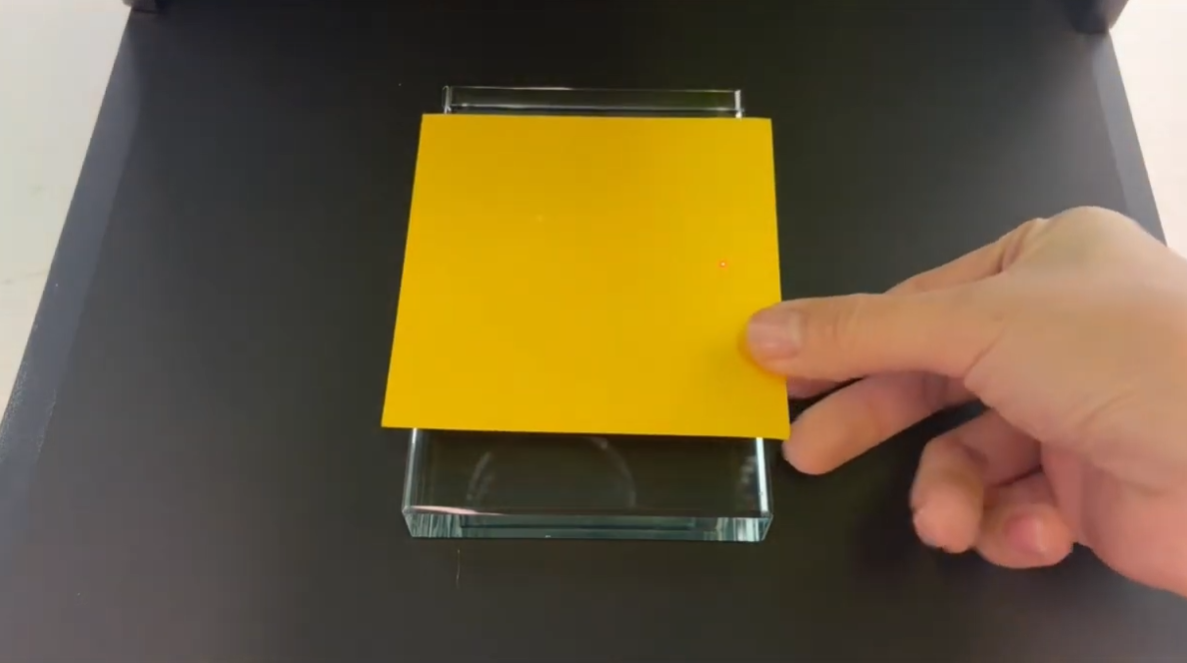
Place the glass piece on the engraving bed. If you’re working with clear glass, it’s recommended to place a sheet of paper on top of the engraving surface. This helps the laser focus more accurately and avoids potential issues with transparency.
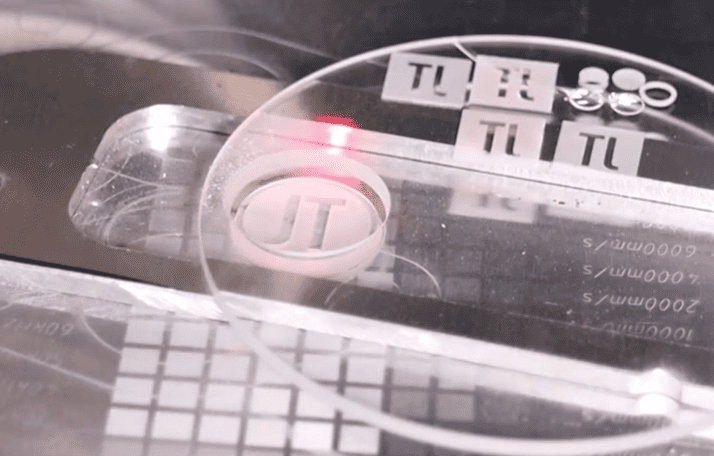
3).Autofocus for Precision
Click on the autofocus function to allow the machine to find the optimal focal point for engraving. This is a crucial step, as precise focusing ensures clean, sharp engravings. However, keep in mind that some types of glass may have special optical properties that affect the autofocus result.

4).Preview the Design
Once the autofocus is complete, use the preview function to check the size and position of your design. Make sure everything looks good before starting the engraving process. Adjust the placement if necessary to ensure the design fits within the engraving area.
5).Start Engraving
If everything looks good, click “start” to begin the engraving. The UV laser will now etch your design onto the glass. Depending on the complexity of the design, the process may take some time, so be patient as the machine works its magic.
2. Glass Relief Engraving
Relief engraving is created by controlling depth through multiple passes or grayscale images.
This allows you to create layered textures, smooth transitions, and even 3D-like effects on glass.
Check detailed guide on how to perform glass relief engraving with UV laser engraver
3. Glass Cutting (Scoring & Breaking)
Glass cutting is typically achieved by repeatedly marking a line with the laser, then breaking the material along that scored path.
For details of cutting glass, check guide on How to Cut Materials with Omni X UV Laser Engraver?
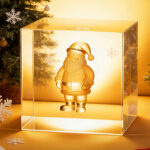
4. Subsurface (Internal) Engraving
Subsurface engraving focuses the laser inside the glass rather than on the surface, creating tiny internal fractures.
You need a laser engraver with auto Z-axis and 3D files. Check Guide to 3D Inner Glass Laser Engraving for more details

Common Beginner Mistakes (and How to Avoid Them)
-
❌ Using too high power – causes deep fractures and rough edges.
✅ Keep power below 95% and reduce dwell time if needed. -
❌ Skipping the focus check – results in blurry or uneven lines.
✅ Always verify focal distance before each job. -
❌ Engraving coated or tempered glass – may crack instantly.
✅ Use untreated, plain glass whenever possible.
Special Tips for Laser Engraving Glass
Understanding Focus Distance for Glass Engraving
Some types of glass have special optical properties, which can affect the true focus distance of the laser. Typically, the actual focus point for certain glass types may be 2 to 3 mm shorter than the autofocus result. This can result in blurred or uneven engravings if not corrected.
How to Find the True Focus Distance with the Ramp Test
To achieve the sharpest glass engraving possible, you need to find the true focus distance. Here’s how to perform the ramp test:
-
After performing autofocus, slightly lift one end of the glass to create a slight slope.
-
Engrave a long, straight line across the sloped surface of the glass.
-
You will notice that some parts of the engraving are clearer than others. Measure the distance from the laser head to the spots where the engraving is the sharpest. This will help you identify the true focus point.
For example, if the manual focus distance is 183 mm but the sharpest engraving occurs at 180 mm and 181 mm, you’ll know that the actual focus point is slightly above the autofocus result.
Troubleshooting Common Issues in Glass Engraving
-
Uneven Engraving: If the engraving is blurry or uneven, check the focus distance. The ramp test can help you fine-tune this.
-
Cracking or Shattering: When working with glass, it’s important to adjust the laser’s power to prevent excessive heat buildup, which can cause the glass to crack. A lower power setting is typically best for fine detail work.
-
Inconsistent Depth: Ensure the laser head remains at the correct height and focus throughout the engraving process. Manual adjustments may be needed for subsurface engraving.
Creative Project Ideas
Once you master glass engraving, you can easily expand your projects:
-
Personalized wine glasses for weddings or anniversaries.
-
Frosted glass awards and corporate trophies.
-
Decorative mirrors and ornaments.
-
Engraved coasters or candle holders for home décor.
Final Thoughts
The ComMarker Omni X UV Laser Engraver makes glass engraving approachable even for beginners. With its fine precision, automatic focusing, and user-friendly control software, you can produce professional-grade results right from your workshop or small business.
Whether you’re making custom gifts or expanding your engraving business, mastering glass with a UV laser engraver is a rewarding skill that opens endless creative possibilities.