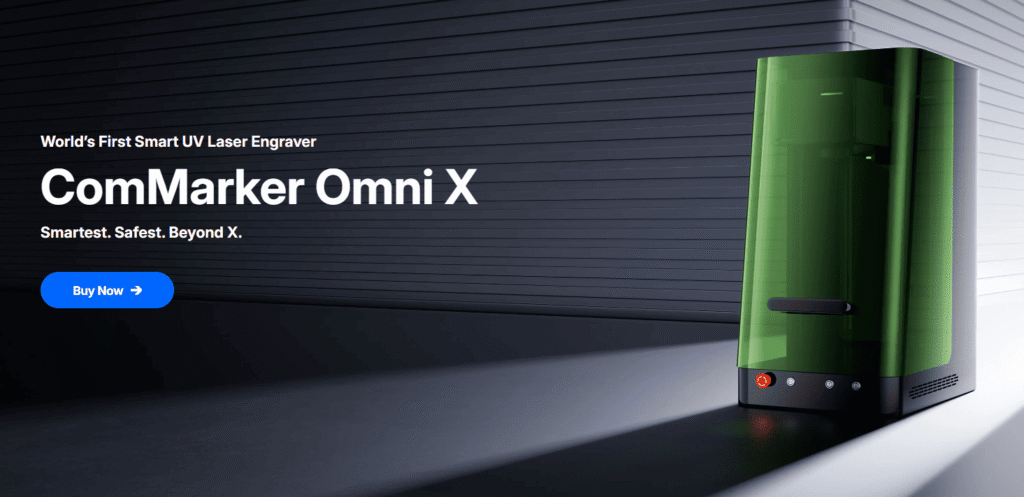
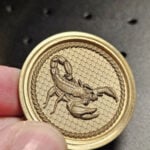
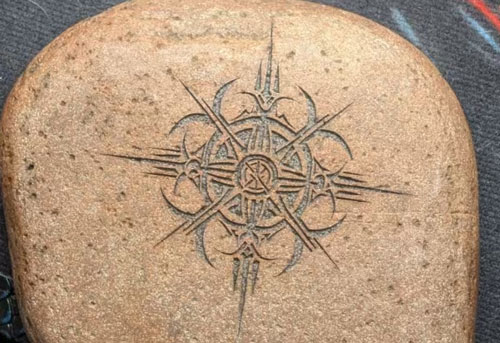
Metal engraving might sound intimidating at first — after all, metal is hard, durable, and not as forgiving as wood or plastic. But with the ComMarker Omni X UV Laser Engraver, even beginners can achieve sharp, detailed, and long-lasting engravings on various metals.
This guide will walk you through everything you need to know — from understanding how UV lasers interact with metal to practical engraving settings and real-world tips that will help you master your first project with confidence.
Why Choose a UV Laser Engraver for Metal?
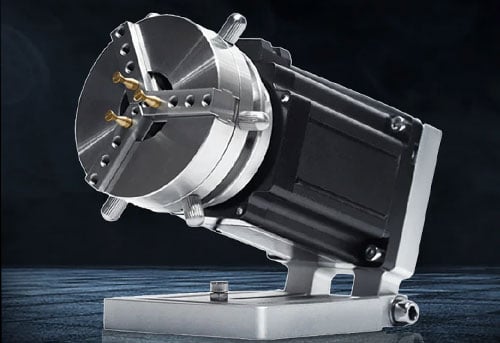
The Omni X uses a 355 nm ultraviolet laser, which offers ultra-fine precision and minimal heat output compared to fiber or CO₂ lasers.
This makes it especially useful for:
-
Delicate metal marking — such as jewelry, electronics, and fine tools.
-
High-contrast engravings — perfect for barcodes, serial numbers, or logos.
-
Minimal surface damage — no deep cuts, burns, or oxidation.
Unlike fiber lasers that rely on heat to etch, the UV laser operates through a “cold marking” process, vaporizing the surface layer without warping or melting the surrounding area.
Recommended Metal Engraving Settings (Based on Omni X Material Guide)
For ComMarker Omni X 6W and 70mm lens, here are the suggested starting parameters:
Stainless Steel/Aluminum:
| Parameter | Recommended Value |
|---|---|
| Speed (mm/s) | 2000 |
| Freq | 40 |
| Pulse | 1 |
| Interval | 0.02 |
| Parameter | Recommended Value |
|---|---|
| Speed (mm/s) | 1000 |
| Freq | 40 |
| Pulse | 1 |
| Interval | 0.02 |
| Parameter | Recommended Value |
|---|---|
| Speed (mm/s) | 500 |
| Freq | 40 |
| Pulse | 1 |
| Interval | 0.01 |
Step-by-Step: How to Engrave Metal with the Omni X
1. Prepare Your Metal Surface
Clean the surface using alcohol or acetone to remove oil and dirt. Even minor residue can affect the engraving quality and contrast.
2. Focus the Laser
Use the Omni X’s auto-focus system to ensure accurate beam positioning. For metal engraving, the focal distance determines how sharp and deep the marks appear.
3. Set Parameters in Software
In the ComMarker Studio software, load your design and apply the settings.
Check if the lens selection in the software matches the lens mounted on the laser engraving machine.
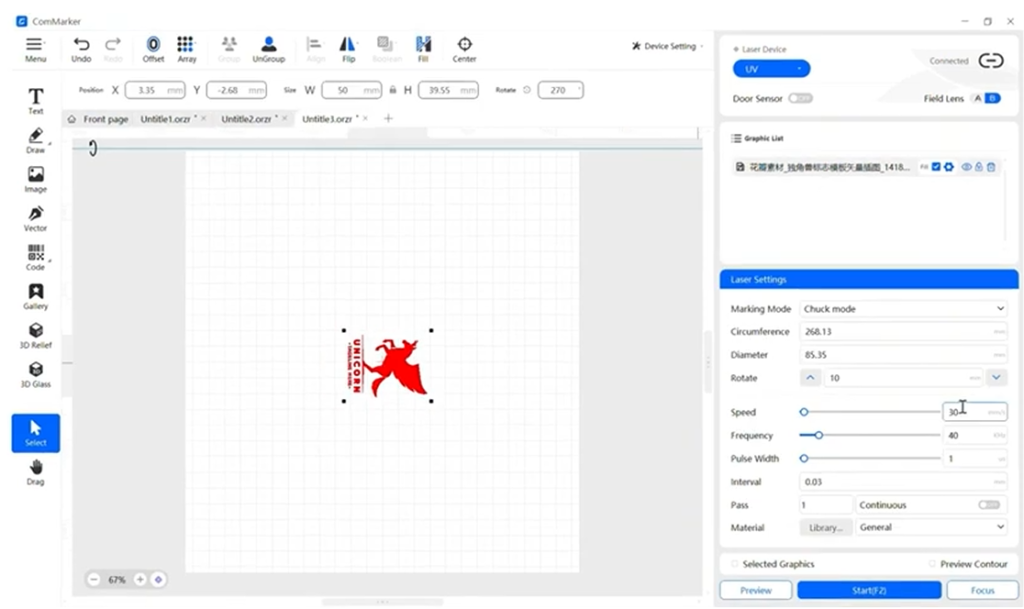
4. Preview
Click preview in the software and use the preview helper to see the engraving area. Adjust the location if needed.
5. Engrave and Inspect
Once satisfied with your test, start the full engraving. If the mark looks too faint, increase the number of passes or slightly lower the speed.
6. Finishing Up
After engraving, wipe the surface clean. If you want a darker contrast, you can use blackening fluid or polish lightly with fine sandpaper to highlight the details.
Common Beginner Mistakes (and How to Fix Them)
| Result | Solution |
|---|---|
| Burn marks, surface warping | Increase speed and frequency slightly |
| Blurry or uneven marks | Recheck auto-focus before engraving, makesure the material is level |
| Light scattering, weak marks | Use matte coating spray or increase passes. |
| Rough surface texture | Limit to 1–3 passes and increase pulse width instead |
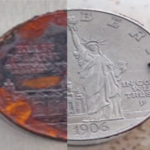
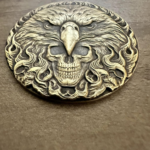
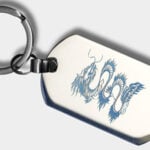
Types of Metal You Can Engrave with the Omni X
The Omni X UV Laser Engraver can handle a wide range of metals with excellent results:
-
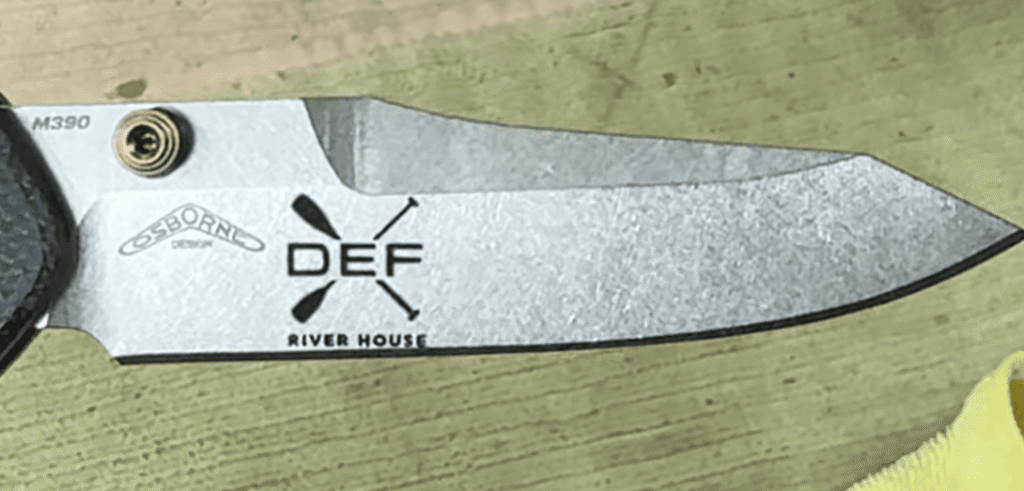
Stainless Steel: Clean, high-contrast engraving — perfect for nameplates and tools.
-
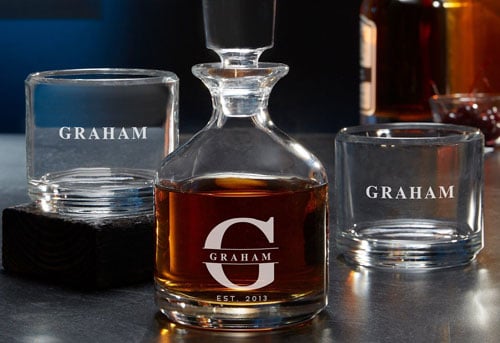
Aluminum & Anodized Aluminum: Smooth, bright marks ideal for electronics and branding.
-
Brass & Copper: Produces rich, detailed marks — ideal for luxury or artistic pieces.
-
Titanium: Enables vivid color engraving with fine pulse adjustments.
-
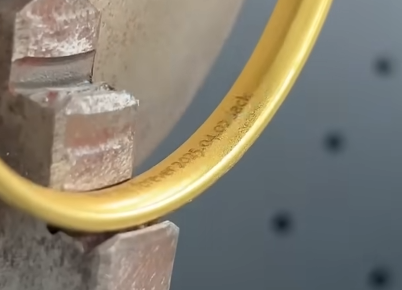
Gold & Silver: Safe, non-destructive engraving for jewelry customization.
Pro Tips for Best Results
-
🔧 Use the 70mm field lens for fine detail and logos; switch to 150mm for larger areas.
-
🧊 Keep your workspace cool and ventilated — even though UV lasers produce minimal heat, consistent cooling ensures long-term precision.
Why Omni X Stands Out for Metal Engraving
-
SuperVision™ Precision Optics for ultra-fine detail.
-
Stable 6W UV Source — ideal for marking both coated and bare metals.
-
Compact Design — fits comfortably on a desktop yet delivers industrial-grade results.
-
ComMarker Studio Software — user-friendly control with built-in presets for multiple materials.
Final Thoughts
The ComMarker Omni X UV Laser Engraver opens the door for creators, DIYers, and small businesses to explore high-precision metal engraving without needing industrial experience.
Its ease of use, clean engraving results, and versatility make it the perfect first step into professional-quality metal marking.
So, whether you’re personalizing stainless steel tools, branding aluminum tags, or creating custom jewelry — the Omni X is ready to help you bring your designs to life.