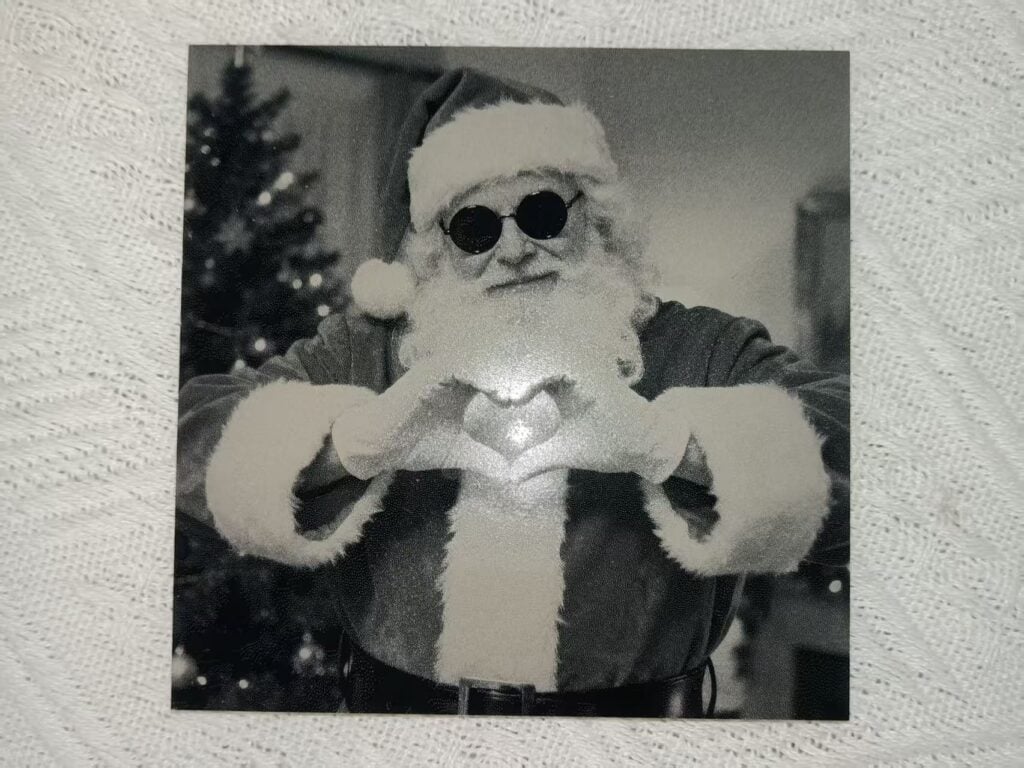
Acrylic engraving is one of the most rewarding things you can do with a UV Laser Engraver. It’s clean, precise, and creates a professional frosted finish that looks great for signage, decorations, LED lamps, and more.
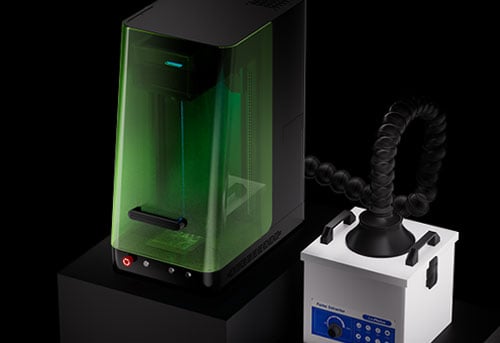
With the ComMarker Omni X UV Laser Engraver, even beginners can achieve beautiful, detailed results on all types of acrylic. In this guide, we’ll walk you through the types of acrylics you can engrave, the correct laser settings, and step-by-step tips to help you master your first project.

Why Use a UV Laser Engraver for Acrylic?
UV lasers, like the Omni X’s 355 nm cold laser, interact with acrylic through photo-ablation rather than melting.
This means the laser removes material cleanly without generating much heat — no burns, bubbles, or edge deformation.
Here’s why UV lasers are ideal for acrylic:
-
✅ No edge yellowing or melting
-
✅ Smooth, frosted engraving finish
-
✅ Sharp fine details
-
✅ Safe for thin or transparent materials
Unlike CO₂ lasers, which can cause melting or clouding, the Omni X UV laser maintains crystal-clear definition and consistency.

Understanding Different Types of Acrylic
Before you engrave, it’s important to know that not all acrylics are the same. The results will vary depending on the type, color, and finish.
1. Cast Acrylic (PMMA)
-
Best for engraving.
-
Produces a smooth, white frosted finish when engraved.
-
Commonly used in LED lamps, awards, and signs.
-
Ideal for detailed logos or text.
Tip: Cast acrylic reacts very well to UV engraving — start with moderate power (80–90%) and medium speed for the best clarity.
2. Extruded Acrylic
-
Slightly cheaper than cast acrylic.
-
Doesn’t produce as sharp or frosty engravings.
-
May appear more transparent after engraving.
Tip: Use lower power and faster speed to prevent surface roughness.
3. Colored Acrylic Sheets
-
Available in opaque, translucent, or solid colors.
-
Engraving contrast depends on color — lighter colors show less contrast.
Tip: For dark or translucent acrylic, reduce frequency and power slightly to maintain color accuracy and avoid overburning.
4. Mirror Acrylic
-
Features a reflective coating on one side.
-
Always engrave from the back side (reverse mirror your design).
-
Creates a beautiful, reflective 3D effect when viewed from the front.
Tip: Lower the power (60–70%) and use one pass. Engraving too deep may remove the mirror layer entirely.
5. Frosted or Textured Acrylic
-
Already has a matte surface.
-
Laser engraving deepens the contrast and texture.
Tip: Use 70–80% power and medium speed for a subtle effect.
Recommended Laser Settings for Acrylic (Based on Omni X Material Guide)
| Parameter | Recommended Range |
|---|---|
| Power (%) | 80–100% |
| Speed (mm/s) | 300–600 |
| Frequency (kHz) | 20–30 |
| Q-Pulse Width (ns) | 2–4 |
| Fill Interval (mm) | 0.03–0.05 |
| Passes | 1–2 |
💡 Pro Tip: Start with a test engraving on a corner or scrap piece of the same acrylic type. Each color and finish reacts slightly differently to UV light.
Step-by-Step: How to Laser Engrave Acrylic with the Omni X
Step 1: Prepare the Surface
Clean the acrylic with a soft cloth and isopropyl alcohol. Remove any protective film before engraving.
🧽 Dust or fingerprints can cause uneven engraving marks.
Step 2: Focus the Laser
Use the Omni X LiDAR autofocus feature for precise focusing. Accurate focus is critical to achieving a sharp frosted mark.
Step 3: Adjust Your Settings
Open the ComMarker Design Room software. Load your design and apply the settings recommended above.
For clear acrylic, use higher power and slower speed; for colored acrylic, lower power slightly.
Step 4: Run a Test Pass
Always do a test run on a small section to check for clarity and depth. If the engraving looks too shallow, lower the speed slightly or increase power by 5%.
Step 5: Engrave Your Design
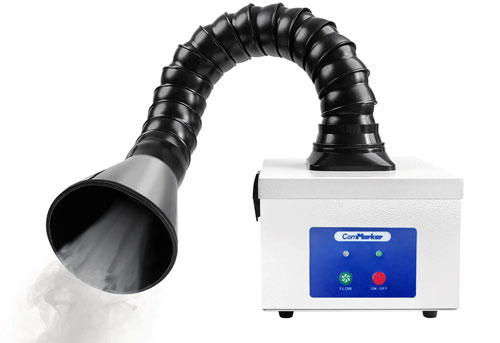
Once your settings are dialed in, engrave your full piece. Keep the workspace ventilated — acrylic can release a mild odor when engraved.
Step 6: Finishing Touches
Wipe the finished engraving gently with a microfiber cloth. You can also add LED light bases under clear acrylic to enhance the frosted design.
Common Problems (and How to Fix Them)
| Issue | Possible Cause | Fix |
|---|---|---|
| Engraving looks cloudy or uneven | Too much power or incorrect focus | Reduce power or recheck autofocus |
| Surface melted slightly | Speed too low | Increase speed to 500–600 mm/s |
| Engraving too faint | Power too low | Increase power to 90–100% |
| Edges yellowing | Using CO₂-like settings | Lower frequency and shorten pulse width |
Pro Tips for Better Acrylic Engraving
-
🧠 Engrave from the back side for mirror acrylics or LED panels — it gives a cleaner look.
-
🧊 Avoid stacking sheets — engrave one layer at a time for best focus accuracy.
-
🪞 For backlighting projects, use clear cast acrylic for optimal light diffusion.
-
🪶 For text or logos, use vector engraving with a fill interval of 0.03 mm for crisp results.
Why the Omni X UV Laser Engraver Excels at Acrylic
-
355 nm UV laser wavelength — perfect for high-clarity cold marking.
-
Auto LiDAR Focus System — ensures 0.001 mm precision.
-
Compact yet powerful 5W laser source — ideal for both hobbyists and professionals.
-
Built-in presets for multiple acrylic materials in the ComMarker Design Room software.
Final Thoughts
Whether you’re engraving signs, LED displays, awards, or creative art pieces, the ComMarker Omni X UV Laser Engraver gives you full control and beautiful precision on acrylic materials.
Its cold laser technology means no burns, no melted edges, and no frustration — just smooth, detailed, and professional results every time.
So if you’re new to laser engraving and want to start with something visually stunning and easy to learn, acrylic is the perfect material — and the Omni X is the perfect machine.