|
A laser engraver gives tumblers lasting, clean personalization that won’t fade or rub off with daily use. Whether for gifts, products, or names, photos and logos, the right laser engraving machine and settings are key to customizing Tumblers, Cups & Koozies with reliable, good-looking results. |
 |
What Can You Laser Engrave on Tumblers and Cups?
Different Materials & Engraving Effects: Create contrasting designs on powder-coated tumblers, colorful marks on bare metal, frosted artwork on glass, personalized details on wood cups and leather koozies.
Profitable Business Applications: Turn drinkware into personalized gifts, branded corporate merchandise, wedding keepsakes, and custom products for individual customers or bulk orders.
|
ComMarker COX CO2: S:1500/F:8/P:50/D:0.03/pass:1
|
ComMarker Omni 1 UV: S:500/F:50/Q:3/D:0.02/pass:1
|
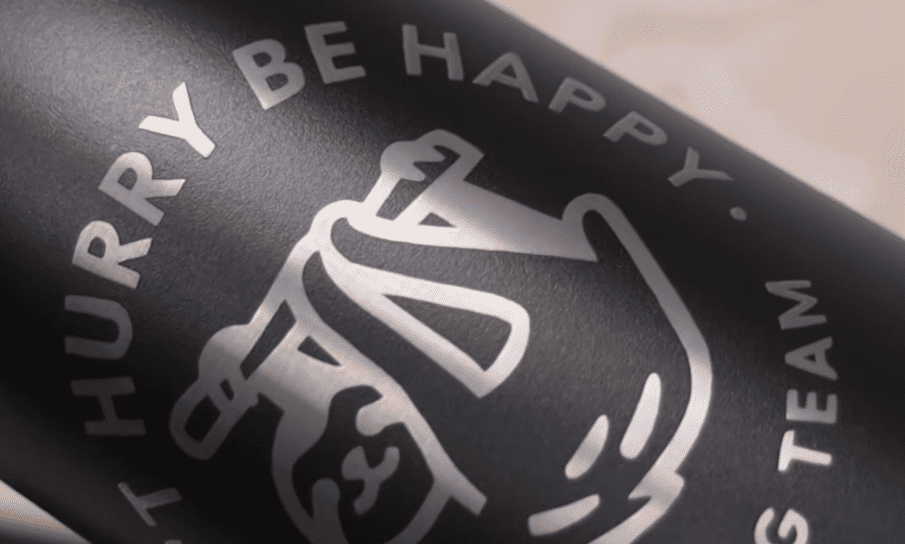
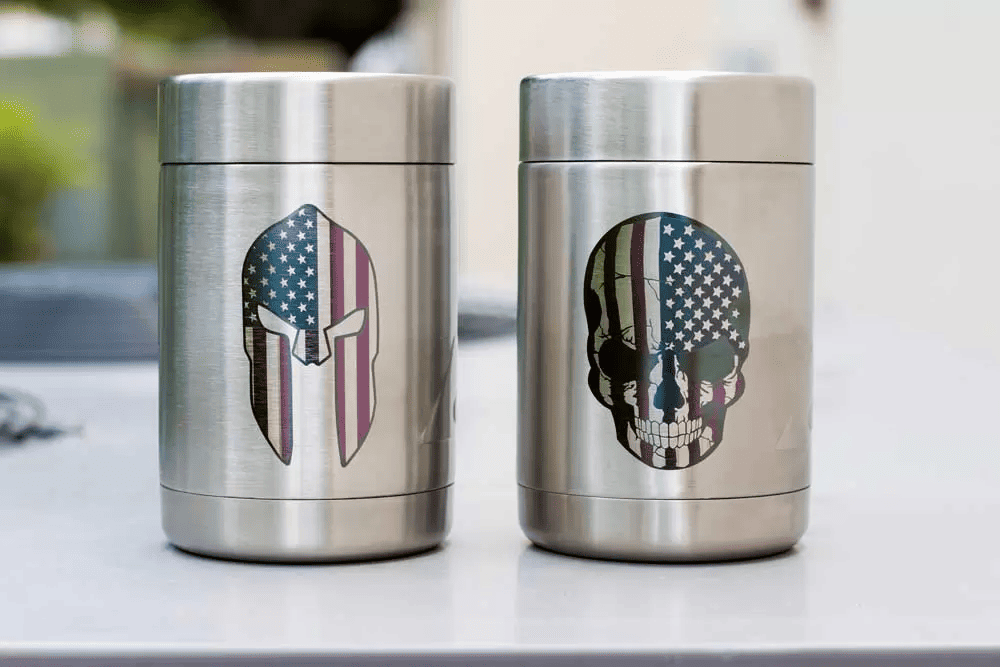
ComMarker B6 MOPA: Color Marking Parameter Set
|
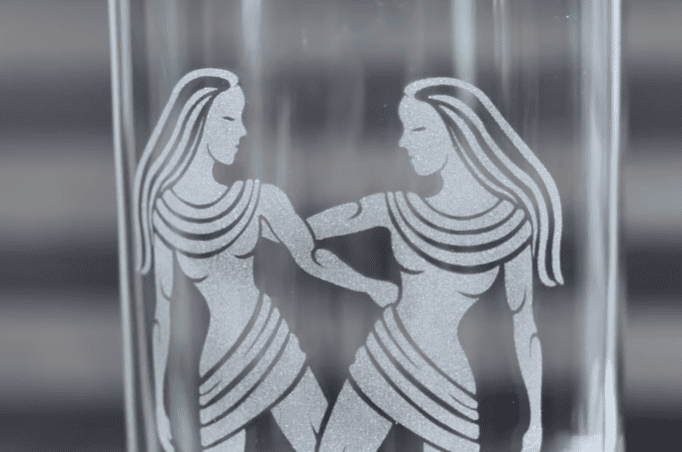
ComMarker Omni X UV: S:100/F:30/Q:1/L:0.03
|

How to Choose a Laser Engraver for Tumblers
A good tumbler laser engraver should offer several key features to ensure precise, efficient, and versatile engraving.
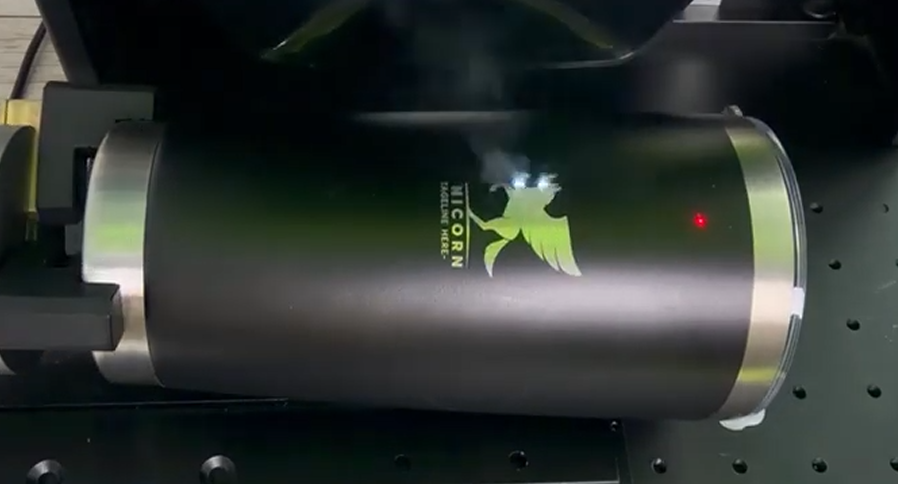
Engraving Precision:Look for accurate focusing, stable motion control, and consistent marking quality to produce sharp designs without distortion. For commercial production, repeatable results across multiple tumblers are equally important. |
 |
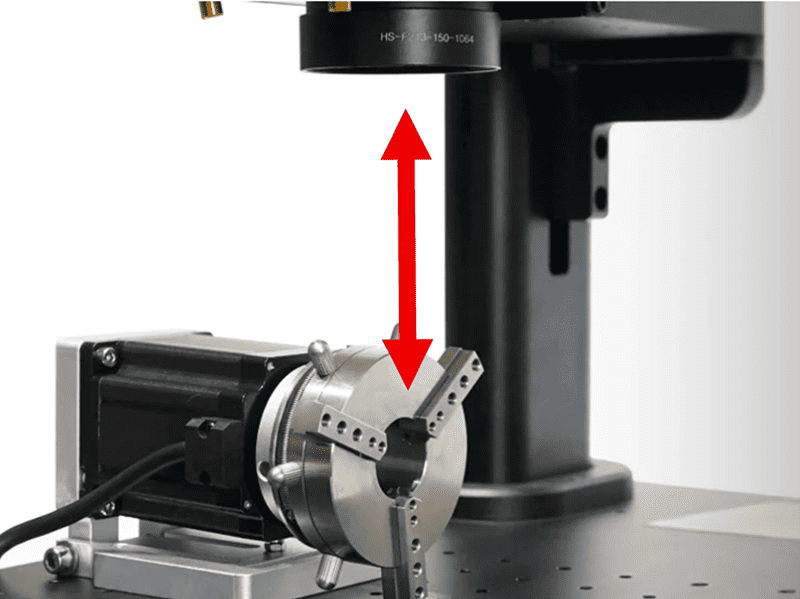 |
Working Height and Clearance:Make sure the machine can accommodate your tumbler dimensions and the combined height and weight of the tumbler and rotary attachment. Allow enough clearance for taller drinkware and protruding handles to rotate without obstruction
|
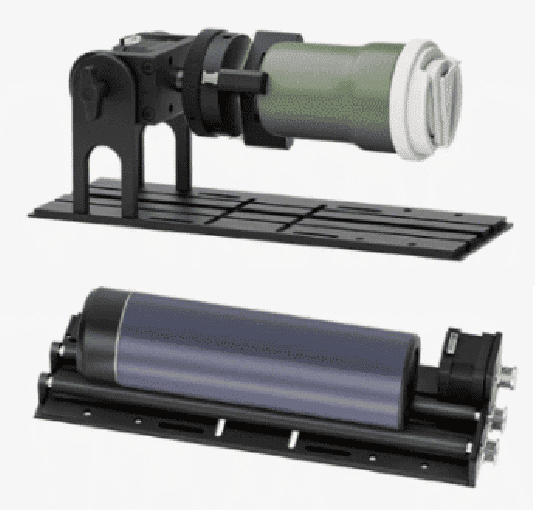
Rotary Compatibility:The machine should support suitable rotary attachments: • Chuck rotary: Provides a secure grip for compatible tapered or irregularly shaped drinkware. • Roller rotary: Offers convenient handling of straight, cylindrical tumblers. Read more about choosing laser engraving rotary |
 |
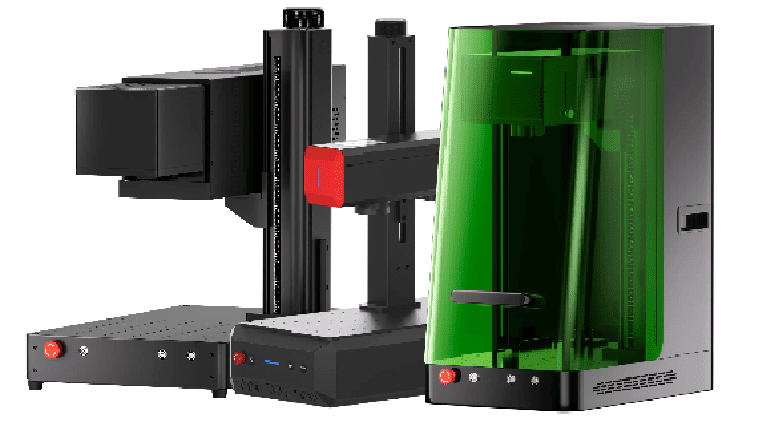 |
Laser Type:Choose a laser based on your materials and applications. • Fiber and MOPA lasers are suitable for metal tumblers and color marking on compatible metals. • UV lasers offer fine-detail processing and wide material compatibility. |
Best Laser Engravers for Tumblers: Fiber vs. UV vs. CO2
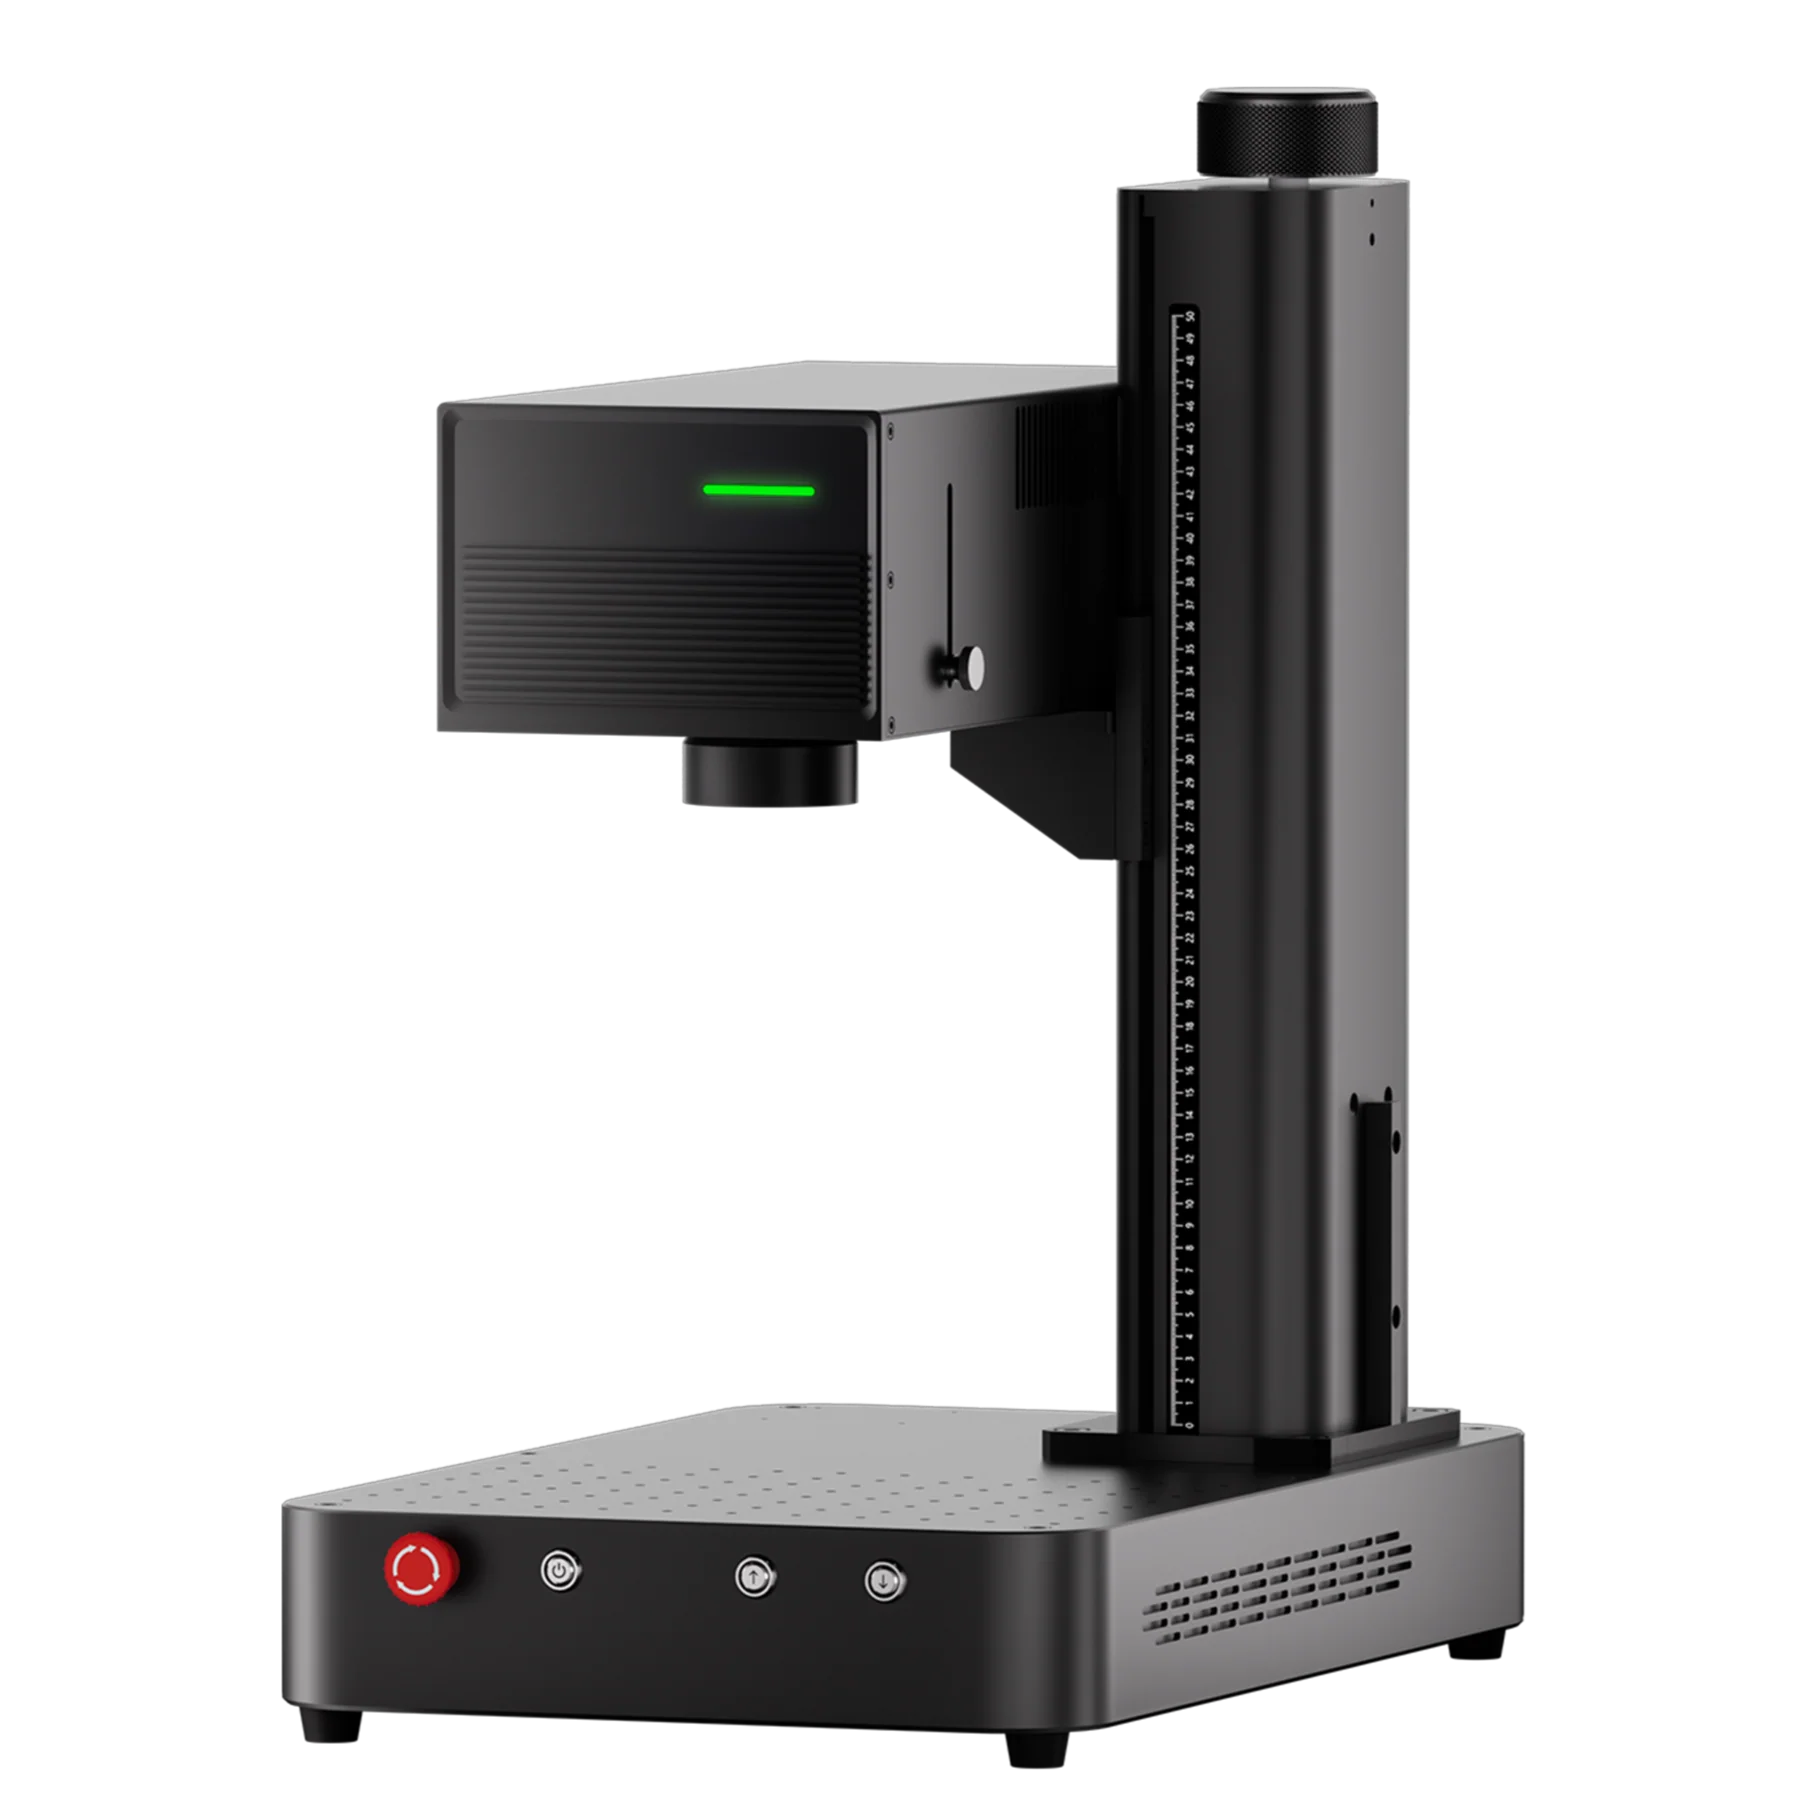
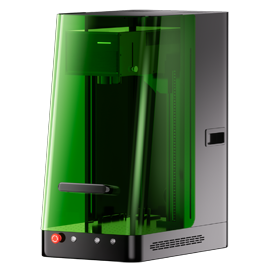
ComMarker Omni X UV Laser EngraverBest for Glass & Fine-Detail EngravingHow it works: UV lasers use a 355nm ultraviolet wavelength to process materials through high-energy photon interactions, minimizing heat transfer and reducing thermal damage on compatible surfaces. Suitable materials: Glass, plastics, wood, and coated materials. What it does best: Fine-detail engraving with minimal heat impact. Key features: · 0.0019mm spot size · 16k HD detail · 1500+ material compatibility· LiDAR autofocus.
|
|
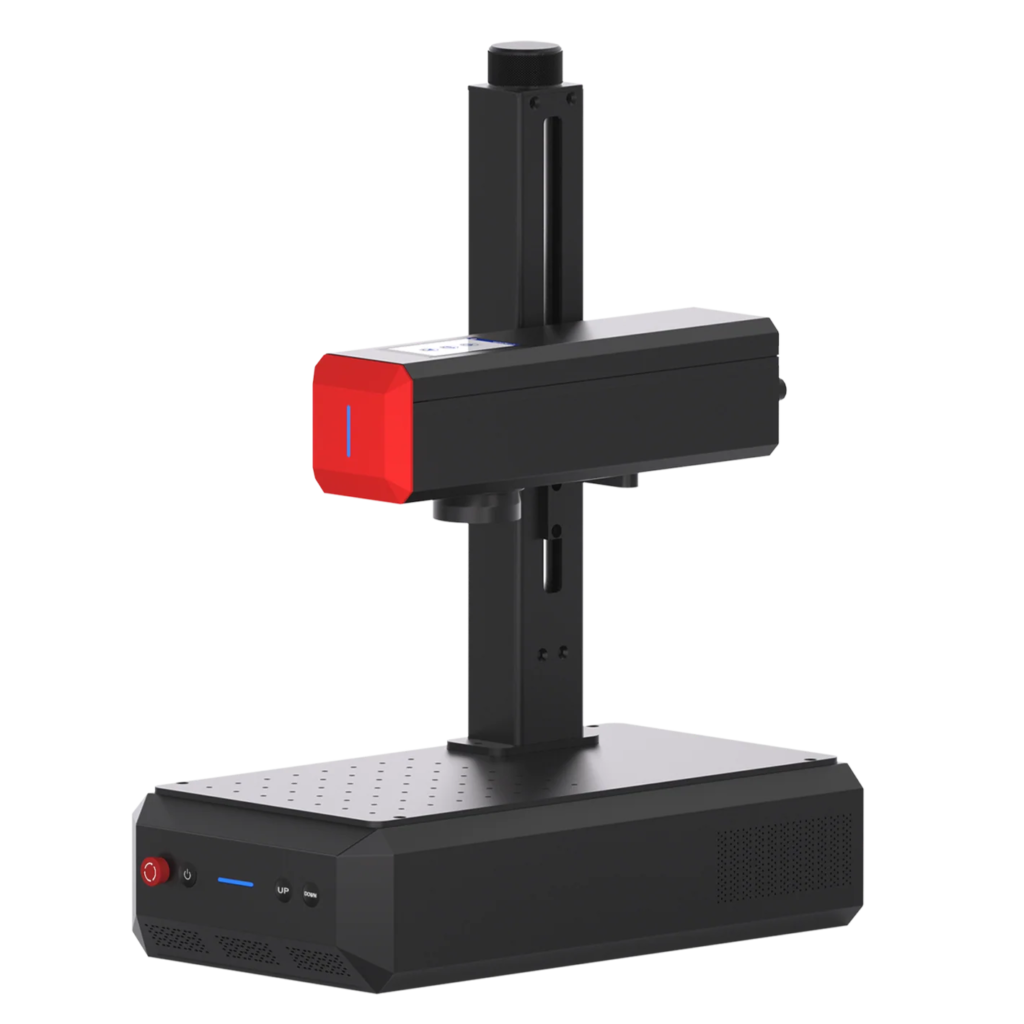
ComMarker B6 MOPA Fiber Laser EngraverBest for Bare Metal & Color MarkingHow it works: MOPA fiber lasers use pulsed 1064nm infrared light to modify metal surfaces. Adjustable pulse width and frequency provide greater control over heat input and surface oxidation, enabling different marking effects and colors. Suitable materials: Bare stainless steel, titanium, coated metal. What it does best: Direct metal marking, detailed logos, and color marking on compatible stainless steel and titanium. Key features: Portable 13.5 kg design · 8K HD precision · 0.01 mm spot size · Touchscreen autofocus
|
|
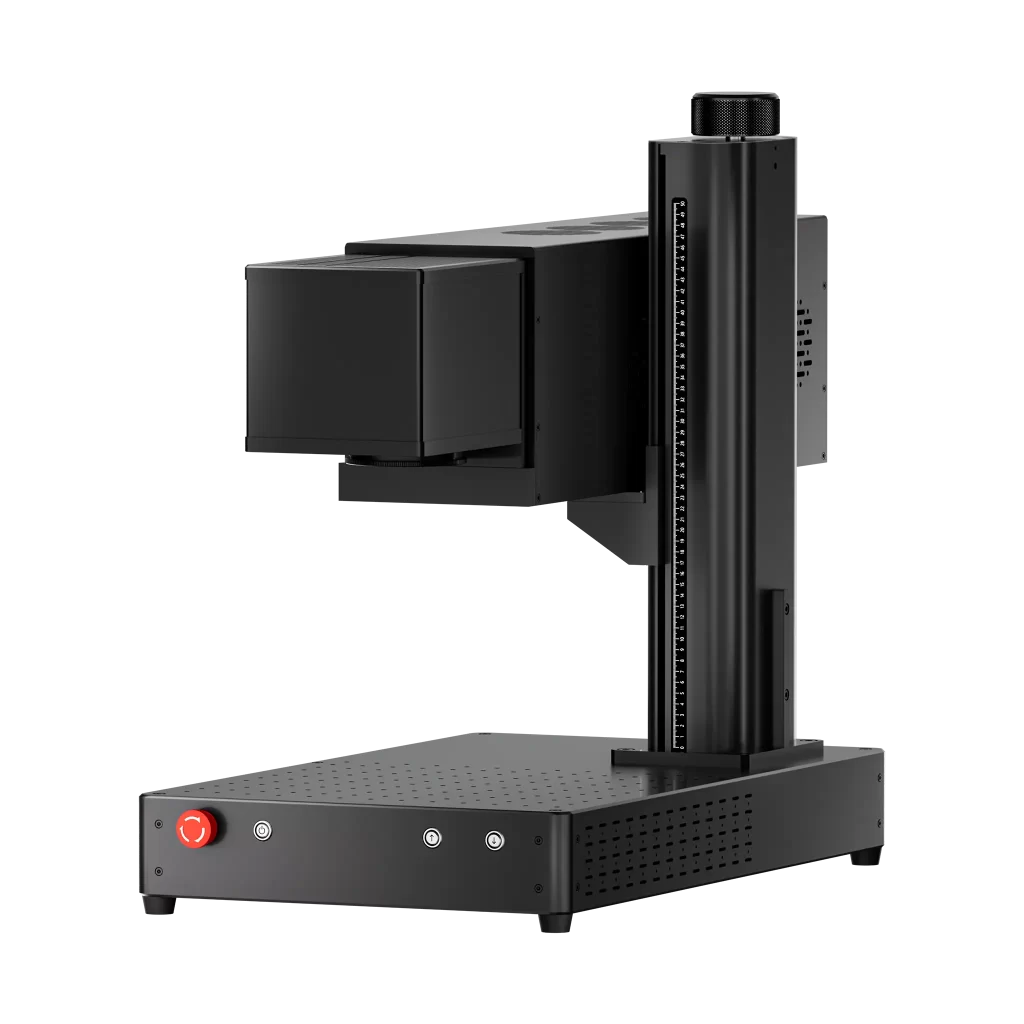
ComMarker COX RF CO2 Laser EngraverBest for Coating RemovalHow it works: CO2 lasers use 10600 nm infrared light, which is absorbed by many non-metallic coatings. The resulting heat removes compatible surface coatings to expose the metal underneath. Suitable materials: Compatible powder-coated tumblers, wood and other non metal drinkware. What it does best: Fast coating removal for personalized tumbler production. Key features: 40W RF CO2 laser tube · Up to 15,000 mm/s engraving speed · 0.005mm spot size · Up to 30,000-hour tube service life.
|
|
How to Laser Engrave a Tumbler: Step-by-Step Guide
What Do You Need to Laser Engrave Tumblers?
Before starting, prepare the following:
• Laser engraver: Choose a machine suitable for your tumbler material.
• Compatible rotary attachment: Chuck or roller rotary for cylindrical drinkware.
• Tumbler blanks: Make sure the material and coating are compatible with your laser.
• Design software: Such as ComMarker Studio.
• Artwork: Vector files for logos and graphics, or raster images for photos.
• Cleaning and safety equipment: Cleaning supplies and appropriate laser safety protection.
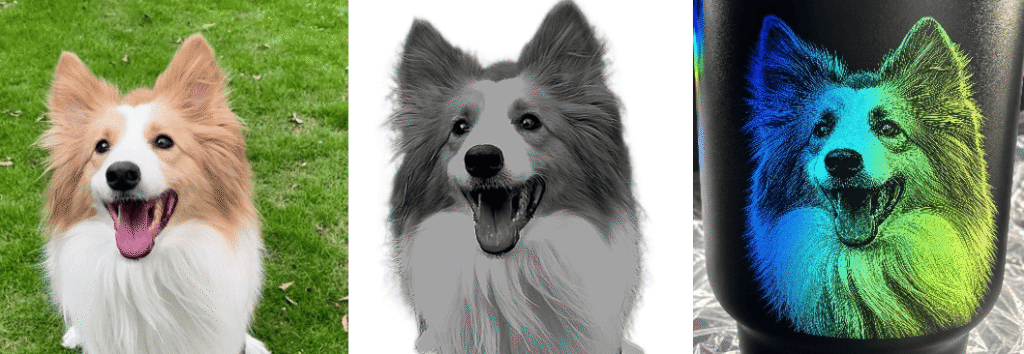
For photo engraving, see our guide on How to Adjust Photos for Tumbler Laser Engraving.
Step-by-Step Tumbler Laser Engraving Process
1. Prepare and Measure the Tumbler
Remove detachable parts and clean the engraving surface. Measure the tumbler’s diameter and height to ensure it fits the rotary attachment and machine workspace.
2. Install and Configure the Rotary Attachment
Install a compatible chuck or roller rotary. Secure the tumbler and adjust its position to ensure stable rotation. Check that handles or other protruding parts won’t interfere with the machine.
3. Measure the Engraving Circumference
Measure the circumference of the area you plan to engrave. This helps determine the maximum design width and ensures accurate alignment for wraparound engraving.
4. Prepare and Position the Design
Import your artwork into ComMarker Studio. Adjust its size, orientation, and position to fit the engraving area. For photo engraving, optimize image contrast and brightness before processing.
5. Set the Correct Focus and Parameters
Set the focal distance according to the machine and tumbler surface. Select suitable power, speed, frequency, and other relevant parameters based on the laser type and material.
Test your settings on a sample or inconspicuous area first if possible. Check the marking quality, coating removal, and design alignment. Adjust the parameters if necessary.
6. Start Engraving and Monitor the Process
Once the setup is confirmed, start the engraving job. Monitor the initial processing to ensure stable rotation and consistent results.
7. Clean and Inspect the Finished Tumbler
After engraving, remove any remaining residue using a material-appropriate cleaning method. Inspect the design for clarity, consistency, and unwanted surface damage.
Pro Tips for Different Tumbler Materials
Tumblers differ in surface coatings, metal finishes, shapes, and materials. These differences can affect rotary positioning, focusing, and engraving quality.
Once you understand the basic engraving process, learning how to handle different tumbler types will help you achieve more consistent results and take on a wider range of customization projects.
1. Powder-Coated Tumblers: Achieve Clean and Consistent Coating RemovalPowder-coated stainless steel tumblers are among the most popular products for laser customization. The laser removes the outer coating to reveal the stainless steel underneath, creating a contrasting design. Tips for better results: • Test each coating color separately: Lighter-colored tumblers often need more power. Coating thickness may vary among different tumblers. Test a sample from the same product batch before processing customer orders. • Avoid excessive heat: The goal is to remove the coating cleanly without unnecessarily heating or discoloring the stainless steel underneath. If you notice a brown or yellowish halo around the design, review your power, speed, and other processing parameters. • Try slight defocusing: On some setups, a small defocus (±10) can enlarge the laser spot, potentially helping to achieve more uniform coating removal. Too much defocus can make small text and fine details less sharp. |
 |
|
2. Straight-Sided & Tapered Tumblers: Prevent Distortion and MisalignmentStraight-sided tumblers have a relatively consistent diameter along the engraving area, while tapered tumblers are more challenging because their diameter changes from top to bottom. This affects how the cup rotates and how the design appears across its surface. Tips for better results: • Choose a suitable rotary for stability and efficiency: Roller rotary attachments are generally convenient for straight cylindrical tumblers, provided the cup remains stable and does not slip. A chuck rotary may provide more secure positioning for compatible tapered or irregularly shaped drinkware. • Measure the actual engraving area: Measure the diameter where the design will be placed and enter the corresponding dimensions in your engraving software. • Set the focus at the highest point: Position the focal point at the part of the engraving surface closest to the laser. • Consider slight defocusing when necessary: If the engraving area is slightly sloped, focus at a midpoint between the top and bottom positions. • Plan the wraparound seam: For full-wrap designs, check that the two ends meet correctly. Place the seam in a less visible area when possible. Tumblers with Handles and Large-Capacity Cups Large tumblers and handled cups require extra attention to machine clearance. Before engraving, check the combined height of the tumbler and rotary attachment, the handle’s rotation path, and the available workspace. Rotate the mounted tumbler through a complete turn to make sure the handle or other protruding parts will not collide with the laser head or machine enclosure. |
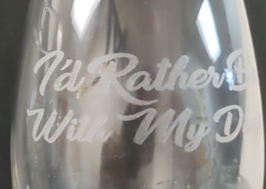
3. Glass Tumblers: Control Curvature and Prevent Surface DamageGlass tumblers require more careful focusing because their curved surfaces can change the distance between the glass and the laser head. Tips for better results: • Use paper as an autofocus aid: Transparent glass can be difficult for some autofocus systems to detect. Place a thin sheet of paper on the intended engraving area so the autofocus sensor has an opaque surface to detect, then remove the paper before engraving. • Focus at the correct position: For some types of glass, lowering or raising the focus by approximately 1–2 mm may improve the result. • Avoid dishwasher cleaning after full-wrap engraving: Full-wrap engraving may increase residual stress in glass, making it more vulnerable to thermal shock and breakage. Hand washing is recommended. |
 |
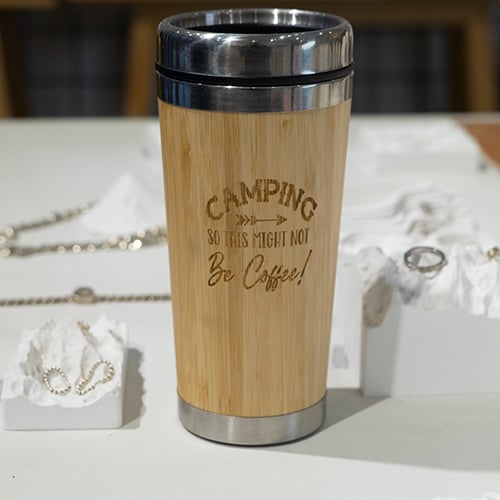 |
4. Wood & Bamboo Drinkware: Manage Grain, Surface Finish, and CharringWooden and bamboo drinkware can be customized with names, logos, and decorative patterns. However, natural materials vary in density, grain structure, moisture content, and surface finish, all of which can affect engraving quality. Tips for better results: • Inspect the grain and surface: Choose a relatively smooth, uniform area for fine text and detailed logos. Knots, bamboo nodes, and visible joints can create inconsistent results. • Prepare the surface: Remove dust and check for rough areas before engraving. Light sanding may help improve surface consistency when appropriate for the product. • Check surface treatments: Oil, wax, varnish, and waterproof finishes can change the engraving color and produce additional smoke or residue. • Control charring: Excessive laser energy or slow processing can cause dark, rough marks and smoke stains around the design. • Choose a suitable laser: CO2 lasers are commonly used for engraving wood and bamboo because these organic materials absorb CO2 laser energy effectively. UV lasers produce less laser heat, making them ideal for detailed wood and bamboo engraving. • Use suitable fume extraction: Wood and bamboo processing generates smoke and residue. Provide effective ventilation and confirm that any adhesives, coatings, and composite materials are suitable for laser processing.
|
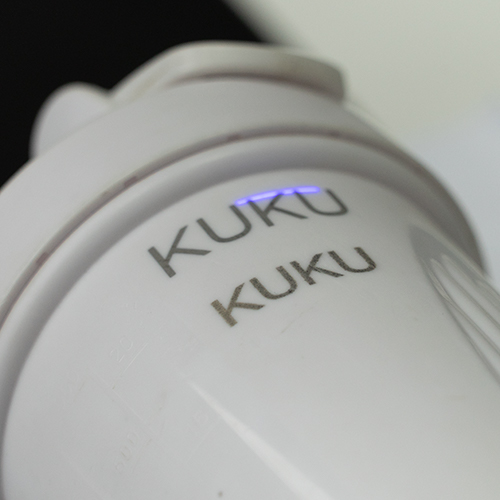
4. Plastic Tumblers: Choose Compatible Plastics and Control HeatPlastic tumblers are popular for promotional products and personalized gifts. However, different plastics respond differently to laser energy. Tips for better results: • Identify the plastic type: Acrylic, ABS, and PP have different laser compatibility. UV lasers can produce fine marks on compatible plastics, while CO2 lasers can mark on plastic fast. • Choose a suitable laser: Some plastics may simply melt instead of foaming or darkening. For example, ABS might melt with a CO2 laser • Control heat input: Excessive laser energy can melt, deform, or discolor plastic. Test settings on a sample first. • Avoid unsafe materials: Never laser engrave PVC or vinyl, which can release hazardous fumes. Check material specifications and use effective fume extraction. |
 |
What Else Can You Make with a Tumbler Laser Engraver?
Tumblers are a great starting point for a personalized engraving business, but they don’t have to be your only product. Customers interested in custom drinkware may also want matching accessories, personalized barware, and gift items.
Expanding your product range allows you to serve more occasions, attract new customers, and create additional sales opportunities.
1. Koozies: Personalized Can and Bottle Holders
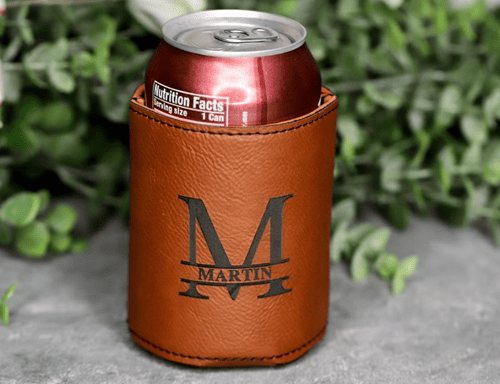
Koozies are a natural addition to a tumbler customization business. They combine practical drink insulation with a customizable surface, making them suitable for personalized gifts, wedding favors, and branded merchandise.
Add names, initials, company logos, or event dates to create custom designs. You can also offer matching tumblers and koozies as coordinated gift sets.
Explore our guides to laser engraving leather and laser engraving fabric for more material and processing tips.
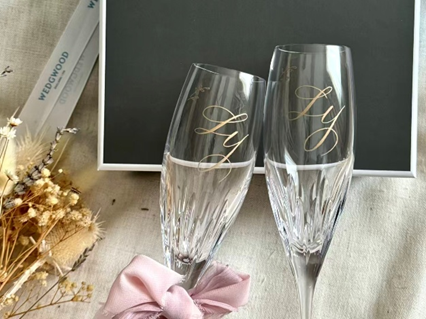
2. Glass Cups and Barware: Expand Your Drinkware Collection
Glass cups, beer mugs, wine glasses, and stemless glasses offer more opportunities for personalized drinkware.
Laser engraving can create frosted designs featuring names, logos, wedding dates, or decorative artwork. These products are suitable for wedding keepsakes, restaurant merchandise, brewery branding, and custom gifts.
For curved glassware, use a compatible rotary attachment to maintain alignment during engraving. See our glass cup rotary engraving tutorial for a practical example.
3. Coasters and Other Drinkware Accessories
Consider adding smaller accessories that complement your drinkware products:
• Wooden, cork, and slate coasters: Personalized with names, logos, or decorative patterns.
• Metal bottle openers: Customized with business logos, names, or promotional designs.
• Leather keychains: Small personalized gifts that can match tumbler and koozie designs.
See our guide on creating personalized laser-engraved coasters for more project ideas.

Laser Engraving Tumblers: Frequently Asked Questions
1. What is the best laser engraver for tumblers?
The best laser engraver depends on the tumbler material and desired engraving effect. MOPA fiber lasers are suitable for bare metal marking and color marking on compatible metals. CO2 lasers can remove compatible powder coatings, while UV lasers are suitable for fine-detail engraving on glass and compatible materials.
Explore ComMarker laser engravers to find the right machine for your tumbler customization business!
2. How do you get black marks on stainless steel tumblers?
With suitable MOPA settings, you can achieve print-like black marks on stainless steel tumblers.
Machine: ComMarker B6 MOPA 60W
Material: Stainless steel
Settings: Speed 500 / Power 61% / Frequency 25 / Pulse Width 200 / Line Interval 0.025
Sometimes, defocusing is the key.
Omni X 6W UV Laser – 150mm lens
Settings: S:150/F:30/Q:1/L:0.01, rotary split size: 0.01mm, defocused by 10mm.

3. Do you always need a rotary attachment to engrave tumblers?
No. If the engraving area is small or the cup has a flat surface, you can engrave it directly. However, a rotary attachment is necessary for full-wrap engraving.
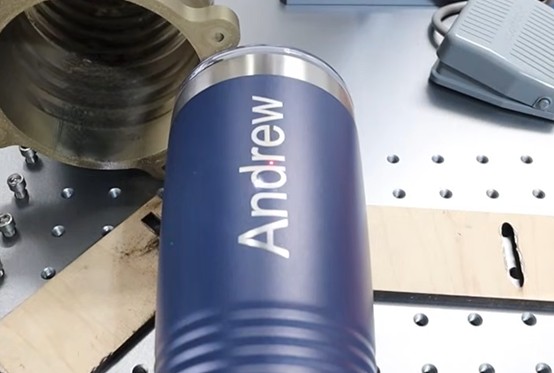
4. Can you laser engrave photos on tumblers?
Yes. You can engrave photographs on compatible tumbler surfaces using raster image processing. Before engraving, adjust the photo’s brightness, contrast, and grayscale details to improve the final result.
5. Can a diode laser engrave tumblers?
Yes. Diode lasers can engrave some tumbler surfaces, particularly compatible coatings. However, they generally offer lower engraving precision and detail compared with fiber, CO2, and UV lasers, which may limit their ability to produce fine text, intricate patterns, and consistent results.