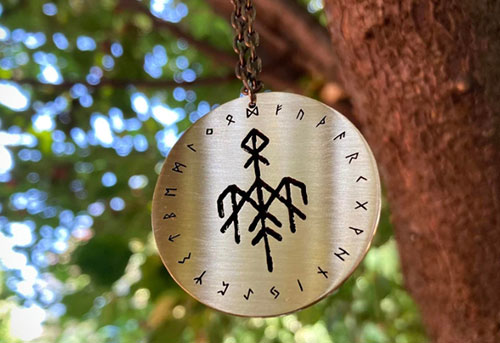
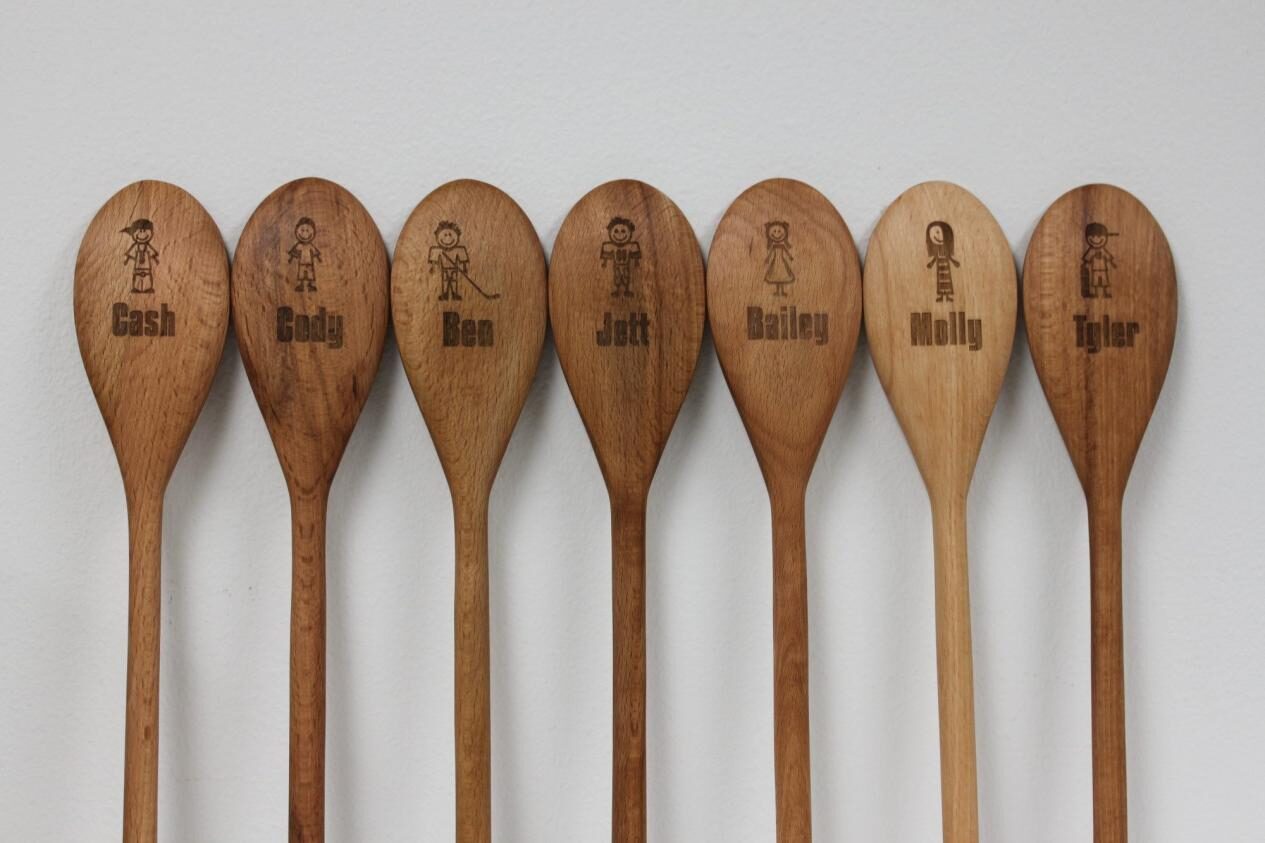
Engraving on stone has a timeless appeal — from personalized garden stones and memorial plaques to custom jewelry or decorative tiles. With the ComMarker Omni X UV Laser Engraver, turning hard surfaces like marble, slate, or granite into detailed works of art is easier than ever.
Unlike traditional rotary or sandblasting methods, a UV Laser Engraver allows you to mark stones with microscopic precision, clean edges, and minimal dust — perfect for indoor workshops and small creative studios.
In this guide, you’ll learn how to engrave different types of stones, what settings to use, and how to achieve the best results step by step.
Why Use a UV Laser Engraver for Stone Engraving?
The ComMarker Omni X UV Laser Engraver uses a 355 nm ultraviolet beam, which operates at a much shorter wavelength than CO₂ or fiber lasers. This means it removes material using photo-ablation instead of burning or melting — perfect for hard and brittle surfaces like stone.
Advantages of UV engraving on stone:
-
Precise and permanent — detailed micro-textures and fine lettering
-
No dust explosion or high heat — clean indoor operation
-
Ideal for coated and polished stones
-
Compatible with a wide range of materials — marble, slate, granite, ceramics, and even river stones
Types of Stone You Can Engrave
Different stones react differently to laser energy. Below are the most common types that work beautifully with the ComMarker Omni X UV Laser Engraver, along with recommended settings and engraving tips.
1. Marble
Marble is one of the most laser-friendly stones due to its fine, uniform grain.
The UV laser lightly fractures the surface, creating high-contrast white markings that look elegant and refined.
Recommended Settings:
| Parameter | Value |
|---|---|
| Power | 90–100% |
| Speed | 200–400 mm/s |
| Frequency | 30–40 kHz |
| Pulse Width | 4–6 ns |
| Passes | 1–2 |
Tips:
-
Clean the marble surface with alcohol before engraving to remove dust or wax.
-
For best contrast, engrave on dark-colored marble (black, green, or deep blue).
-
Avoid using multiple passes on polished marble — it may dull the shine.
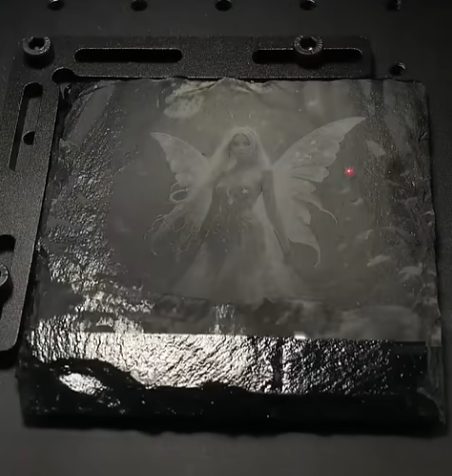
2. Slate
Slate has a matte surface that contrasts beautifully when engraved.
The UV laser burns away the top layer, leaving bright gray or white text and graphics.
Recommended Settings:
| Parameter | Value |
|---|---|
| Power | 80–90% |
| Speed | 400–600 mm/s |
| Frequency | 25–35 kHz |
| Pulse Width | 3–4 ns |
Tips:
-
Engrave at slightly higher speed for clean lines without chipping.
-
Use vector mode for outlines and bitmap mode for photo engraving.
-
A light mist of water on the slate surface can help reduce dust and improve cooling.
3. Granite
Granite is a dense and hard material that requires slightly more laser power.
The Omni X’s stable pulse energy makes it possible to achieve fine details even on such tough surfaces.
Recommended Settings:
| Parameter | Value |
|---|---|
| Power | 95–100% |
| Speed | 150–300 mm/s |
| Frequency | 35–40 kHz |
| Pulse Width | 5–6 ns |
| Passes | 2–3 |
Tips:
-
Engrave slowly and use multiple passes for deep etching.
-
Use high-contrast artwork (white on black) for better visibility.
-
Avoid continuous engraving on the same area for too long — allow short cooling intervals.
4. River Stones & Pebbles
These natural, rounded stones are popular for personalized keepsakes or home décor.
UV laser engraving provides a delicate, frosted finish without cracking the stone.
Recommended Settings:
| Parameter | Value |
|---|---|
| Power | 85–95% |
| Speed | 300–500 mm/s |
| Frequency | 25–30 kHz |
| Pulse Width | 3–5 ns |
Tips:
-
Mount small stones using double-sided adhesive or modeling clay to keep them stable.
-
Use Auto LiDAR Focus to find the curved focal point automatically.
-
Lower speed slightly on darker stones for higher contrast.
5. Ceramic & Porcelain Tiles
UV engraving on ceramics allows for crisp, detailed markings — perfect for custom kitchen décor or wall art.
Recommended Settings:
| Parameter | Value |
|---|---|
| Power | 70–85% |
| Speed | 500–700 mm/s |
| Frequency | 25–30 kHz |
| Pulse Width | 3 ns |
Tips:
-
For glossy tiles, use masking tape to reduce reflection and prevent glare.
-
If you’re engraving coated ceramics, lower power to avoid cracking the glaze.
-
Use grayscale images for photo engraving — UV lasers reproduce fine tonal detail beautifully.
Step-by-Step: How to Engrave Stone with the ComMarker Omni X UV Laser Engraver
Step 1. Prepare the Surface
Clean your stone with alcohol and let it dry completely.
Remove any coating, dust, or oil that could interfere with the laser beam.
Step 2. Secure the Stone on the Worktable
Use clamps, double-sided tape, or a small vise to prevent vibration during engraving.
For irregular shapes, consider using a modeling clay base for extra stability.
Step 3. Focus and Frame
Use the Omni X’s Auto LiDAR Focus to automatically measure the correct distance.
Run a frame preview to verify engraving area alignment.
Step 4. Select the Right Material Settings
Choose the preset for “Stone” or manually enter the settings based on the type of material (see tables above).
Step 5. Start Engraving
Click start and watch your design come to life through the safety glass window.
The process is quiet, clean, and produces almost no dust.
Step 6. Clean and Finish
After engraving, gently rinse the surface with water or wipe it clean with a damp cloth.
If desired, apply a light layer of mineral oil to dark stones for higher contrast.
Common Stone Engraving Problems and Solutions
| Problem | Cause | Solution |
|---|---|---|
| Engraving looks faint | Low power or wrong focus | Increase power or refocus using LiDAR |
| Surface chips or cracks | Too slow or too powerful | Increase speed or lower power |
| Uneven engraving depth | Uneven stone surface | Use modeling clay to level it |
| Dusty or chalky result | Overlapping passes | Reduce number of passes and clean between runs |
Expert Tips for Perfect Results
-
Engrave on dark stones for high visual contrast.
-
Clean your lens regularly — stone dust can scatter UV light.
-
Keep the surface cool using short bursts or breaks between passes.
-
Use vector mode for text and bitmap mode for photos or patterns.
-
Experiment with pulse width to achieve frosted vs. bright-white finishes.
Why the ComMarker Omni X Is Perfect for Stone Engraving
-
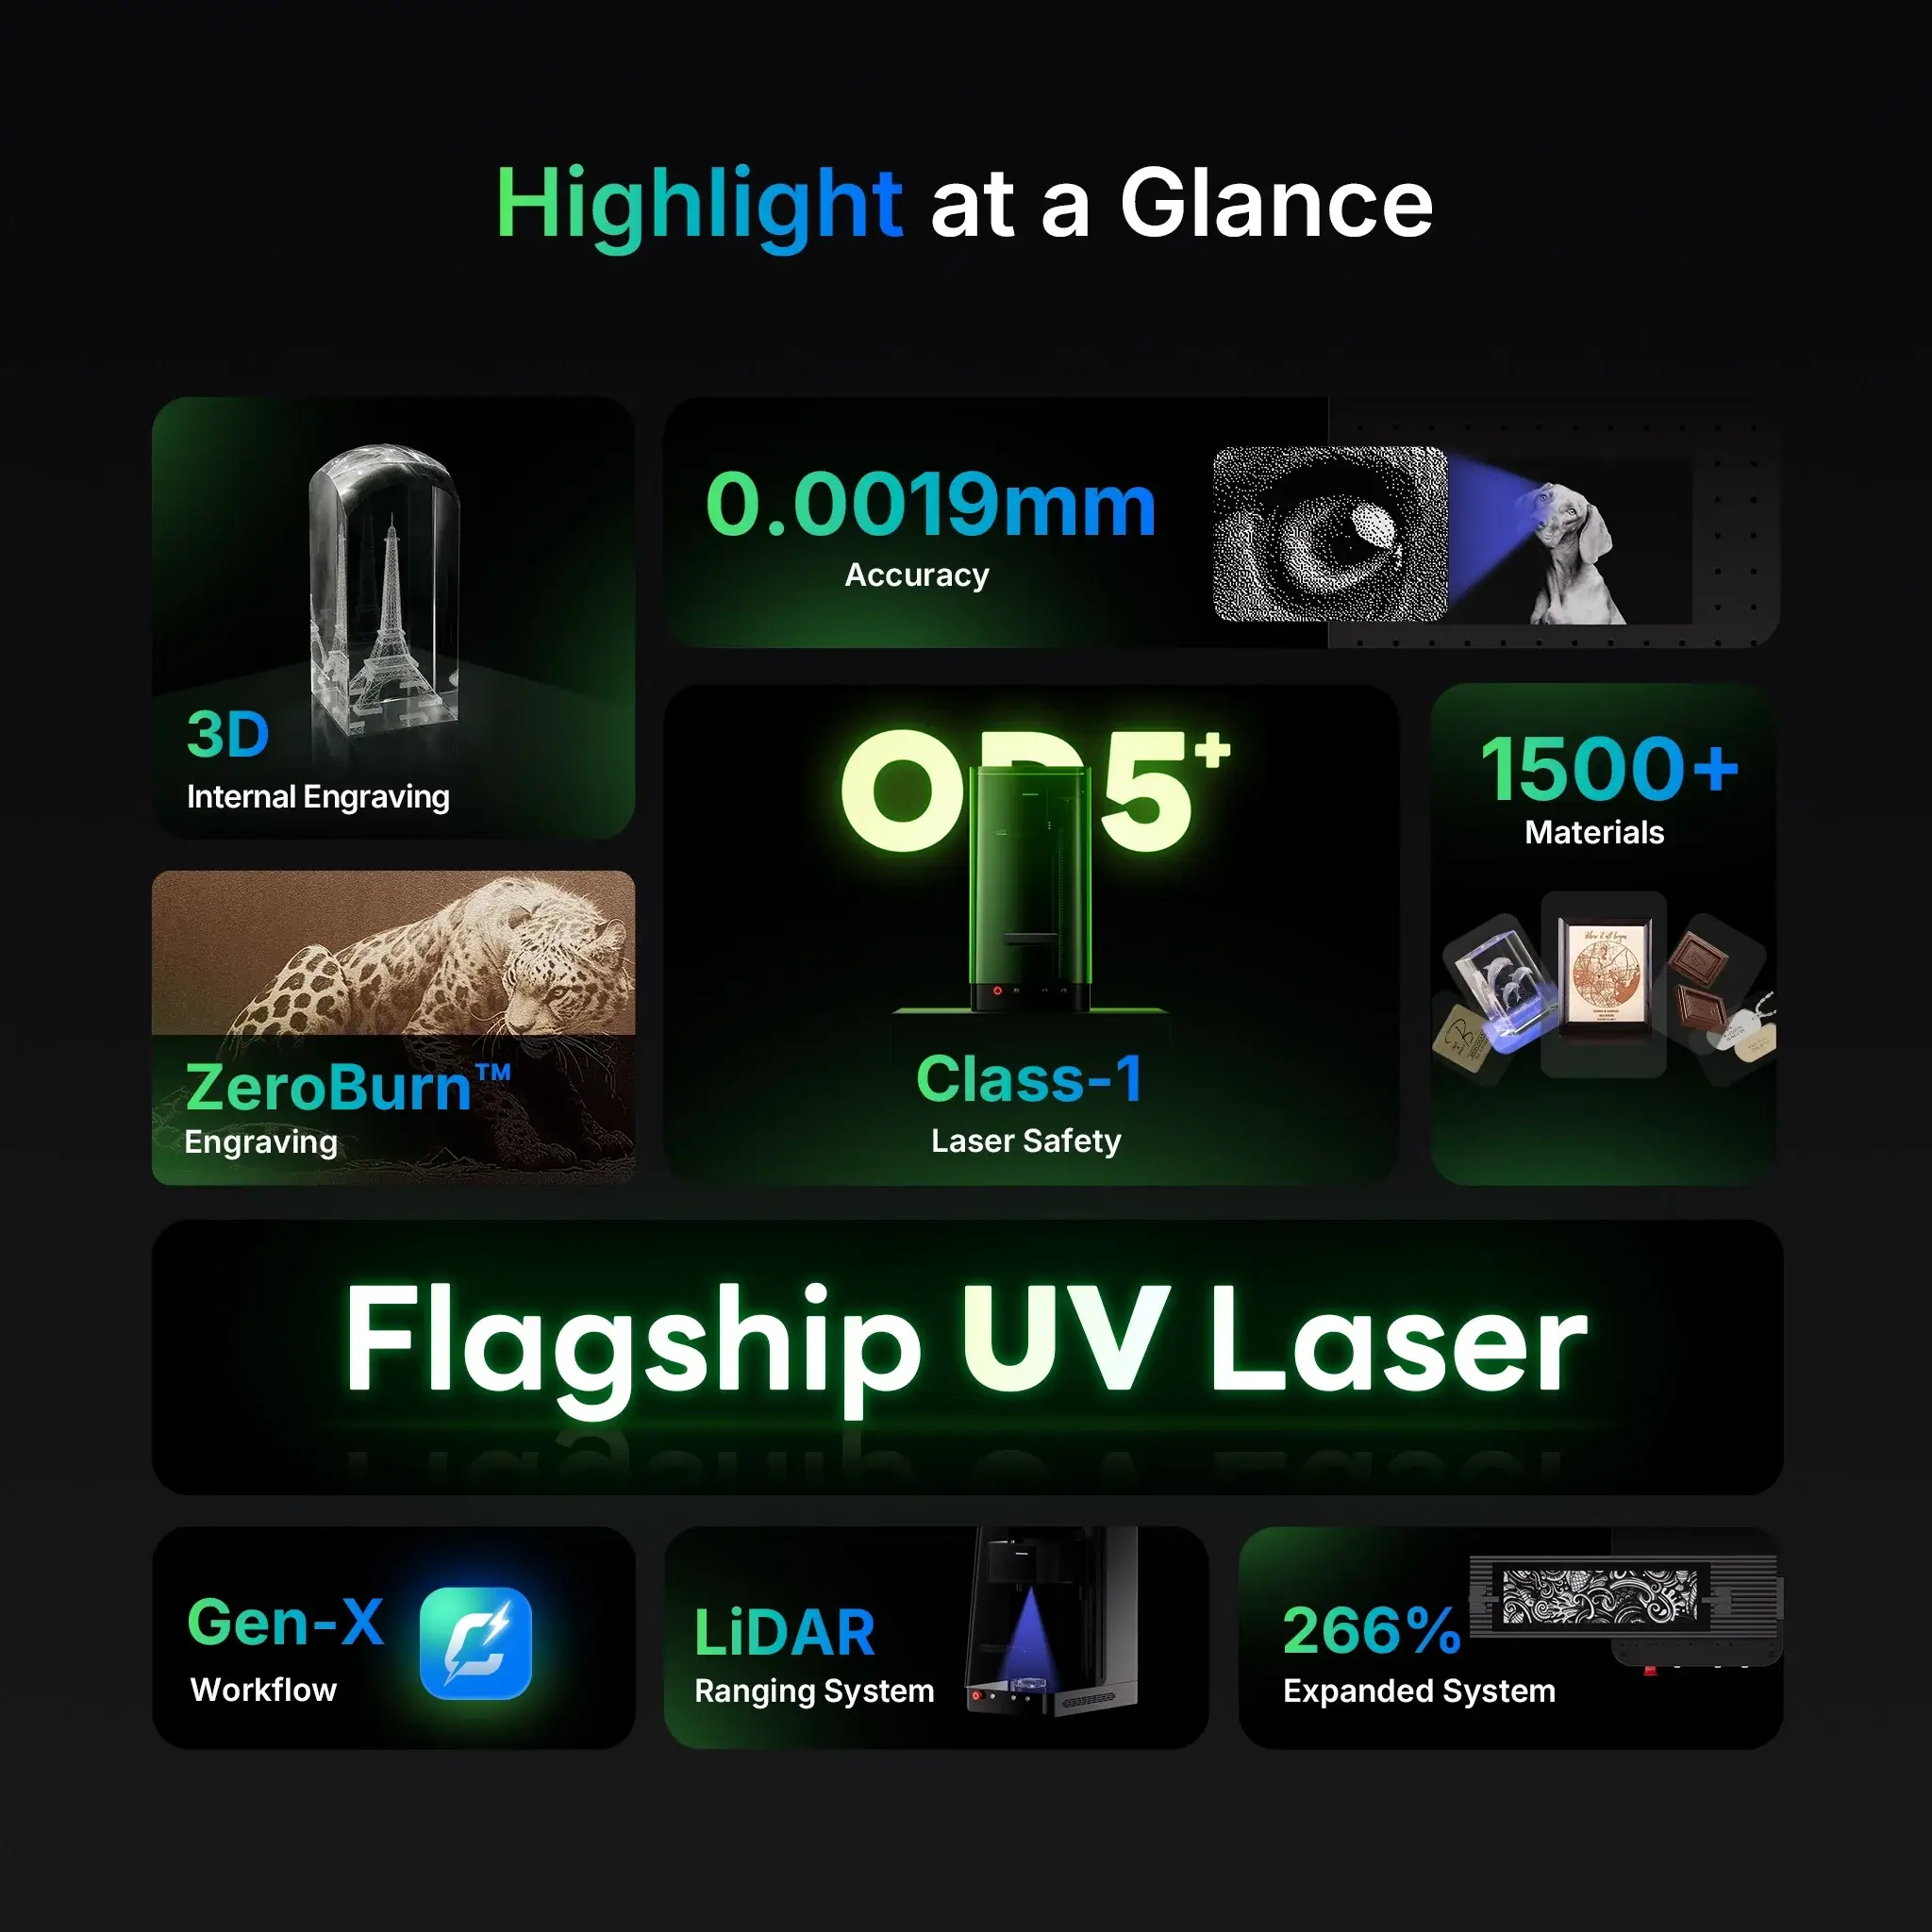
True UV Cold Laser (355 nm) — zero thermal damage to fragile stone surfaces
-
High Precision 0.0019 mm Spot Size — fine details on even the smallest pieces
-
Auto LiDAR Autofocus System — perfect focus every time, even on uneven stones
-
Quiet and Dust-Free Operation — ideal for indoor use
-
Built-in Safety Enclosure — ensures eye and skin protection during engraving
Whether you’re making decorative garden stones, custom tiles, or artistic stone plaques, the ComMarker Omni X UV Laser Engraver gives you full control and professional results.
Final Thoughts
Stone engraving used to require industrial tools, masks, and lots of dust.
Now, with the ComMarker Omni X UV Laser Engraver, even beginners can create clean, permanent designs at home or in small workshops — safely and effortlessly.
It’s time to take your creativity to the next level.
Try engraving your first stone project today and discover how easy it is to achieve professional results with ComMarker.


