Glass engraving is one of the most visually powerful applications in laser processing. It can produce elegant frosted logos, floating crystal photos, layered 3D reliefs, and even full 3D models suspended inside glass blocks.
Different laser types create completely different results, and choosing the right method determines everything: clarity, depth, detail, and even whether the project succeeds or fails.
This guide breaks down every major glass engraving method, explains what each laser can actually do, and shows how ComMarker machines fit into each workflow. Each section also links to more detailed step-by-step tutorials.
What Can You Actually Do with Glass Engraving?
Before choosing a machine, let’s see what we can do with laser engraving glass.
Different Laser Glass Engraving Effects
| Engraving Type | Effect / Features | Usage | Best Method |
|---|---|---|---|
| Surface Engraving | Frosted text, logos, patterns on glass surface | Gifts, drinkware, signage | UV / CO2 / Diode (transfer) / Fiber (coated) |
| Internal Engraving | Floating photo inside crystal block | Photo gifts, awards | UV laser only |
| 3D Relief Engraving | Layered depth on surface | Decorative artwork | UV laser |
| 3D Subsurface Engraving | True 3D model inside glass | Premium crystal sculptures | UV laser |
| Glass Cutting | Glass separates with microscopic fracture points | Jewelry | UV laser |
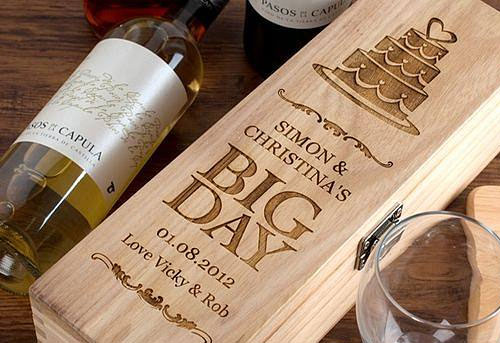
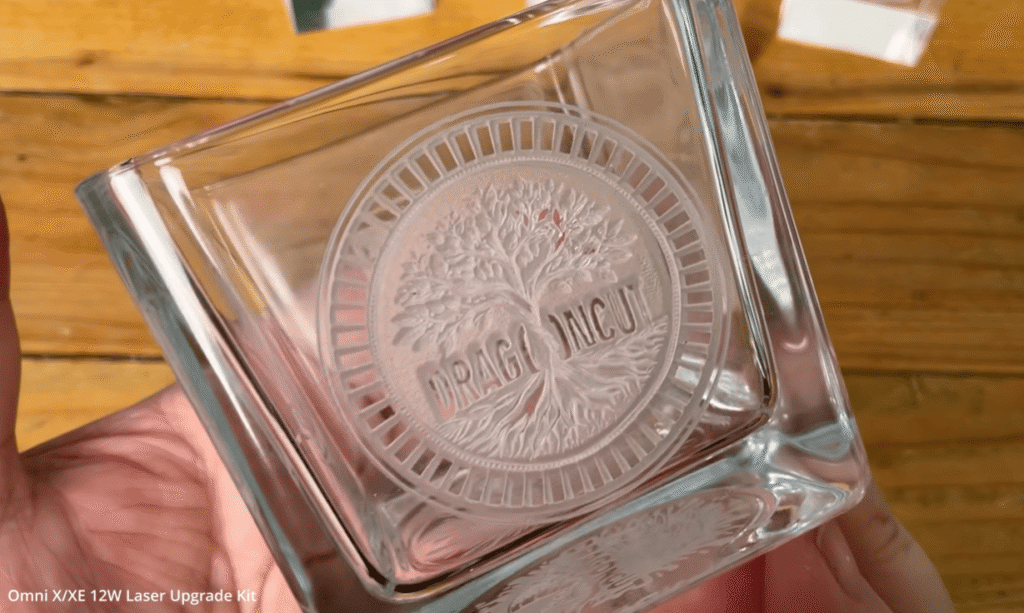
Type 1. Surface Glass Engraving (Frosted Effect)
Surface engraving is the most common glass effect. It creates a frosted, matte-like appearance on the glass surface.
| Laser Type | UV Laser (Direct Glass Surface Engraving – Best Quality) |
CO2 Laser(Thermal Micro-Fracture Surface Engraving) |
Diode Laser (Coating-Based Transfer Engraving Only) | Fiber Laser(Coating-Based Transfer Engraving Only) |
| Intro | UV laser is the only system that can directly interact with glass at a photochemical level. It does not rely on heat like CO2 or coatings like diode/fiber systems. Instead, it creates microscopic fractures on the surface with extremely low thermal stress. | CO2 lasers engrave glass using heat stress. The laser energy is absorbed by glass at 10.6μm wavelength, causing rapid thermal expansion and micro-cracking on the surface. | Diode lasers cannot directly engrave glass because glass is transparent at 445nm wavelength. Instead, engraving is achieved through a thermal transfer layer. | Fiber lasers also cannot directly engrave glass. The 1064nm wavelength passes through glass almost completely. Therefore, engraving is done by removing a coating layer. |
| How to do glass surface engraving | 1. Clean the glass surface thoroughly Remove fingerprints, oil, or dust using alcohol. Any contamination will affect frosting uniformity. 2. Place the glass flat and stable 3. Focus directly on the glass surface 4. Set engraving parameters (start test first) 5. Run a test grid before final engraving |
1. Clean the glass and optionally apply wet paper/tape This helps control heat distribution and reduces cracking. 2. Place glass flat and secure it 3. Slightly defocus the laser (+1 to +2 mm) 4. Use low power and high speed strategy 5. Run single-pass engraving first
|
1. Apply a coating layer on glass surface Use black paint, marking spray, or colored paper. 2. Ensure coating is evenly applied and fully dry 3. Focus normally on the coated surface 4. Engrave using high power and fast motion 5. Clean the surface after engraving
|
1. Clean glass surface thoroughly Any grease reduces paint adhesion. 2. Spray a thin, even coating (e.g. Rust-Oleum) 3. Let coating fully dry before engraving 4. Focus on the coated surface 5. Laser removes coating layer to expose frosted glass underneath 6. Clean with solvent (acetone or thinner)
|
| Typical working behavior |
|
|
|
|
| Setting (starting range) | (5W reference)
Frequency: 30–50 kHz Pulse width: ~1 μs Speed: 200–600 mm/s DPI: 300–600 Passes: 1 Defocus: 0 to +0.5 mm |
(40W reference) Power: 10–25% |
Power: 80–100%
Speed: 2000–4000 mm/min DPI: 150–300 Passes: 1 Defocus: +1 to +2 mm |
60W MOPA fiber laser engraver
Speed 190mm/s, Power 90%, Freq 252, Pulse 50 , line spacing 0.05 |
| See detail | UV Glass Engraving Guide | Diode Glass Engraving Guide | Fiber Glass Engraving Guide |
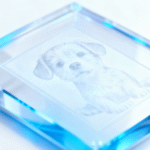
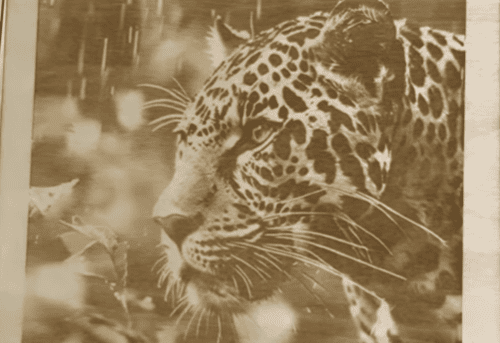
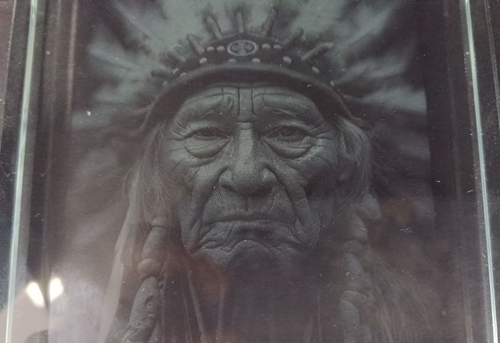
Type 2. Internal Photo Engraving (Floating Images)
This is one of the most popular premium glass applications.
Instead of marking the surface, the laser creates micro fracture points inside the crystal, forming a visible 3D image.
This effect is only possible with UV lasers.
Key Workflow:
- select high-contrast image
- adjust brightness and contrast
- reverse image if required
- focus inside the crystal (not on surface)
- use thicker crystal block (≥20mm recommended)
Full tutorial: How to Achieve Clean Photo Engraving Inside Glass
Reference Parameters (UV Internal Photo)
- Frequency: 40 KHz
- Pulse width: 1 us
- Dwell time: 800 us
- DPI: 400
- Lens: standard UV field lens
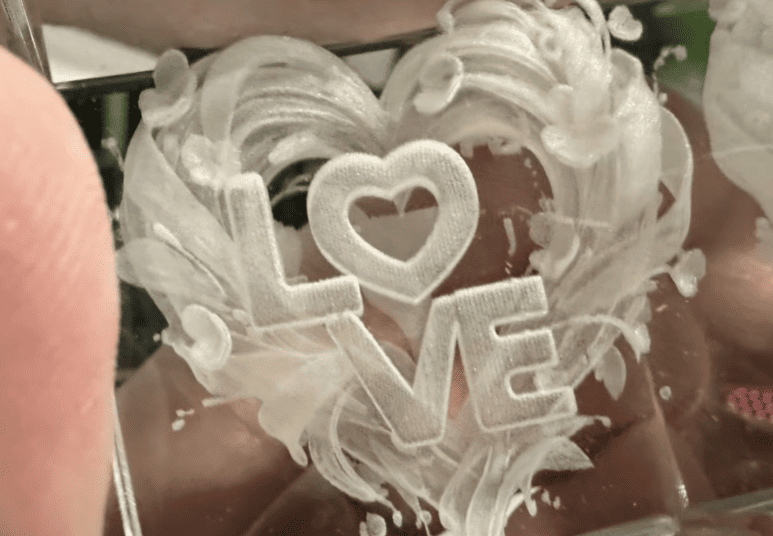
Type 3. 3D Relief Engraving (Surface Depth Mapping)
3D relief engraving creates depth on the surface by converting grayscale or model data into layered energy distribution.
Unlike flat engraving, it produces a sculpted visual effect.
Workflow:
- import STL model
- adjust scale and position
- set layer count (recommended start: 40 layers)
- preview engraving area
- start engraving
Full tutorial: How to Do 3D Relief Laser Engraving
Reference Parameters (UV 3D Relief)
- Layer count: 40 (starting point)
- Fill density adjusted by material
- Focus calibrated before engraving
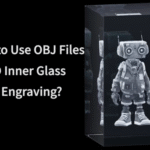
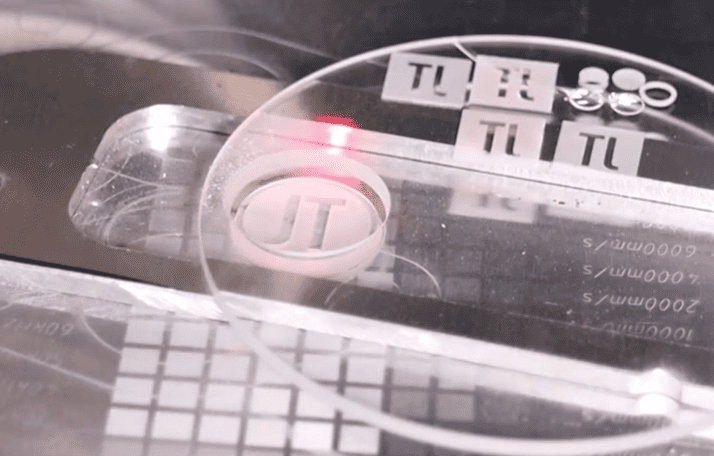
Type 4. True 3D Subsurface Engraving (Point Cloud Models)
This is the most advanced glass engraving method.
Instead of an image or surface relief, the laser builds a true 3D model inside the crystal volume, point by point.
Workflow:
- import STL or OBJ model: choose the right OBJ file for glass engraving
- define crystal size
- position model inside volume (no edge contact)
- run point cloud preview
- verify density before engraving
Full tutorial: How to Do 3D Inner Engraving
Note: Identify the Right K9 Crystal for 3D Glass Engraving
Reference Parameters (UV 3D Inner Engraving)
- Lens: 70 mm field lens
- Mode: 3D Inner Engraving
- Galvo speed: 4000 mm/s
- Material: crystal / glass block
- Model type: STL (basic), OBJ (high detail)
Type 5. Laser Glass Cutting
How UV glass cutting works:
- Import the shape for cutting into the software (use offset for large area or fill for tiny shape)
- Focus the laser on the glass surface
- Import your setting (use continuous if you aren’t sure about the passes you need)
- Run the engraving and clean the workbed after the task is done
Typical UV Laser Parameters (Reference Range)
- Frequency: 30 kHz
- Pulse width: 1–2 ns
- Speed: 200–600 mm/s
- Defocus: Move down over time
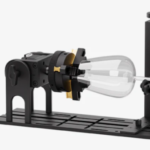
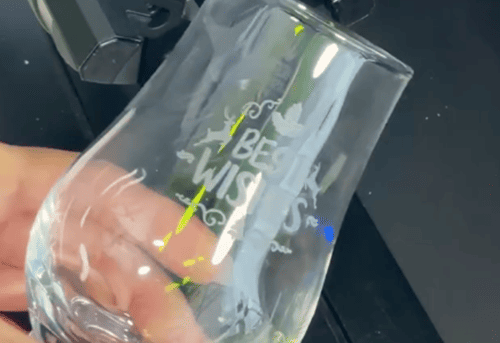
Type 6. Engrave glass cups with a rotary attachment
How rotary glass engraving works:
1. Measure diameter and fix the glass on the rotary.
2. Use a spirit level to ensure the engraving area is perfectly horizontal for stable engraving.
3. Import and scale the design according to the glass size.
4. Run auto-focus and fine-tune Z-axis if needed to get the sharpest engraving.
5. Use preview mode to confirm the engraving position before starting.
6. Run the job; most glassware can be completed in a single pass.
7. Remove the glass carefully, clean dust, and apply paint fill if needed for premium effect.
Typical Laser Parameters (Reference Range)
UV Laser 5W reference
Frequency: 30–50 kHz
Pulse width: ~1 μs
Speed: 200–600 mm/s
DPI: 300–600
Passes: 1
Defocus: 0 to +0.5 mm
Full tutorial: How to Do Rotary Glass Engraving
Best Laser Engraver for Glass Engraving
Different laser machines are optimized for different glass workflows.
| Machine | Best for | Note |
|
ComMarker OMNI X / OMNI XE (UV Laser) |
|
This is the most complete glass engraving solution. |
| ComMarker CO2 Laser (COX Series) |
|
Works for fast batch engraving on wood with few glass engraving task |
|
ComMarker B6 MOPA Fiber Laser |
|
Works well for workflow that handles metal and glass |
Key Principle Behind Glass Laser Engraving
No matter which machine you use, all glass engraving processes are controlled by three variables:
- Focus → determines spatial accuracy
- Energy density → determines surface or internal response
- Material behavior → determines crack, frost, or fracture pattern
Once you understand this, glass engraving becomes predictable instead of trial-and-error.
Final Thoughts
Glass engraving is defined by how each laser interacts with glass. UV, CO₂, fiber, and diode systems all produce completely different results, from simple surface frosting to high-precision internal crystal engraving.
UV lasers stand out as the only technology capable of true internal and 3D subsurface engraving, making them ideal for premium crystal gifts, detailed photo engraving, and advanced artistic work.
For businesses, this choice directly impacts production quality, consistency, and profit potential. ComMarker Omni X UV laser systems open the door to higher-value products and scalable engraving workflows, while other technologies serve more specific or entry-level needs.