Introduction
If you’ve just received your new ComMarker OMNI X/XE UV laser engraver and want to start creating stunning, high-precision engravings, this guide is for you. Whether you’re personalizing glass, metal, or plastic, learning how to properly install and configure your machine is the key to clean, consistent results. In this tutorial, we’ll walk you through setting up ComMarker Studio, understanding essential engraving parameters, and completing your first laser engraving project step-by-step.
1. Installing ComMarker Studio
Before you begin engraving, you’ll need to install ComMarker Studio, the control software for your UV laser engraver.
For Windows Users:
-
Plug in the power and data cables.
-
Insert the USB drive that came with your engraver.
-
Copy all files from the USB to your computer.
-
Open the software folder and run the installer.
-
Follow the prompts and click Next until installation completes.
-
If the installation fails or your version is outdated, visit store.commarker.com and download the latest version.
For Mac Users:
-
Copy the USB files to your computer.
-
Open the ComMarker software folder and double-click the installer.
-
Drag the ComMarker Studio icon into the Applications folder.
-
If a security warning appears, go to System Preferences → Security & Privacy → Open Anyway.
-
Agree to the disclaimer and complete the installation.
-
You can also get the latest version from store.commarker.com.
2. Connecting and Understanding the Software
Once installed, open ComMarker Studio and connect your engraver.
When prompted, load the device parameters — these define your laser’s operating limits and should not be changed without technical support.
You can:
-
Import files (text, images, vectors, or codes)
-
Select the working field (lens determines area and power density)
-
Preview designs before engraving
-
Adjust parameters for different materials
💡 Tip: Avoid changing protected parameters unless instructed by ComMarker support — these settings ensure proper calibration of your UV laser system.
3. Understanding Laser Engraving Parameters
High-quality laser engraving depends on finding the right balance of speed, power, and pulse settings. Here’s what each parameter does:
| Parameter | Function |
|---|---|
| Mode | Determines the engraving type (e.g., flat, roller, chuck, extension) |
| Speed | Controls how fast the laser beam moves |
| Frequency | Sets pulse repetition; affects texture and smoothness |
| Pulse Width | Duration of each pulse |
| Interval | Line spacing between passes |
| Passes | Number of repetitions |
You can use the Material Library in ComMarker Studio to get recommended settings for common materials like glass, metal, and acrylic.
4. Performing Your First Laser Engraving
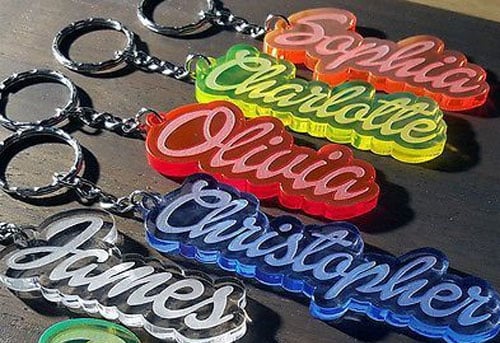
Now it’s time to engrave your first design — let’s use a simple text engraving on a metal card.
-
Place the metal card on the platform.
-
Click Focus to let the machine autofocus.
-
If necessary, adjust the height manually using the Up/Down buttons.
-
Add text in the workspace and apply Fill to turn it into a filled vector shape.
-
Confirm that the selected lens matches your installed lens.
-
Click Preview to check size and alignment.
-
Close the safety door and press Start.
Once engraving finishes, open the safety door and inspect your result — you should see a clean, crisp mark.
5. Tips for Using a UV Laser Engraver
-
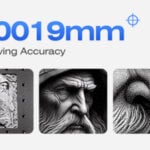
Always focus precisely — even a 0.5 mm offset can blur your results.
-
Use a preview before every engraving to avoid misalignment.
-
For glass engraving, place a thin sheet of paper under the glass to improve focus.
-
Keep your lens clean for consistent power output.
-
Use proper ventilation — UV lasers vaporize material at high intensity.
Conclusion
Setting up your ComMarker OMNI X/XE UV laser engraver and understanding how to fine-tune engraving parameters can dramatically improve your results. With ComMarker Studio, you can precisely control every step of the laser engraving process — from focus and power to preview and start. Once you master these basics, you’ll be ready to create professional-level engravings on metal, glass, plastic, and beyond.
If you have questions or need help optimizing your setup, contact [email protected] — the team is always ready to assist.