If you’ve ever wondered how to engrave on round or curved objects using a UV laser engraver, you’re not alone. Many creators, small business owners, and makers want to expand beyond flat materials — that’s where a rotary roller comes in.
In this guide, we’ll walk you through how to set up and start rotary laser engraving using your ComMarker OMNI X/XE or a similar UV laser engraver. Whether you’re personalizing tumblers, bottles, or cylindrical parts, this step-by-step tutorial will help you get perfect results every time.
1. Get Your Setup Ready
Before you start engraving, make sure everything is properly connected and ready to go:
-
Install ComMarker Studio on your computer.
-
Connect your UV laser engraver to your PC.
-
Remove the lens cap to prevent damage.
-
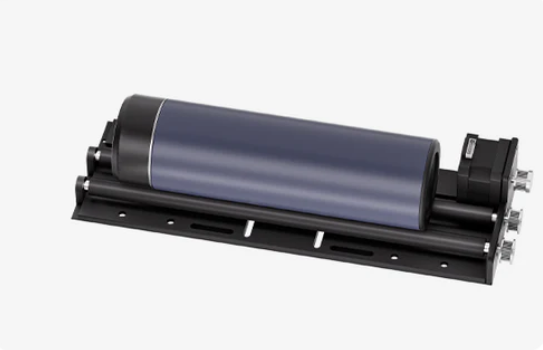
Install the roller attachment firmly on the base.
-
Turn on the engraver and disable the safety door function if prompted.
💡 Tip: Always double-check your laser’s firmware and lens type before engraving — mismatches can affect focus and precision.
2. Switch to Rotary (Roller) Mode
In ComMarker Studio:
-
Open the software and select “Roller Mode.”
-
Use the design tools on the left panel to import your artwork.
-
Adjust the size and placement of your design for the cylindrical surface.
Make sure to measure the diameter of your object at the focus point — this ensures your design wraps around accurately.
3. Enter Engraving Settings
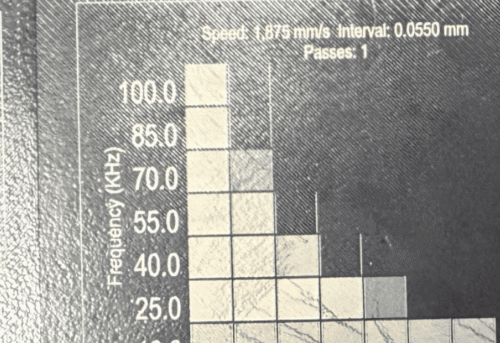
Input your engraving pulse width, speed, and frequency values based on your material. For UV lasers, transparent materials like glass or acrylic often require lower power and slower speed to avoid burn marks.
4. Focus the Laser Correctly
-
Place the object securely on the roller.
-
Confirm that the selected lens in software matches the installed one.
-
Move the red focus dot to the highest point at the center of the curved surface.
-
Click “Focus” to perform autofocus.
👉 If you’re engraving transparent materials, place a sheet of paper on the surface — it helps the laser focus precisely.
5. Preview Your Design
Click Preview and hold the preview helper tool on the workpiece.
The roller will rotate to show the engraving path. Check that:
-
The design wraps evenly around the object.
-
There’s no overlap or distortion.
If something looks off, adjust the rotation or alignment before engraving.
6. Start Engraving
Once everything is confirmed:
-
Remove the preview helper.
-
Click Start to begin laser engraving.
-
Wait until the laser stops completely before removing your workpiece.
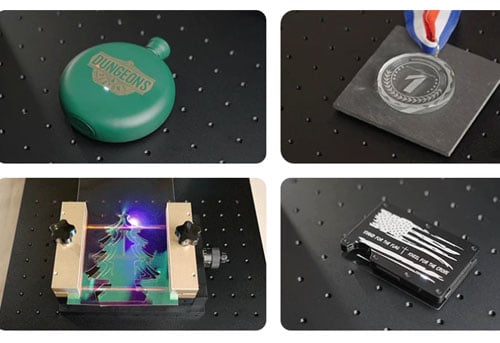
When done, you’ll have a clean, sharp engraving that perfectly follows the curve — all thanks to the rotary roller and UV laser precision.
7. Final Tips for Better Rotary Laser Engraving
-
Use consistent lighting and ventilation around your engraver.
-
For metal cups or anodized parts, experiment with pulse frequency for a brighter finish.
-
Keep your rollers clean — debris can cause uneven rotation.
-
Save your successful settings in ComMarker Studio for future projects.
Conclusion
Learning how to use a rotary roller with your UV laser engraver opens up endless creative possibilities — from custom drinkware to engraved industrial parts. Once you get familiar with the setup, it’s an easy, repeatable process that produces professional-quality results.
If you’re ready to try it, check out the ComMarker OMNI X/XE — a powerful UV laser engraver that’s perfect for detailed rotary engraving.