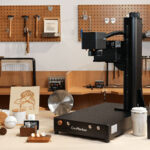
If you’re looking to add depth and dimension to your laser engraving projects, 3D relief engraving could be the perfect solution. Whether you’re a hobbyist or a professional, mastering 3D relief engraving allows you to create stunning designs that pop with intricate detail and texture. In this guide, we’ll walk you through the steps for successful 3D relief engraving using ComMarker OMNI X/XE UV laser engraver.
What is 3D Relief Laser Engraving?
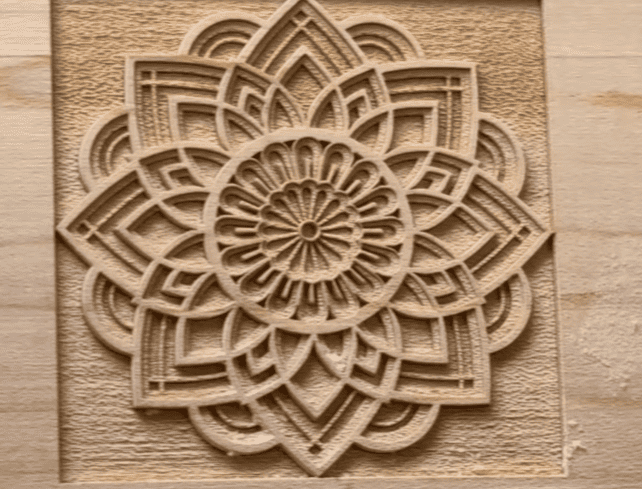
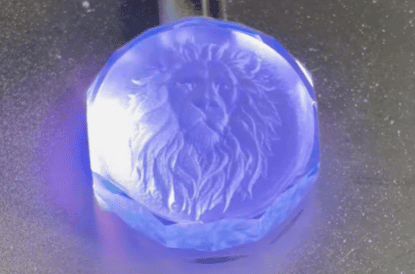
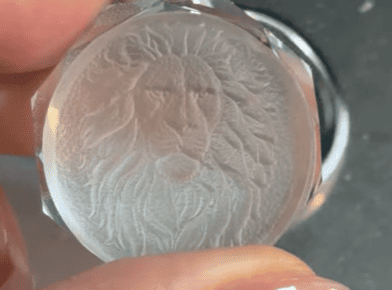
3D relief laser engraving involves engraving designs with varying depths, creating a raised or recessed pattern on the material’s surface. This technique is commonly used for making highly detailed artwork, custom designs, and even personalized gifts. Unlike traditional flat engraving, 3D relief engraving brings a sense of depth and dimension, making your creations more dynamic and visually striking.
Step by Step Guide for 3D Relief Laser Engraving
Before you start your 3D engraving project, there are a few things you’ll need to do to prepare your laser engraver and the design software.
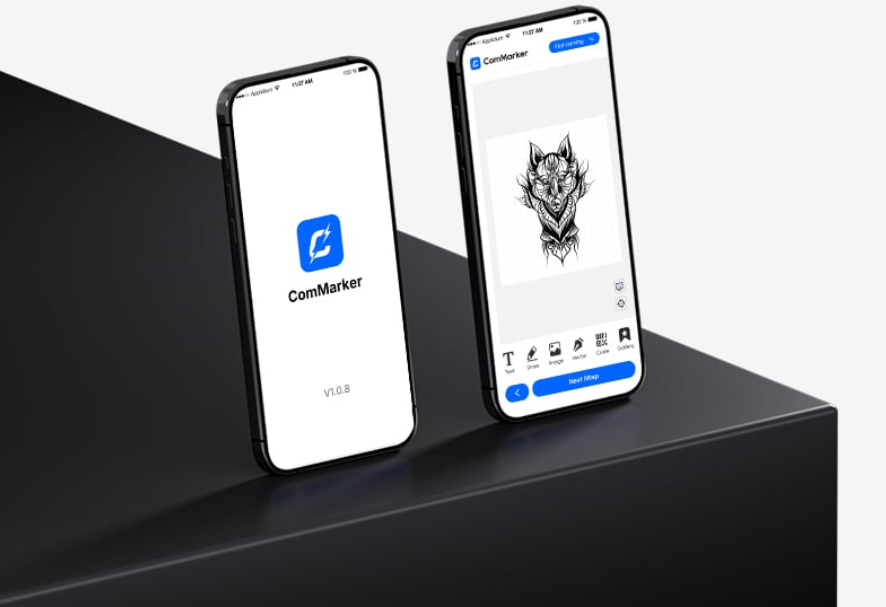
1. Install ComMarker Studio and Connect Your Engraver
Start by installing ComMarker Studio, the software that controls your laser engraver. Make sure the software is connected to your laser engraving machine via USB cable. Once installed, you’re ready to proceed.
2. Remove the Lens Cap and Power Up
Ensure that the lens cap is removed from the laser head and turn on your engraving machine. Double-check that the engraver is connected properly and that all safety precautions are in place.
3. Select the 3D Relief Module
In ComMarker Studio, navigate to the 3D relief module to begin setting up your engraving. This is where you’ll import your design and adjust settings to ensure the engraving will be done to perfection.

4. Import Your STL File
Your design should be in the STL format, which is the most common 3D file type for laser engraving. Import your STL file into ComMarker Studio, and adjust the display size of your model using the mouse wheel. Make sure your design fits within the frame that you’ll use for engraving.
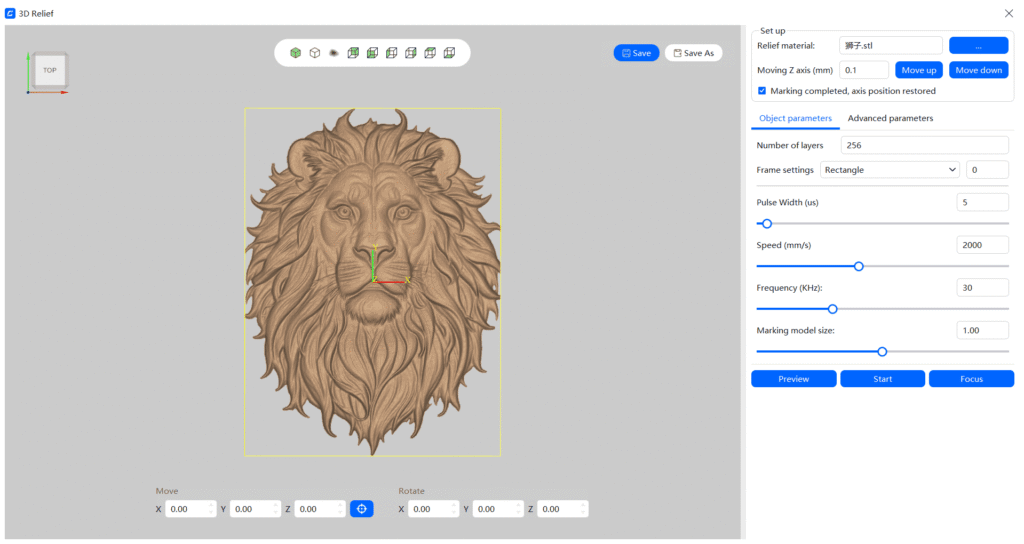
5. Fit the Frame and Adjust Model Position
Choose the right frame size that corresponds to the dimensions of your design. Then, use the tools in the software to move or rotate your 3D model into the correct position within the frame.

6. Set Engraving Parameters
ComMarker Studio provides advanced settings for the engraving process. You’ll need to select parameters based on the material you’re using, including the number of layers and filling density. A higher number of layers results in smoother, more detailed engravings but will also increase the time it takes to complete the process.
If you’re unsure about the relief engraving layer count, 40 layers is a recommended starting point and can be adjusted based on test results.
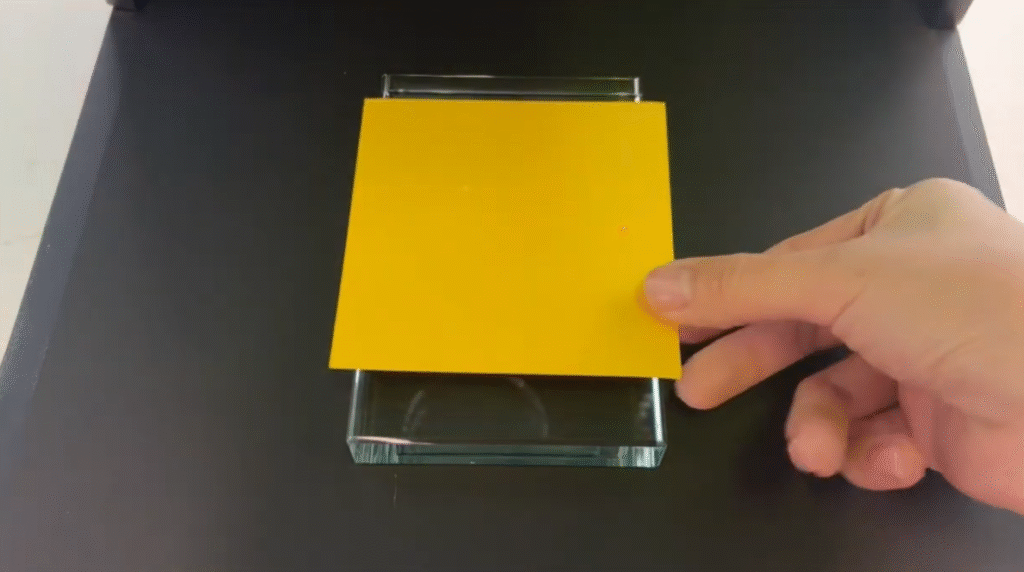
7. Place the Material on the Engraving Platform
Lift the safety door of the engraver and place your material onto the engraving platform. Make sure that the red focus sensor dot lands on the surface of the material. If you’re working with a transparent material, it’s recommended to place a sheet of paper on top to help with accurate focusing.
8. Autofocus for Precision
Click the autofocus button in the software to allow the laser to focus on your material automatically. This step is essential for ensuring the right depth and clarity in the engraving.
Don’t forget to use a backing board to protect your platform, and place a piece of paper on top of your material before focusing if you are engraving glass.
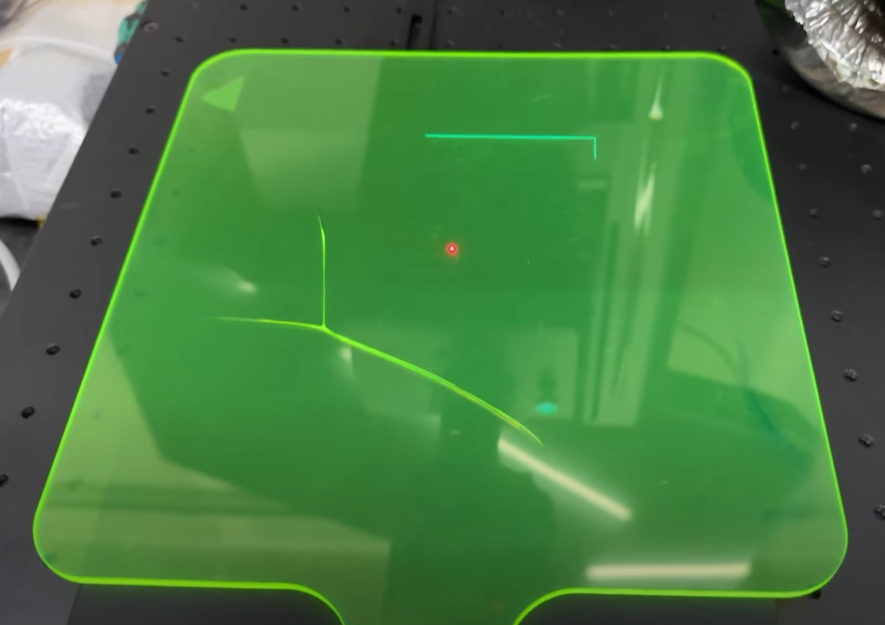
9. Preview and Adjust the Engraving Area
After focusing, use the preview function to check the engraving area. Remove the focus paper if used.
If the preview doesn’t match your expectations, stop and adjust the scale or positioning.
Re-run the preview until everything is set correctly.
10. Close the Safety Door and Start Engraving
Once you’ve double-checked everything and the preview looks good, remove the preview helper and close the safety door. Hit the “start” button to begin the engraving process. A short deflection process will occur before the actual engraving begins.
11. Wait for the Engraving to Finish
The laser will begin engraving your design, and you’ll see the detailed 3D relief taking shape. Once the engraving is complete, the laser will stop automatically. Carefully remove your workpiece from the platform and inspect the final result. Please ensure the screen stays on during engraving.
For Lightburn, the process might be different, a grey scale image is needed to create depth for the material, check detailed guide in:
How to Laser Engave Coin: Blanks and 6 Step Guide to Engrave like a Pro
Tips for Success in 3D Relief Engraving
-
Choose the Right Material: Softer materials like wood is easier to engrave and work well for 3D relief designs. Harder materials such as deep laser engraving stones may require more power and time.
- Keep Good Ventilation: Dust made of the removed materials mess your engraving bed and affect engraving result. Have a Fume Extractor on when deep laser engraving.