3D inner glass laser engraving is one of the most impressive things you can do with a modern laser engraver—especially with a UV laser like the ComMarker Omni X. Instead of engraving on the surface, the laser focuses inside glass or crystal and “draws” a 3D image point by point. The result? A floating design inside a block of crystal.
If you’ve never tried it before, don’t worry. In this tutorial, I’ll walk you through the entire process from setup to your first fully 3D engraved crystal.
What You Need Before Starting
Before you hit “Start,” make sure you’ve got everything ready:
✔ Install ComMarker Studio software
✔ Connect the laser engraver to your computer
✔ Switch to the 70 mm field lens (best for detail work)
✔ Remove the lens cap
✔ Turn on the machine
Step 1: Import Your 3D Model
3D inner engraving works with 3D models instead of flat images.
1.Open ComMarker Studio
2.Click the 3D Glass Engraving Module
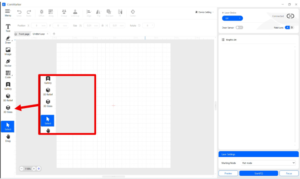
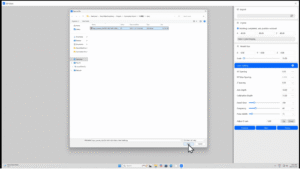
3.Import your file through import (.STL or .OBJ).
What’s the difference?
| File Type | Best For | Detail Level |
|---|---|---|
| STL | Simple shapes, logos, basic models | Basic |
| OBJ | Models with textures or realistic forms | High detail |
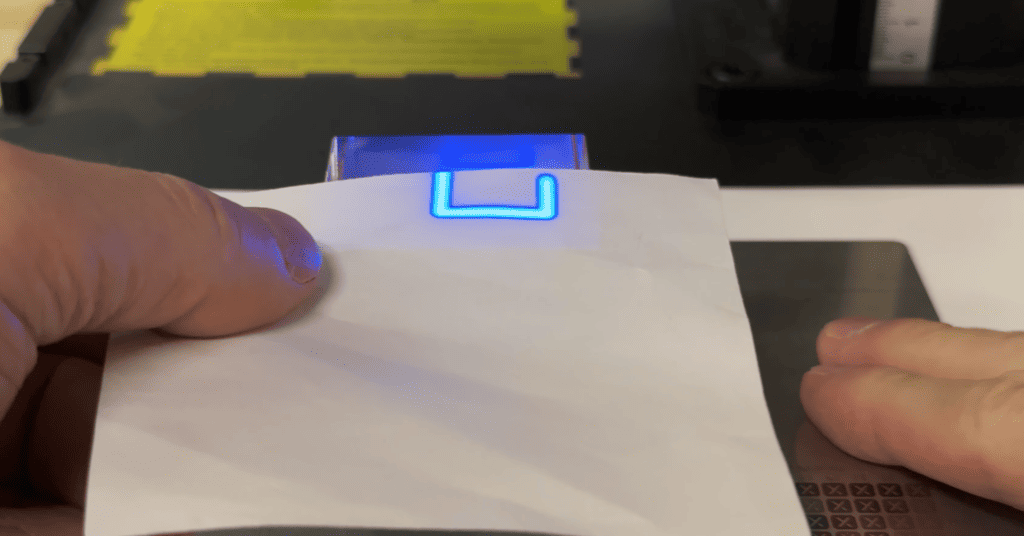
Step 2: Focus and Position the Material
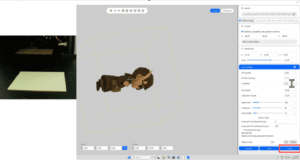
To make sure the laser focuses accurately inside the crystal:
1.Land the red positioning dot on the engraving bed
2.Click Focus
3.Place your glass or crystal block on the platform
Step 3: Fit the Model Inside the Crystal
Enter your crystal size (e.g., 50 × 50 × 80 mm)
Resize, rotate, and position the 3D model so it floats inside the block—not touching the edges
Click Point Cloud Preview to check model quality
Tip:
✔ If the preview shows sparse dots or broken areas, your 3D model does not have enough detail for engraving.
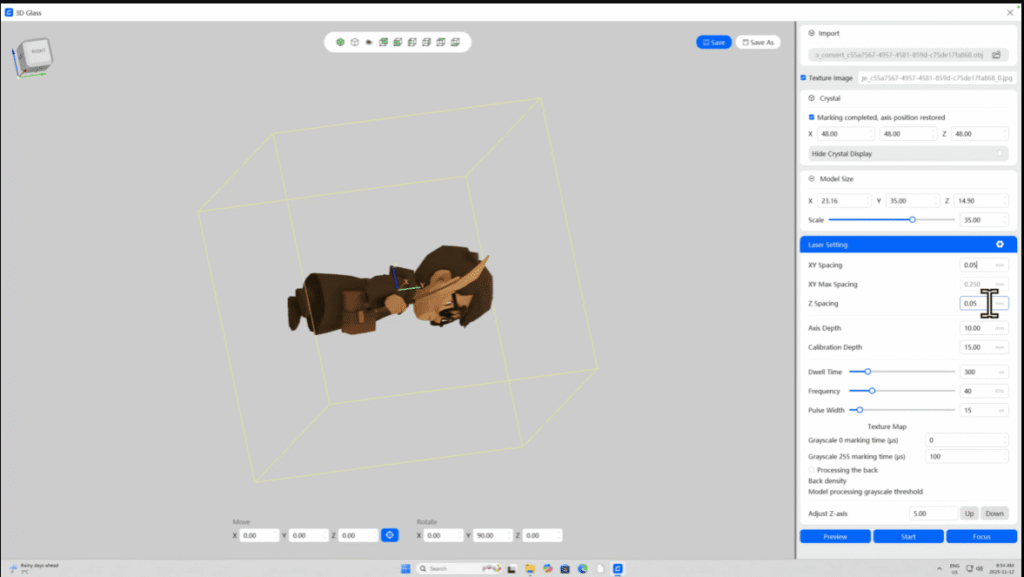
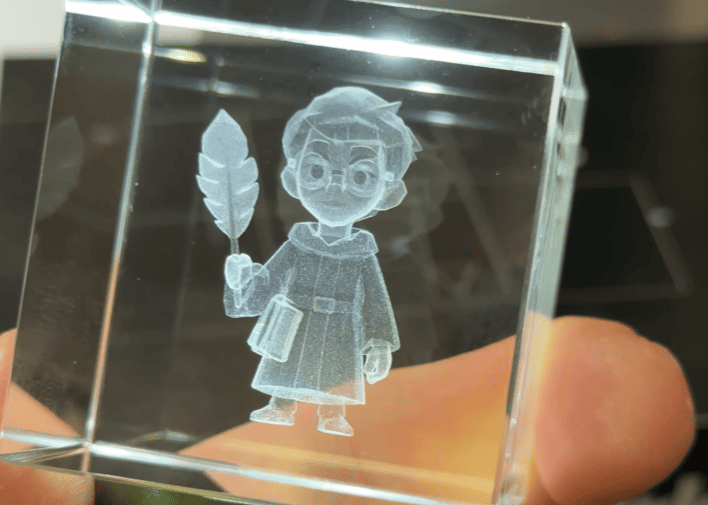
*This is an image of using OBJ files for 3D inner engraving. If you use STL files, the model will be displayed in brown in the software.
OBJ files allow you to engrave with color depth and texture, for more details, check guide for how to use an OBJ file for 3d inner engraving→
Step 4: Apply Engraving Settings
These are the recommended settings to start with:
| 6W laser models | 12W laser models |
| XY Spacing: 0.06mm | XY Spacing: 0.06mm |
| Z Spacing: 0.06mm | Z Spacing: 0.06mm |
| Dwell Time: 400μs | Dwell Time: 300μs |
| Frequency: 40 kHz | Frequency: 40 kHz |
| Pulse Width: 10 ns | Pulse Width: 16 ns |
Step 5: Preview Before Engraving
-
Click Preview to check the engraving area
-
Make sure it aligns with your material
-
Adjust size or position if necessary
Once everything looks right:
✔ Close the safety door
✔ Click Start
The machine will begin with a short deflection calibration, then start engraving point by point.
Step 6: Finishing Up
When engraving is complete:
-
Open the safety door
-
Carefully remove your crystal
-
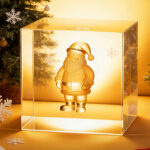
Rotate it under the light—the 3D design should appear suspended inside
Pro Tips for Better 3D Inner Engraving
| Tip | Why It Helps |
|---|---|
| Use high-quality, bubble-free crystal | Clearer engraving results |
| Avoid placing the model too close to edges | Prevents surface cracking |
| Use OBJ for complex textures (faces, animals, etc.) | More realistic results |
| Keep crystal very still during engraving | Movement can ruin the point cloud |
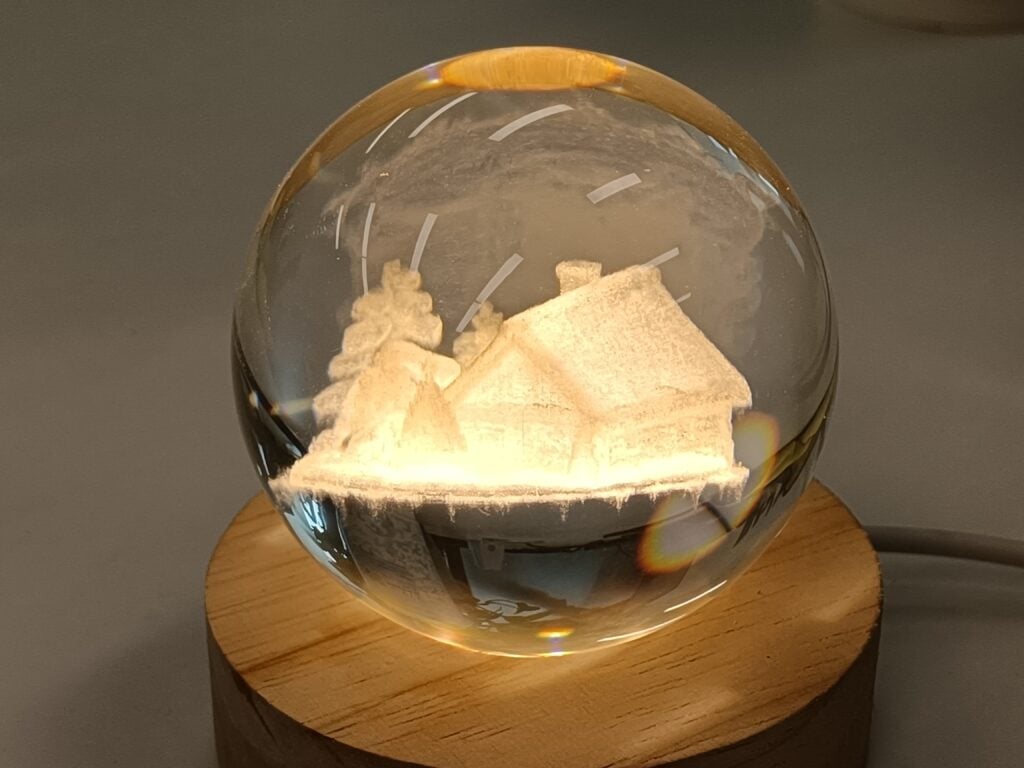
For glass sphere engraving, check guide for
how to engrave crystal ball with UV laser engraver →
Common Mistakes to Avoid
| Mistake | Result |
|---|---|
| Using wrong lens (e.g. 100mm) | Lower detail / blurry points |
| Skipping focus step | Misaligned engraving inside the block |
| No preview before engraving | Misplacement or clipping into edges |
| Low model density | Incomplete or hollow 3D design |
Final Thoughts
3D inner engraving is one of the most magical features a UV laser engraver can offer. With the right lens, good focus, and a well-prepared 3D model, you can engrave photos, statues, logos, or even full 3D scenes inside glass or crystal.
Once you try it, you’ll realize it’s not as complicated as it looks—it just takes the right setup and a little patience.