If you’re like me, staring at your laser engraver and wondering, “Could this magical beam machine… do my nails?” – the answer is a resounding YES! And no, before you ask (because everyone does!), this does NOT involve putting your actual fingertips under the laser. Please, please don’t try that.
We’re talking about pre-made press-on nail blanks , nail stamping plates, and even metal nail plates.
Let me take you through my messy, rewarding journey of turning blank plastic tips into stunning, custom nail art using my laser. I’ll share the real wins, the face-palm fails, and everything I desperately wish someone had told me upfront.
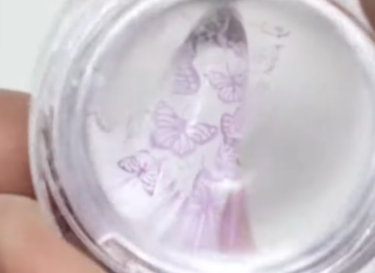
Method 1: Direct Engraving with UV Laser. The “Aha!” Moment: Wait, These Nails Work?
Picture me, slightly bleary-eyed at 2 AM, surrounded by failed experiments with wood coasters and leather tags. I glanced at a pack of cheap, matte-finish press-on nails I’d bought on a whim. “Hmm,” I thought, “It’s just acrylic plastic… lasers love acrylic…” Lightbulb moment!
My Material Cheat Sheet (Learned the Hard Way):
| Material | Laser Result | Real Talk & Lessons Learned |
|---|---|---|
| ABS plastic | Crisp, sharp lines | My GO-TO! Feels sturdy. But be gentle: Too much power = warped edges. Lower & slower wins. |
| PMMA (acrylic) | Beautiful contrast (whitens) | Looks super professional! Warning: Go too deep or hot = brittle nails that snap when applying. Ouch. |
| Gel Tips | Melty, gloopy mess | Just… don’t. Save your sanity and materials. |
| Pre-Painted | Unpredictable results | Sometimes works, often bubbles or chars the paint. Stick to blanks for reliable art. |
💡 My Pro-Tip That Saved My Sanity: MATTE OVER GLOSSY, ALWAYS. Glossy nail tips? Nightmare fuel. The laser beam reflects or scatters, blurring your design like a bad photocopy. Matte surfaces grip the laser perfectly for sharp, visible engravings. Trust me on this.

Dialing It In: My Laser Settings & The “Test Nail” Gospel
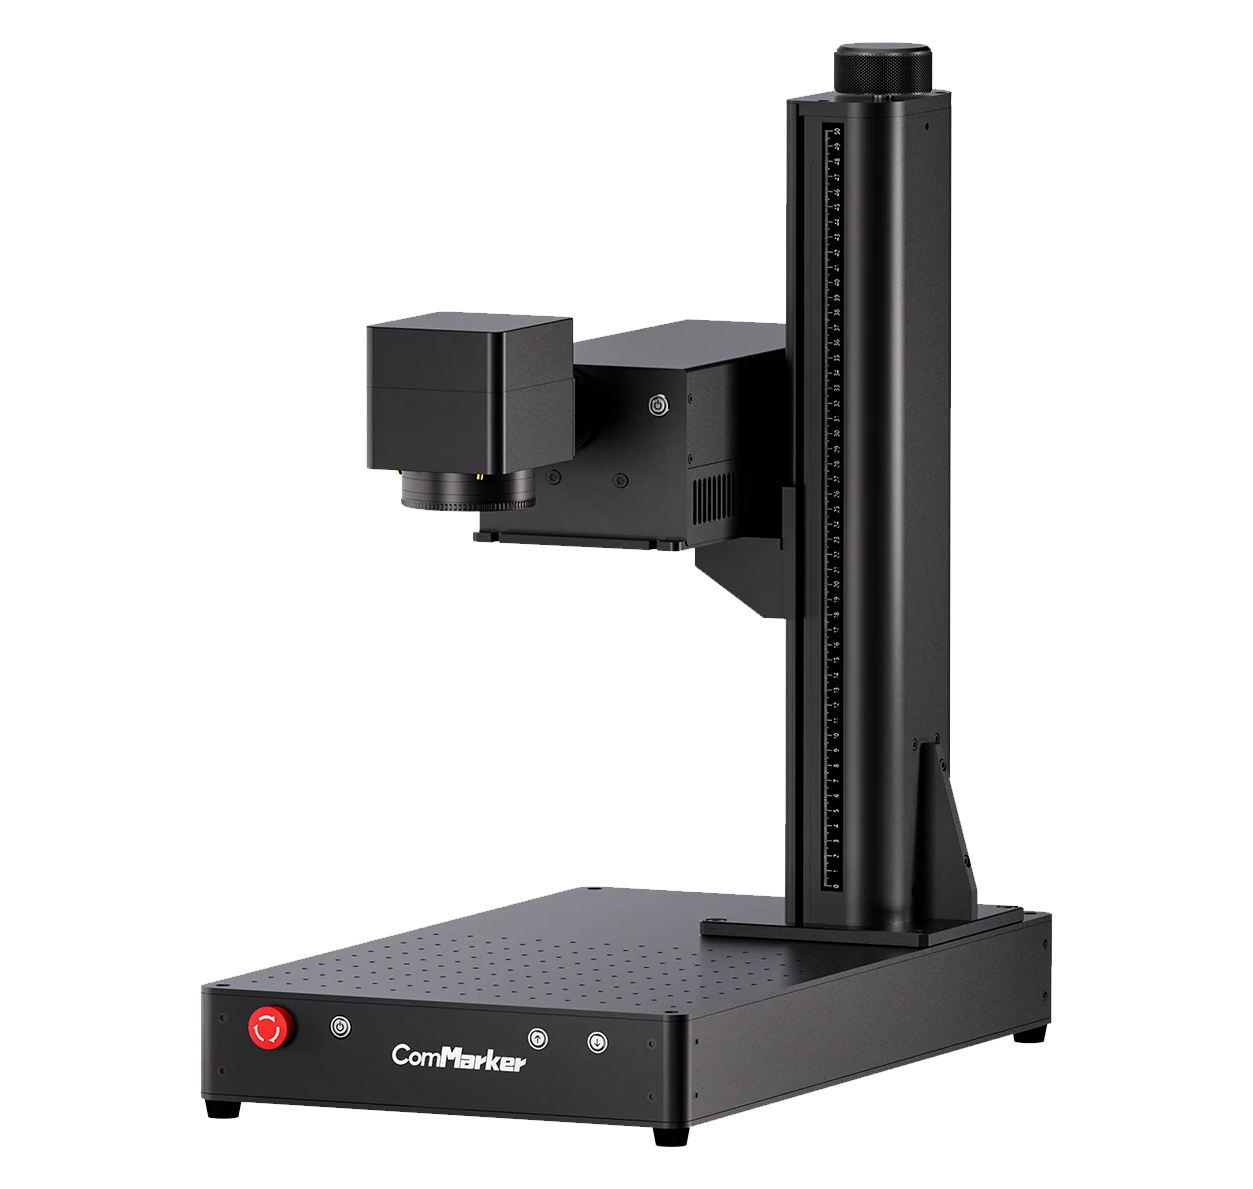
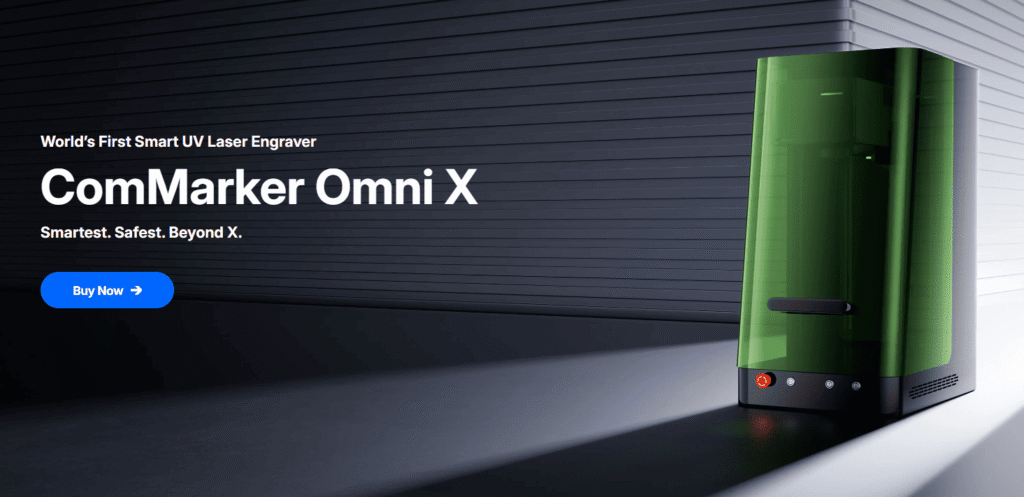
I use a ComMarker Omni 1 UV laser for this – its pinpoint precision is chef’s kiss for tiny details on plastic. But the principles apply to other lasers too (more on that in a sec).
Here’s my current sweet spot after many sacrificial nails: Speed: 1500 mm/s (Fast! UV lasers work quick); Frequency: 80 kHz; Q-pulse: 5 (Helps control heat on delicate plastic); DPI/Scan Gap: ~800 (Fine enough for detail, fast enough for production); Orientation: FACE UP! Seems obvious, but double-check. Engraving the back makes for a very confusing manicure.
⚠️ If You’re Using a Diode Laser: Friend, you need to chill. Literally. Diode lasers generate more heat. Dramatically reduce speed AND power compared to UV settings. We’re talking maybe 200-400 mm/s max and very low power (start at 10-15% and creep up). ABS melts like butter on a hot pan if you’re too aggressive. Test, test, TEST!
🙏 The Sacred Rule: ALWAYS RUN A TEST ON A SPARE NAIL FIRST. My most spectacular fail? A gorgeous, intricate floral pattern… etched right through an entire expensive sheet of nails because I got cocky and skipped the test. The smell haunts me. Learn from my expensive mistake.
Method 2: Laser Engrave Nail Stamping Plates with Fiber Laser
So I started exploring more about what laser engraver can do for nails. Now let’s talk about the tiny metal heroes of the nail world: nail stamping plates. These are not the glamorous part. They do not get the spotlight. But without them? Your cute little nail designs are just sad ideas trapped in your head.
The good news is that laser engraving metal nail stamping plates is actually a beautiful little marriage of precision and patience. The bad news is that the margin for error is microscopic. Like, blink and you’ve ruined it microscopic.
The Perfect Depth Settings
This is not the place to go wild and crank up the power like you’re carving a medieval door. A stamping plate needs shallow, clean engraving so the stamper can actually pick up the polish properly.
Target depth: 0.03 mm to 0.05 mm
That is tiny. Respectfully tiny. “Did I even do anything?” tiny. But that’s exactly what you want.
If the engraving is too deep, the stamper cannot reach into the groove properly. If it is too shallow, the polish will not transfer cleanly. So yes, this is one of those painfully specific situations where “a little bit” really means everything.
Machine Used and How I Set it
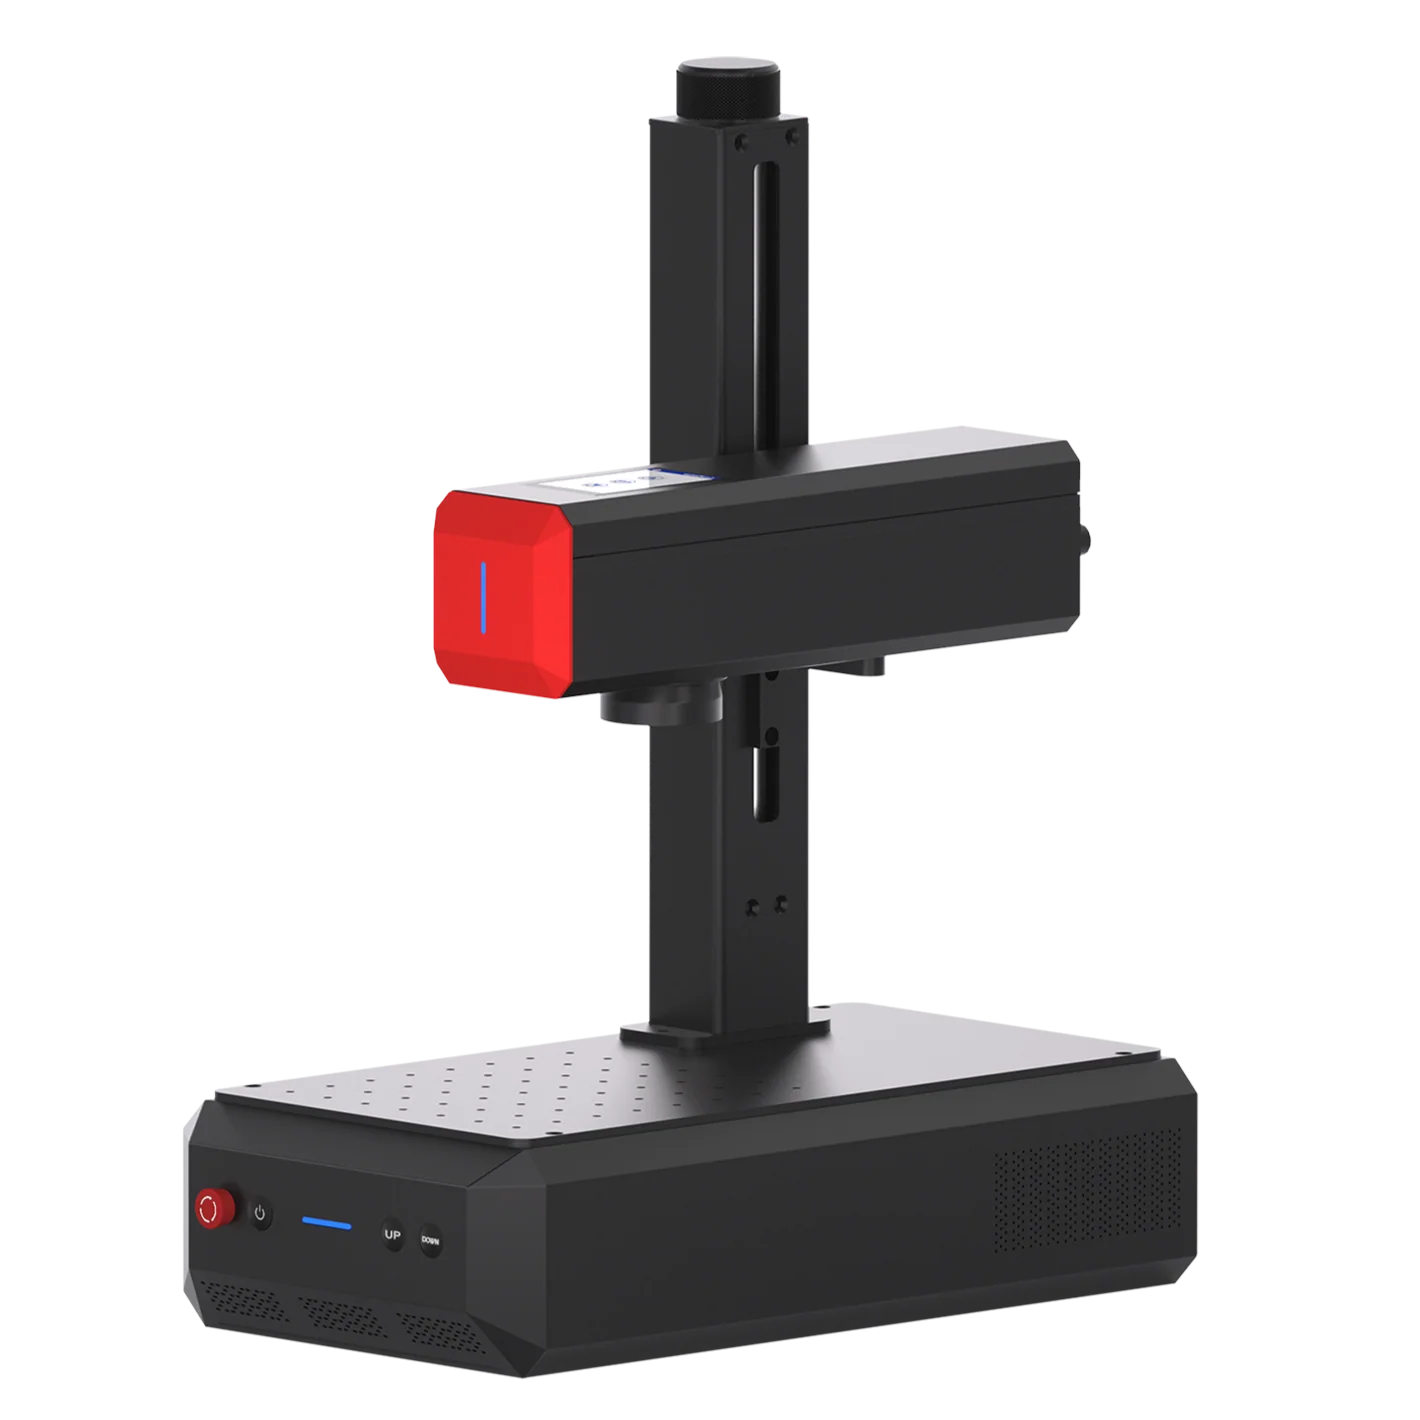
I used a 20w ComMarker B6 MOPA for stainless steel sheets. UV laser can give metal some depth, but not as fast as fiber.
You get enougth depth with fiber in 1 passes but 5 with UV. However, UV did give a cleaner finish, which confused me a bit of which is better. Afterall, for stamping plates, smoothness is the whole game.
Look for 0.5 mm to 1 mm thick stainless steel blanks, ideally #304 stainless steel. These are often sold as blank metal cards, dog tags, or custom plate blanks. Thin, flat, and ready to become something useful.
Setting I used on stainless steel: Frequency: 35 kHz; Speed: 1500 mm/s; Power: 20%; Line interval: 0.01 mm to 0.02 mm; Passes: 2 passes at high speed is vastly superior to 1 slow pass; Pattern: Cross-hatch, preferably 90 degrees
How to Test the Plate
- If the image is patchy or missing parts: The engraving is too shallow (Decrease speed by 200 mm/s).
- If the image smears or has thick blobs: The engraving is too deep (Increase speed by 200 mm/s or drop power by 3%).
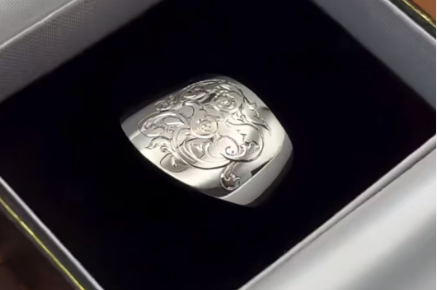
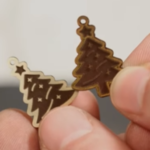
Method 3: Laser Engrave Metal Nails
Now for the fancy little cousin of press-on nails: metal nail accessories. If the plastic version is cute and creative, the metal version is sleek, sharp, and a little bit dramatic in the best possible way.
This includes things like metal nail tips, decorative nail charms, and tiny metal pieces used in high-end nail art. And yes, if you’re working with metal, the laser suddenly becomes much more serious about what it’s doing.
Machine Settings
For metal nail pieces, the goal is a sharp, polished mark without deforming the surface.
A good starting point for stainless steel of my fiber laser is: Speed: 1500 mm/sPower: 20%Frequency: 35 kHzLine Interval (Hatch): 0.015 mmPasses: 2 passes
The other reason of choosing MOPA fiber laser for metal engraving is color metal engraving don’t miss these if you hope to see something cool.
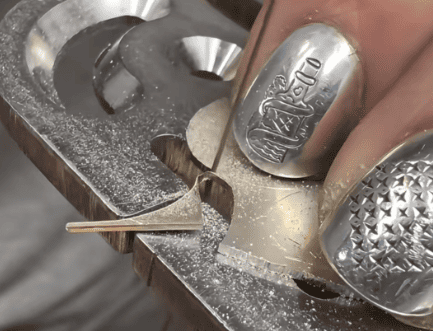
Before You Cut Metal Nail Plates with a 20W Fiber Laser…
Don’t do the same thing I did: I tried to use my 20W fiber laser to cut metal nail plates, and let me tell you, that was a patience exercise I did not need.
Making metal nail plates is already a whole process. You start by modeling the fingertip, then cut the shape according to the nail surface, and then hammer it until it fits the curve perfectly.
It sounds simple enough, until you actually try it. I was cutting 2mm-thick metal with a 20W fiber laser, and it took so long I started questioning all my life choices. Cut it with a saw, or if you have a 60W fiber laser, the cutting job becomes much more realistic and far less of a test of your patience. Use offset for clean edges, this is the other thing from what I learn besides cutting thick metal with a 20w.
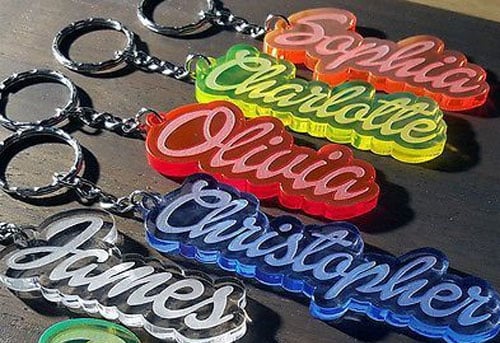
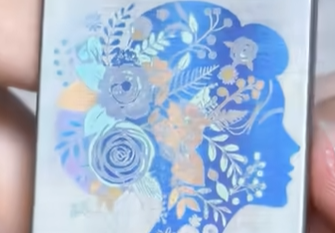
What Designs Make Nails Sing? Less is More!
This isn’t the place for ultra-fine photorealistic portraits (unless you have a super high-res galvo laser and infinite patience!). Laser-engraved nails shine with bold, clean vector art:
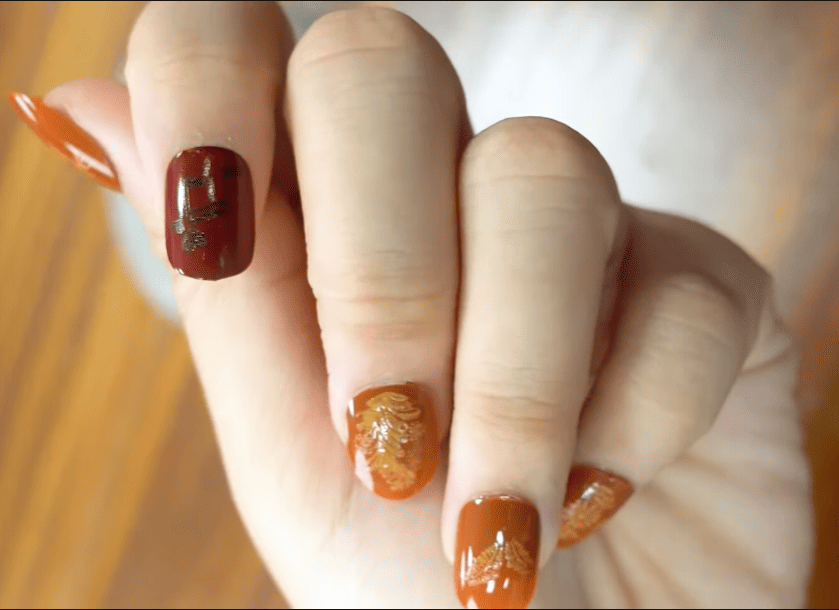
- Delicate Florals: Single-line roses, ferns, minimalist branches. Pure magic.
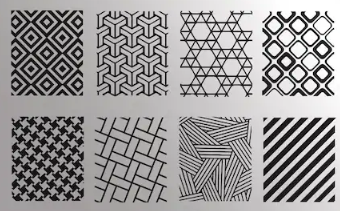
- Geometric Patterns: Chevrons, triangles, abstract lines. Modern and chic.
- Tiny Symbols & Initials: Hearts, stars, moons, your monogram. Simple elegance.
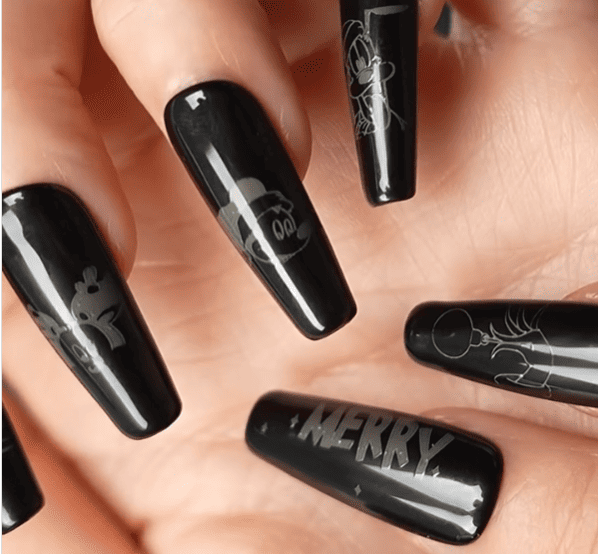
- Short Words or Mantras: “Breathe,” “OM,” your name. Keep it short & impactful.
- Mini Mandalas: Focus on the core structure, not microscopic detail.
🖋️ My Design Workflow: LightBurn is my BFF. I design or import vector art, scale it perfectly to fit the tiny nail canvas (measure twice, engrave once!), and center it meticulously. Build a simple jig! Tape down a sheet of blanks onto a sacrificial board, or create a little frame to hold them in place. Consistency is key, especially if you’re making sets.
Beyond the Burn: Sealing & Painting Your Masterpieces
The laser leaves a beautiful etched pattern, often whitened on acrylic. But the real fun starts here! You don’t have to add color, but oh, the possibilities…
- Acrylic Polish Fill: My favorite technique! Dab white, black, gold, or colored polish into the engraved lines. Let it sit for 30 seconds, then gently wipe the excess off the smooth surface with a lint-free wipe dipped in polish remover. The color stays in the grooves. Looks incredibly professional.
- Matte Top Coat: Just a swipe of matte top coat over the whole engraved nail makes the design pop against the slight sheen of the base plastic. Effortlessly chic.
- UV Gel Top Coat: For maximum durability (like if you’re selling them), seal with a UV gel top coat and cure. Makes them super tough and glossy.
- ✨ Get Creative! ✨ Remember my lunar phase disaster turned triumph? After engraving the phases, I filled the lines with glow-in-the-dark polish. At that Halloween party? Under blacklight, my fingertips were tiny constellations. Worth every melted nail that came before!
Mistakes I Made So You (Hopefully) Won’t
Let my pain be your gain:
- 🛑 The Great Meltdown: Dropped power? Nah, I thought more power = better engraving. Spoiler: It equals melted, unusable blobs. Start LOW and increase slowly. Heat is the enemy.
- 🛑 Brittle Snap: Engraved too deeply on acrylic trying to get “more contrast.” Applied the nail… snap. Heartbreak. Shallow, crisp engraving > deep, fragile etching.
- 🛑 The Wandering Heart: Didn’t tape down the blanks or use a jig. Hit start. Came back to find a beautifully engraved heart… halfway off the edge of the nail. Secure. Your. Blanks.
- 🛑 The Ghostly Residue: Finished engraving, thought they looked perfect. Applied top coat… and saw a weird white, powdery haze trapped in the design. Always wipe engraved nails gently with isopropyl alcohol before sealing or painting to remove any residue.
So… Is It Worth the Fuss? My Honest Take
Remember those first melted monstrosities? Absolutely, 100% YES, it’s worth it. Here’s why:
- Uniqueness: You will have nails literally no one else on the planet has. That’s powerful stuff.
- Speed (Once Dialed In): Once your settings are golden and you have a jig? Engraving a full set takes minutes. Painting/sealing takes a bit longer, but it’s relaxing.
- Creative Satisfaction: There’s a deep joy in wearing art you physically created from scratch. It feels like magic you control.
- Gift/Etsy Gold: Handmade, laser-personalized nails? People LOVE these as gifts. They sell like crazy on platforms like Etsy. Low material cost, high perceived value.
For the best laser engraver for nail Art, I think I will go with the UV. It has the capability of engraving plastic nails, engraving stamping plates, and mark on metal though not as fast as fiber. But for nail arts, the quality is more important then depth.
Related Articles:
 How One Small Business Boosted Productivity 40% with the Omni 1: A Glass Engraving Success Story
 K9 Crystal Laser Engraving Guide: How to Choose the Best Material for Custom Gifts
 From Retail to Product Personalization: How UV Laser Engraver Bring you New Growth
 Laser Engraved Earrings: The Ultimate Guide to Crafting Profitable Designs