If you’ve ever felt intimidated by the idea of setting up a rotary on a Galvo laser engraver, you’re not alone. But trust me—it’s easier than you think.
Hi, I’m Brett from the Laser Garage. My wife and I run a full-time laser engraving business right out of our home, and this blog is all about helping makers like you grow your laser or CNC business with real-world tips and profitable project ideas.
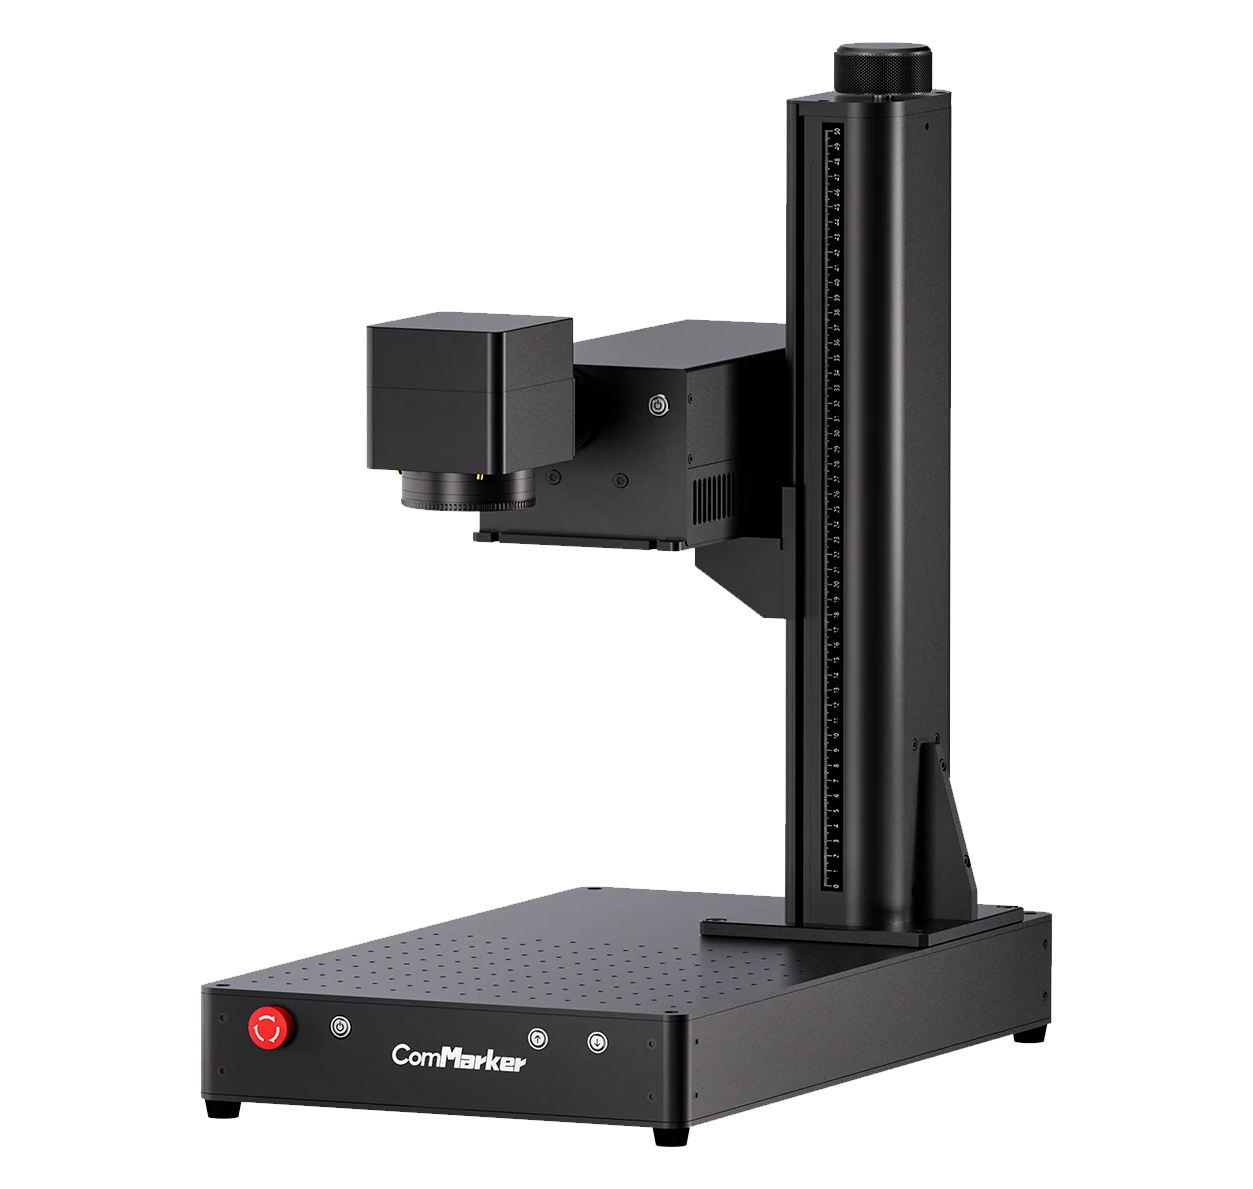
In today’s guide, I’ll walk you through the entire process of setting up a chuck-style rotary on a Galvo laser, using the ComMarker Omni1 UV laser engraver and the Pyburn Grip 2. We’ll even engrave a couple of wine bottles along the way—an incredibly popular project in the gifting market.
Why Use a Chuck-Style Rotary?
For this demo, I’m using the Pyburn Grip 2 rotary from Lens Digital. It’s a solid, reliable piece of equipment with great build quality and excellent grip. Personally, I prefer chuck-style rotaries over roller types because of their versatility—you can grip the outside, inside, or even tapered surfaces like mugs, wine bottles, and more. That added control makes a big difference, especially on glass or irregular shapes.
Don’t worry if you’re using a different rotary like the RotoBoss Talon or a D80-style model. The setup principles I’m about to share apply to almost all chuck rotaries on Galvo-style laser engravers.

Step 1: Hardware Setup on the Laser Engraver
Start by placing the rotary directly onto your Omni1’s bed. I like to position mine on the right side of the bed, aligned along the X-axis. I’m also using a metal extension plate from Etsy, which helps support longer items like wine bottles that extend beyond the base of the laser.
Using LightBurn, I draw a horizontal line across the workspace and center it. Then I chuck in a pencil (or dowel) into the rotary jaws to help visually align the laser’s projected line across the length of the pencil using the green framing paddle. Once the rotary is properly aligned and centered under the laser lens, I lock it in place.

Step 2: LightBurn Rotary Configuration
Now that the hardware is set, let’s configure LightBurn:
- Open the Rotary Setup under the Laser Tools tab.
- Select Chuck Rotary and check the Enable Rotary box.
- Leave Reverse Rotary unchecked unless your design comes out mirrored.
- Check Return to Starting Point for smoother workflow.
- Set Split Size to 0.4mm and Overlap to 0 (default works fine).
- Choose the Y-axis (if that’s how your rotary is aligned).
- Input your Steps Per Rotation—I started at 18,750, but settled at 48,000 after testing. To test:
- Place tape on the chuck and base.
- Draw a line across both.
- Hit the “Test” button. The chuck should rotate one full circle and align back with your line.
- Adjust the step value until it does a perfect 360°.
- Measure and enter the object diameter using digital calipers. LightBurn will calculate the circumference for you.
- Leave motor speed settings at default unless otherwise needed.

Step 3: Wine Bottle Engraving Setup
Time to put the rotary to work!
Wine bottle engraving is a highly requested item in our shop, especially for:
- Real estate closings
- Corporate gifts
- Weddings
- Housewarming presents
Here’s how to prep your bottle:
- Measure the bottle’s diameter and enter it into LightBurn.
- Use the rubber jaws on the Pyburn to firmly grip the bottle.
- For extra stability, I use the rear bottle support from Lens Digital—especially helpful for heavier bottles.
- Use a small level to ensure the bottle is completely horizontal.
- Adjust your focus height using a focus stick. Glass is unforgiving—so take the time to get it right!
- Frame your design with the green paddle to ensure perfect placement.
- I engrave the design in one pass whenever possible to avoid alignment issues.
Once everything’s level, focused, and aligned—triple check your settings. Trust me: wine bottles are easy to mess up, especially expensive ones.

Bonus: Paint Fill for a Professional Finish
The wine bottles looked great straight off the laser, but adding a paint fill takes them to the next level.
No masking needed—just rub acrylic paint into the engraved areas and wipe off the excess. If any residue remains, a bit of rubbing alcohol does the trick.
This works especially well on clear bottles, where engraved designs might be hard to see without added contrast.
How to Set Up a Chuck Rotary on a Galvo Laser Engraver
If you’ve ever felt intimidated by the idea of se…
What You Can Do with a Rotary Laser Engraver Setup
With the ComMarker Omni1 and a chuck-style rotary like the Pyburn, you unlock a whole world of cylindrical engraving:
- Wine bottles
- Pint glasses
- Whiskey tumblers
- Stainless steel cups
- Personalized gifts
- Promotional items
This setup isn’t just about cool projects—it’s about profitable ones. A properly configured laser engraver with a rotary adds serious versatility to your shop.
If you’re considering the Omni1 for your setup, check out the affiliate link I’ve included. It doesn’t cost you anything extra but helps support my content and lets me keep sharing real-world tutorials like this.
Thanks for stopping by the garage! Drop a comment if you have questions, and don’t forget to subscribe if you want more hands-on laser engraver content.