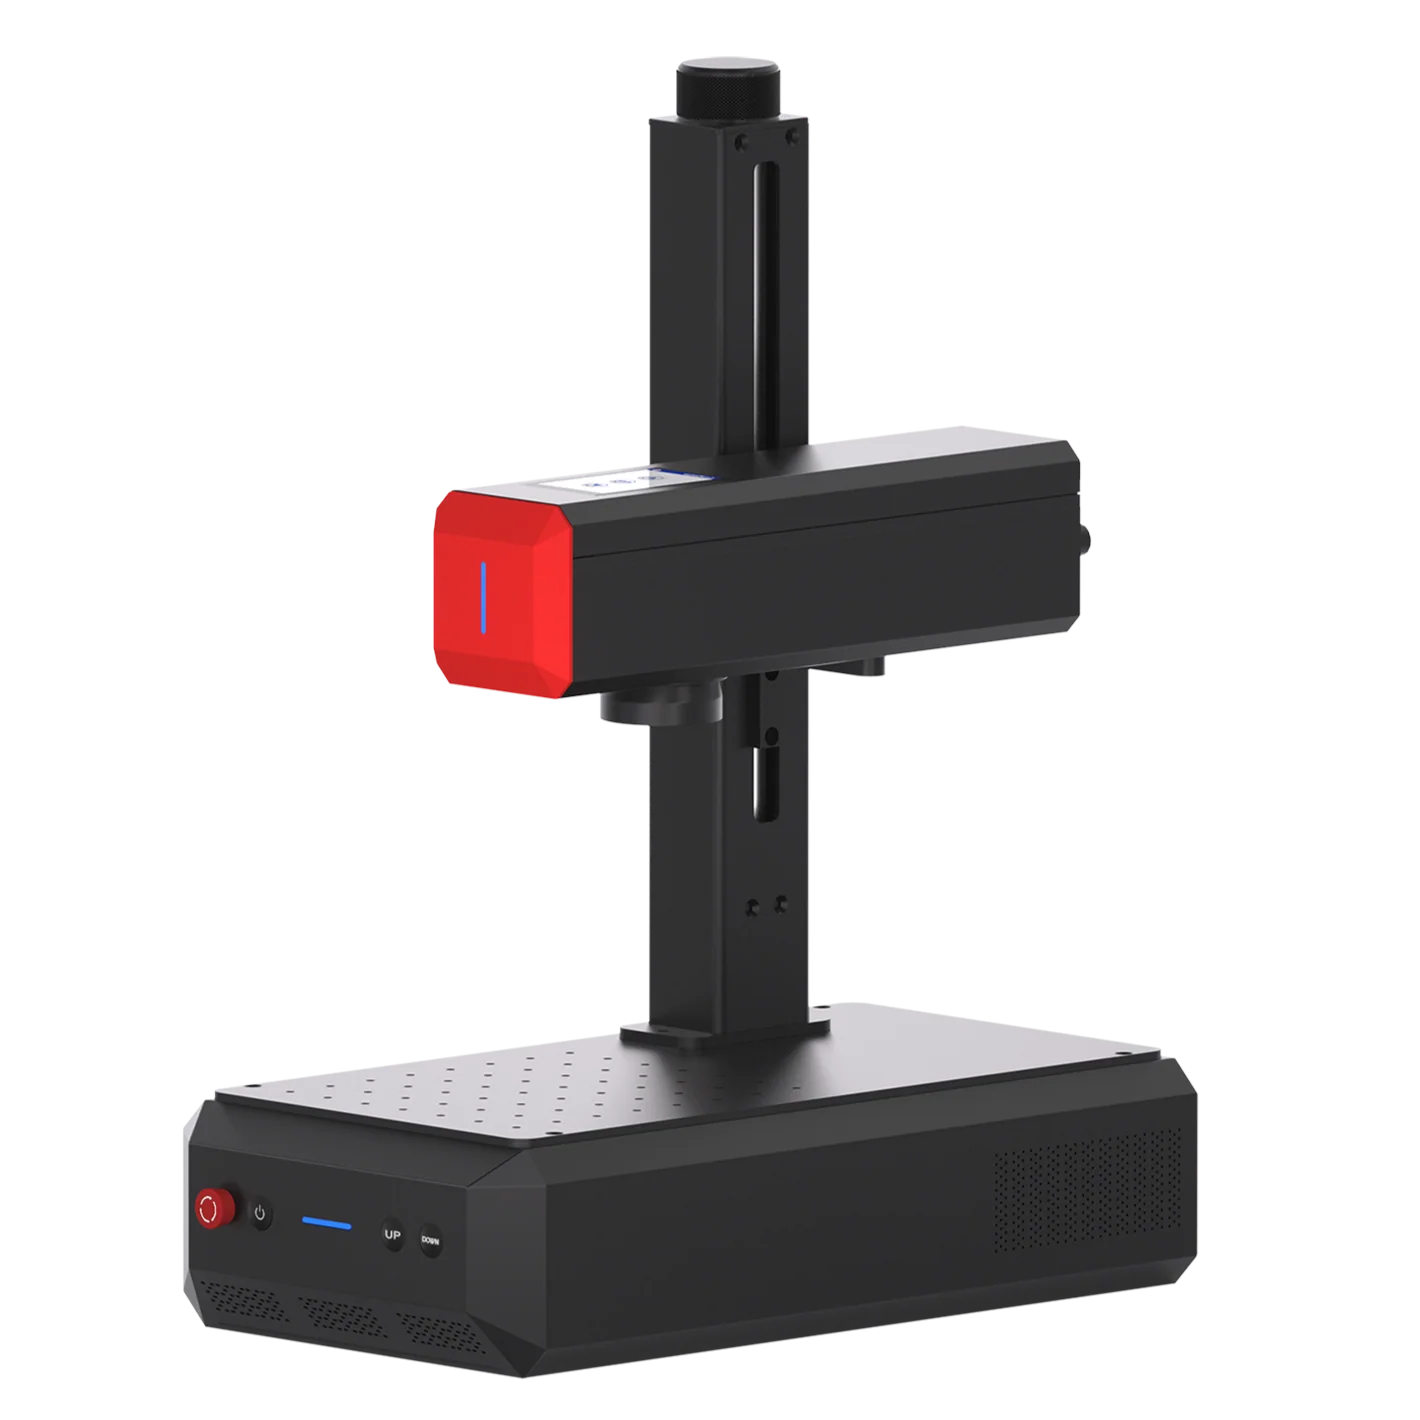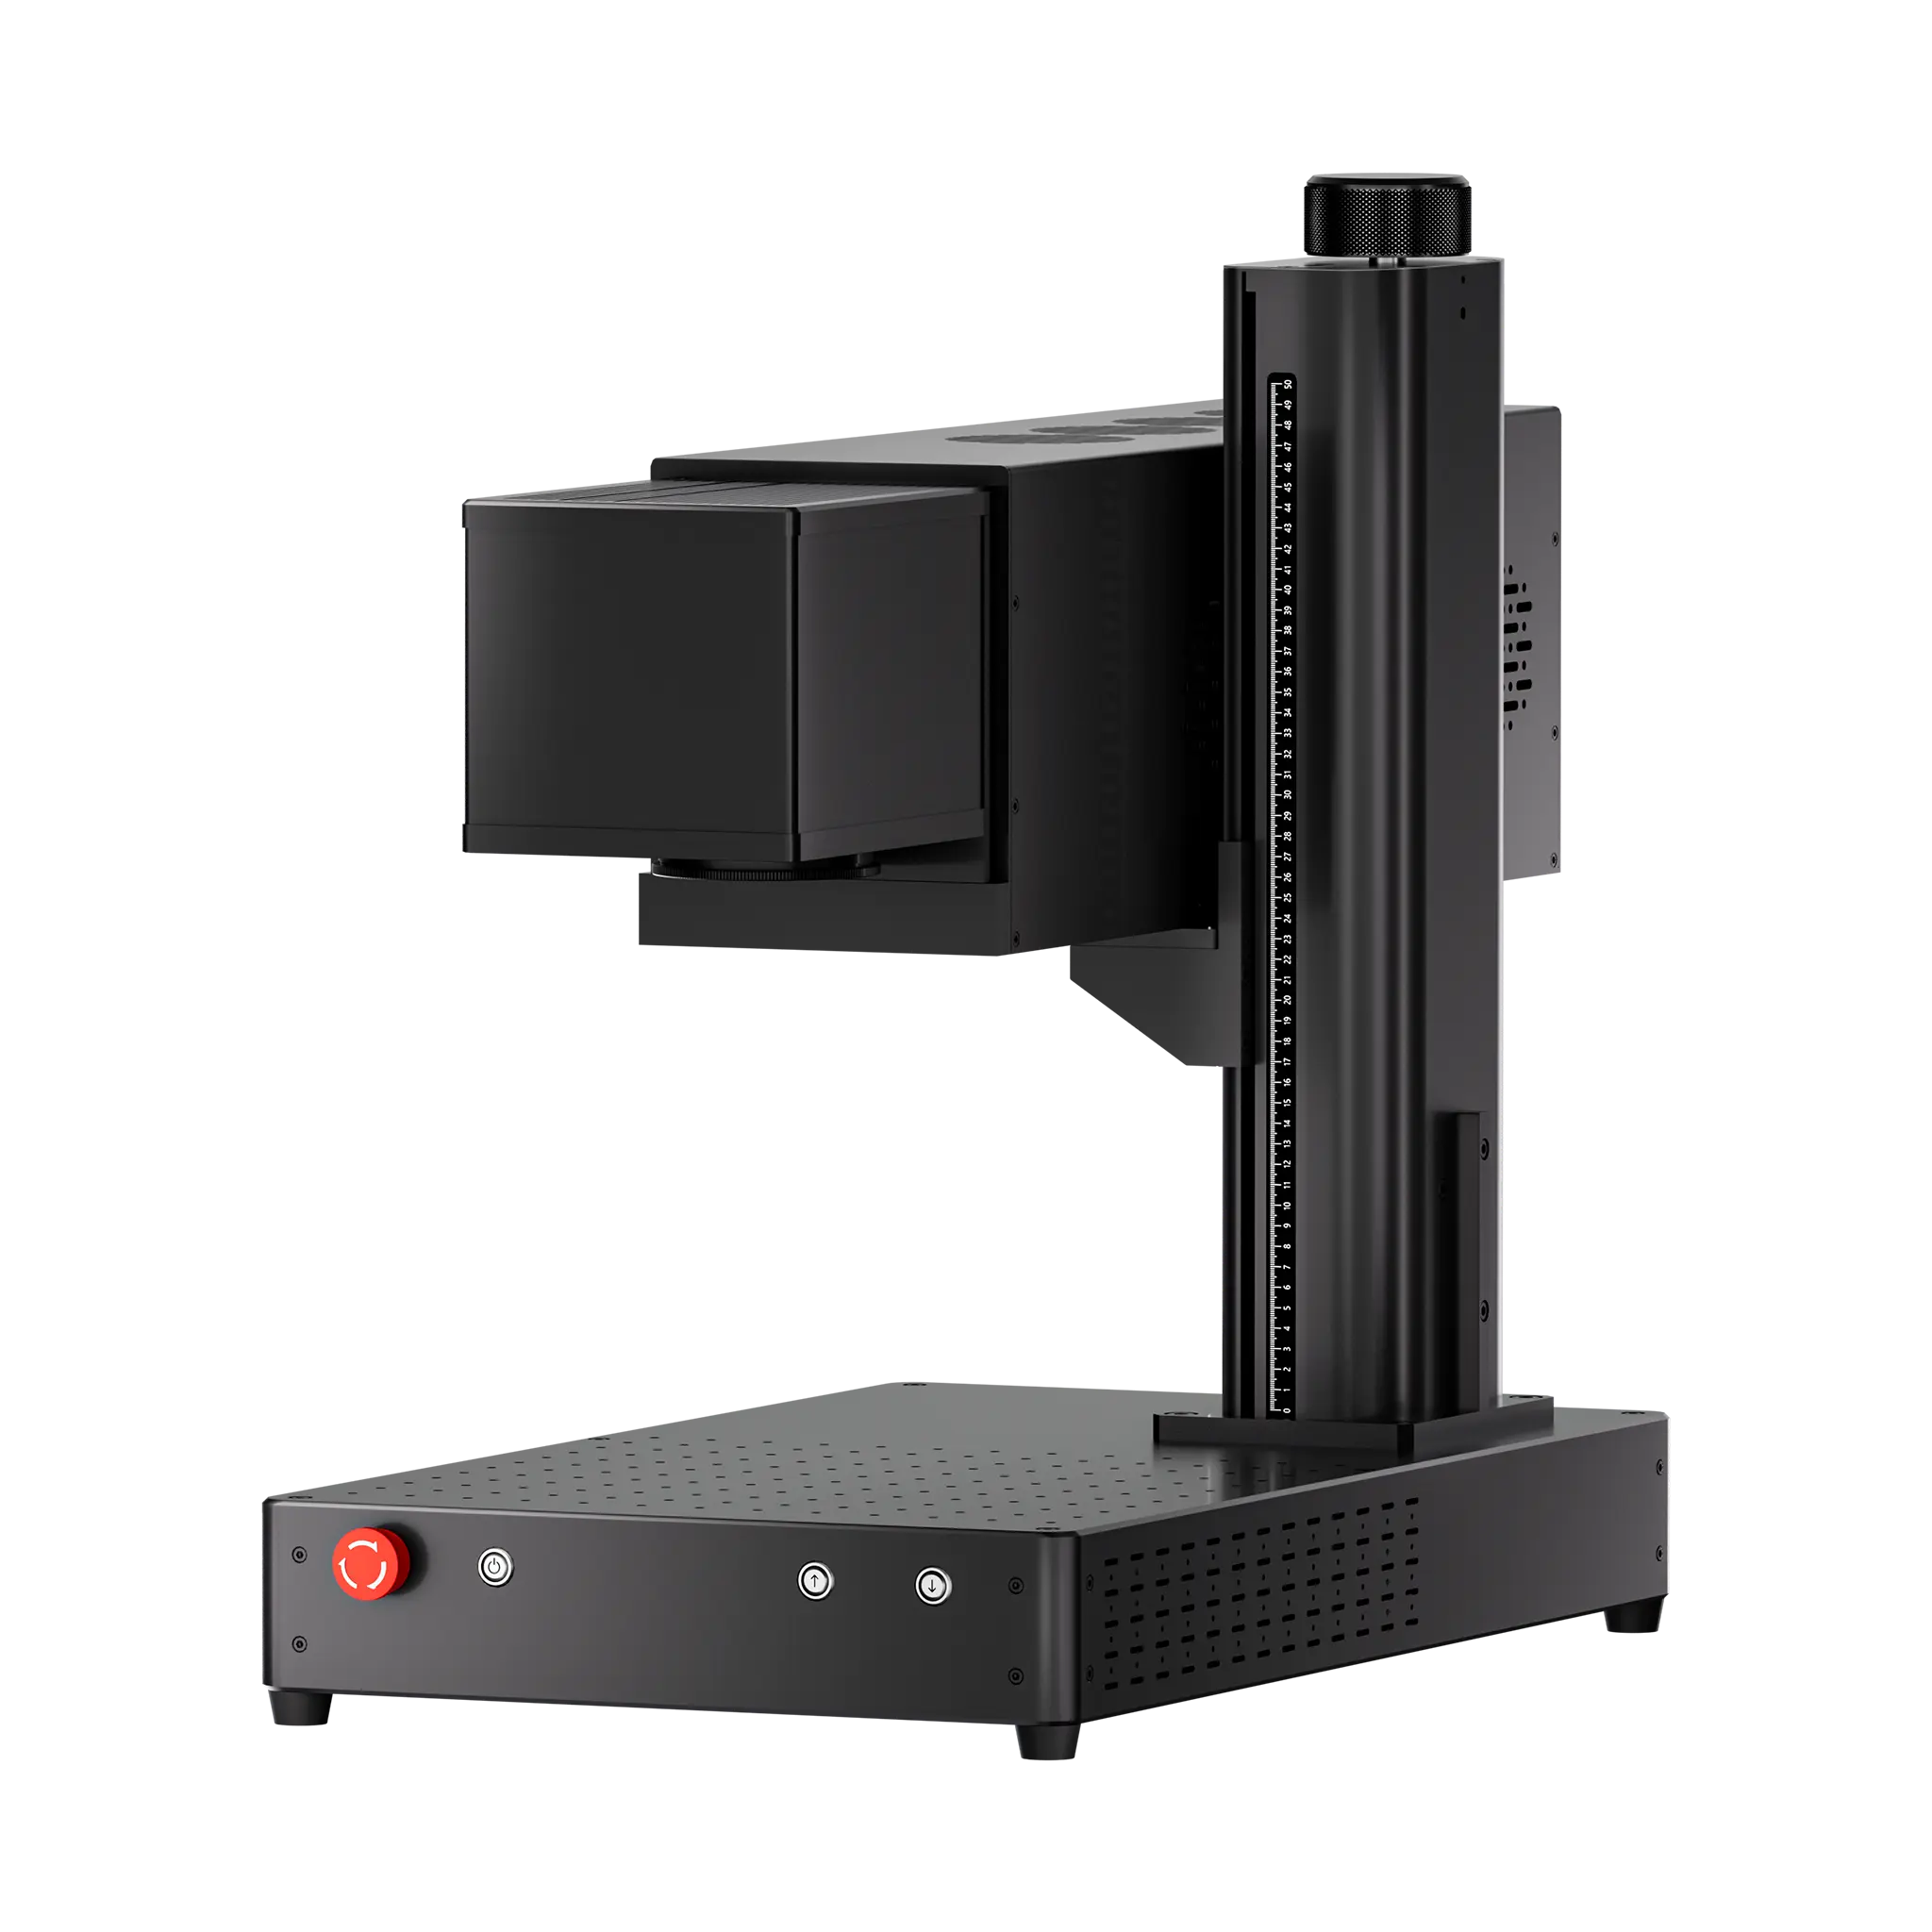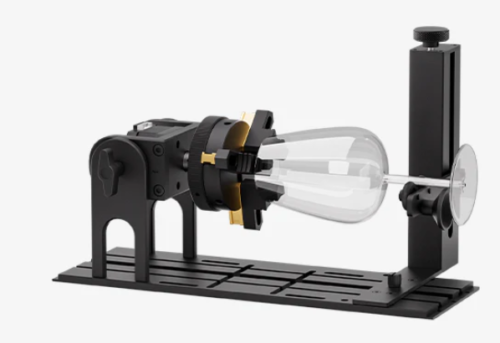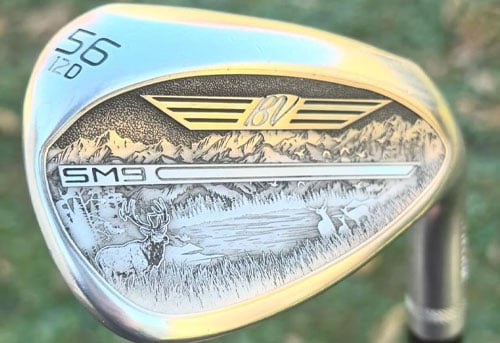
A laser rotary attachment expands the capabilities of a flat-bed laser engraver by rotating cylindrical, spherical, and other curved workpieces during engraving.
Different rotary attachments are designed for different types of workpieces, and software settings such as Pulses per Revolution and Split Size directly affect engraving accuracy.
In this guide, we’ll explain how to choose the right laser rotary attachment, what you can engrave, what the specifications mean, and how to complete your first rotary engraving project.
Which Laser Rotary Attachment Should You Use?
Chuck Rotary
Clamps and rotates workpieces with adjustable jaws.
Commonly used for tumblers, rings, cups and other cylindrical or round workpieces.
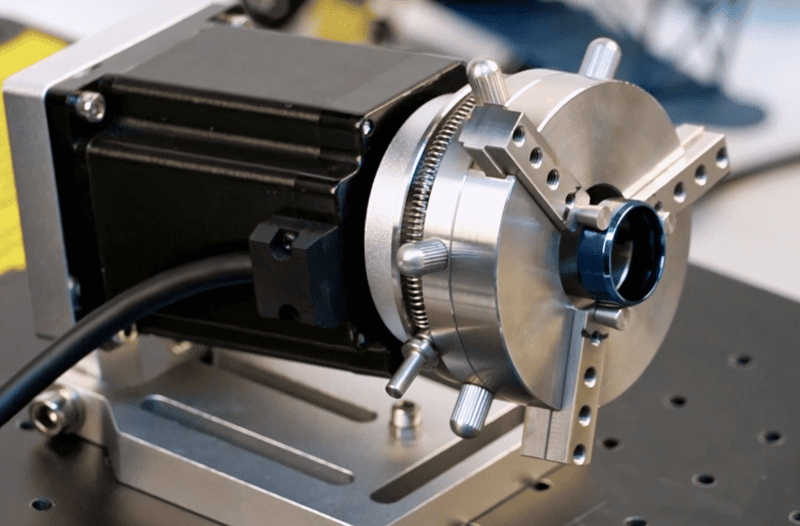
(ComMarker D69 Rotary holding a blue ring)
Roller Rotary
Supports and rotates cylindrical workpieces on rollers.
Commonly used for bottles, tubes, rods, and other compatible cylindrical objects.
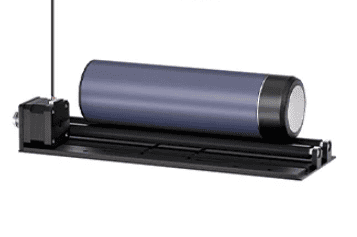
Rotary Table
Rotates and positions multiple workpieces for repeat marking
For pens, small parts, tags, and other small workpieces that need repeat marking.
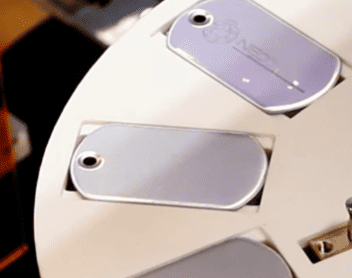
How to Choose the Right Rotary Attachment
The right rotary should match the size, shape, weight, and marking area of your workpiece, while also fitting within the working range of your laser.
1. Workpiece size
Check the workpiece diameter, height, length, and overall dimensions. The laser head must be able to raise or lower to reach the correct focal distance for engraving.
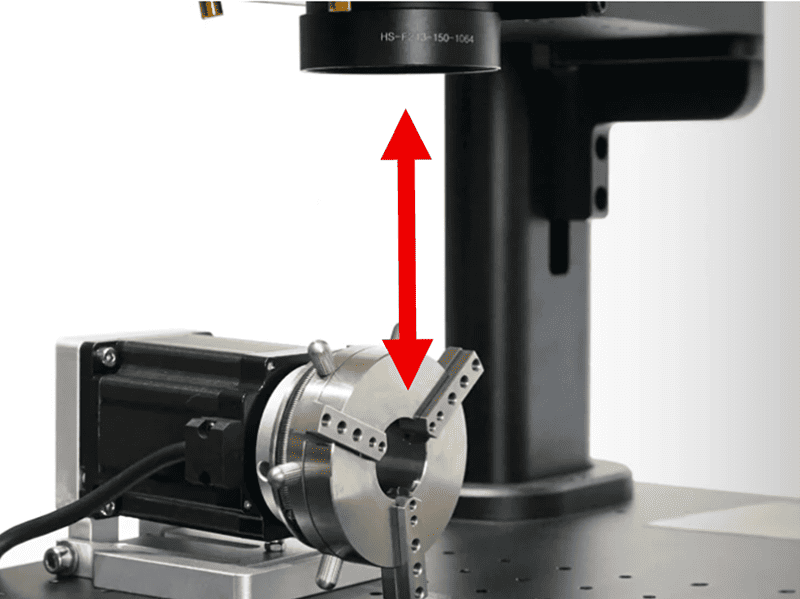
2. Workpiece shape
Choose the rotary based on the shape of the object. Chuck rotaries are suitable for objects that can be securely clamped. Roller rotaries are better suited to regular cylindrical objects. For multiple small workpieces, a rotary table may be more practical.
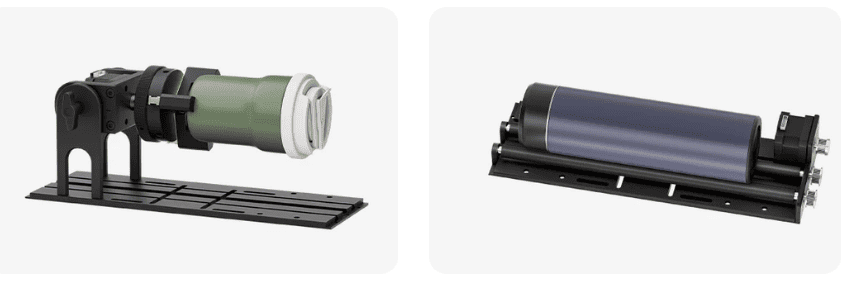
3. Rotary Height and Clearance
Check the rotary’s overall height, including any support columns, risers, or tailstock. Make sure the workpiece can rotate freely without hitting any machine components.
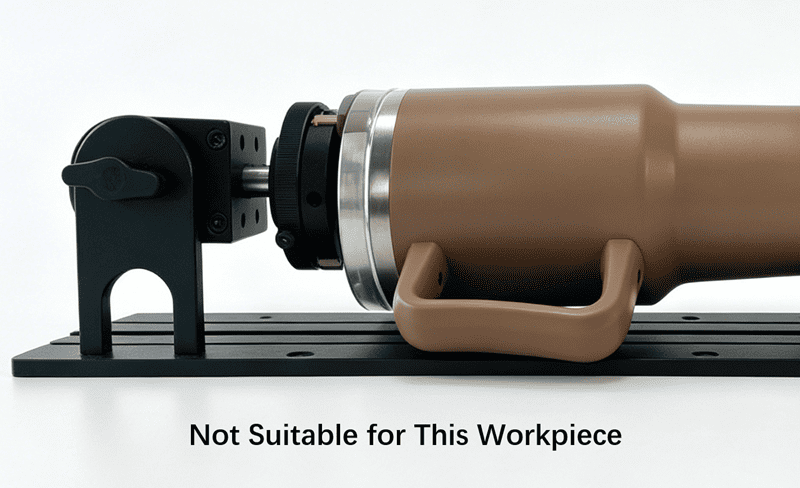
4. Marking diameter or usable marking area
Check the rotary’s supported inner and outer diameters. For ring or hollow workpieces, make sure the rotary allows the laser to access the required inner and outer surfaces.
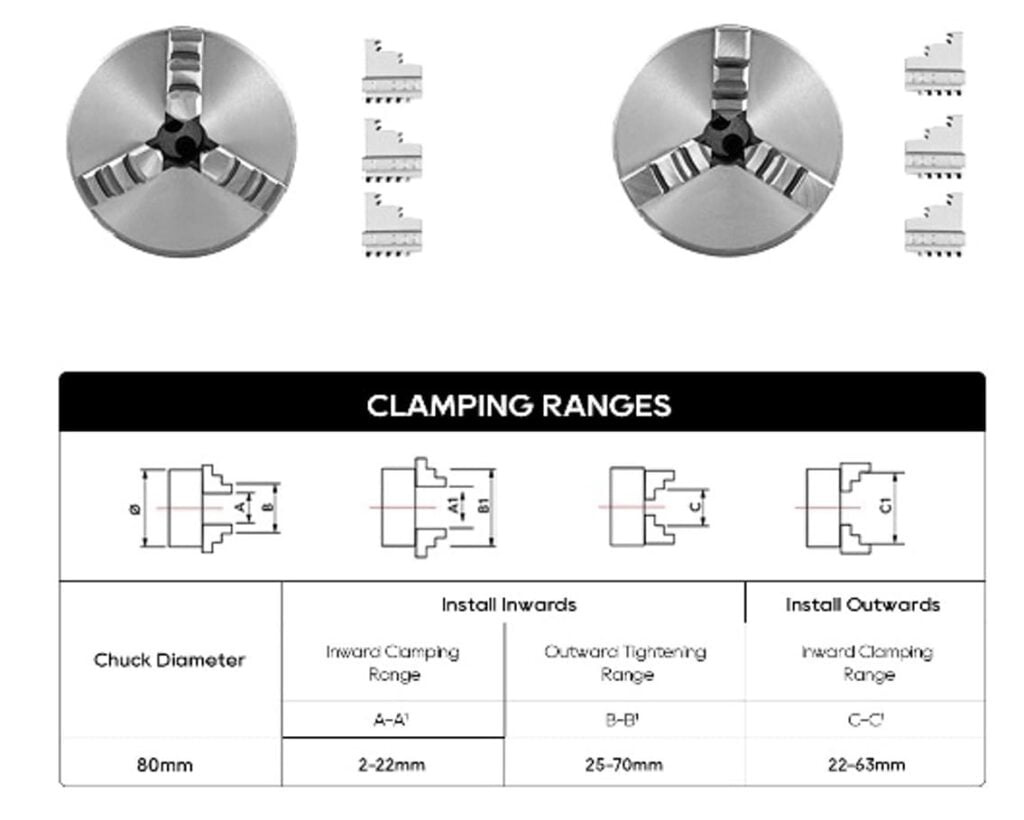
5. Clamping and load capacity
Make sure the rotary can securely hold the workpiece’s weight and shape. Long or heavy workpieces may require additional support, such as a tailstock, to prevent movement during engraving.
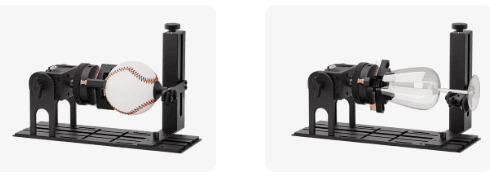
6. Rotary Quality
Choose a rotary with stable rotation to protect engraving quality. The ComMarker R5 Rotary offers 0.1 mm positioning accuracy for precise, consistent engraving.
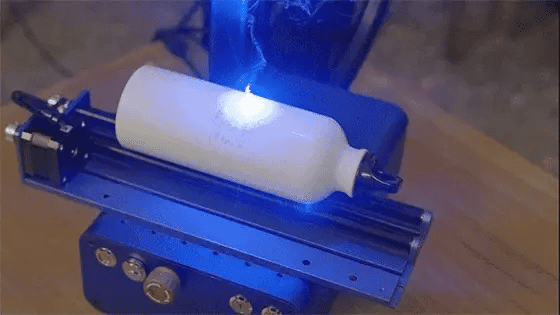
7. Rotary axis and software compatibility
Make sure the rotary is compatible with your laser’s controller, software, and rotary axis.
Rotary Parameters Explained
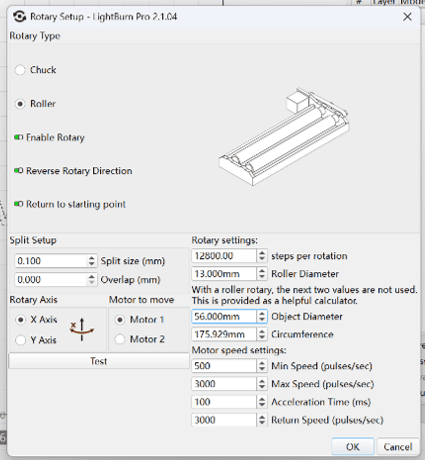
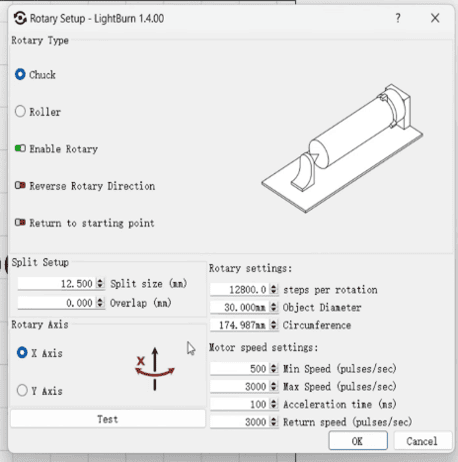
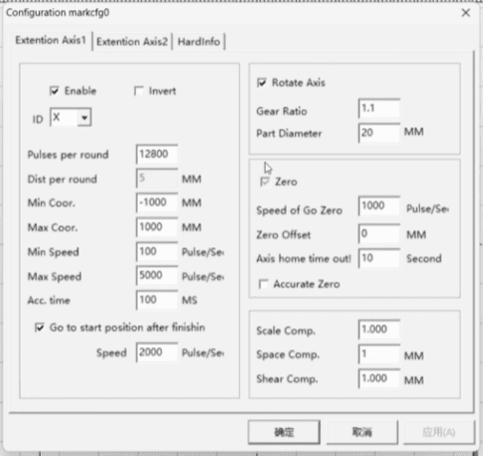
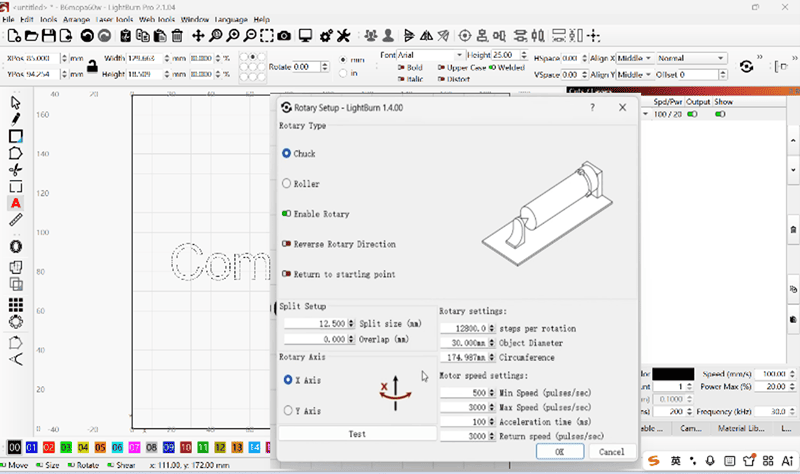
In the laser engraving software, these settings control how the laser and the rotary interact. In Lightburn, you can find these in Rotary Setup in Laser Tools. In Ezcad2, it’s in Param of rotary engraving options in “Laser”.
Different software may use different names for these concepts, but the underlying functions are generally similar.
 |
 |
 |
|
Parameter |
What It Means |
|
Rotary Axis |
Tells the software which machine axis is connected to the rotary attachment. Depending on how the rotary is positioned, you may need to select the X or Y axis. |
|
Pulses/Steps per Revolution |
Defines how many motor pulses are required for the rotary to complete one full revolution. This value must match the rotary’s motor and controller settings. |
|
Gear Ratio |
Defines the relationship between motor rotation and the actual rotation of the rotary. For a direct-drive rotary, the gear ratio is typically set to 1.1 or 1. |
|
Object Diameter |
Defines the inner or external diameter of the workpiece being engraved. Enter the actual workpiece diameter as accurately as possible to maintain engraving accuracy. |
|
Split Size |
Determines how much of the rotary engraving is processed in each segment as the workpiece rotates. A smaller split size can help reduce visible transition lines, but may increase engraving time. |
|
Invert / Rotation Direction |
Reverses the rotary’s rotation direction. For example, when engraving the inner surface of a ring, enabling Invert is recommended. |
|
Return to Start Position |
When enabled, the rotary returns to its original position after the engraving job is completed. This can be useful when performing multiple engraving tasks. |
|
Speed Settings |
Controls rotary movement speed, such as minimum speed, maximum speed, or return speed, depending on the software. Use the recommended values for your rotary attachment. |
For Rotary Tables
If you are using a rotary table to engrave multiple workpieces at once, you can use the Count and Increment settings to define the number and spacing of engraving positions.
In LightBurn, go to Laser Tools and open the Repeat Marking section. In Setup, import steps per rotation 4 times as the normal rotary setting. Then enter the number of workpieces mounted on the rotary table in Count, click Calculate to fill the Increment
How to Use a Laser Rotary Attachment for Laser Engraving
Step 1: Mount and Connect the Rotary
Place the rotary inside the laser’s working area. Connect the Rotary to the laser engraver.
Step 2: Install the Workpiece
|
For a chuck rotary: 1. Place the workpiece between the jaws. 2. Tighten the Chuck evenly. 3. Rotate the workpiece manually to make sure it is securely held and can rotate freely. |
For a roller rotary: 1. Place the workpiece on the rollers. 2. Check if can rotate without slipping.
|
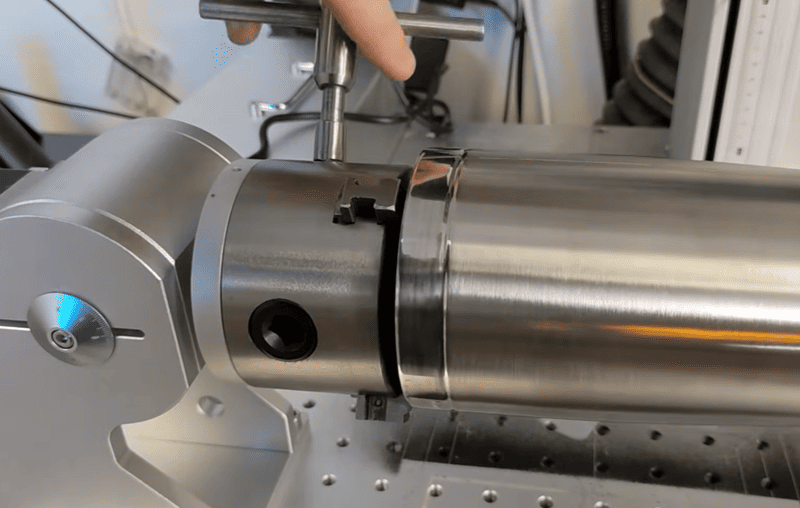
Step 3: (Optional) Align the Rotary Correctly
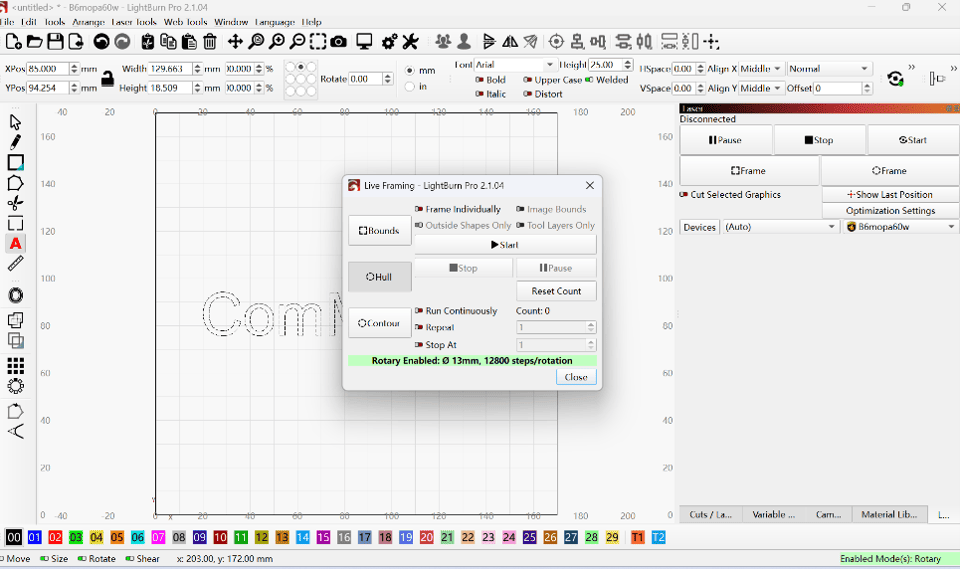
A simple way to check alignment is to draw a straight line and show it using the laser’s Preview (also called Light or Frame) function.
Adjust the rotary until the object follows the intended center line.
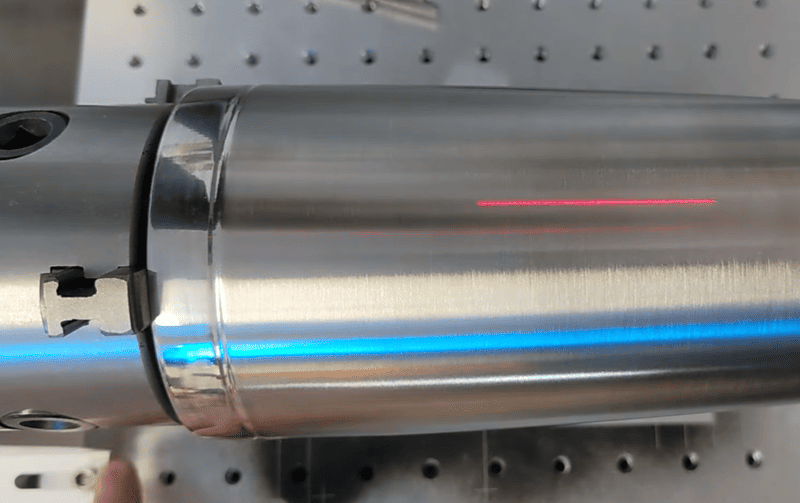
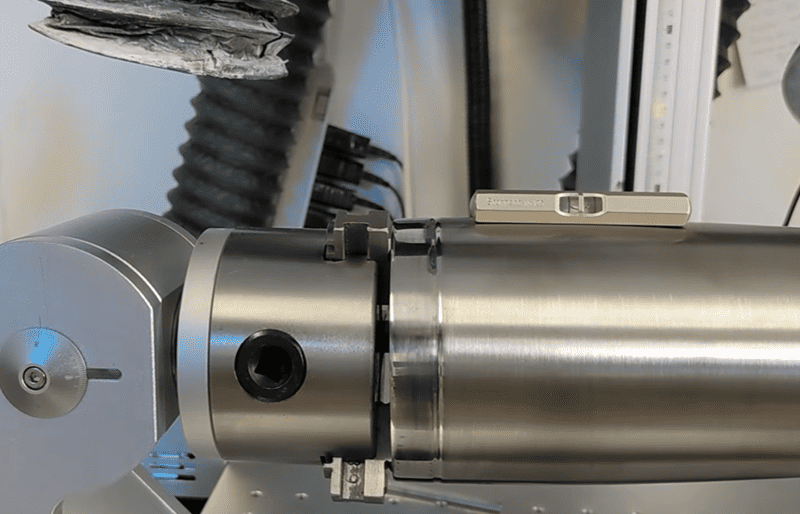
Step 4: Level the Workpiece
Place a level on the area where the artwork will be engraved and adjust the rotary as needed.
For a straight cylindrical object, leveling is relatively simple.
For a tumbler or tapered object, make sure the actual engraving surface is level.
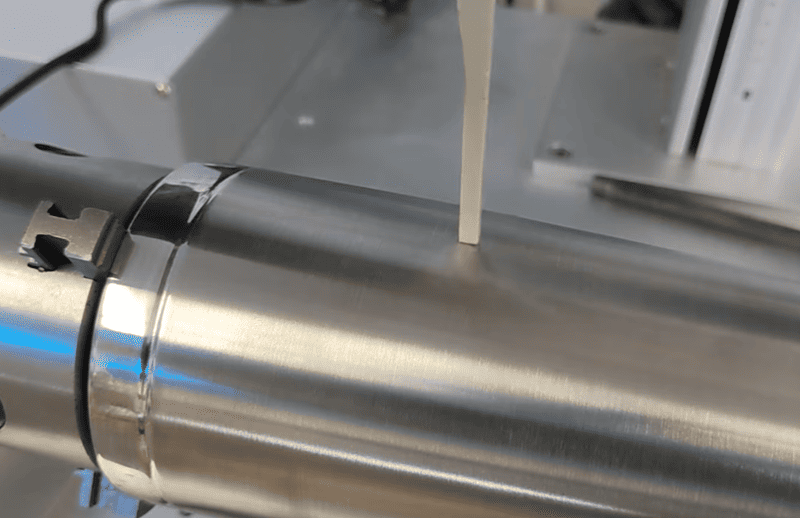
Step 5: Focus the Laser
For the best result, focus on the area where the artwork will be marked.
Step 6: Import Your Artwork and Engraving Setting
Import your artwork and laser engraving settings into the laser software.
Use the rotary center line as a reference to position the artwork.
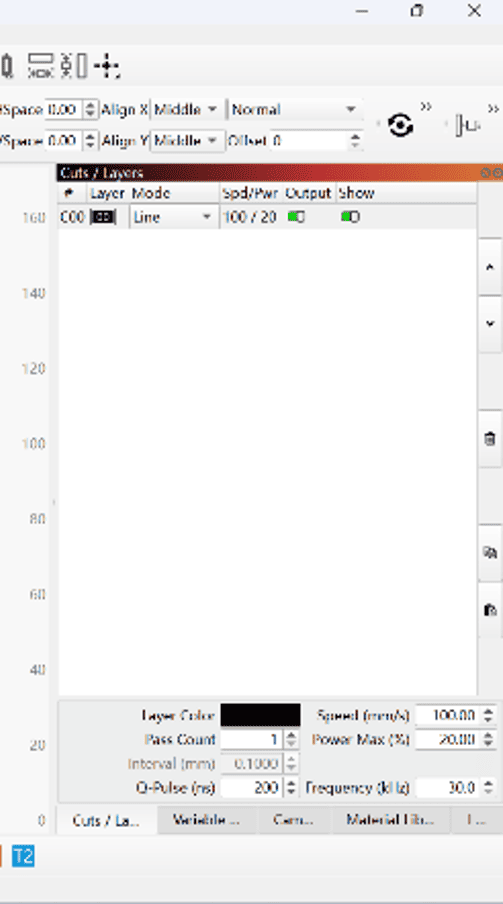
Go to Rotary Setup in Laser Tools to set up the rotary.
 |
 |
Step 7: Preview and Start Engraving
Before engraving, use the Preview function to check position, size and starting position
Do not start the job until the preview looks correct.
Why Choose ComMarker R5: A One-Stop Rotary Solution
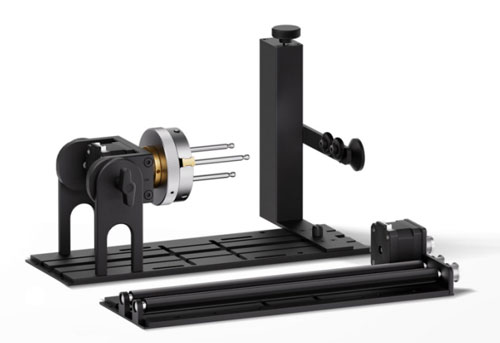
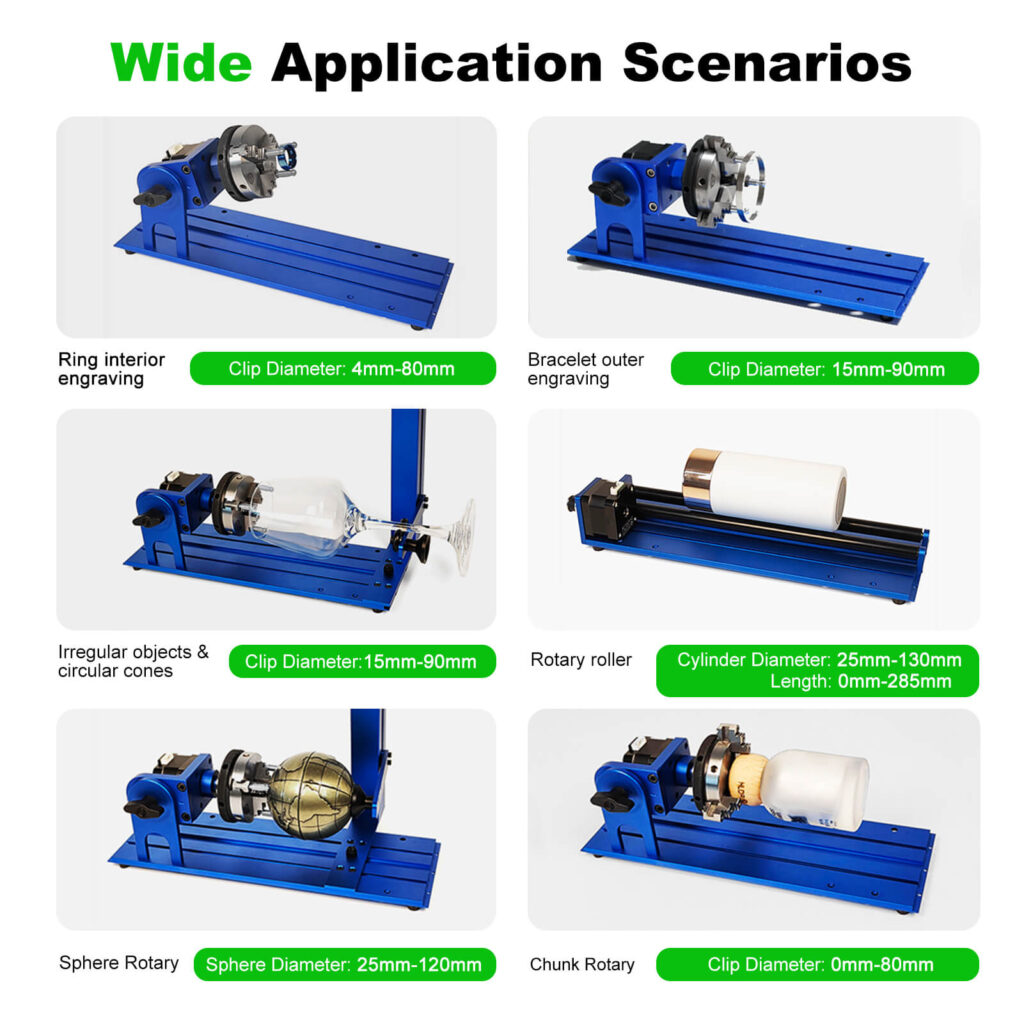
Instead of choosing between multiple dedicated rotary attachments, the ComMarker R5 Multi-Functional Rotary Attachment combines six working modes in one rotary system.
• Ring Outer Engraving: designed for rings and other small circular objects.
• Bracelet Interior Engraving: suitable for bracelets, bangles, and wide-band rings.
• Sphere Rotary Engraving: designed for golf balls, baseballs, ornaments, and other spherical objects.
• Irregular Object Engraving: supports oval, conical, angled, and other non-standard shaped objects.
• Chuck Rotary Engraving: suitable for cylindrical products such as tumblers, bottles, and flashlights.
• Rotary Roller Engraving: designed for longer cylindrical workpieces such as tubes, rods, and long-handled products.
The R5 also offers 180° angle adjustment, allowing you to position the workpiece for better access to curved or angled surfaces, while its stable rotation and 0.1 mm help deliver precise and consistent engraving results.
One rotary, six modes, and more possibilities for your laser engraving business.
Whether you’re engraving jewelry, drinkware, sports products, gifts, or other customized items, the R5 gives your laser engraver the flexibility to work beyond flat surfaces.
Final Thoughts: Choose the Right Rotary and Expand Your Engraving Business
A laser rotary attachment opens the door to more engraving opportunities, from tumblers and bottles to rings, bracelets, and other curved products. The right rotary helps you handle more shapes and take on more customization projects.
Looking for one versatile solution? ComMarker R5 Multi-Functional Rotary Attachment combines six working modes for ring, bracelet, sphere, irregular object, chuck, and roller engraving.
Ready to expand what your laser can engrave? Explore ComMarker laser engravers and find the right machine for your engraving business.

Frequently Asked Rotary Engraving Questions
The Engraving Is Stretched
If the engraving is stretched around the workpiece, check the Part Diameter, Pulses per Revolution, Gear Ratio, and rotary calibration.
The Engraving Is Compressed
If the artwork appears compressed, check the Part Diameter, Pulses per Revolution, Gear Ratio, and rotary calibration. An incorrect Part Diameter or rotary calibration can cause the software’s calculated movement to differ from the actual movement.
There Are Visible Lines Between Sections
Visible seams can be caused by an incorrect Part Diameter, incorrect Pulses per Revolution, a large Split Size, rotary misalignment, workpiece slipping, or incorrect hatch settings. Start by checking the mechanical alignment and Part Diameter before changing multiple software parameters at once.
The Artwork Is Upside Down or Reversed
Check the Invert setting and rotary axis configuration. The physical orientation of the rotary determines which direction the workpiece rotates relative to the laser.
The Workpiece Slips
Check the chuck clamping, jaw installation, mounting screws, workpiece diameter, workpiece weight, and contact between the workpiece and rollers if using a roller rotary. The workpiece should remain securely positioned throughout the entire engraving process.
The Rotary Does Not Move
Check the power connection, motor cable, machine-to-controller connection, rotary axis configuration, controller settings, Pulses per Revolution, and emergency stop or machine safety status. If the motor makes abnormal noises or behaves unexpectedly, stop the machine and check the rotary configuration before continuing.
Can I engrave a tumbler with a laser rotary attachment?
Yes. Tumblers are one of the most common applications for rotary engraving. The appropriate rotary depends on the tumbler’s diameter, weight, shape, and how it can be securely held.
Can I engrave glass with a rotary attachment?
Yes, provided that the rotary can securely and safely support the glass object. Always use appropriate laser parameters for the specific glass and laser source.
Do I need to enter the Part Diameter every time?
For a chuck rotary, the Part Diameter should be updated whenever the workpiece diameter changes. The diameter should be measured at the actual engraving location.
Why is my rotary engraving distorted?
Start by checking the Part Diameter, Pulses per Revolution, Gear Ratio, rotary alignment, and workpiece stability.
Why are there visible lines between engraving sections?
Check the Part Diameter, Split Size, rotary alignment, and workpiece movement. A mismatch between the software settings and actual rotary movement can create visible transitions.