Custom ring engraving is popular and profitable, yet curved surfaces can make precise personalization challenging.
From wedding bands and signet rings to gold, tungsten, and titanium designs, laser engraving can create permanent, highly detailed results.
Successful ring engraving requires accurate focusing, proper laser settings, and reliable workpiece positioning.
In this guide, we’ll show you how to laser engrave rings, compare fiber and UV lasers, explore suitable ring materials, and walk you through the rotary setup.
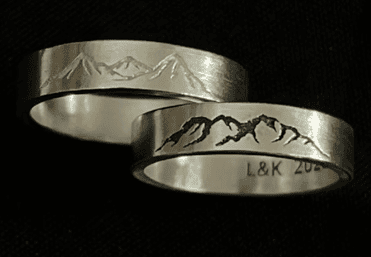
Why Is a Laser Engraver an Ideal Ring Marking Machine?
Traditional ring marking methods, such as marking pens and manual engraving tools, can be slow, difficult to reproduce, and highly dependent on operator experience.
High Precision for Small Designs
Manual marking requires a steady hand for small lettering. A focused laser spot produces fine lines, small characters, and detailed patterns with precise control.
Consistent, Repeatable Marking
Manual engraving requires individual handwork for each ring. Digital laser control allows the same artwork and parameters to be repeated quickly and accurately across multiple rings.
Curved Surface Engraving
Manual marking on curved surfaces can affect alignment and spacing. A rotary attachment rotates the ring during engraving, allowing designs to follow its circumference.
More Than Marking
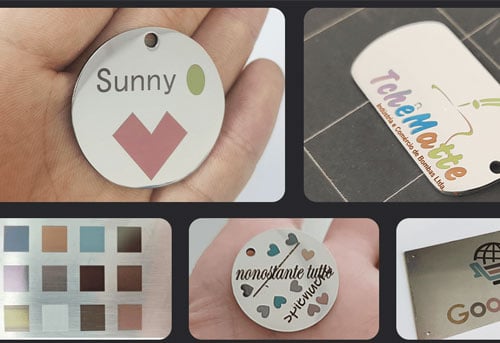
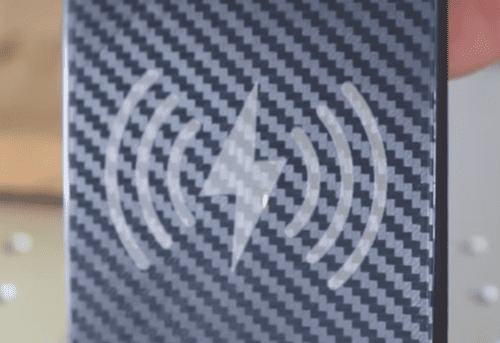
Beyond simple lettering on rings, a laser can create decorative patterns, relief engraving, photo engraving, color effects, and other detailed designs to support more jewelry customization options.
Different Ring Applications
• Wedding and engagement rings
• Gold and silver rings
• Personalized names, dates, and messages
This combination of precision, repeatability, efficiency, curved-surface processing, and design flexibility makes a laser engraver more than a marking tool—it becomes a versatile solution for customized ring production.
Fiber vs. UV Laser for Ring Engraving: Which Is Better?
Fiber Laser: Best for Metal Ring Engraving
Fiber lasers are well suited for metal marking, deep engraving, and cutting, making them a strong choice for metal-focused ring applications.
MOPA fiber lasers provide additional pulse control, enabling color marking and more flexible metal processing.
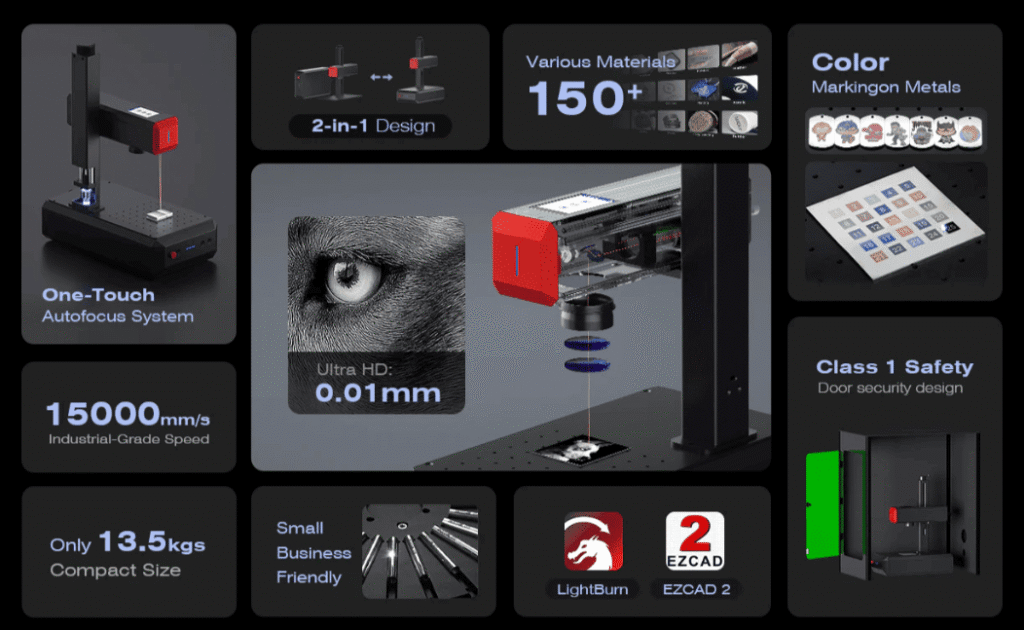
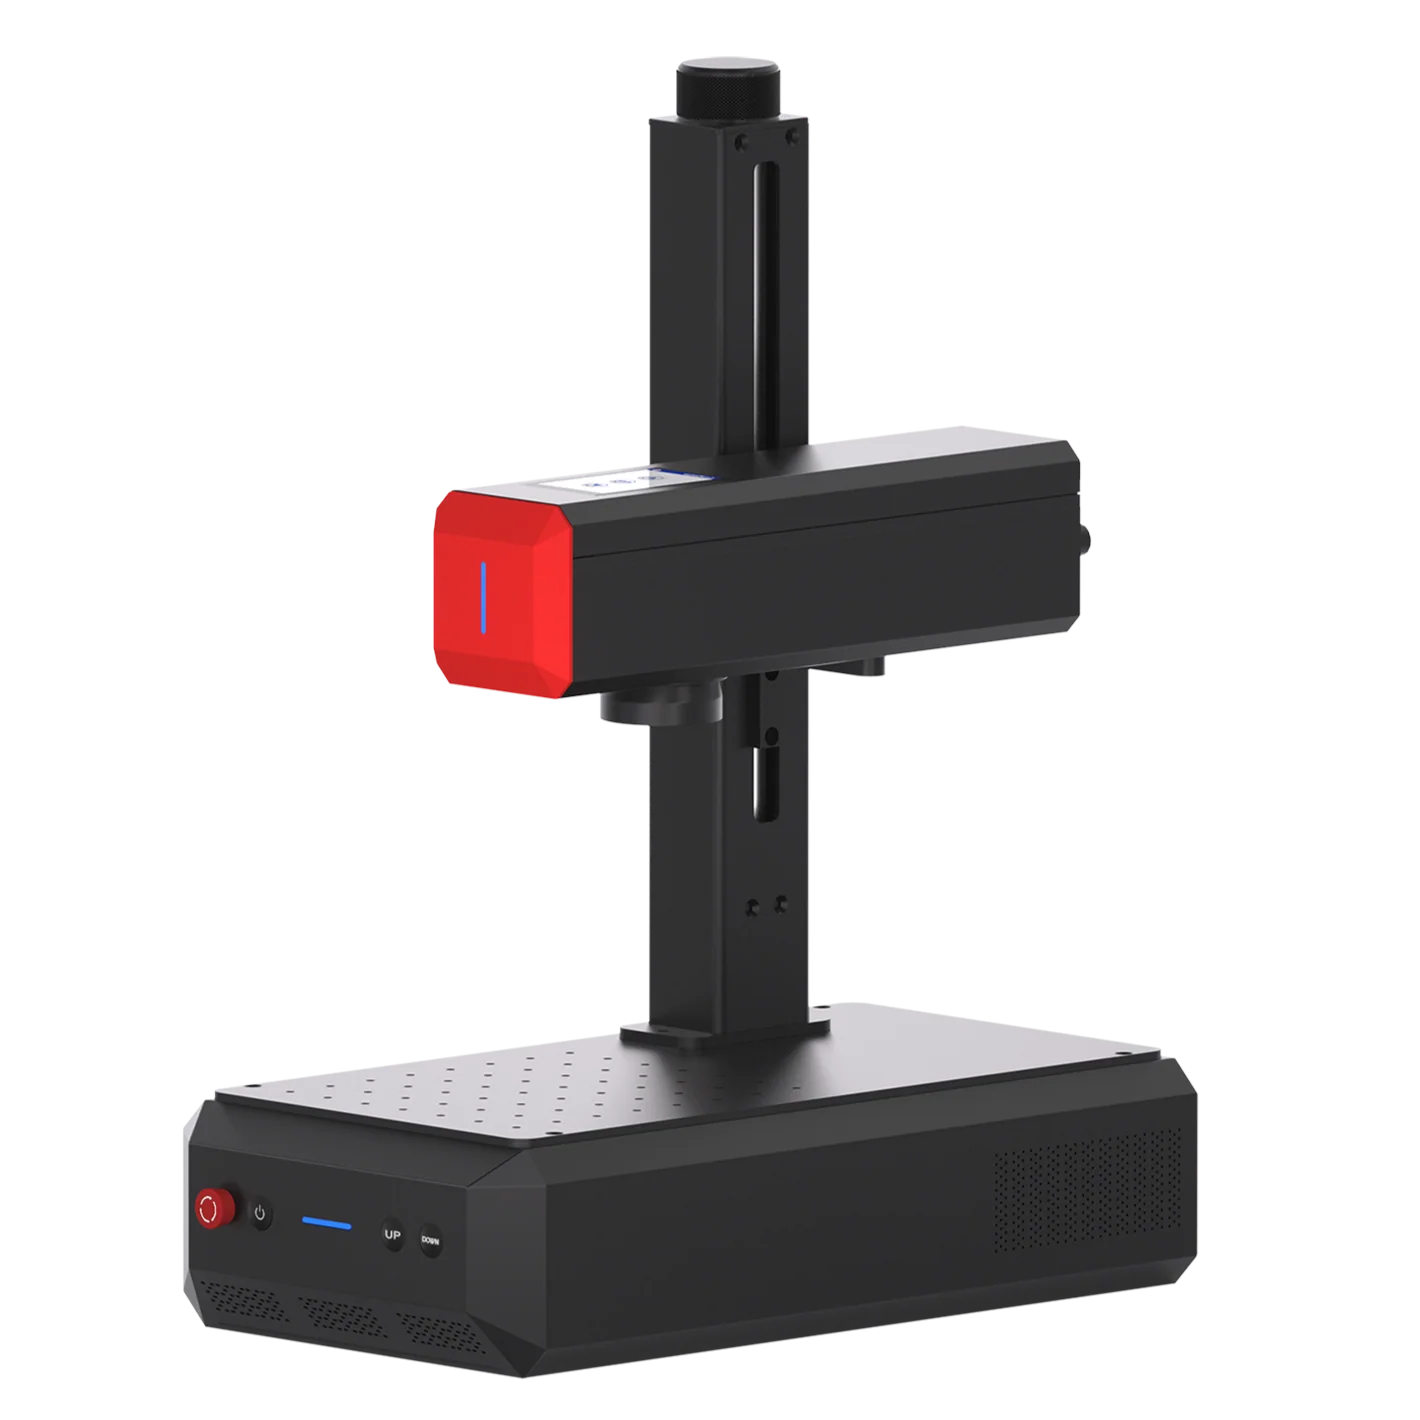
The ComMarker B6 MOPA features:
• 0.01 mm spot size for clean metal marking
• MOPA pulse control for more flexible metal processing
• Autofocus for quick and easy setup
• Color marking, Deep engraving and cutting for more advanced metal applications
Choose a ComMarker B6 MOPA if your focus is metal rings and you need metal marking, deep engraving, color marking, or cutting capabilities.
UV Laser: Best for Fine Detail and Material Versatility
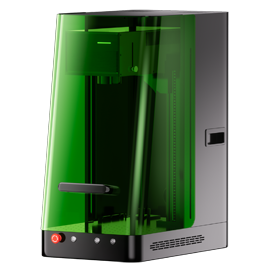
UV lasers use a 355 nm wavelength and an ultra-fine laser spot for high-precision marking across a wide range of materials.

The ComMarker Omni X features:
• 0.0019 mm spot size for 16K HD ultra-fine engraving detail
• 1500+ markable materials, including metals, wood, glass, crystal, ceramic, acrylic, and plastic
• Lower heat input for applications where heat sensitivity is a concern
• Autofocus for convenient setup
Choose the ComMarker Omni X UV if fine detail and multi-material versatility are your priorities, from metal ring engraving to designs on wood and other materials or accessories.
Do You Need a Rotary Attachment for Ring Engraving?
Not necessarily. If you only need to engrave a small area on the top or front of a ring, you can secure the ring directly on the work bed and engrave it.
However, a rotary becomes especially useful when you want to engrave curved or hard-to-reach areas, such as the inside of a ring or around the entire band.
What Can a Rotary Attachment Do?
A rotary attachment holds and rotates the ring during engraving, allowing the laser to follow the curved surface more accurately. This allows you to:
• Create full 360° designs around the ring band
• Maintain more consistent positioning across curved surfaces
• Engrave both inner and outer surfaces of a ring, such as names, dates, or hidden messages
ComMarker R5: A Rotary Solution for Ring Engraving
The ComMarker R5 Multi-Functional Rotary uses changeable jaws and chuck setup to hold rings securely for different engraving applications, including both inside and outside surfaces of the ring.
• Flexible Angle Adjustment: 180° adjustment helps position the ring at the optimal engraving angle.
• 0.1 mm Precision: Precise rotary movement supports consistent and detailed engraving.
• Adjustable Size: Interchangeable jaws accommodate different ring sizes and designs.
• Versatile Applications: Beyond rings, the R5 supports jewelry, tumblers, spheres, bottles, and other curved or irregular objects.
With the R5, your laser engraver can go beyond flat-surface marking to handle curved-surface engraving and a wider range of customized products.
How to Laser Engrave a Ring Step by Step: Inside & Outside
Step 1: Connect the Rotary with the Laser Engraver
Connect the rotary attachment to the laser engraver.
Step 2: Measure the Ring Diameter and Secure the Ring
Measure the internal or external ring diameter at the actual engraving location.
Place and secure the ring in the appropriate rotary setup. For inside engraving, it is recommended to clamp the ring from the outside. For outside engraving, clamp the ring from the inside.
Before engraving, rotate the workpiece manually to make sure it moves smoothly and remains stable.
Step 3: Focus the Laser
Focus the laser on the engraving area.
Step 4: Prepare Your Artwork and Engraving Settings
Import your artwork into the laser engraving software and adjust the design size and position to fit the ring.
Set the appropriate engraving parameters, such as speed, power, and frequency, based on the ring material and desired engraving effect.
Step 5: Set Up the Rotary in the Software
Set up the rotary in your laser engraving software. For example, in LightBurn, go to Laser Tools > Rotary Setup. In EZCAD2, go to Laser and open Param in the rotary-related engraving options.
When configuring the rotary, pay particular attention to these parameters. Different software may use different names, but the core functions are generally similar.
• Steps per Revolution: Sets the number of motor steps or pulses required for one complete revolution.
• Rotary Axis: Selects the machine axis connected to the rotary attachment, such as the X or Y axis.
• Invert: Reverses the rotary direction when needed. For example, when engraving the inner surface of a rng, enabling Invert may be necessary depending on the rotary orientation and desired engraving direction.
• Split Size: Determines how the rotary engraving job is divided into segments during processing.
For a detailed explanation of these and other rotary parameters, see “How to Use a Laser Rotary Attachment: Types, Specifications & Step-by-Step Guide.”
Step 6: Preview the Engraving Position
Use the software preview to check where the artwork will be placed.
Make sure the design is centered and positioned correctly on the ring.
Step 7: Start Engraving
Once the ring is securely mounted, properly focused, and correctly configured, start the engraving job.
Final Thoughts: Start Laser Engraving Rings with ComMarker
Laser engraving rings requires precision, proper focusing, and the right rotary setup.
For metal-focused applications, a ComMarker fiber laser delivers precise marking, deep engraving, and customization capabilities.
For fine details and broader material versatility, the ComMarker Omni X UV laser offers an ultra-fine spot and lower heat input.
Pair your laser with the ComMarker R5 Multi-Functional Rotary for flexible ring engraving, including both inside and outside surfaces.
Ready to start engraving rings? Explore ComMarker laser engravers and rotary solutions to build the setup that fits your needs.
Frequently Asked Questions About Laser Ring Engraving
Troubleshooting
Why Does My Ring Engraving Look Stretched or Compressed?
Check the ring diameter entered in the rotary settings. An incorrect diameter can affect the rotary movement calculation and cause circular designs to appear stretched or compressed.
Why Is My Ring Engraving Upside Down or Reversed?
Check the Rotary Axis and Invert settings. The correct configuration depends on the physical orientation of the rotary attachment and the desired engraving direction.
Why Is My Ring Engraving Uneven?
Check the ring’s positioning, alignment, and focus. An improperly secured ring, incorrect rotary alignment, or inconsistent engraving height can affect engraving quality.
Why Is My Fine Ring Engraving Not Sharp?
Check the focus, lens, spot size, and engraving parameters. For extremely small text and intricate designs, a UV laser such as the ComMarker Omni X can provide an ultra-fine laser spot for detailed engraving.
General Questions
What Is the Best Laser Engraver for Rings?
For metal-focused ring engraving, a ComMarker fiber laser is a strong choice for precise marking and deeper engraving. For extremely fine details and broader material versatility, the ComMarker Omni X UV laser is another option.
Is Fiber or UV Better for Ring Engraving?
It depends on the application. Fiber lasers are well suited to metal-focused applications, including marking and deep engraving, while UV lasers are particularly useful for fine details, lower heat input, and broader material versatility.
Can a Fiber Laser Engrave Gold Rings?
Yes. Fiber lasers can engrave gold and other metals. The appropriate parameters depend on the gold alloy, surface finish, desired marking effect, and engraving depth.
Can a UV Laser Engrave Metal Rings?
Yes. The ComMarker Omni X UV laser can process metals such as gold, silver, platinum, titanium, stainless steel, aluminum, and brass.