ngraving on flat materials like metal tags, wood boards, or acrylic sheets is straightforward. But when it comes to curved surfaces—like rings, cups, pipes, or wine bottles—things get a little more complex. The good news? With the right tools and techniques, you can laser engrave cylindrical or curved objects with precision and confidence.
In this guide, we’ll walk you through everything you need to know about laser engraving curved surfaces, from rotary tools to material alignment, plus a deep dive into how ComMarker fiber and UV laser systems make it easier than ever.

Why Curved Surface Engraving Matters
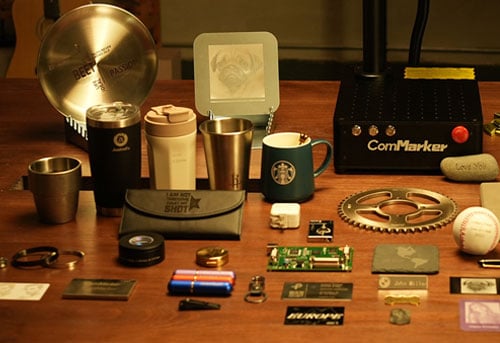
Whether you’re personalizing a wedding ring, branding a stainless steel tumbler, or serializing aerospace parts, curved surfaces are everywhere. Customers increasingly expect custom, high-quality marks—regardless of surface shape.
Common curved items that benefit from laser engraving:
- Jewelry (rings, bangles)
- Drinkware (wine bottles, flasks, tumblers)
- Cylindrical metal parts (pipes, fittings)
- Promotional items (pens, flashlights)
- Medical devices and tools
The Problem with Curves: Focus and Distortion
Laser engraving relies on maintaining a fixed focal distance between the laser head and the material surface. On a flat surface, this is easy. On a curved surface, however:
- The focus point constantly shifts as the curve rises and falls.
- Laser beam distortion can occur, especially on steep curves.
- Text and graphics can warp, if not properly mapped to the surface geometry.
That’s why specialized techniques and tools—like rotary attachments—are key.
The Solution: Use a Rotary Axis Attachment
To handle cylindrical or rounded items, the most effective method is to use a rotary axis (or rotary chuck). This accessory rotates the object as the laser fires, keeping the beam at a consistent focus point across the entire circumference.
✅ Compatible with ComMarker Machines:
All ComMarker fiber and UV laser engravers, including the Omni 1 UV and Titan 1 JPT MOPA, support rotary axis attachments. They’re plug-and-play with EZCad2 or LightBurn.
Types of rotary attachments:
- Roller Rotary: Ideal for cups, tumblers, bottles, and tubes.
- Chuck Rotary: Perfect for rings, small cylinders, or conical objects.
- Jaw Rotaries: Best for complex or heavy cylindrical parts.
Step-by-Step: How to Laser Engrave Curved Surfaces with ComMarker
1. Prepare Your Laser Engraver
- Install your rotary axis and connect it to the appropriate control port.
- Select a lens size that fits your material (e.g., 110×110mm for tight precision).
- Use LightBurn or EZCad2 to switch to rotary mode in settings.
2. Secure the Material
- Use clamps, jaws, or friction rollers to stabilize the object. Ensure it rotates smoothly.
- For rings, align the inside of the ring perfectly within the focal plane.
- For cups or bottles, level the object to prevent wobble during rotation.
3. Focus the Laser
- Use auto-focus (ComMarker Omni 1) or manually measure and adjust using the electric Z-axis.
- Some ComMarker models offer dual red-light focus pointers to help visualize the beam convergence point.
4. Configure Laser Parameters
This varies based on material and design complexity. Example settings for stainless steel:
| Setting | Fiber Laser (Titan 1 – 30W) | UV Laser (Omni 1 – 10W) |
|---|---|---|
| Power | 80–100% | 50–70% |
| Speed | 200–500 mm/s | 100–200 mm/s |
| Frequency | 20–60 kHz | 20–40 kHz |
| Line Interval | 0.02–0.05 mm | 0.03–0.05 mm |
| Passes | 1–3 | 2–4 |
✅ Use cross-hatching for high-density artwork.
✅ Enable “Enable Rotary” in LightBurn or EZCad to properly unwrap designs onto the curve.
5. Run a Dry Test
Before engraving:
- Use the “frame” or “simulate” option to check pathing.
- Perform a low-power dry run (no beam) to detect misalignment or slip.
6. Start Engraving
Click “Start” and monitor the process. Ensure the object rotates consistently, and the laser remains in focus.
7. Post-Processing
- Wipe down with isopropyl alcohol or mild cleaner to remove debris.
- For metal: consider applying a protective coating (e.g., rust inhibitor).
- For glass: use Rust-Oleum white paint prep, then clean with thinner.
Tips for Engraving Specific Curved Materials
Glass Tumblers
- Use UV laser (Omni 1) for clean, cold marking with no cracking.
- Spray surface with white matte paint for better contrast.
- Set speed: 200–300 mm/s, power: 30–40%, frequency: 30 kHz.
Metal Rings
- Use fiber laser (Titan 1 or B6) with chuck rotary.
- Choose a high Q-pulse width (e.g., 200–400ns) for smoother marks.
- Rotate slowly: ~30–50 mm/s.
Wine Bottles
- Rotate via roller rotary.
- Enable split marking with overlap: 0.1mm, split height: 1–3mm.
- Test for center point and start at the logo height.
Why Choose ComMarker for Curved Surface Engraving?
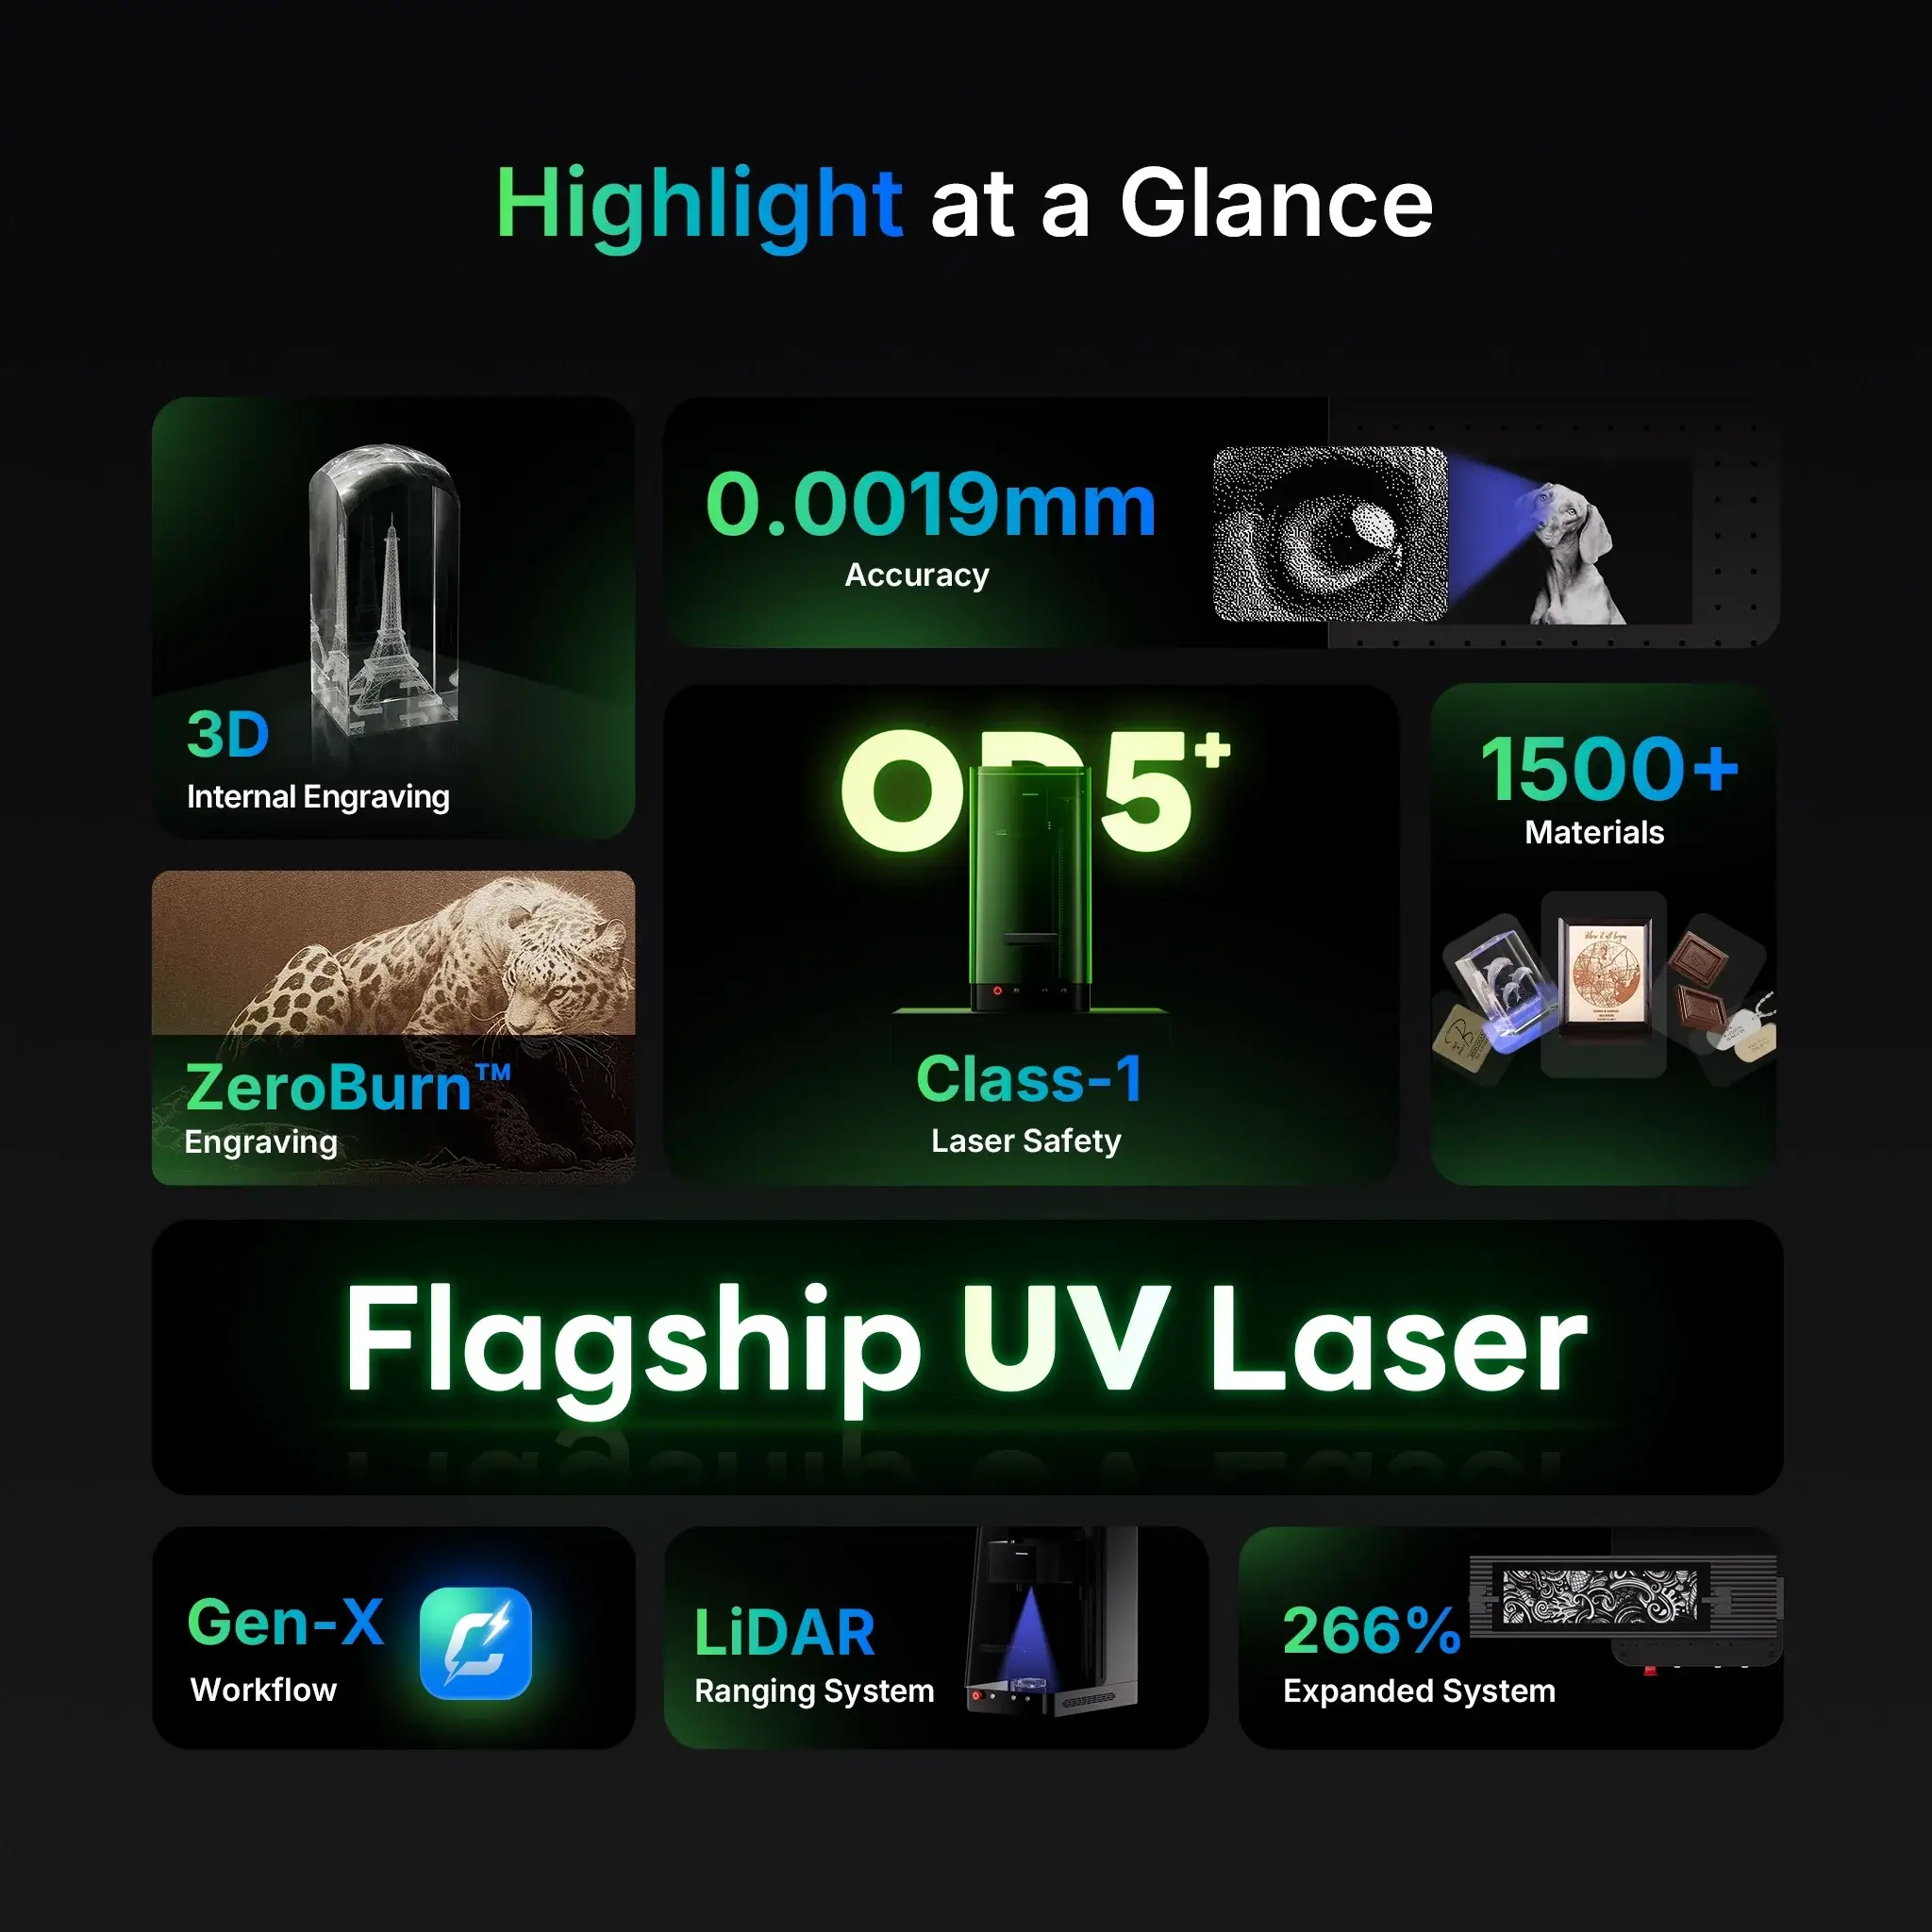
🔵 Omni 1 UV Laser Engraver
- Cold-engraving safe for heat-sensitive materials
- Auto-focus & Class 1 safety enclosure
- Perfect for detailed artwork on glass, plastics, and ceramics
🟠 Titan 1 MOPA Fiber Laser Engraver
- Ideal for metal and industrial parts
- JPT MOPA source for color marking on stainless steel
- Modular lens and rotary support out of the box
ComMarker provides all the essential tools, including rotary kits, software support, and detailed tutorials, to help you get up and running on curved engraving—fast.
How to Laser Engrave Curved Surfaces: A Complete Guide with ComMarker
ngraving on flat materials like metal tags, wood boards…
Final Thoughts
Laser engraving curved surfaces might seem like a challenge—but with the right setup, it’s a gateway to premium products and high-margin personalization. From stainless steel rings to glass drinkware, you can create durable, beautiful results that set your shop apart.
Ready to elevate your engraving game?
👉 Explore the ComMarker Omni 1 or Titan 1 Fiber Laser, and equip your shop for next-level curved surface engraving.


