A Custom Branding Iron can give your work a permanent, high-quality signature. Whether you are seeking about making a custom logo branding iron for food and leather, or you have a fiber laser engraver and hope to make a custom wood burning stamp, this operational guide is made for you.
Tools and Materials You’ll Need to Make a Custom Branding Iron
•Materials: Brass or aluminum bar stock, about 1/4″ to 1/2″ thick
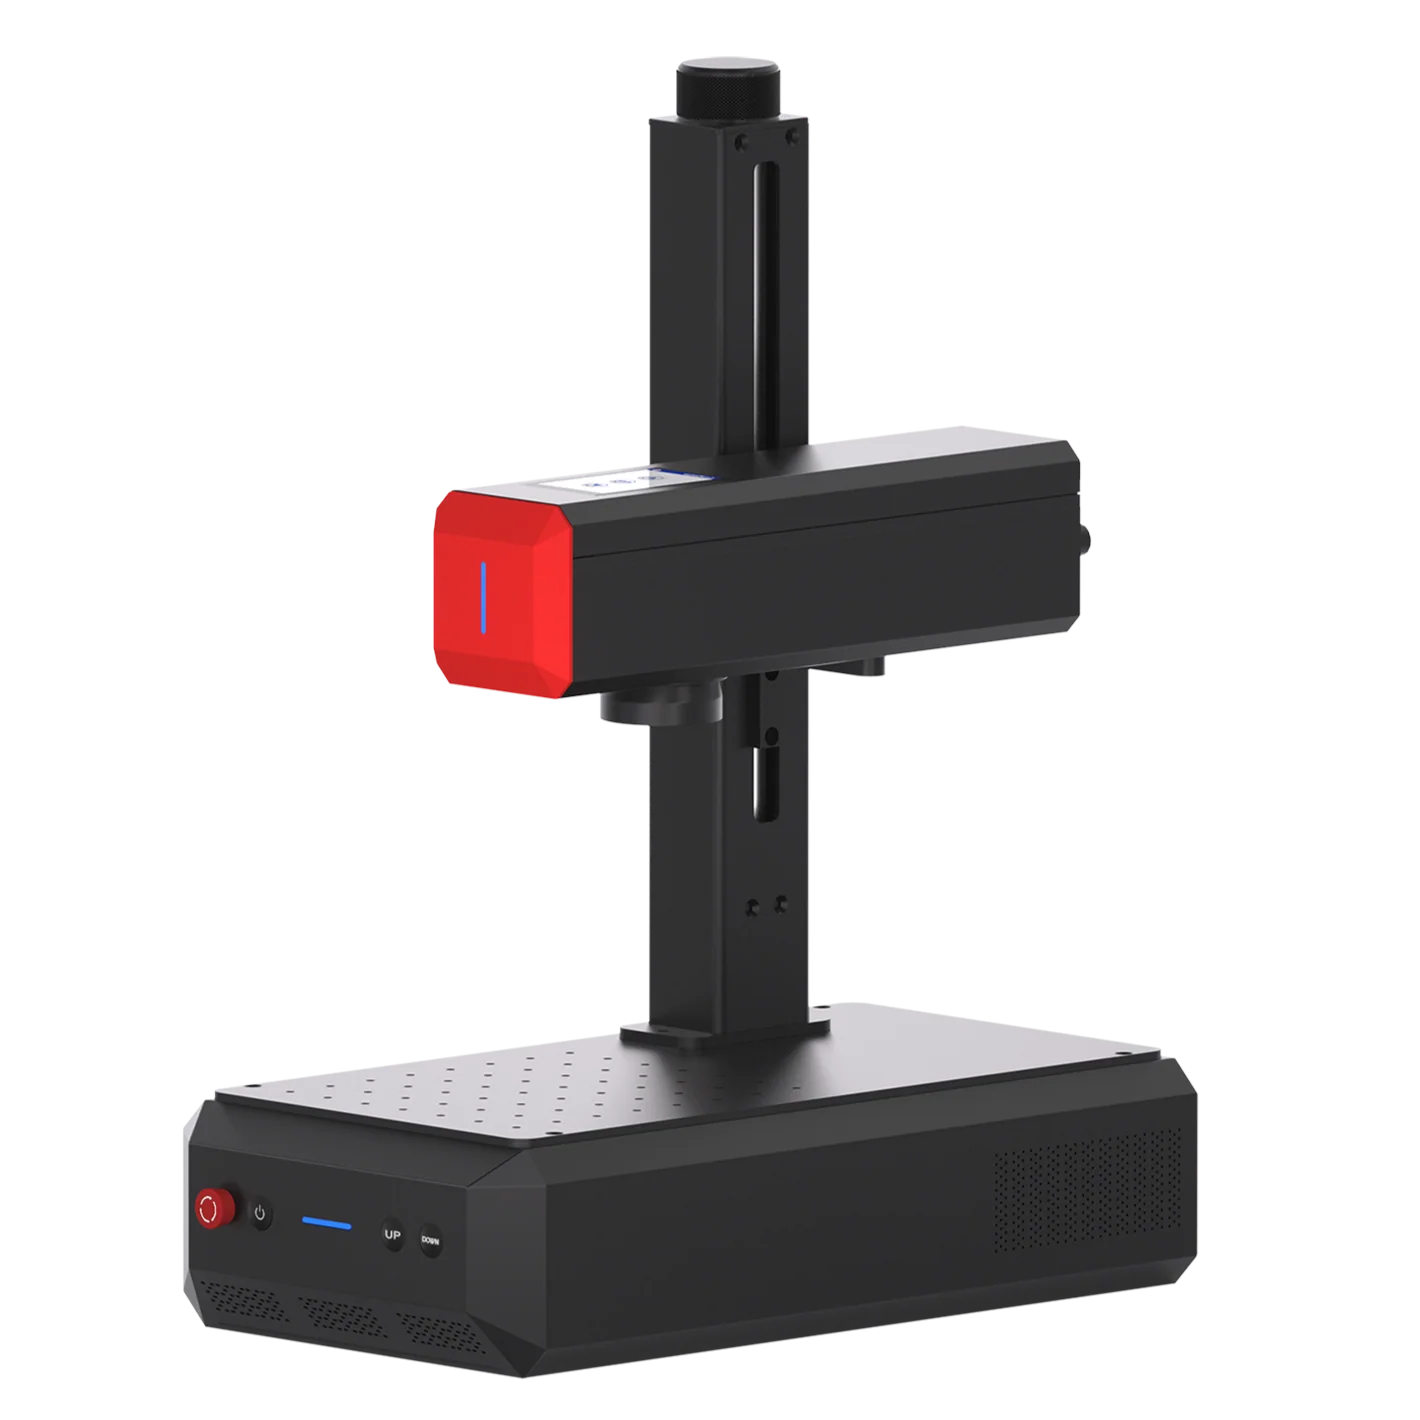
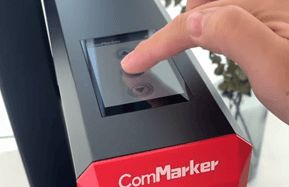
•Engraving Tool: ComMarker B6 MOPA fiber laser engraver
•Assembly Tools: Steel rod or handle adapter for connecting to heat source or electric branding pen
•Safety Gear: Heat-resistant gloves, eye protection, and a stable vise
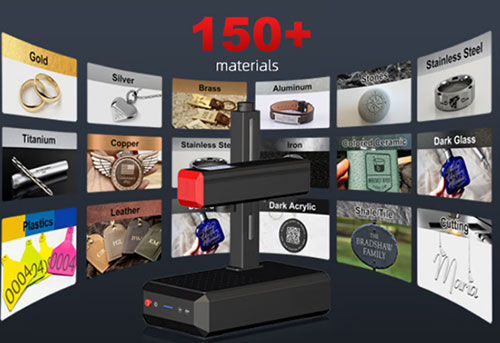
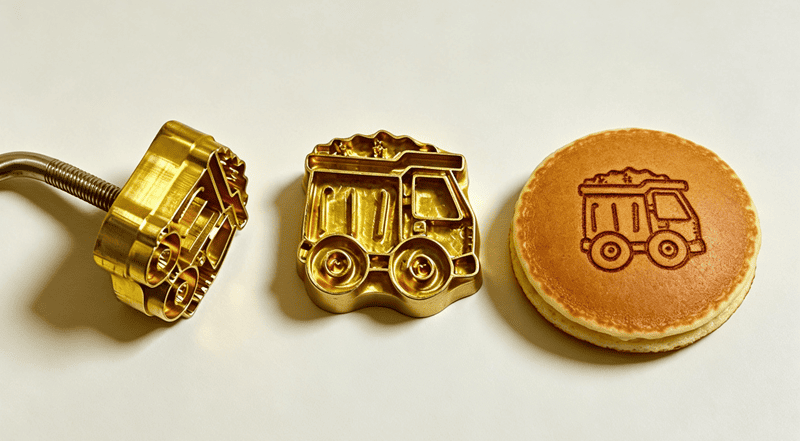
To Make a Custom Wood Branding Iron or custom branding iron for leather and food, brass is the best material as it is easy to engrave and retains heat longer than aluminum or steel.
Step 1: Design and Transfer Your Custom Metal Branding Iron Design
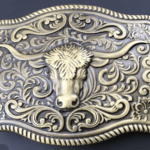
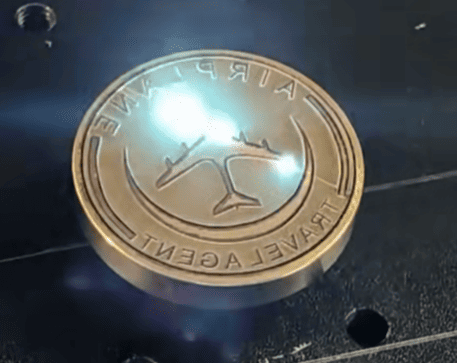
Your customized branding iron should be the negative version of your pattern
1.Create Your Design: Keep lines at least 0.3 mm thick so the mark burns cleanly.
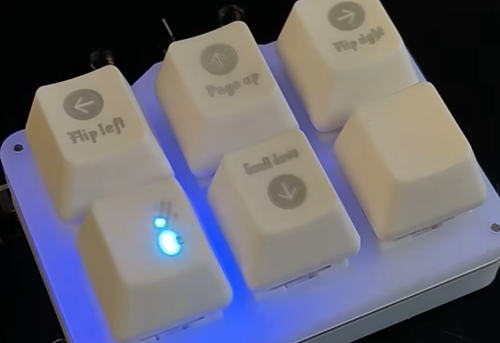
2.Import your design into LightBurn and Flip Your Image: Your design must be mirrored before engraving so it reads correctly on wood or the material you want to mark.

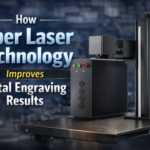
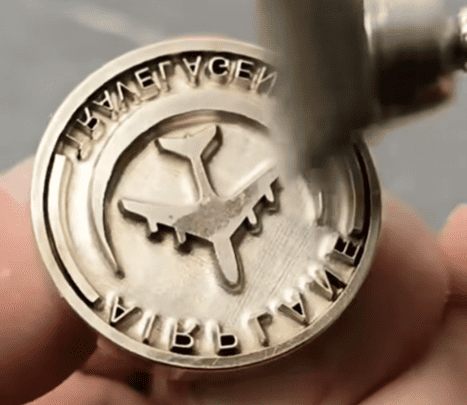
Step 2: Fiber Laser Engrave Metal for Custom Branding Irons
Compare with traditional cnc engraving or manual carving, using a fiber laser engraver for metal allows for cleaner detail, faster production, and consistent results across batches.
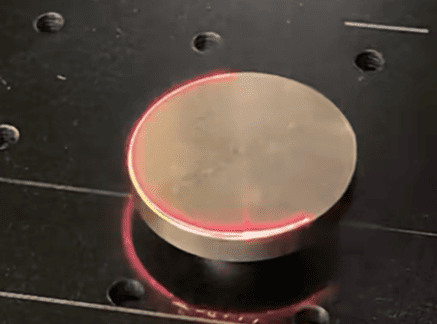
1.Clean and Position the Metal for Laser Engraving
Wipe the brass stock and secure it on the engraving bed.
2.Set Focus and Laser Engraving Parameters
Adjust the laser focus to the surface, then set power, speed, frequency, line spacing, and number of passes according to your material and desired depth.
•ComMarker B6 60W mopa fiber laser brass engraving setting: Speed:1000 mm/s; Power: 95%; Frequency: 30 kHz; Pulse Width: 200 ns; Mode: Run continuously.
We recommend an engraving time for approximately 2 hours
This ensures enough depth for deep laser engraving on to function properly.
3.Preview Before Engraving
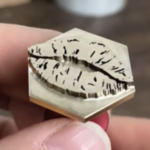
4.Start the Deep Metal Engraving Job
Manually adjusted the focus every 30 minutes. Turned the adjustment knob on top of the column by about half a turn, reducing the focal distance by 0.5–1 mm each time.
5.Use a rotary tool to clean after engraving.
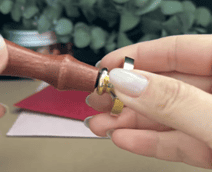
Step 3: Attach the Handle
You need a secure way to heat the stamp without burning your hands.
1.Drill and Tap: Drill a hole in the back of the brass stamp and tap threads such as M4 or 1/4-20.
2.Connect: Screw in a threaded steel rod. You can weld it for extra stability or attach it to a wooden handle made from scrap hardwood like oak.
How to Use Your Custom Stamp
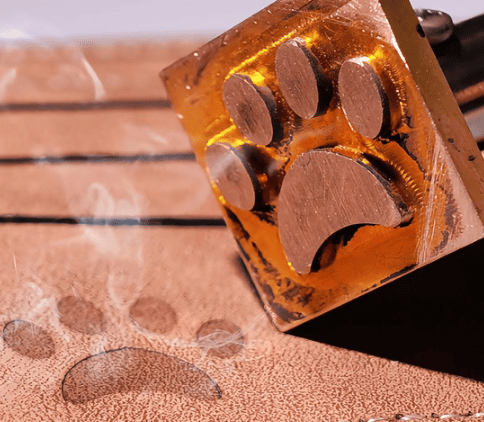
Once your DIY custom iron brander is finished, proper technique is key for a clean and crisp mark.
•Heating: Use a propane torch to heat the brass head for 2–5 minutes. You can also screw the head onto a high-wattage electric soldering iron for more consistent heat.
•Test First: Always practice on scrap wood of the same species as your final project. Softwoods like pine burn faster than hardwoods like oak or walnut.
•Application: Apply firm, even pressure for 3–10 seconds. Avoid rocking the iron, which can cause smudging.
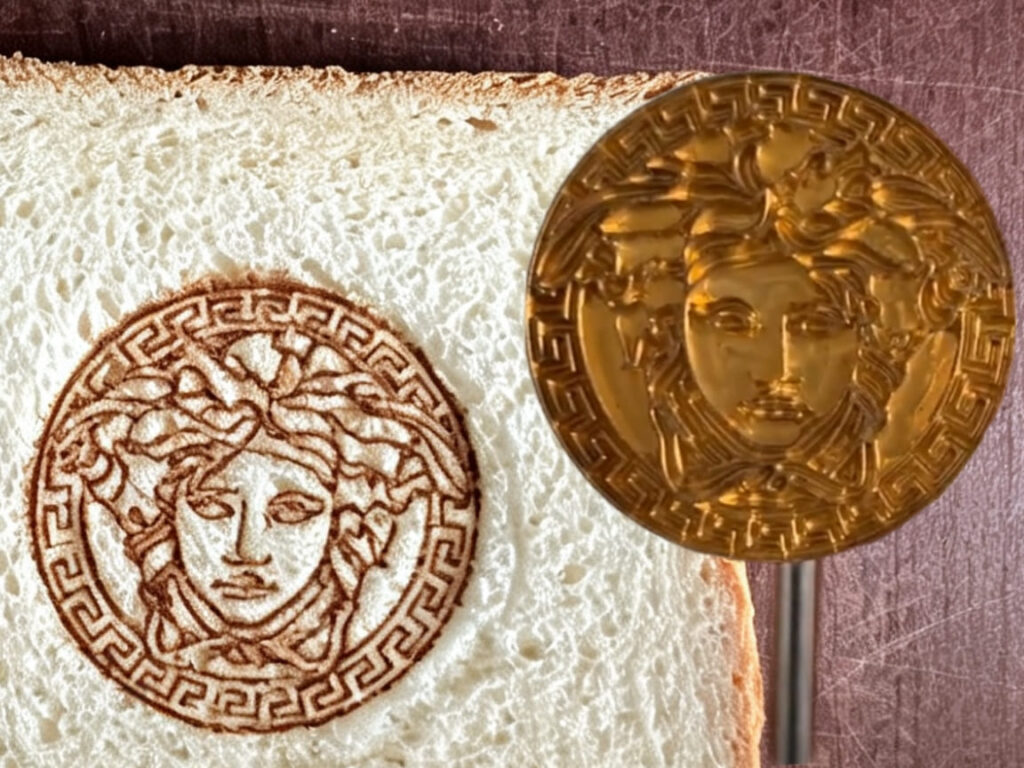
Custom branding iron for wood can be used on other materials. You can try your wood burning stamps on leather and even use custom branding iron for food like stakes.
Final Thoughts
A custom-made stamp is a simple but powerful way to mark your work.
With a fiber laser engraver for metal, you can custom branding irons for woodworking in house in hours.
You can sell your wood burning letter stamps online to make a profit, or take personalized wood burning stamp orders through online platforms.
The ComMarker fiber laser engraver support your metal laser engraving ideas with precise details every time.