Are your keyboard letters wearing out after months of use? Or do you want to customize your keyboard with a different language layout or even personalized designs? Laser engraving is the most effective way to achieve this. It creates permanent, high-contrast markings that won’t wear off like printed or sticker-based solutions.
In this guide, we will share how to laser engrave keyboard for laptop and mechanical keyboards. Including what’s the best laser engraver for keyboard, how to set the right parameters, and how to avoid common problems like melting.
What’s the Best Laser Engraver for Marking Keyboard?
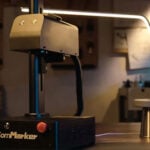
1. Fiber Laser engraver (Top Pick)
Fiber laser engraving machines operate at 1064 nm, are the go-to solution for high-quality, reliable keyboard engraving.
Strengths:
• Clean, Permanent, Wear-resistant marks
• Works on ABS, PBT, PC plastics and metal engraving
• Classic factory solution yet affordable
• High durability for continuous production
They’re powerful, affordable and consistent, which is perfect for both factories and studios. You can laser mark on plastic keyboards, do color engraving on metal keycaps, and even create 3d engraving metal keycaps.
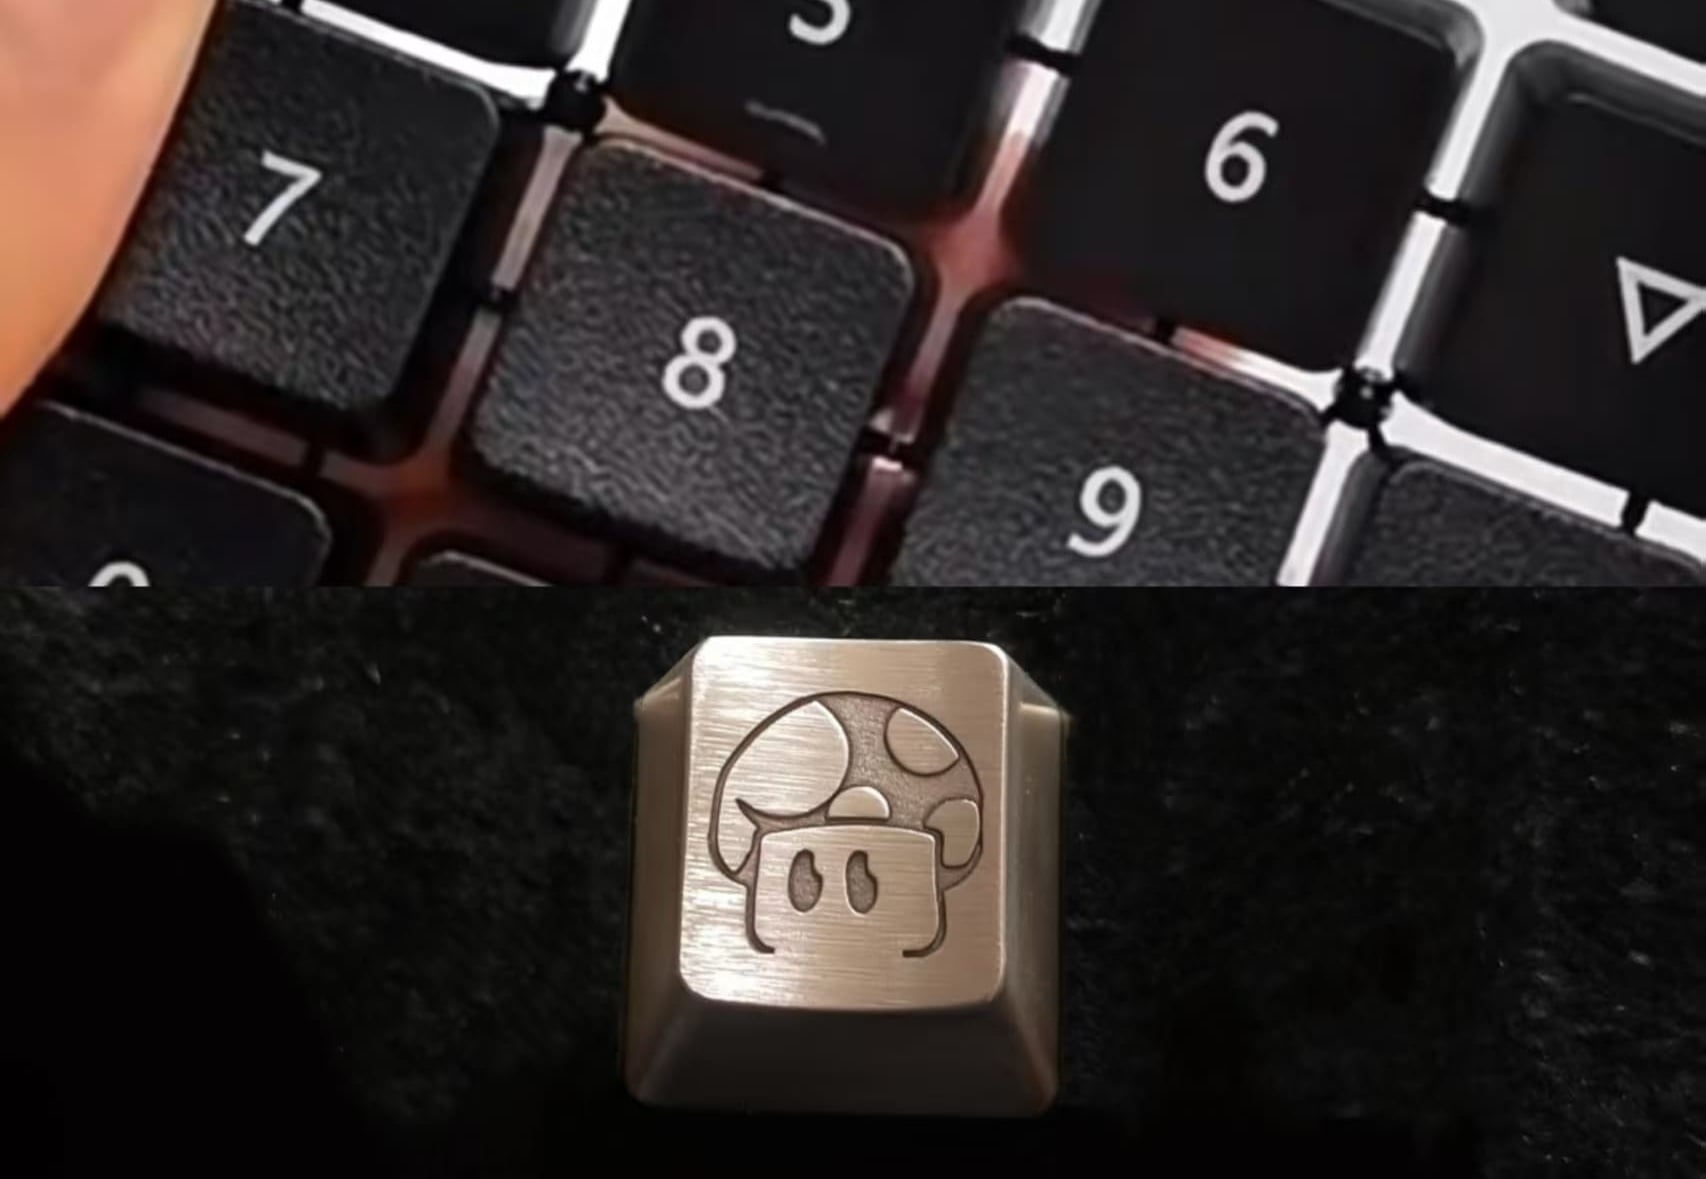
(Fiber laser engraved metal and plastic keycaps)
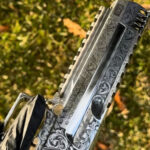
2. UV Laser engraver (Precise and Material-Adaptive)
UV laser engraving machines, with their short 355 nm wavelength, use cold engraving without generating heat.
Strengths:
• Ultra-fine details, perfect for multilingual layouts, or custom patterns.
• Ensure delicate plastics, coated keycaps, or even rare materials like wood or resin keycaps remain smooth and undamaged after engraving.
• Minimal heat means less risk of warping or melting.
UV laser engravers are ideal when precision and material versatility are your first concern.

(Featured in Tom’s Hardware review: ComMarker Omni X engraving a black keycap)
3.Diode and CO2 Laser (Not Suitable for Keyboard Marking)
CO2 and Diode lasers rely on heat to process materials. In practice, this often leads to damaged, low-quality keycaps (see example below).
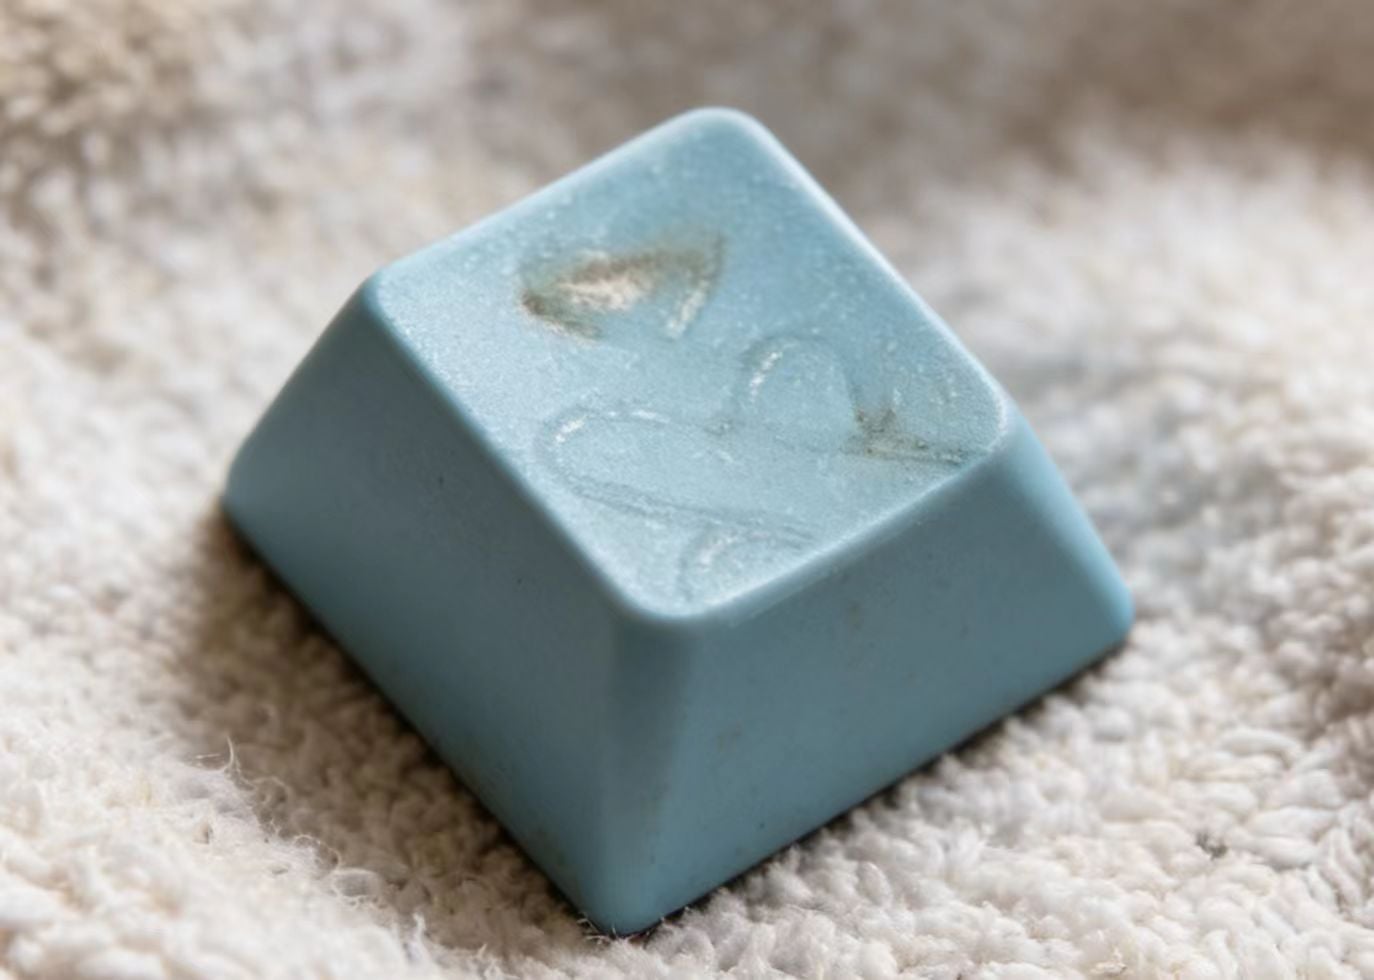
(Damaged ABS keycap from diode laser)
For clean, sharp, and durable keyboard marking, fiber and UV laser engravers remain as professional solutions.
Step-by-Step on How to Laser Engrave Keyboard
The engraving process itself is straightforward. With proper preparation and testing you can get precise results on your keyboard.
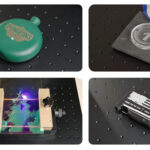
Step 1: Prepare Your Design
Import or create a keyboard layout into your laser engrave software like Lightburn or ComMarker Studio.
Match font size to key dimensions
Tip: Use a keyboard template file for perfect alignment.
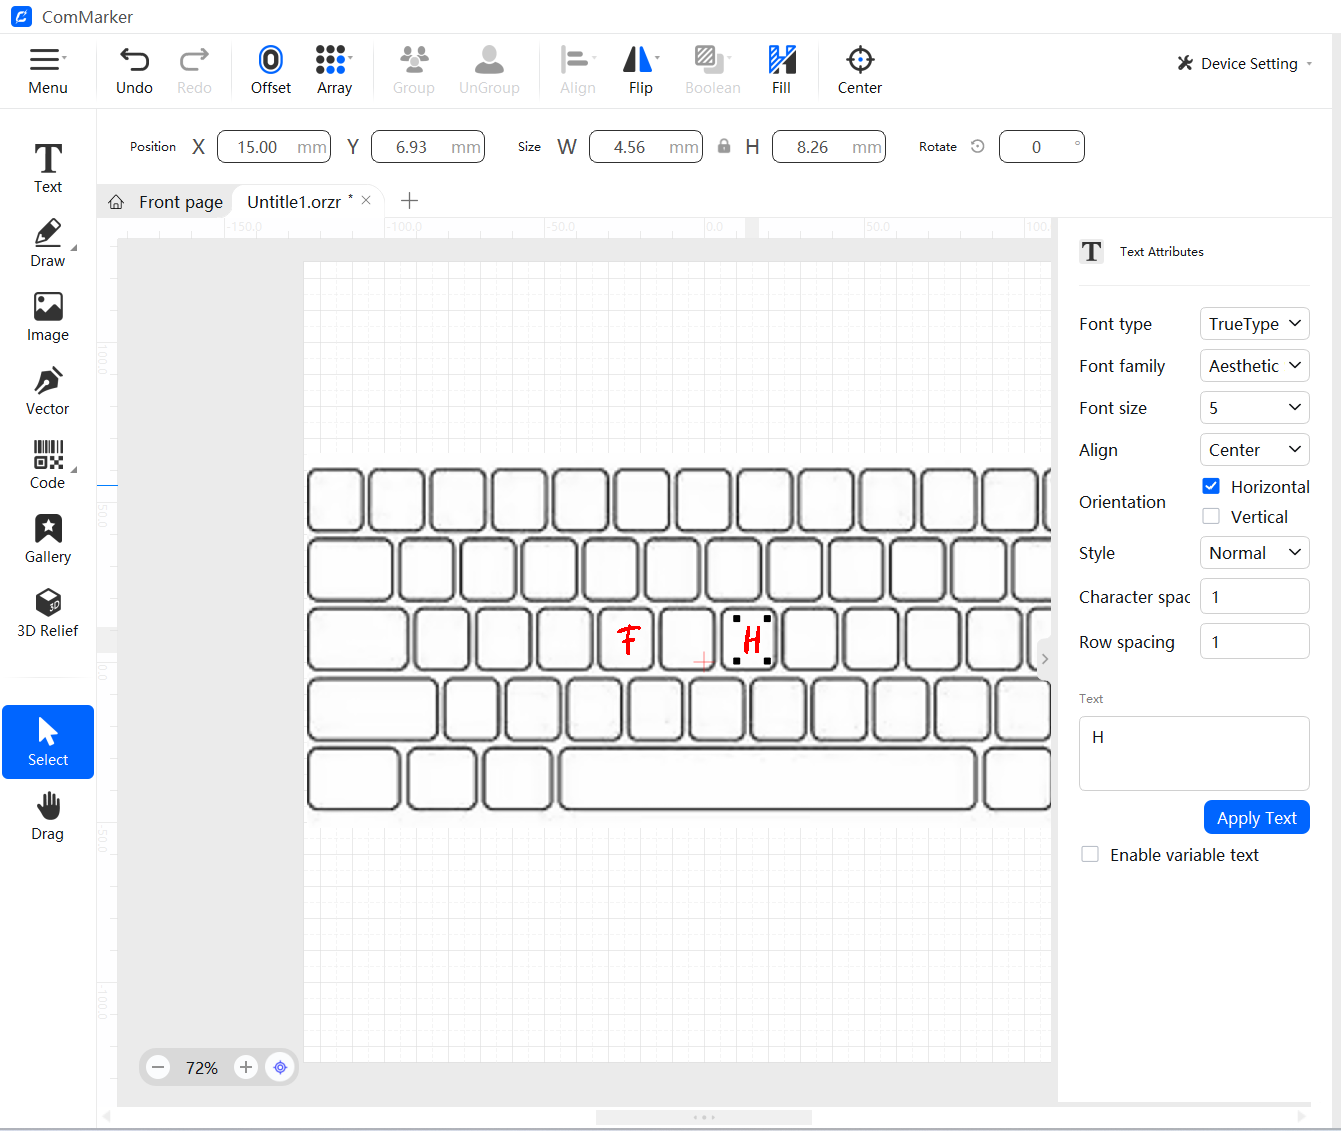
(Prepare design for laser engrave keyboard)
Step 2: Secure the Keycaps
Secure keycaps in a jig to prevent movement.
For laptops, remember to keep surface stable.
Step 3: Import Laser Settings
| 20w Mopa Fiber Laser Engraver ComMarker B6 ABS Engraving Setting | 150mm Lens | |||||
| Effect | Speed | Power | Frequency | Pulse | Fill Density | |
| ABS | White To Black | 2000 | 40% | 40 | 30 | 0.05 |
| Black To White | 2000 | 20% | 40 | 30 | 0.03 | |
| 30w Mopa Fiber Laser Engraver ComMarker B6 ABS Engraving Setting | 150mm Lens | |||||
| Effect | Speed | Power | Frequency | Pulse | Fill Density | |
| ABS | White To Black | 2000 | 30% | 40 | 30 | 0.05 |
| Black To White | 2000 | 12% | 40 | 30 | 0.03 | |
| 12w UV Laser Engraver ComMarker Omni X PC/ABS Engraving Setting | 250mm Lens | ||||
| Effect | Speed | Frequency | Pulse | Fill Density | |
| PC/ABS | White To Black | 2000 | 50 | 15 | 0.03 |
| 5w UV Laser Engraver ComMarker Omni 1 PC/ABS Engraving Setting | 150mm Lens | ||||
| Effect | Speed | Frequency | Pulse | Fill Density | |
| PC/ABS | White To Black | 1000 | 40 | 15 | 0.03 |
Step 4: Preview and Test First (Critical)
Before engraving the full keyboard, always preview your design to make sure the engraving lands on the proper place.
Testing with one spare keycap before officially engraving to prevent costly mistakes.
Testing Tips:
1) Clean keycaps before engraving with isopropyl alcohol to remove fingerprints and oils (oils can burn and leave black spots).
2) Parameter Adjustment Tips for Fiber Laser Engraver
• Yellowed or burnt edges: Reduce power by 3% or increase speed by 500 mm/s. Prioritize speed adjustment to protect the material.
• Letters too light or faint: Increase power by 2% (maximum +5%; never exceed 40%).
• Jagged or rough edges: Increase fill spacing by 0.05 mm and raise frequency by 5 kHz.
• Surface dents or deformation: Stop engraving. Reduce power by 5% or switch to a lower-power machine.
Step 5: Engrave the Full Keyboard
Once settings are correct, apply the settings to the entire design and start engraving.
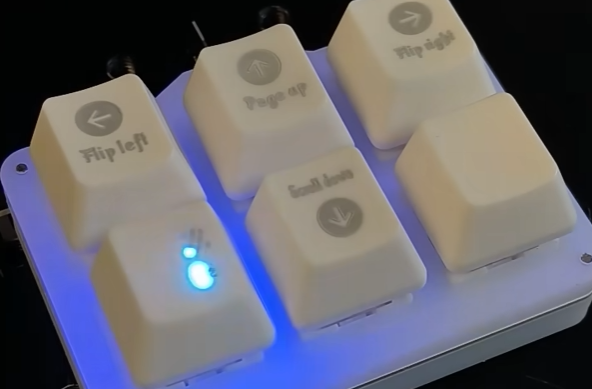
(Laser engraving keyboard keycaps)
Keyboard Laser Engraving FAQ
1. How can I avoid melting or bubbling plastic when engraving?
Reduce the power, increase the engraving speed, use multiple light passes instead of one deep pass, or switch to a UV laser engraver when working with sensitive plastics.
2. Do I need to remove the keycaps from the keyboard?
Not necessary. For laptop keyboards, engraving is usually done without removing the keycaps, though it requires careful preview. Same for mechanical keyboards but removing them before engraving are easier for preview and better for alignment.

(fiber laser engraved laptop keyboard)
3. How can I add color to laser engraved DIY keycaps?
Laser engraving typically produces white, gray or black marks on plastic.
To add color to your engraving, you can fill the engraved area with paint and carefully wipe off the rest.
You can also use keycaps treated with engraving toner or spray paint before engraving; the laser fuses the paint into the surface for sharp, lasting results.
The third method is to use coated keycaps, which can produce high-contrast marks without additional materials. You can use MOPA fiber laser engravers to preform color engraving on metal, which can also create color on stainless steel keycaps.
Final Thoughts
Keyboards are fast, profitable, and highly customizable laser engraving idea. Achieving the best results require proper settings, choosing the right machine, and testing before engraving.
If you’re ready to start engraving keyboards and want reliable machines, fiber laser engravers are ideal for precision and long-lasting durability, while UV laser engravers are material-adaptive and offer premium detail. Both options allow you to engrave safely, avoid melting, and achieve high quality results.