Making your own ring is no longer limited to professional factories.
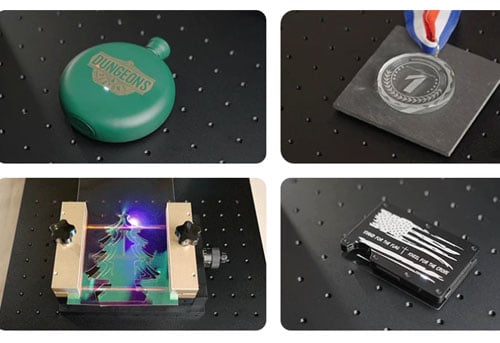
With a ComMarker desktop fiber laser engraver, you can add text on rings, perform 3d relief metal engraving, hollow engraving, color & photo engraving and laser cutting all at home with one single machine.
Whether you are a jewelry designer, a DIY beginner, or planning to start a custom jewelry business, this guide shows you how to make your own ring with a fiber laser engraver.
These skills can also be applied to make your own necklace, custom pendants, bracelets, earrings, laser engrave tungsten rings, and other jewelry showing your creativity.
Why Use a ComMarker B6 Fiber Laser Engraver to Make Custom Rings
Fiber laser engraving machines offer precision and versatility ideal for both beginners and professional jewelry designers:
• 8K HD High Precision: Perfect for small surfaces such as tungsten rings or engagement rings
• Complex Jewelry Designs Friendly: Easily create openwork patterns, 3D metal engraving, laser cutting, text &photo engrave, and metal color engraving with one single machine
• Non-Contact Process: No pressure on the ring, preserving delicate materials
• Beginner-friendly: One press sets the laser to the correct focal point, laser software achieve precise metal engraving, avoid manual mistakes.
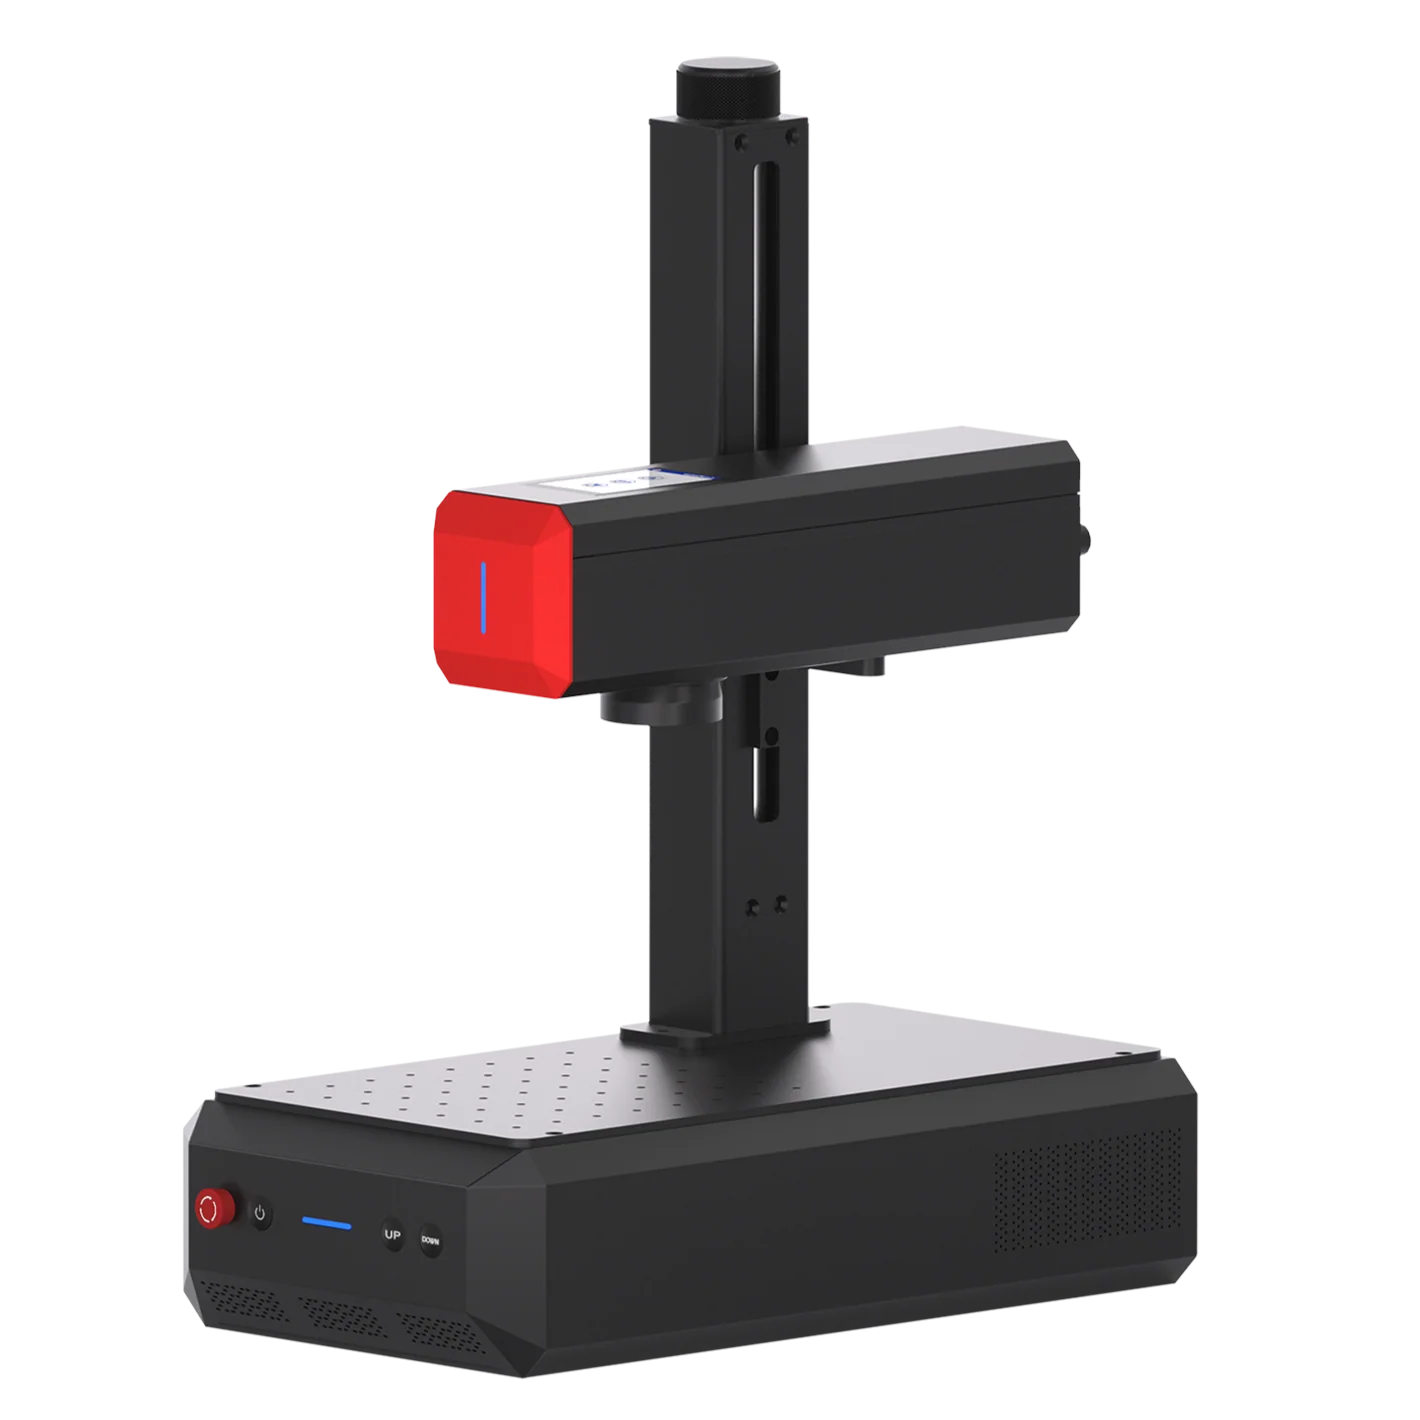
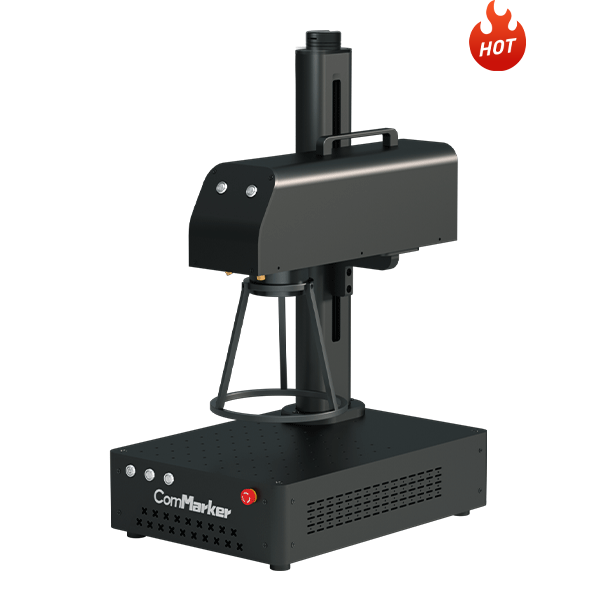
• Compact and portable: The 23 kg ComMarker B6 portable fiber laser engraver lets you make your own ring or create a custom pendant at home or in small studios.
How to Make Your Own Ring with a ComMarker B6 MOPA Fiber Laser Engraver
This guide introduces 6 metal engraving techniques using a fiber laser engraving machine. With these skills, you can design yourself and create not limited to rings, but also make custom necklaces, photo pendants, bracelets, and earrings.
Materials and Tools Needed
Materials:
• Ring blanks in stainless steel, silver, brass, titanium, or tungsten
or
• Pre-cut metal sheets for custom ring bases
Tools:
• ComMarker B6 60W Fiber Laser Engraving Machine
• Rotary attachment for cylindrical items such as rings
• Laser engraving software (LightBurn, Ezcad, or similar)
• Polisher or sandpaper
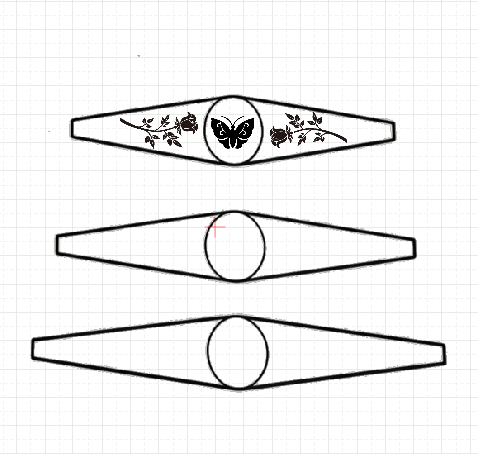
Before Engraving, Design Your Ring for Laser Engraving
1. Choose a shield or saddle ring band template vector file as your base
2. Add your design, including text, patterns, or photos for photo pendant engraving
3. Choose front and message for inner ring engraving
4. Prepare grayscale images for 3D laser engraving
(design on ring template in software)
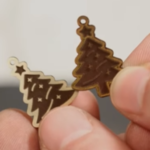
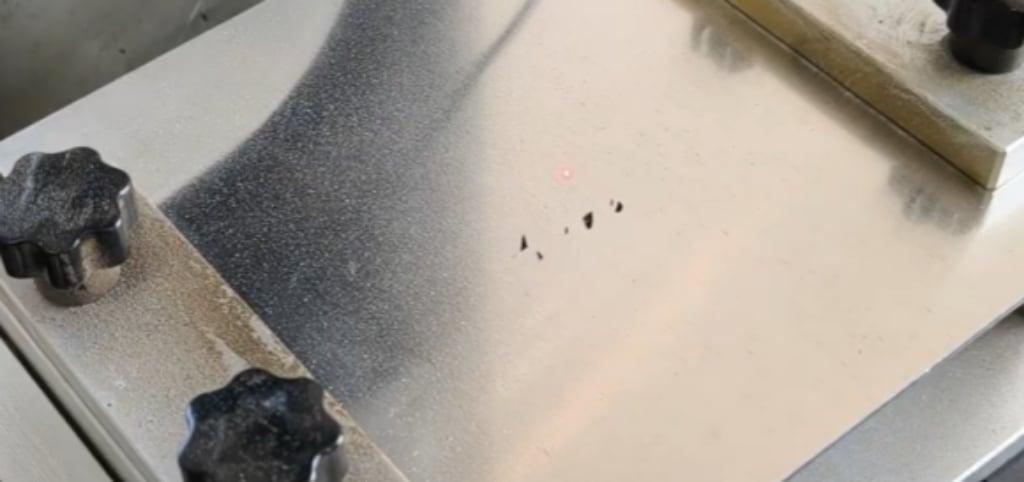
Technique 1. Openwork (Hollow) Engraving
To create cut-out patterns, remove material using fill engraving:
1. Place your hollow pattern onto the ring template

(choose areas in software for hallow engraving)
2. Use a metal sheet holder to prevent bending during engraving
3. Preview the design for correct positioning
4. Import the setting and use Fill Mode to engrave the pattern
ComMarker B6 60W MOPA Fiber Laser Engraver Aluminum Engraving Setting
| Speed | Power | Frequency | Pulse | Interval | |
| Aluminum | 1500mm/s | 90% | 40 | 200 | 0.025 |
5. Start engraving to remove small areas, creating precise cut-outs
Check detailed video guide for small area metal cutting with ComMarker Fiber Laser Engraver→
(hollow engrave with a fiber laser engraver)
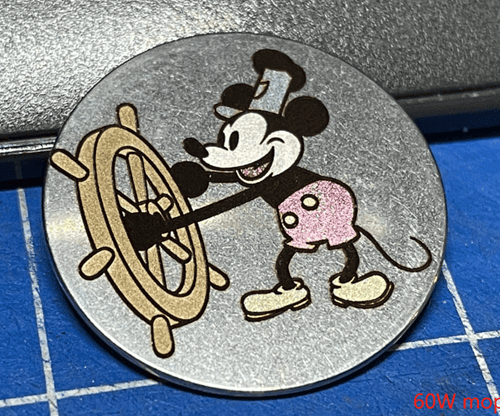
Technique 2. Relief Engraving
• A depth map converts an image into grayscale layers, where the darkest areas represent the deepest engraving and the lightest areas represent the highest points on the surface.
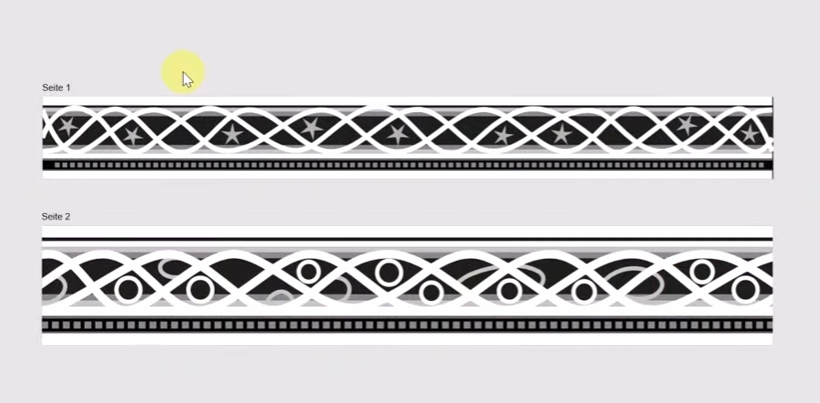
(greyscale image for ring engraving)
• Place your depth map onto the ring blank or template in your software, then run the engraving.
• This allows the laser to reproduce a detailed 3D relief directly on your metal ring.
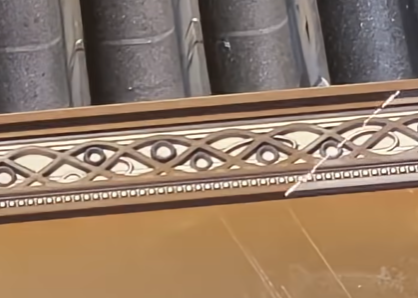
(relief engraving on brass)
ComMarker B6 60W MOPA Fiber Laser Engraver Brass Engraving Setting
| Speed | Power | Frequency | Pulse | Interval | |
| Brass | 1000mm/s | 90% | 80 | 200 | 0.025 |
Check detailed guide for making grayscale image for fiber laser engraver metal engraving→
Technique 3. Photo Engraving on Metal
• Convert your image to grayscale for detailed engraving
• The ComMarker B6 Fiber Laser Engraver achieves 8K HD accuracy for photo engraving
• Perfect for photo pendants, memorial rings, or personalized jewelry gifts.
Check detailed setting and guide for best Photo Engraving on Metal→
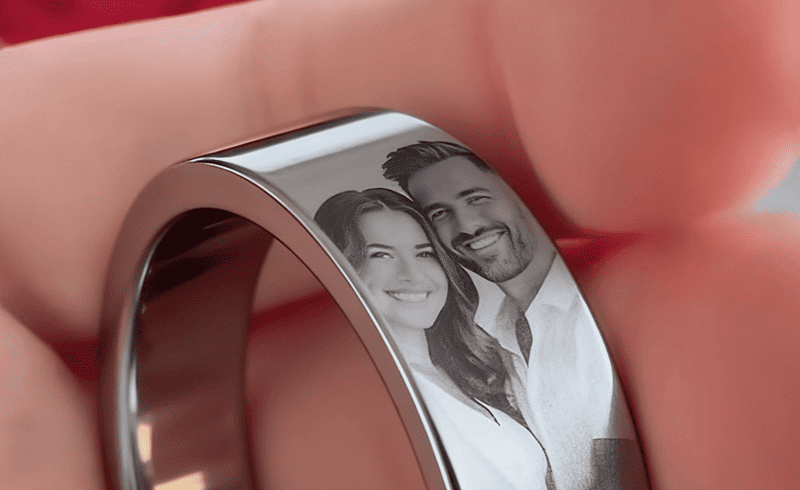
(Photo Engraving on Metal Ring)
Technique 4. Color Metal Engraving
• With a MOPA fiber laser engraver, you can engrave color directly on metal
• This adds a professional and eye-catching finish to your jewelry
Check color metal engraving with fiber laser engraver guide with ComMarker B6 MOPA Fiber laser engraver→
(color enrgaving metal)
Technique 5. Mark Text on Metal Surface
• Use the ComMarker R5 rotary attachment to engrave text directly on the inner or outer surface of a ring. Check detailed guide for laser marking ring→
• Laser engraving provides precise control, allowing you to replicate any font accurately on the metal surface. Including names, dates, or hidden messages.
• Ideal for making your own engagement ring or wedding ring with personal note.
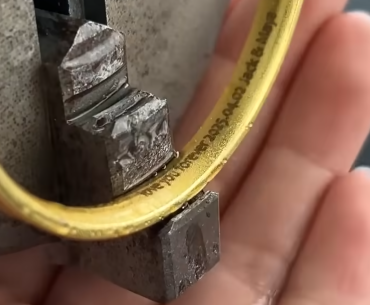
(fiber laser marking jewelry)
Technique 6. Metal Cutting with a Fiber Laser Engraver
Once you have engraved all your designs on the template, it’s time to cut the shape from the metal sheet and bend it into a finished ring.
• For metal sheets thicker than 0.5 mm, use Offset Mode in your software
• This ensures clean and precise laser cutting with no uneven edges
For step-by-step instructions, check out our fiber laser metal cutting guide to get the best results.
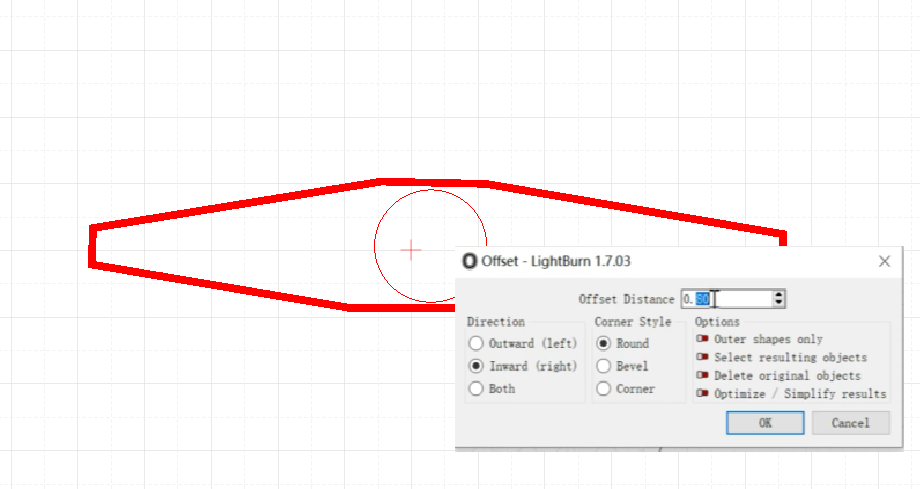
(offset mode for metal cutting)
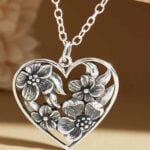
Final Step. Polishing and Finishing
1. Clean with alcohol or a soft cloth
2. Polish the surface to achieve shine and smoothness

(metal rings with polished finish)
Conclusion
With a ComMarker B6 MOPA fiber laser engraving machine, you can make your own ring, necklace, create custom pendants, and engrave photos or color designs with precision and creativity.
Start with simple projects, explore different metal engraving techniques, and you will be able to turn your laser engraving ideas into real, wearable jewelry that show your style and creativity.