Modern laser engraving machines have brought new possibilities for jewelry making with precision and ease of use.
With UV laser engravers and Fiber laser engravers, you can produce professional-quality earrings using three core techniques: 3D relief engraving, laser marking, and cutting.
Whether for personal projects or small businesses, laser engravers can make earrings that are both stylish and profitable.
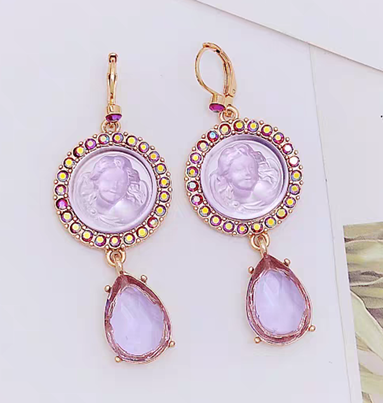
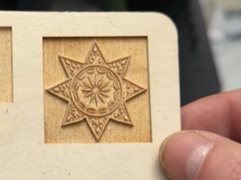
1. Embossed Earrings (3D Texture)
Embossed engraving adds beautiful depth to earrings, creating detailed textures on materials such as wood, glass, acrylic or metal。
Popular Embossed Earring Design
• Floral and abstract nature motifs: Soft yet expressive floral or leaf inspired relief details that match modern natural aesthetic trends.
• Geometric and sculptural shapes: Art inspired abstract reliefs that pair well with oversized, 3D earrings.
• Mythical / symbolic themes: angel, goddess, celestial motifs. Works well for unique design series that stand out from minimalistic everyday styles.
• Animal: Shape of your pet or favourite animal.
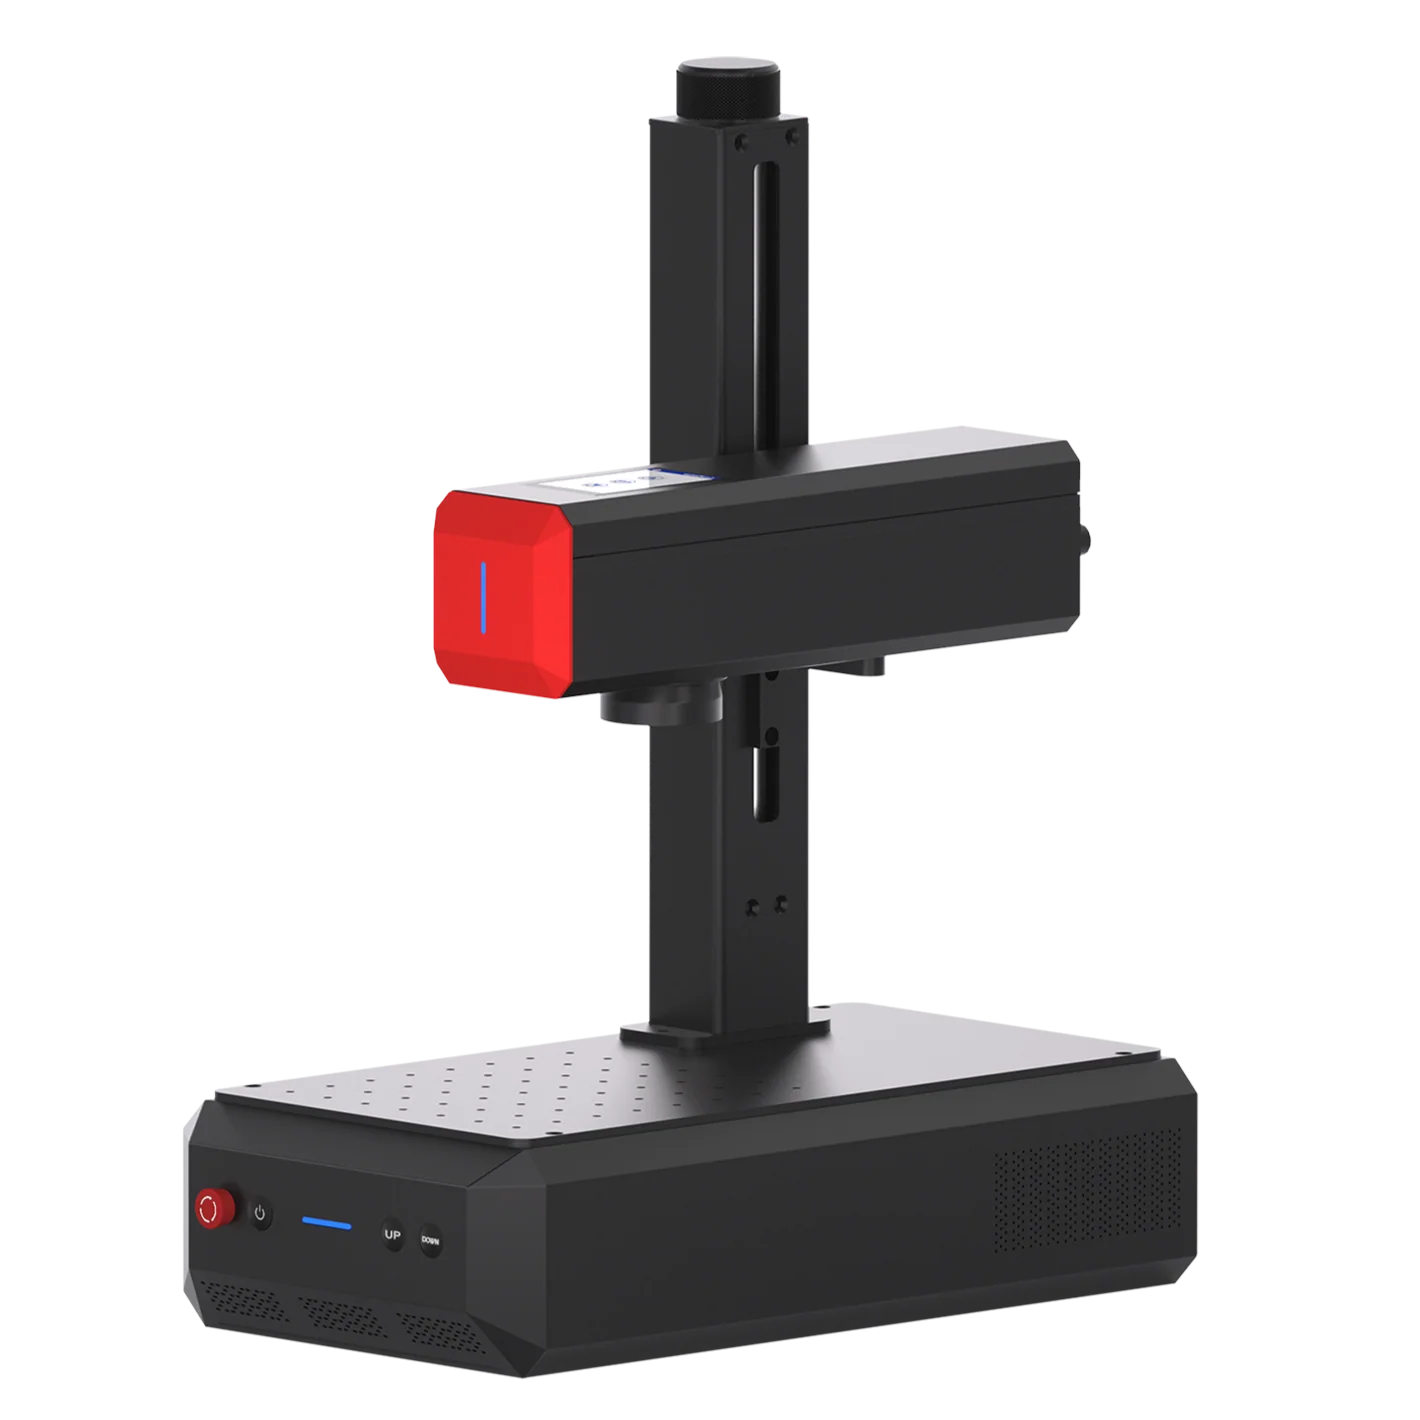
With a UV Laser Engraver for jewelry:
• You can get ultra high precision for fine lines and small details on glass or wood surfaces.
• The cold processing feature prevents burning on wood, preserving clean relief texture.
• Supports 1,500+ materials, expand what you can create.
With a Fiber Laser Engraver for jewelry:
• You can achieve 2.5D relief metal engraving on small metal components, perfect for pendants.
• Excellent precision and fast speed make it ideal for detailed laser engraving on gold, silver or brass.
How to Laser Engrave Wood Embossed Earrings with a ComMarker Omni X UV Laser Engraver:
1. Prepare Your Files
Import your STL file into the ComMarker Studio and adjust the size to fit your material.
Note: For fiber laser engraver relief engraving, prepare grayscale images. Check how to perform 3d engraving metal with fiber laser engraver→

2. Set Laser Parameters
Adjust speed, frequency, pulse, focus, and layers based on your material and design.
For 3D reliefs, increasing the number of layers or passes will produce smoother, more detailed textures.
12w ComMarker Omni X UV laser engraver Wood Embosses engraving setting:
2mm deep: 250mm lens; Speed 1200 mm/s; Frequency 40 kHz; Q-Pulse 5 ns; Line interval 0.03 mm.
3. Prepare Your Material and Machine
Place your material securely on the engraving bed.
Press autofocus to ensure the laser targets the correct surface level.
4. Preview the Engraving Area
Use the preview function to check the placement, and size of your design. Adjust if needed.

5. Start Engraving and Monitor
Close the safety door and start the engraving process.
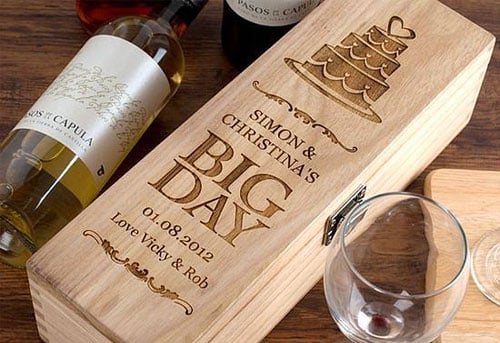
2. Laser Marked Earrings (Personalized Surface Detailing)
Laser marking is one of the most effective ways to add custom patterns, text, or graphics to your earrings’ surface, making them feel personal and expressive. This technique works exceptionally well on acrylic, wood, leather, resin, and metal.
Popular Marked Earring Designs
• Custom names or initials: modern personalization that feels personalized without being overly bold.
• Logos, symbols, or abstract line patterns: elegant minimal shapes or symbolic details that match current sculptural jewelry direction.
• High contrast images or micro details: crisp engraved graphics, micro textures, or tiny decorative elements that elevate simplicity with artistic flair.
Machine Recommendations
• UV Laser Engraver: Excellent for acrylic, wood, leather, and resin laser marking. UV laser engraver supports 1500+ materials and produces sharp contrast and 16K HD fine detail that make your laser engraving earrings visually stunning and highly customizable.
• Fiber Laser Engraver: Perfect for metal earrings (silver, copper, steel), offering durable, long lasting marks that resist wear and maintain premium quality on metal surfaces. With MOPA fiber laser engraver, you can get color that won’t fade on metal.
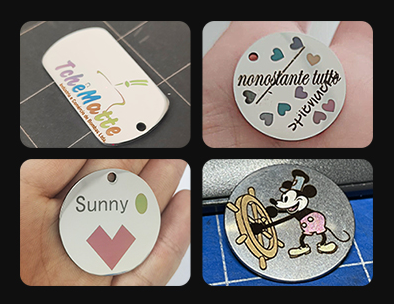
How to Make Earrings with Metal Color Engraving with ComMarker B6 MOPA Fiber laser engraver (Step-by-Step)
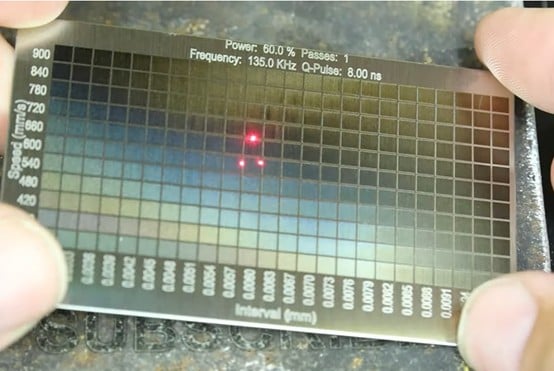
1. Run a Material Test for Finding Settings
Create a small test grid on your material to explore different parameter combinations for different colors.
Recommend color test grid setting for a ComMarker B6 60w MOPA Fiber Laser Engraver on Stainless Steel:
Power: 60.0%; Passes: 1; Frequency: 135.0 kHz; Q-Pulse: 8.00ns; Speed (mm/s): 600-900 (11 Rows); Interval (mm):
2. Prepare Your Pattern or Text
Create or import your design into laser software such as LightBurn.
Use vector formats (SVG,etc) for best precision, and organize your design into layers for laser engraving different colors.
3. Set Laser Parameters
Apply the color laser engraving parameters such as power, speed, frequency, pulse width, and interval of the color you like in the material test to different layers
4. Prepare Material & Machine
Fix the material securely in place to prevent movement. Ensure the material surface is clean and smooth and set the correct focus distance.
5. Start Engraving & Final Check
Preview the engraving area and run the engraving process and allow the material to cool before picking up.
Check detailed guide on color engrave stainless steel with fiber laser engraver→
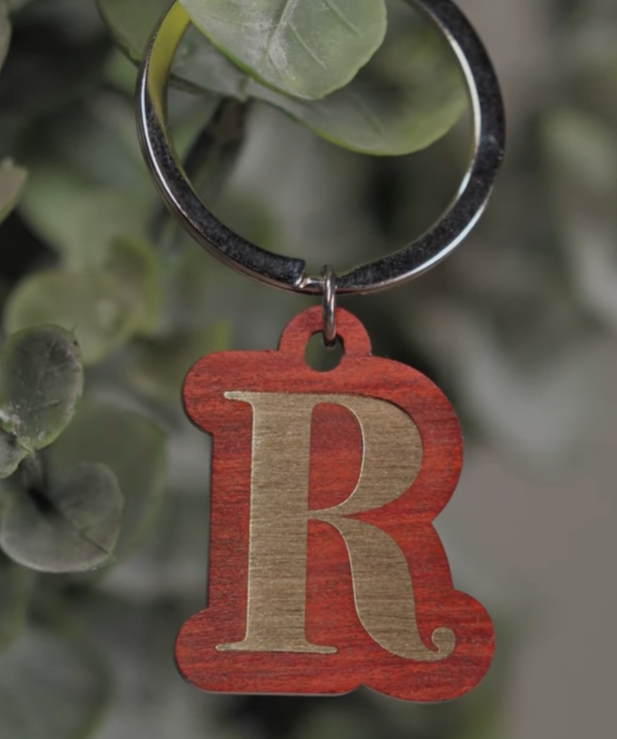
Laser Cut to Make Earrings (Precise Shapes and Structures)
Popular Cut Earring Designs
• Geometric shapes: Floral, Leaf, Spider, Circles and all. Clean, modern, and statement worthy.
• Layered designs: Stack multiple layers of acrylic, wood, or resin for 3D depth effects.
• Abstract or asymmetrical shapes: Freeform lines and artistic silhouettes, fitting current 2026 trends.
• Hollowed or patterned structures: Fine perforations and cut out details for intricate visual interest.
Why Choose a UV Laser Engraver to Make Earrings
• High precision and smooth, polished edges ideal for laser engraving earrings.
• Can cut acrylic, wood, light metals, and resin reliably.
• Perfectly compatible with relief engraving and laser marking, enabling complex, multi technique designs.
Why Choose a Fiber Laser Engraver for Jewelry
• Ideal for metal earrings, producing durable, clean cuts on silver, copper, or steel.
• Fast cutting speed and high accuracy for intricate shapes.
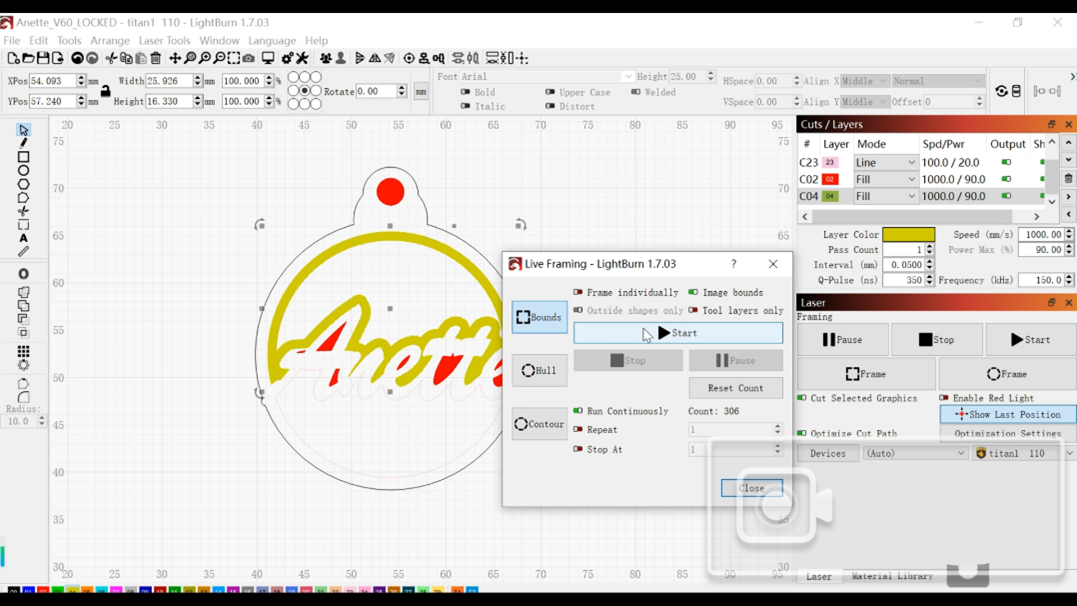
How to Perform Laser Cutting with ComMarker Titan fiber laser engraver
1. Prepare Your Pattern or Text in Vector
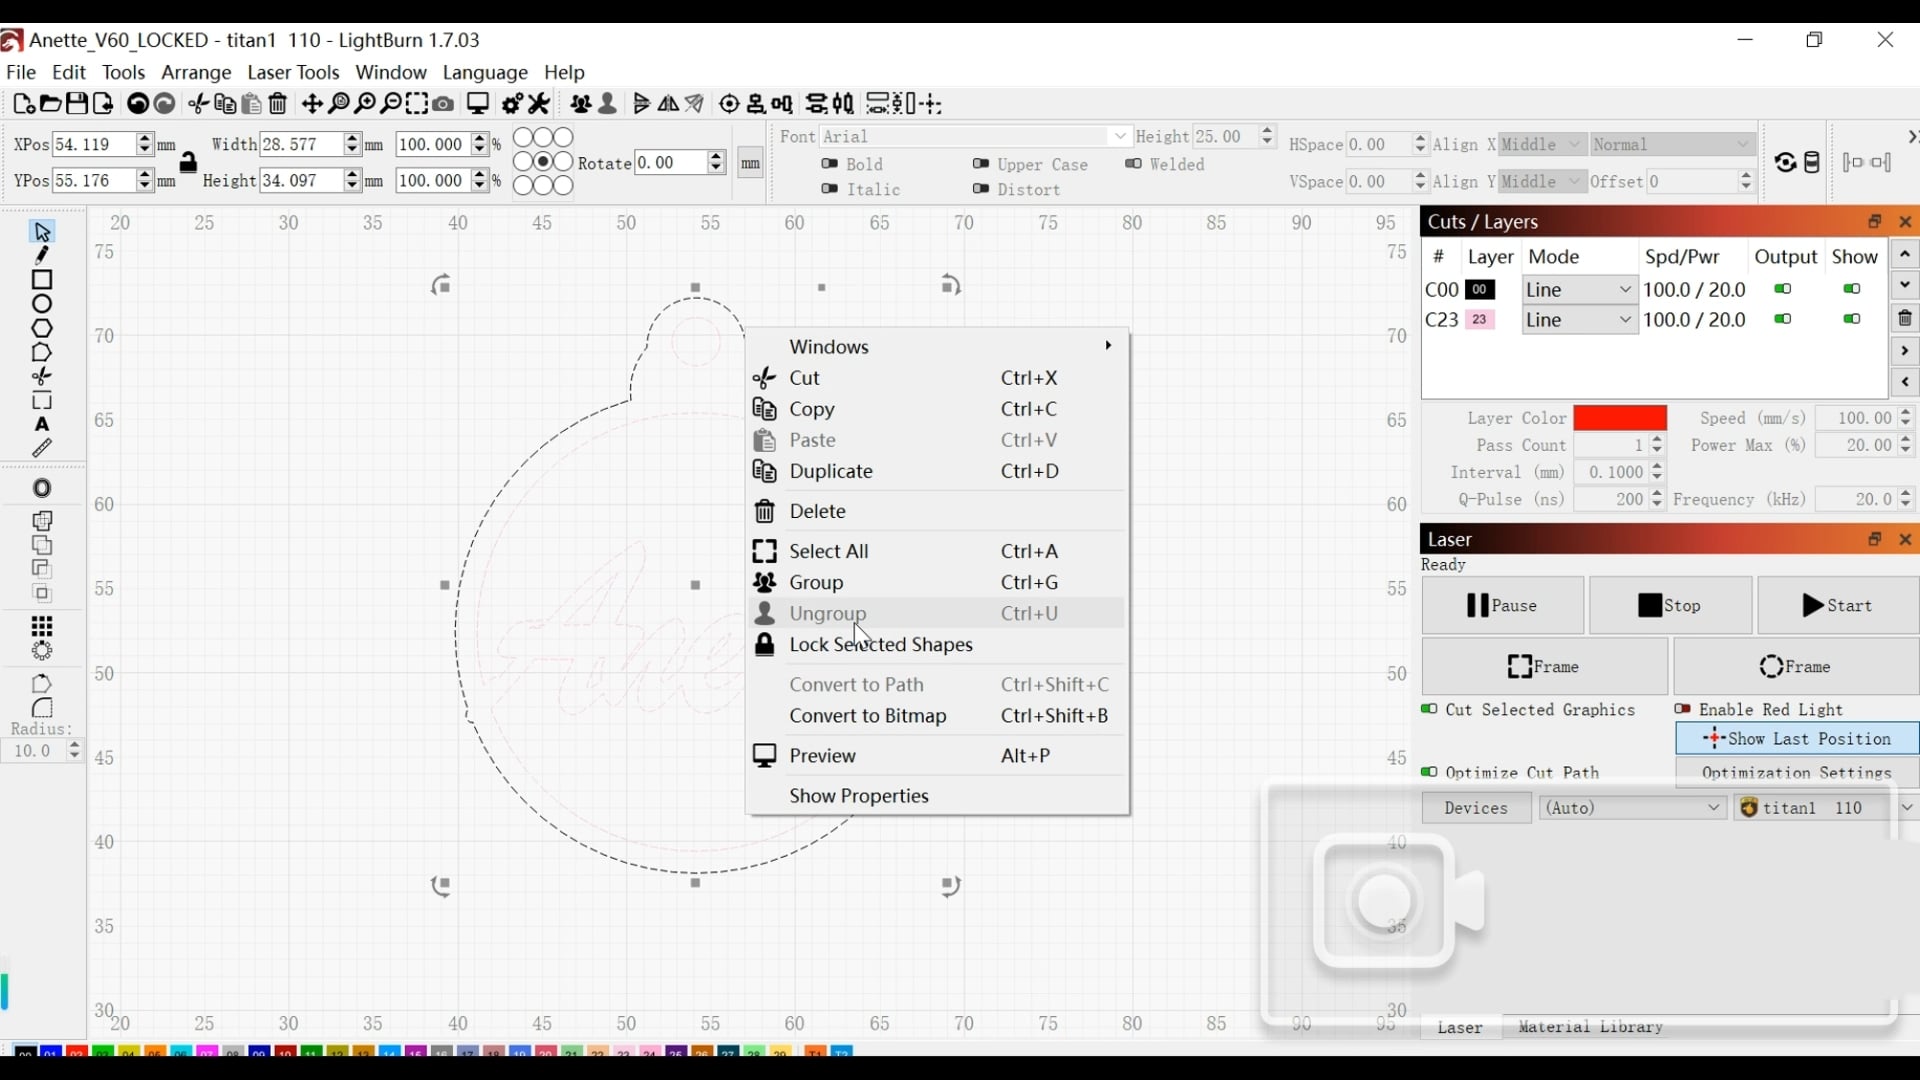
Create or import your design into laser software such as LightBurn.
Use vector formats (SVG, DXF, AI) for precise cutting paths and ungroup elements.
2. Set Laser Parameters
Adjust your settings based on material type and thickness.
Control key parameters such as power, speed, frequency, passes, and line interval for clean cutting results.
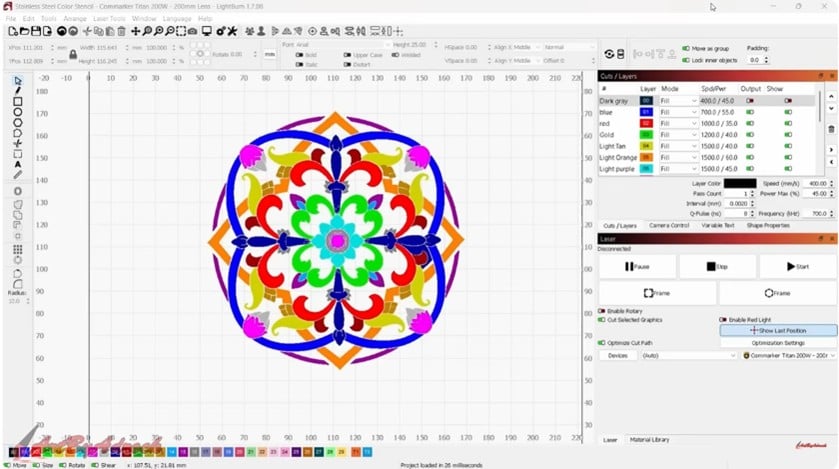
200w ComMarker Titan MOPA fiber laser engraver stainless steel cutting setting:
Speed 1000 mm/s; Power 90%; Frequency 150 kHz; Q-Pulse 350 ns; Line interval 0.05 mm; Mode: Fill; Bidirectional fill: ON; Crosshatch: ON.
3. Secure Material & Set Focus
Ensure the material is flat, clean, and firmly fixed in place to prevent movement or warping.
Set the correct focus distance, as even small focus errors can reduce cutting efficiency and quality.

4. Choose Cutting Mode Based on Material Thickness
Use Fill Mode for thin metals and fine details.
Switch to Offset Mode when cutting thicker metal to widen the cutting path, prevent re-welding, and achieve smoother edges.
5. Start with Inner Cuts
Preview the design using the frame function, then begin cutting internal shapes first.
This prevents shifting or misalignment before completing the final outline.
6. Cut Outer Shape & Evaluate
Cut the outer boundary last using continuous run if multiple passes are needed.
Allow the material to cool before picking, then check edge quality and completeness.
Make adjustments if necessary for cleaner, more precise results.
Check detailed guide on cutting metal with fiber laser engraver→
Combining Techniques (Make Premium Laser Engraving Earrings)
One of the biggest advantages of laser engraving is combining cutting, relief, and marking for layered and complex designs:
• Base engraving: Use UV laser engraver to deep engraver wood for filling other materials.
• Surface relief: Add texture and depth on wood and glass with UV laser engraving, fiber laser engraver for metal.
• Metal cutting: Fiber laser engravers cut metal for names, or intricate patterns.
Example Combinations
• Acrylic + Wood Layered Earrings: Cut shapes in acrylic, dig wood to assemble for multi-layer design.
• Metal + Acrylic Earrings: Fiber laser engraver cut and marks metal plates. UV laser engraver marks and cuts acrylic pendants. Attach on same hook for unique design.
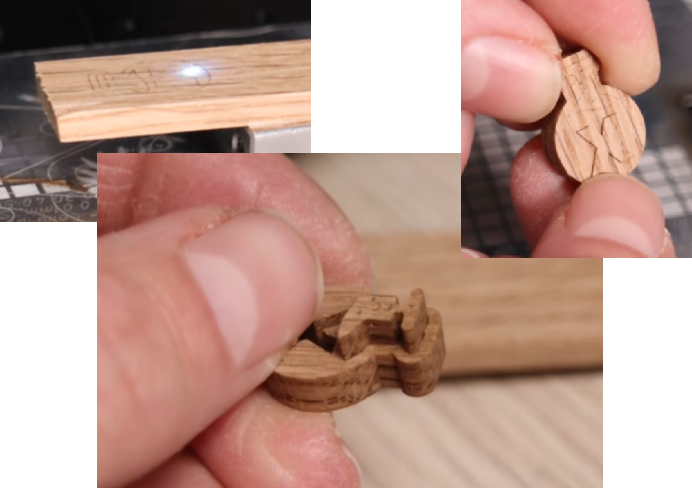
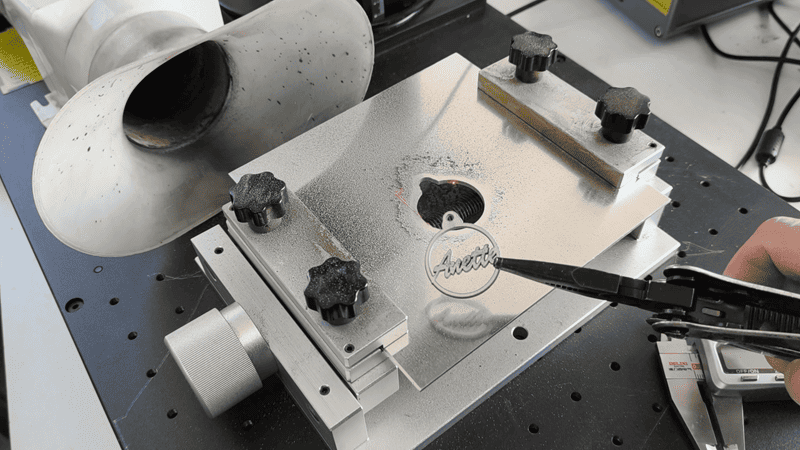
How to make Wood + Metal earrings with the perfect fit
1. Fill the pattern and laser mark on wood repeatedly until its depth reach the thickness of the metal sheet
2. Unfill the pattern and use the shape to cut the metal
3. Press the cut metal onto the wood. This should fit perfectly.
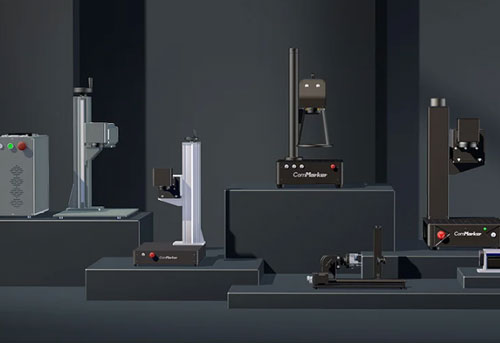
Conclusion: Choose The Best Laser Engraving Machine. Makes Your Creative Engraving Ideas Possible
To make professional-quality laser engraving earrings, choose the right laser technique (relief, marking, or cutting).
Selecting the best materials (acrylic, wood, metal, leather).
Using high-performance laser machines (UV for detailed designs, Fiber for metalworks).
Master these factors, and you can create unique, marketable earrings with precision, creativity, and efficiency.