Gold (Au) can be challenging to laser engrave because of its high reflectivity, high value, and wide range of alloys.
The good news is, with the right laser machine, optical setup and laser parameters, you can produce fine text, photographs, and other personalized details on gold jewelry.
This guide explains how to laser engrave gold, which laser is suitable, how gold composition affect the result, what settings to start with, and what to consider when choosing a gold laser engraving machine.
Can You Laser Engrave Gold?
Yes. Fiber laser engraving is commonly used for metal jewelry as they deliver high energy density [1], and MOPA fiber lasers offer additional pulse control, which can be useful on handling gold’s reflectivity [2].
How Much Gold Is Lost After Laser Engraving?
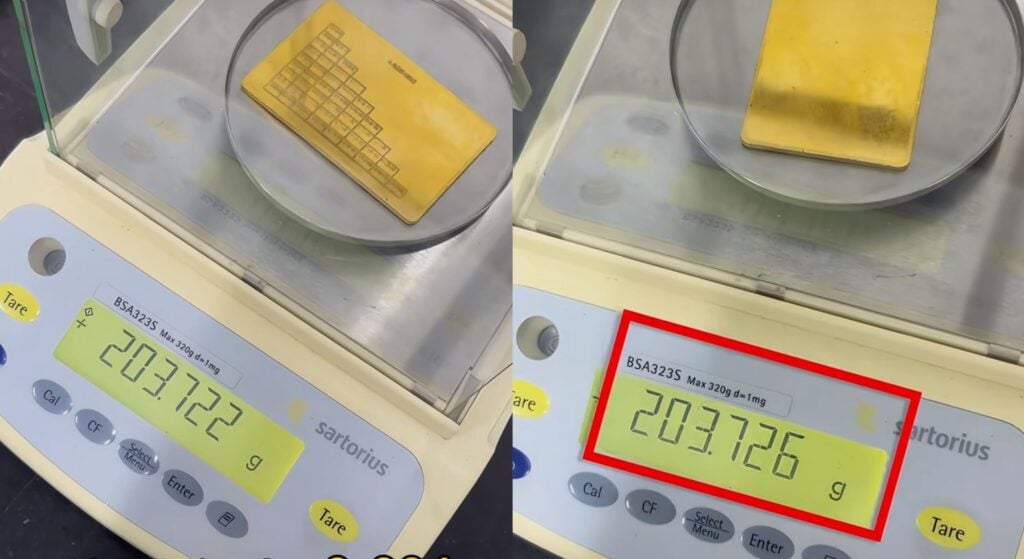
In a ComMarker test on a 24K gold sample, the engraved piece lost approximately 0.004 g of gold after processing, worth about $0.60 in 2026. Compared with traditional stamping or manual engraving, laser engraving offers higher cost-effectiveness, efficiency, and precision.
How Gold Purity and Alloy Composition Affect Laser Engraving
Jewelry gold is normally an alloy containing gold and other metals. This variation matters when developing laser parameters.
10K Gold
With about 41.7% gold and a higher proportion of alloying metals, 10K gold can produce strong-contrast marks for names and decorative designs. Due to its low gold content, the parameters of brass can be used as a reference point.
14K Gold
14K gold contains about 58.3% gold and is widely used in jewelry. It can produce clean, bright or darker surface effects. Different alloy formulations can respond differently, so parameter testing is recommended. Usually requires faster speed and lower power than 10K gold.
Higher-Karat Gold
18K, 22K, and 24K gold contain more gold and can be more challenging for their reflective surfaces. Use high speed and narrow pulse width and smaller power to prevent over melting.
Rose Gold
Rose gold typically contains more copper. It can produce permanent, contrasting marks, but excessive heat may affect the appearance of the surrounding surface. Start testing from low power and high speed.
Gold-Plated Jewelry
Laser processing can either mark the coating or intentionally remove it to expose the substrate. Because the plating thickness varies, depth control is critical. Always identify the base metal and test before engraving the finished piece.
Gold Laser Engraving Effects
Depending on the alloy, laser source, parameters, and surface condition, different settings can produce different visual effects.
Bright and White Marks
Carefully controlled laser parameters can create bright or light marks. The result depends strongly on the gold alloy and surface finish.
Dark and Black Marks
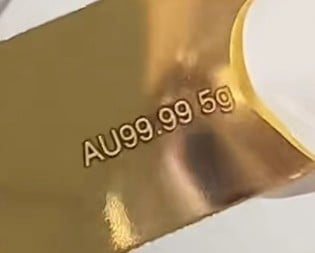
Laser engraving can produce dark or black marks on gold, creating strong contrast against the original gold surface. The higher the gold purity, the harder it is to create black marks.
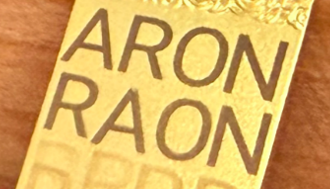
Photo Engraving on Gold
14K gold is generally a practical choice for photo engraving, offering a good balance of gold content and laser response. 10K gold can also work well. 24K gold is more challenging for its high reflectivity, while rose gold and platinum can work but require material-specific testing.
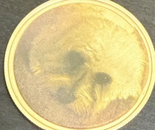
How to Laser Engrave Gold with a Fiber Laser
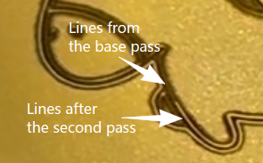
Why a Base Pass Can Help on Reflective Gold
Highly reflective gold can be difficult to process consistently. A base pass can alter the surface condition so that later passes interact more predictabe.
Dark-and-White Contrast Effects
A multi-pass process can create contrasting dark and bright areas on gold. The first pass establishes a dark base, while a second controlled pass is applied to selected lines to produce a brighter, white-looking finish. This can create high-contrast logos, decorative patterns, and fine details on gold jewelry.
How to Choose a Gold Laser Engraver for Business?
Choosing a good laser engraver for your business comes down to several key factors, including laser source, power, precision, optics, and rotary compatibility.
• Laser source: Check the manufacturer and model of the MOPA source. A reputable source with adjustable pulse width and frequency gives you reliable process control and a wider range of marking parameters.
• Power: Due to the high reflectivity of gold, you need sufficient laser power. 20W is capable for jewelry surface marking. However, if you need deeper marks, or higher production capacity, choose 30W or higher when it’s possible.
• Beam quality and precision: For jewelry, fine detail matters more than maximum power. Look for a stable optical system, accurate focusing, and a small, consistent focal spot.
• Lens options: Different field lenses provide different working areas and levels of detail. A 110 × 110 mm lens is a common choice for small jewelry and fine engraving.
• Rotary compatibility: If you plan to engrave rings, bracelets, or other curved pieces, make sure the machine supports a suitable rotary attachment.
• Software and control: Flexible parameter adjustment and compatibility with professional laser-marking software make it easier to test and reproduce engraving results.
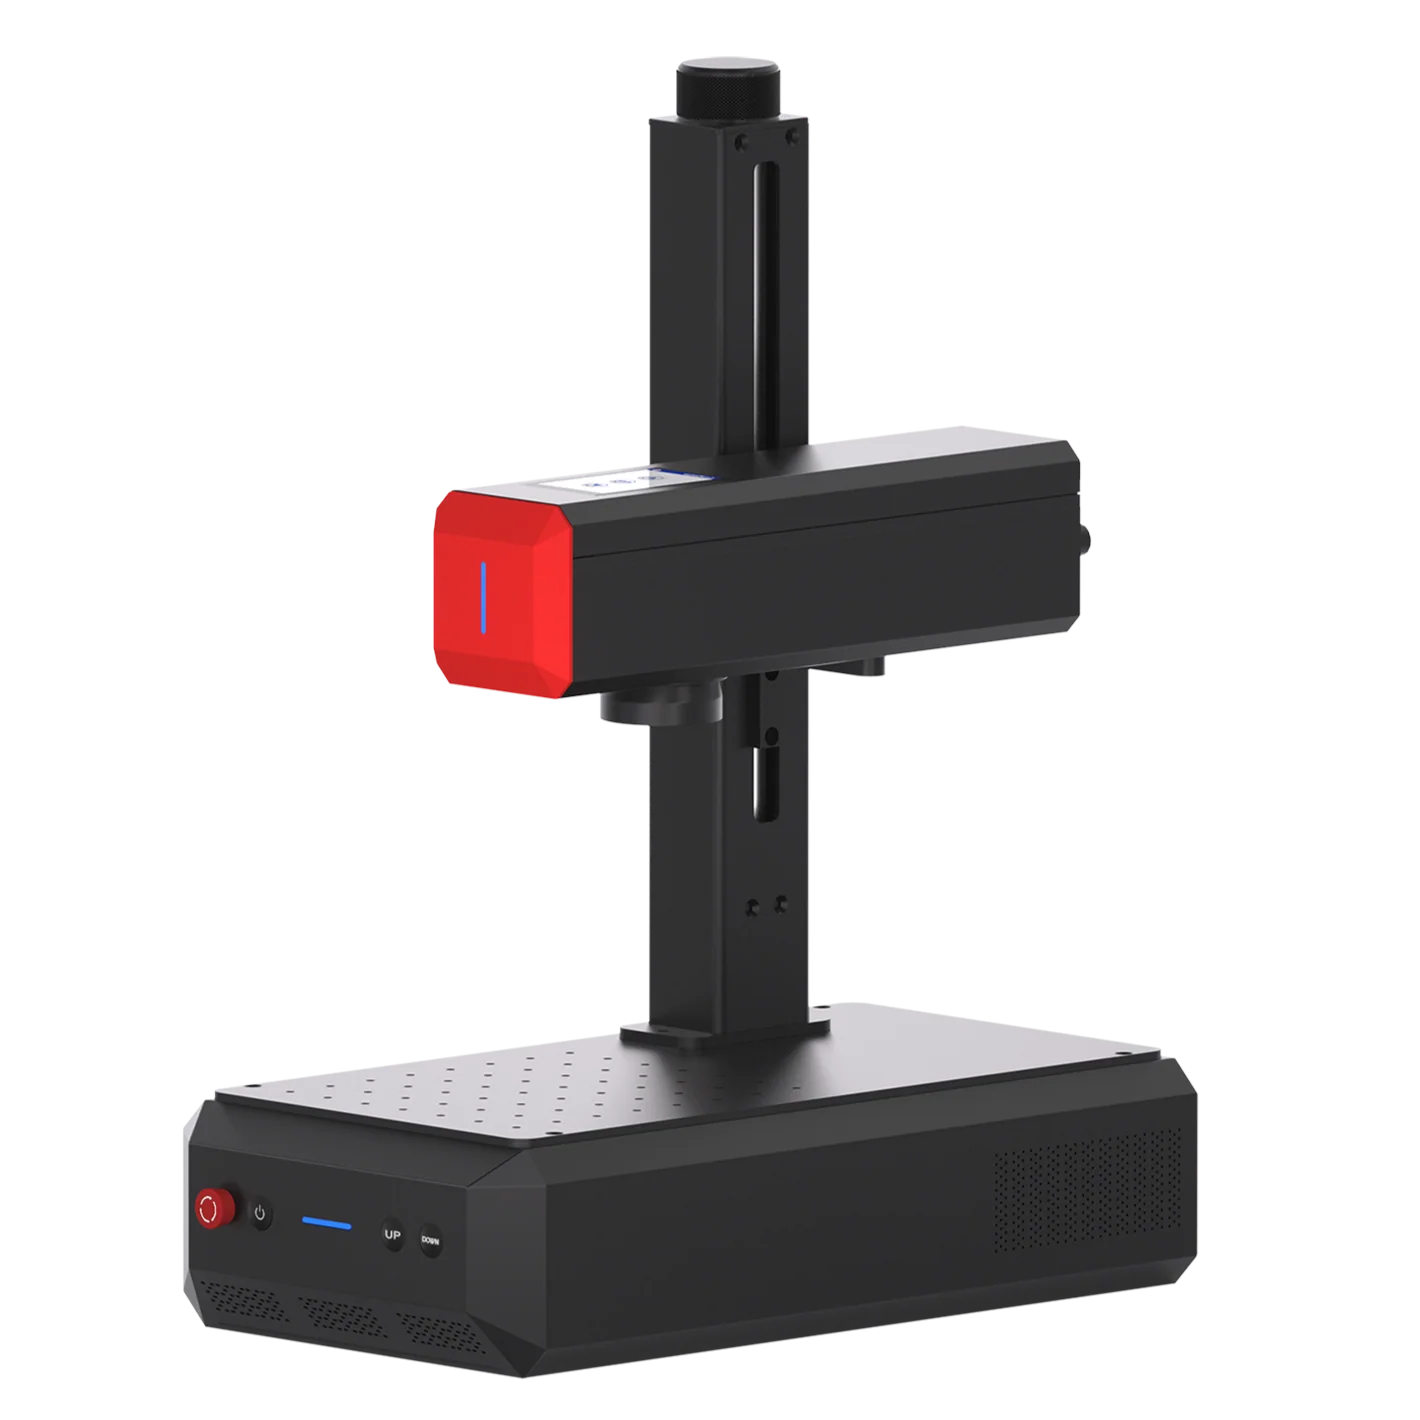
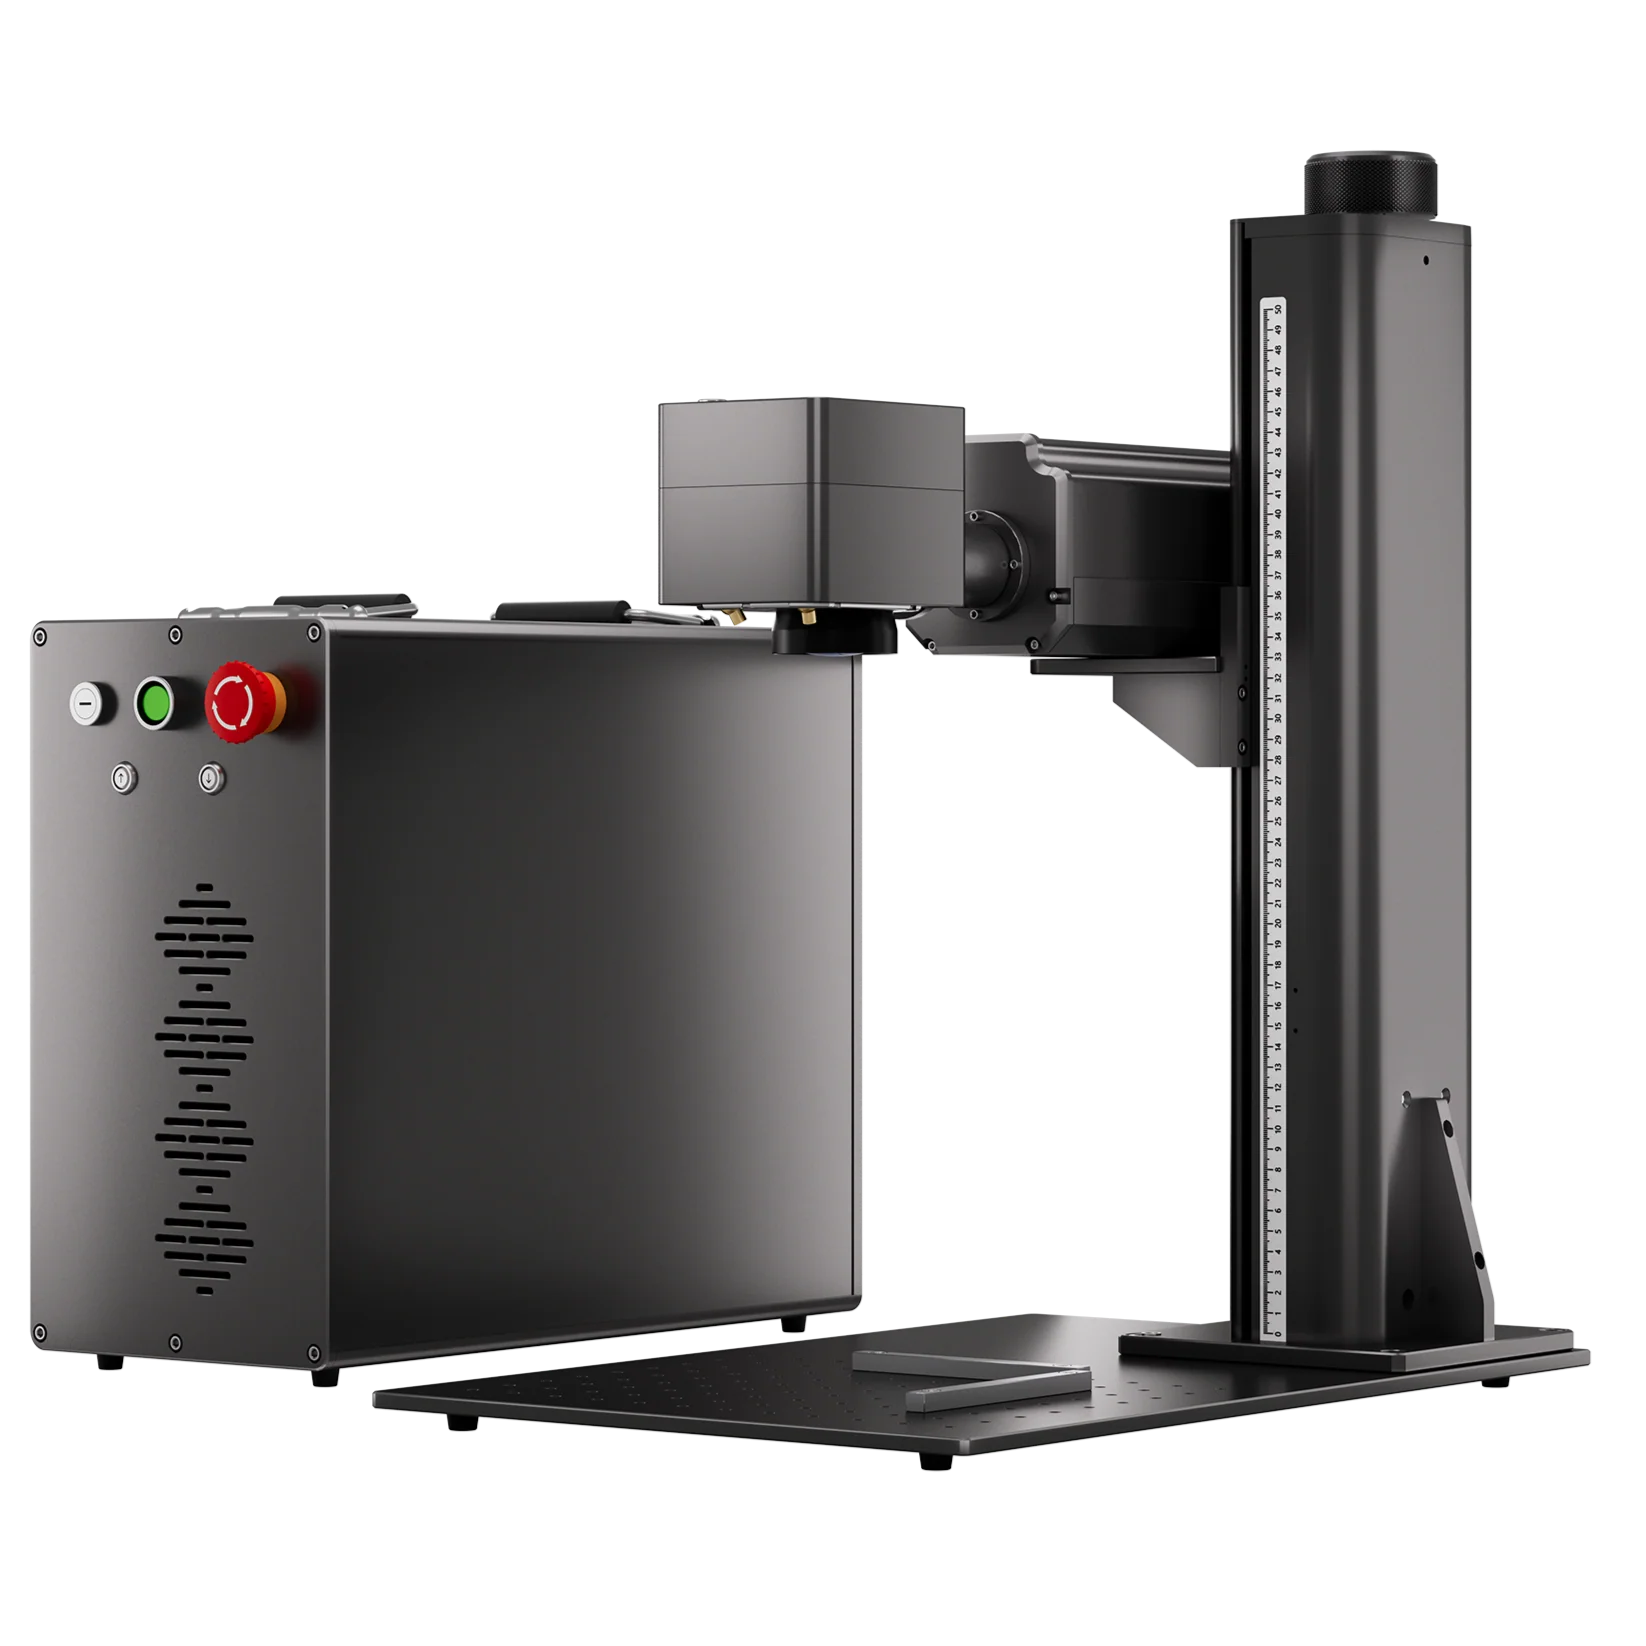
Why Choose ComMarker B6 MOPA for Gold Engraving?
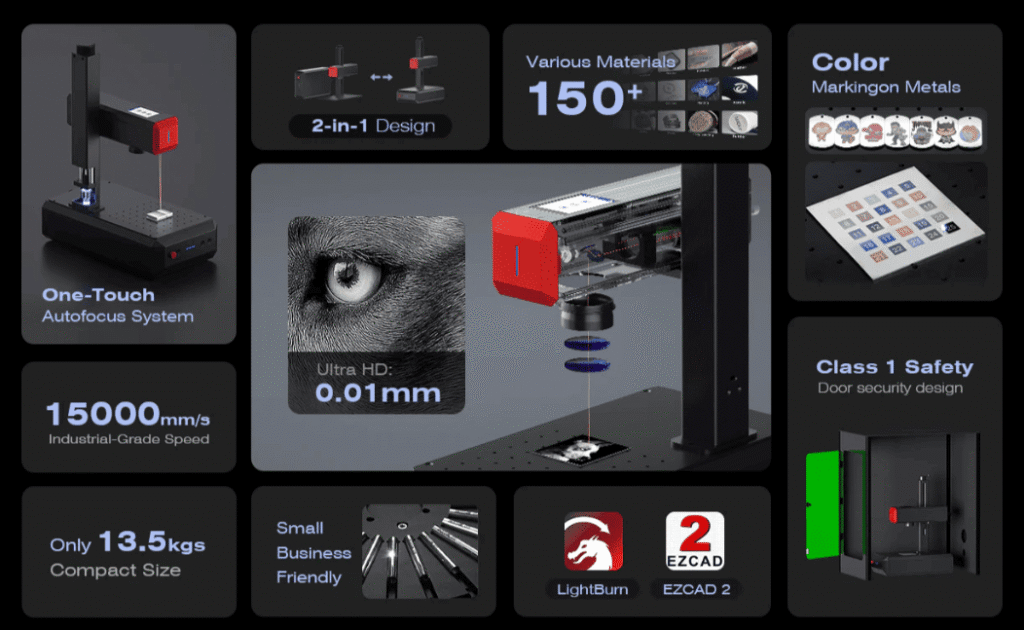
• 20W, 30W, and 60W options: choose the power level based on jewelry marking, deeper engraving, or production volume.
• JPT MOPA fiber laser source: adjustable pulse control capability from market leading laser brand.
• 0.01 mm spot size: supports fine text, logos, patterns, and detailed jewelry engraving.
• Up to 15,000 mm/s marking speed: useful for repeated personalization and production workflows.
• Rotary compatibility: support rings, bracelets, and other curved jewelry.
Step-by-Step Guide to Laser Engraving Gold
Step 1: Prepare the Gold Surface
Clean the gold to remove oil, dust, and other contaminants that could affect the engraving result. Secure the workpiece firmly and make sure the engraving area is positioned correctly under the laser.
Step 2: Set Up the Fiber Laser
Use a fiber laser suitable for metal marking and carefully adjust the focus. For small or detailed gold engravings, accurate focusing is more important than simply increasing laser power.
A 30W fiber laser with a 110mm lens can be used as a practical starting point for gold engraving.
Step 3: Run a Gold Base Pass
Because gold is highly reflective, start with a higher-energy base pass to prepare the surface for subsequent marking.
For example, one 30W fiber laser test used:
30W Fiber — Speed: 500 mm/s; Power: 40%; Frequency: 25 kHz
This base-pass setting is specific to the tested machine, lens, and gold samples. It should be treated as a starting reference rather than a universal setting.
Step 4: Run the Final Engraving Pass
After the base pass, apply the desired engraving effect using a lower-energy marking pass. Adjust speed, power, frequency, and line spacing according to the gold alloy and the desired result.
For example, the same 30W fiber laser test used a cleanup pass at:
30W Fiber — Speed: 750 mm/s; Power: 25%; Frequency: 45 kHz
Additional parameter sets can produce different visual effects, including brighter, darker, or more contrasting marks.
Step 5: Clean and Inspect
After engraving, gently clean the surface with a suitable jewelry-cleaning method and inspect the result under different lighting.
Check the contrast, edge definition, fine details, and surrounding surface. If the mark is too light, too dark, or lacks detail, fine-tune the speed, power, frequency, or line spacing and run another test.
Gold Laser Engraving Settings
|
Laser Type |
Power |
Speed |
Frequency |
Pulse |
Notes |
|
Fiber (30W B4 Non MOPA) |
90% |
1000 mm/s |
50 kHz |
— |
Line Space:0.025 mm |
|
Fiber (20W B6 MOPA 150mm lens) |
30% |
800 mm/s |
85 kHz |
1 |
Pulse width should not exceed 4 to prevent gold surface melting. |
How to Clean Gold After Laser Engraving
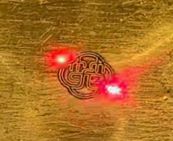
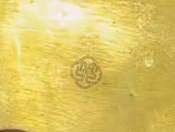
Laser engraving on gold can sometimes leave dark or scorched-looking residue around the engraved area, especially when excessive heat builds up. Several cleaning methods can help reduce these marks.
1.Wipe with Alcohol
Use a soft cloth or cotton swab with isopropyl alcohol to gently wipe the surface. This can remove residue and make light burn marks less visible.
2.Use a Rubber Eraser
For light surface residue, a clean, soft rubber eraser can gently remove discoloration without significantly affecting the surrounding surface. Avoid excessive pressure on polished jewelry to prevent deformation.
 |
 |
|
Before |
After |
Applications of Laser Marking Gold
Jewelry
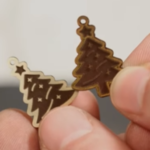
Laser marking is widely used for personalizing and identifying gold jewelry. Common applications include names, initials, dates, hallmarks, purity marks, manufacturer logos, serial numbers, decorative patterns, and photographs. Custom Wedding Ring, pendants, bracelets, charms, and other small jewelry pieces can be marked with fine details while maintaining a clean appearance.
Industrial Identification
Gold is also used in specialized industrial and electronic applications where permanent identification is required. Fiber lasers can mark serial numbers, part numbers, logos, codes, and other traceability information on gold components. The non-contact process allows precise marking without mechanical engraving tools.
Rotary Engraving
Curved gold surfaces such as rings and bracelets require additional positioning control. A compatible rotary attachment rotates the workpiece during marking, helping maintain consistent alignment around cylindrical or curved surfaces. This makes rotary engraving particularly useful for outer-ring engraving, bracelet marking, and certain inner-ring applications.
Final Thoughts
Laser engraving gold is achievable with the right fiber laser, optical setup, and tested parameters. For jewelry makers and small businesses, fiber lasers offer the versatility to create names, hallmarks, logos, decorative patterns, photographs, and deeper engravings on gold and other precious metals.
A 20W fiber laser is a practical starting point for many jewelry applications, while higher-power and MOPA fiber lasers provide greater processing capability and parameter control for more demanding work.
If you are looking for a reliable gold laser engraving machine, explore the ComMarker fiber laser lineup. From compact 20W systems to higher-power MOPA solutions, ComMarker offers fiber lasers designed for precise metal engraving, jewelry personalization, and professional production.
Ready to engrave gold? Explore ComMarker fiber laser engravers and find the right machine for your jewelry business.
Common Questions About Laser Engraving Gold
Can UV Laser Engrave Gold?
Yes. UV lasers’ 355 nm wavelength and small spot size make them suitable for precise marking with relatively low heat input. However, for the engraving depth required in jewelry processing, fiber lasers are generally the better choice. Gold is highly reflective, so sufficient laser energy and multiple passes are often required. A 30W fiber laser is a practical starting point for deeper gold engraving, while higher-power fiber lasers can improve depth and processing efficiency.
Can One Fiber Laser Engrave Gold, Silver and Platinum?
Yes. A suitable fiber laser can engrave gold, silver, and platinum, but each metal requires its own tested parameters. Even different alloys of the same metal may respond differently.
For jewelry workshops, a fiber laser with adjustable power, speed, frequency, and pulse settings provides the flexibility needed to work across different precious metals.
Can You Laser Engrave Gold-Plated Jewelry?
Yes, but determine what the surface layer is, how thick it is, what the base metal is, whether the customer wants to expose the base metal, and how deep the desired mark should be before engraving plated or filled jewelry.
With plated jewelry, the laser may remove or damage the gold layer and expose the underlying metal if too much energy is used.
Can a Fiber Laser Cut Gold?
Yes, but most desktop laser engravers do not provide enough power to cut gold efficiently, and material loss can be relatively high. However, thin gold sheets around 2 mm thick may still be worth testing. In practice, 10K yellow gold cut most easily, while 14K alloys showed more heat damage and deformation.
30W fiber laser gold cutting settings: speed 20 mm/s, power 90%, and frequency 25 kHz, wobble 0.001 mm × 0.001 mm.
Can Laser-Removed Gold Material Be Collected?
Yes, some of the material removed during laser processing can be captured and recovered with an appropriate extraction or collection system[3]. Choosing a suitable fume extractor and laser cover can help capture airborne particles while keeping the engraving workspace cleaner and safer.