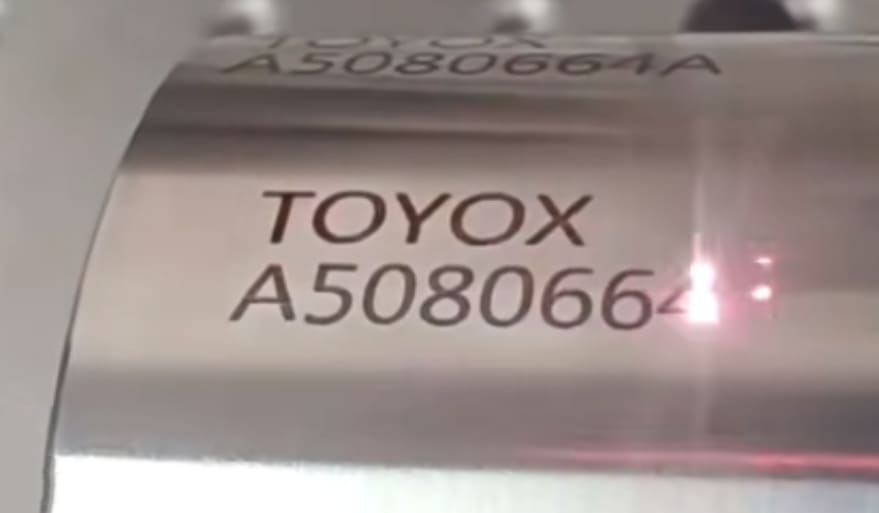
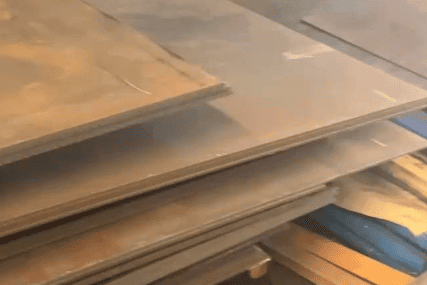
Carbon steel is one of the most common materials processed with fiber lasers. Used from industrial parts and machine tags to tools and branded products.
Getting consistent, deep engraving results is about laser power, material condition and parameter selection.
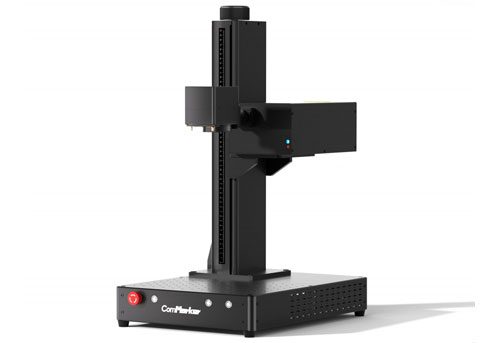
This guide explains how different carbon steel surfaces affect engraving performance and provides practical, field-tested starting settings for the ComMarker Titan MOPA Fiber Laser Engraver along with the science behind why these settings work.
Why Carbon Steel Condition Matters
Carbon steel is available in low-carbon, medium and high grades. Low-carbon steel absorbs laser energy more efficiently and often achieves greater depth with fewer passes. High-carbon steel may require additional passes or slightly higher energy density to reach similar engraving depth.
| Common Steel Grade | Carbon Level | Engraving Difficulty |
| A36,1018 | Low | Easy |
| 1045 | Medium | Moderate |
| 4140 | Medium-High | Harder |
Meanwhile, the surface condition (polished, rusted, painted, or coated) also determines success. Oils, oxidation, rust, and coatings all change how laser energy interacts with the steel.
| Surface Condition | Appearance | Engraving Difficulty | Recommended Action |
| Polished Steel | Bright, shiny, highly reflective | High | Increase energy density or use marking spray |
| Mill Scale / Light Oxidation | Dark gray factory finish | Easy | Usually engraves directly |
| Rusted Steel | Red or black rust | Medium | Remove loose rust first |
| Painted Steel | Colored coating | Medium-High | Remove coating before deep engraving |
| Galvanized Steel | Silver zinc coating | Difficult | Keep good ventilation |
How Deep Can Fiber Laser Engrave Steel
| Laser Power | Typical Engraving Depth |
| 50W | 0.05–0.15 mm |
| 100W | 0.15–0.4 mm |
| 200W | 0.5~1.2 mm+ |
Actual depth depends on material condition, hatch spacing, speed, and number of passes. For example, a 200w fiber laser can engrave 600mm² with 0.2mm deep in 2 min 45 sec. This means desktop laser engravers are capable of laser engraving carbon steel with touchable depth. For cutting, a laser cutter is preferred for efficiency.
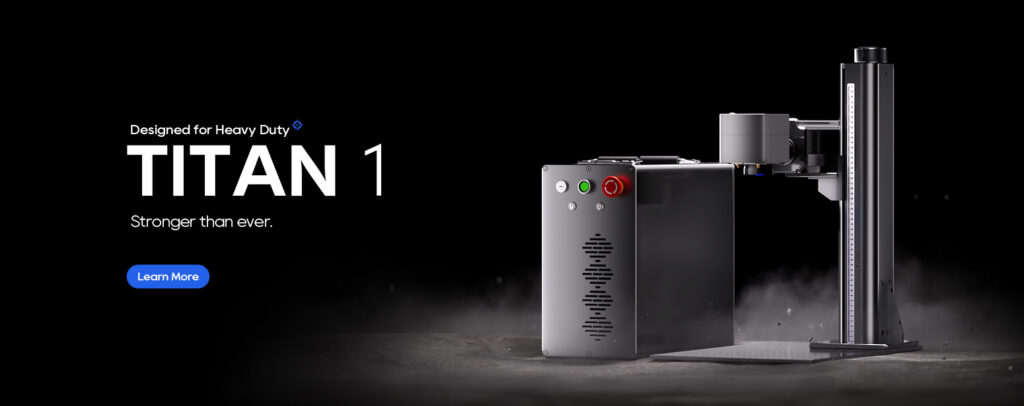
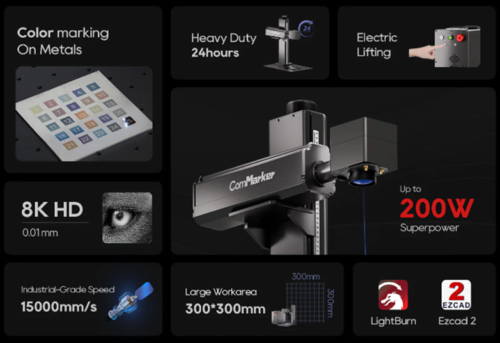
Why Choose the ComMarker Titan for Carbon Steel Laser Engraving:
- Enough output power up to 200W for faster material removal
- 0.01mm precision for detail marking
- Pulse control for deep engraving
- Reliable results on polished, oxidized, rusty, painted, and coated carbon steel surfaces
When paired with the right surface preparation and the right starting settings, the ComMarker Titan can produce clean, repeatable engraving results on many common carbon steel conditions found in workshops and industrial environments.
Fiber Laser Settings for Carbon Steel: General Rules
Before diving into specific settings below, here are the core parameters you can try with the adjustment principles.
Output Power Needed: 60W–90W
For effective deep engraving, start around 70 wattage and increase gradually. Full power might create slag buildup, excessive heat, and reduce engraving quality.
Speed: 100–300 mm/s
Deep engraving typically works better at slower speeds(100–150 mm/s), while shallow marking can be done at 200–300 mm/s.
Frequency: 10–50 kHz
Lower frequency means higher pulse energy per pulse, which helps with deeper material removal. Higher frequencies are better suited for fine, shallow marking.
Pulse Width: 100–270 ns (Critical for MOPA Lasers)
For carbon steel laser engraving, start with 200–270 ns. Longer pulse widths deliver more energy per pulse, increasing material removal rate. Shorter pulse widths (20–50 ns) are better for precise surface marking and color marking.
Fill Spacing (Hatch): 0.03–0.06 mm
For deep engraving, 0.03–0.04 mm is usually the best starting range. For lighter marking, 0.05–0.06 mm is often sufficient.
Scenario 1: Polished Carbon Steel
Mirror-polished carbon steel reflects a large portion of the laser energy. More energy is lost before it can be absorbed, making engraving difficult.
You may notice: Shallow engraving, excessive heat accumulation, melted or raised edges.
ComMarker Titan 100W MOPA Starting Parameters
| Setting | Recommended Value |
| Power | 80% |
| Speed | 150 mm/s |
| Frequency | 15 kHz |
| Pulse Width | 250 ns |
| Hatch | 0.04 mm |
Pro Tip: If depth is still insufficient:
- Add more passes
- Reduce speed slightly
- Lower frequency slightly
- Lower laser head to defocus toward 1.5 mm
If the mark appears too bright or white, increase power or reduce speed. If the surface melts or burrs appear, reduce power or raise speed.
Scenario 2: Mill Scale or Light Oxidation
This is often the easiest carbon steel surface to engrave. Compared with polished steel, mill scale absorbs laser energy more efficiently and heats more evenly, making consistent deep engraving much easier.
ComMarker Titan 100W MOPA Starting Parameters
| Setting | Recommended Value |
| Power | 70% |
| Speed | 200 mm/s |
| Frequency | 18 kHz |
| Pulse Width | 220 ns |
| Hatch | 0.05 mm |
This surface typically delivers the most stable engraving results with fewer parameter adjustments.
Scenario 3: Rusted Carbon Steel
Rust absorbs laser energy well, but thickness and condition matter. If rust is loose or flaky, remove it first. If the rust layer is thin and stable, it can sometimes be engraved directly. Uneven rust thickness means the laser may reach bare steel at different times across the work area, leading to uneven depth.
Recommended Workflow
Pass 1: Clean the Loose Rust
| Setting | Recommended Value |
| Power | 40% |
| Speed | 600 mm/s |
| Frequency | 20 kHz |
| Pulse Width | 150 ns |
| Hatch | 0.1 mm |
Pass 2–10: Perform Deep Engraving
| Setting | Recommended Value |
| Power | 60% |
| Speed | 250 mm/s |
| Frequency | 20 kHz |
| Pulse Width | 220 ns |
| Hatch | 0.05 mm |
Scenario 4: Painted Carbon Steel
Many users try to deep engrave painted steel in a single pass. In practice, the laser often spends most of its energy removing the coating rather than engraving the base metal. The better method: remove the paint first, then engrave the exposed steel.
Dark coatings absorb laser energy more efficiently, while light-colored or reflective coatings require more passes and slower speeds.
Paint Removal Pass (repeat until coating is removed)
| Setting | Recommended Value |
| Power | 45% |
| Speed | 800 mm/s |
| Frequency | 15 kHz |
| Pulse Width | 120 ns |
| Hatch | 0.05 mm |
Deep Engraving Pass
| Setting | Recommended Value |
| Power | 50% |
| Speed | 300 mm/s |
| Frequency | 15 kHz |
| Pulse Width | 220 ns |
| Hatch | 0.05 mm |
Scenario 5: Galvanized Carbon Steel
Galvanized steel has a zinc coating on top of the carbon steel. The laser must first remove the coating before reaching the base material.
If not removed first, you may see: Poor depth, surface bubbling, inconsistent engraving, unstable edge quality.
Whenever possible, remove the zinc layer before attempting deep engraving. If that’s not possible, expect slower processing and more test runs.
Note: keep good ventilation for zinc engraving.
ComMarker Titan 100W MOPA Starting Parameters
| Setting | Recommended Value |
| Power | 80% |
| Speed | 200 mm/s |
| Frequency | 10 kHz |
| Pulse Width | 250 ns |
| Hatch | 0.03 mm |
Final Takeaway
Before changing parameters, first identify the steel condition. If the surface is polished, increase power for reflection. If it is rusty, stabilize the rust. If it is painted, remove the coating first. If it is galvanized, expect more resistance and slower processing.
With ComMarker Titan and proper setting, laser engraving carbon steel becomes much easier, faster, and more consistent.