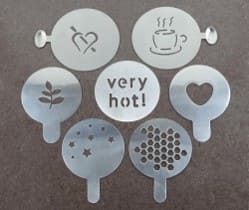
A stencil can help reproduce the same design across multiple surfaces, painting logos, product markings and decorating furniture.
A laser engraver can create clean, repeatable cutouts from suitable sheet materials which makes it possible to produce custom stencils fast and accurately.
The perfect laser cut stencils depend on the material, stencil size and laser engraver capability.
This guide explains how laser-cut stencils work, which materials are recommended, how to design one successfully, and when making a stencil makes more sense than engraving directly onto the workpiece.
What Is a Laser-Cut Stencil?
A stencil is a thin sheet containing cut-out areas that allow paint, ink, powder, or another medium to pass through and reproduce a design on another surface.
Instead of manually cutting the design with a knife or other tool, a laser follows a digital design file and cuts the selected material along precisely defined paths.
Laser cutting can reproduce intricate shapes and small details consistently while reducing human error, shortening processing time, lowering labor costs, and reducing material waste.
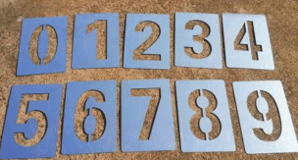
Best Materials for Laser-Cut Stencils
1.Mylar / Polyester Film
A popular choice for reusable stencils as it is flexible, durable, lightweight, and easy to clean. Different thicknesses are available for applications ranging from detailed craft work to industrial stenciling.
2.Paper and Cardstock
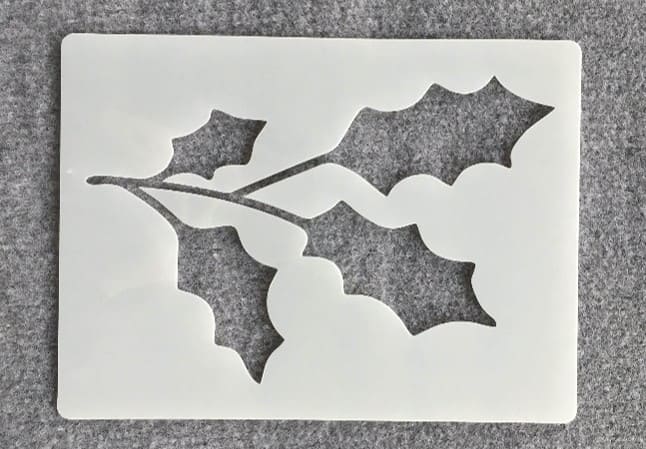
An inexpensive option for prototypes, one-time projects, and temporary decorations. It cuts quickly but is less durable for repeated use.

3.Acrylic, Metal, Wood, and Other Compatible Materials
These materials can provide more durable stencils for repeatable applications. The right choice depends on the required flexibility, durability, design detail, and laser compatibility. Always verify the material composition before cutting.
How Thick Should a Laser-Cut Stencil Be?
Thinner materials are generally more flexible and better suited to curved surfaces and fine details, while thicker materials provide greater rigidity and durability. However, thicker sheets can make fine cutting more difficult.
The design also matters. Narrow bridges and fine lines can break even when the material itself is durable. For 0.3 mm Mylar, we recommend keeping narrow stencil bridges around 1 mm or wider.
What Laser Engraver Can Be Used to Create a Stencil?
Most stencils use thin sheet materials, such as 0.1–0.3 mm Mylar, with A4 and A3 being common sheet sizes and many lettering or small designs around 25–100 mm in height.
This means you do not necessarily need a professional laser cutter. A laser engraver can also cut stencils when matched with the right material and settings.
The best choice depends on the material: fiber for metal, UV for fine details, and CO₂ for non-metal stencils.
Fiber Laser: For Metal Stencils
Fiber lasers typically use a 1064 nm wavelength and are primarily suited to metal processing. They are therefore the natural choice when you need a rigid, durable stencil made from a thin metal sheet.
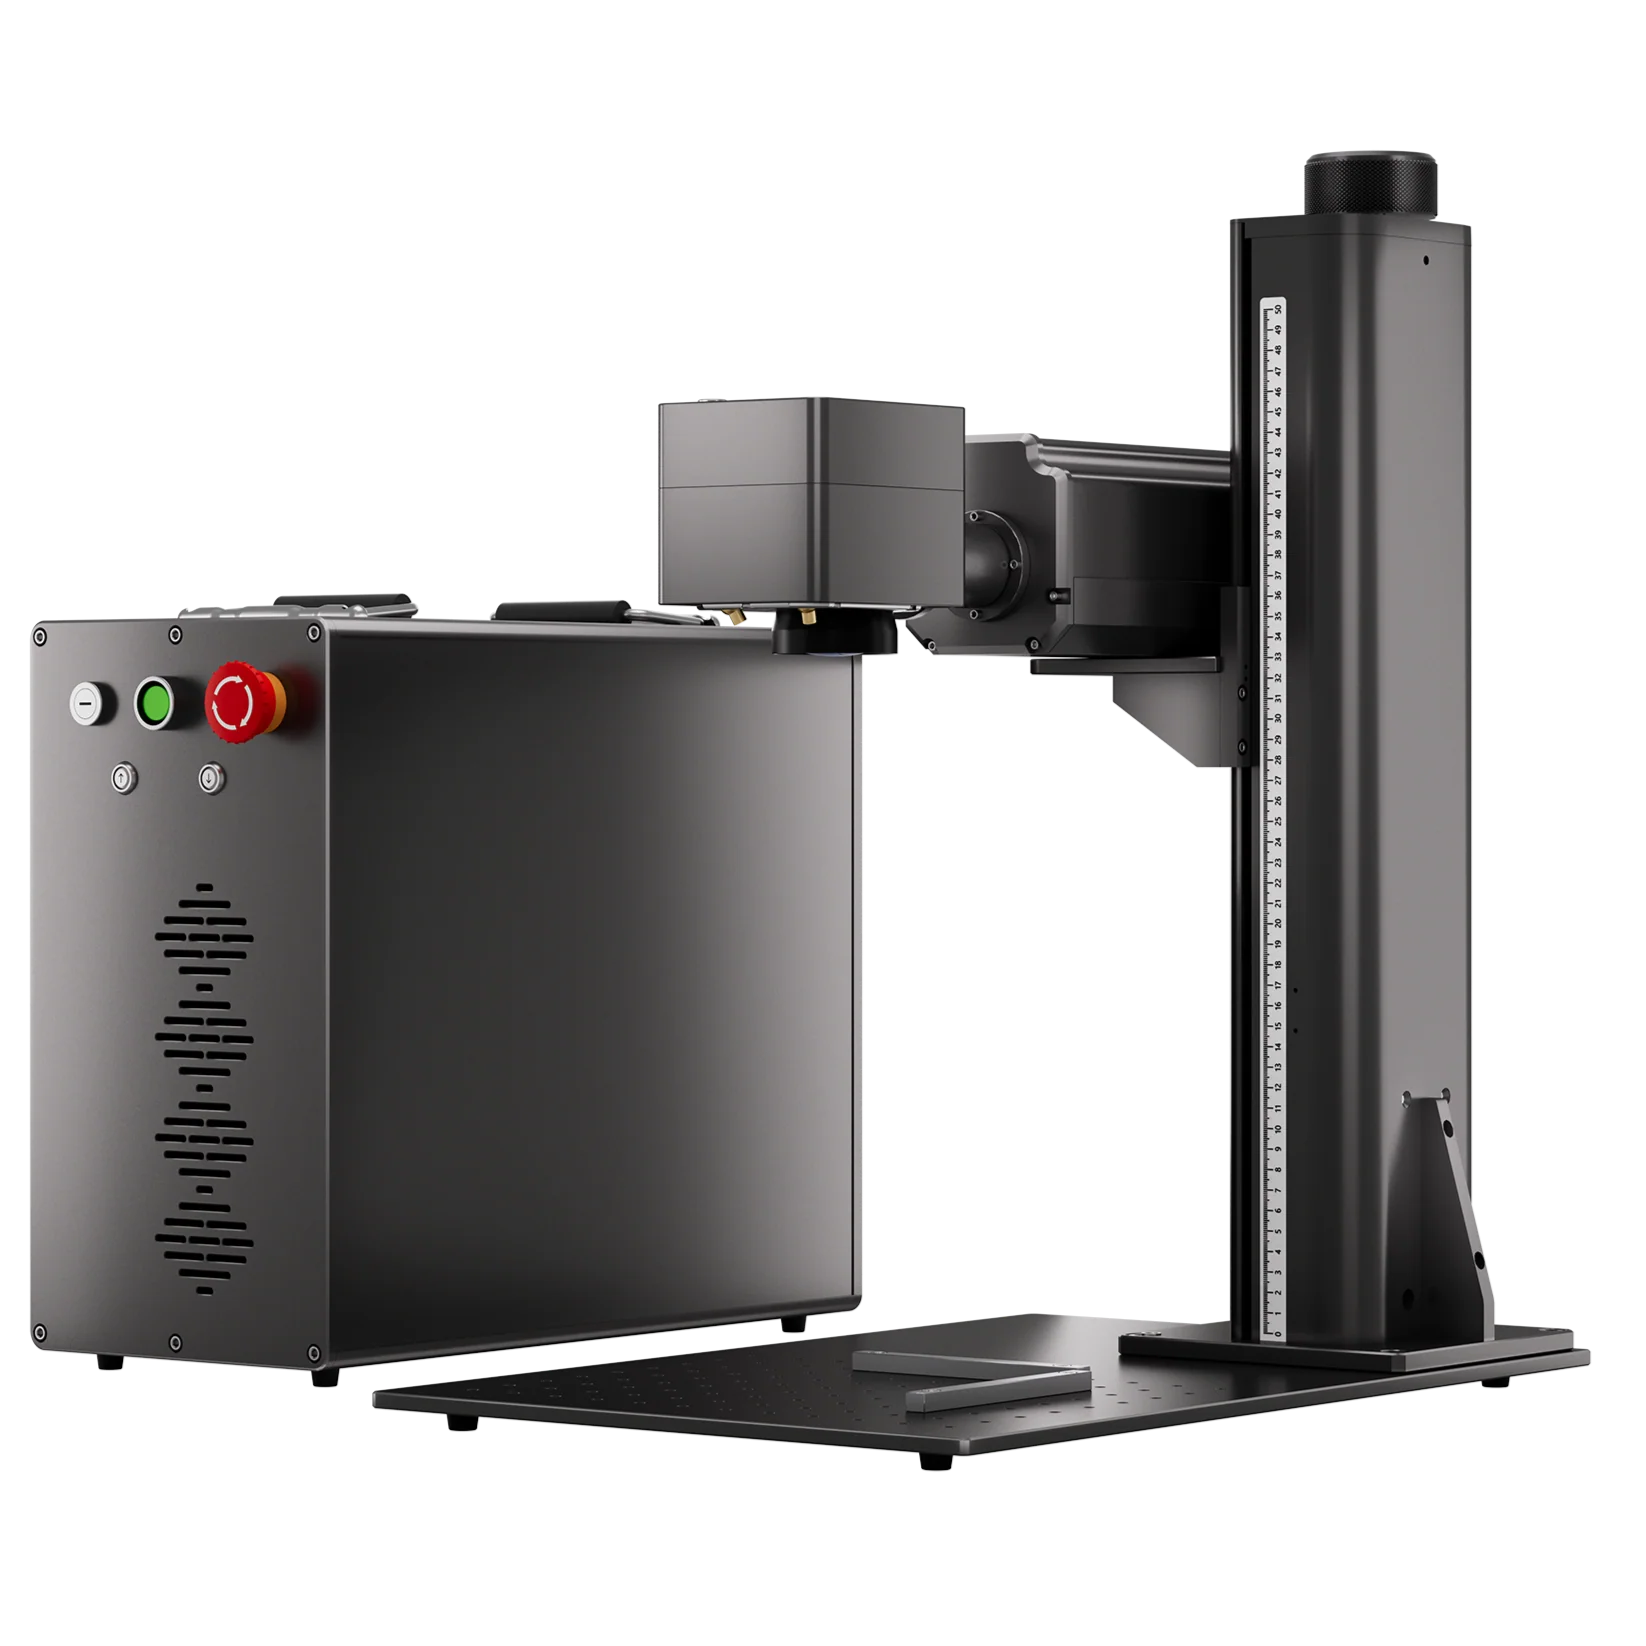
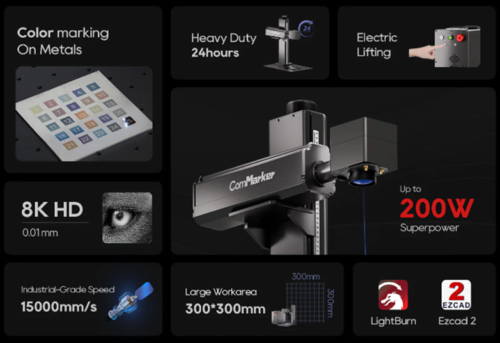
ComMarker Titan MOPA Fiber Laser Engraver
• Up to 200W laser power for up to 5 mm metal sheet cutting
• 300 × 300 mm Maximum engraving area
• Best for: Durable metal stencils
Limitation: Designed primarily for metal processing
UV Laser: For Fine, Detailed Stencils
UV lasers typically operate at 355 nm and are valued for their fine spot size and precise material processing. They can be useful when a stencil contains small openings, thin lines, or intricate patterns where cutting detail matters more than material thickness.
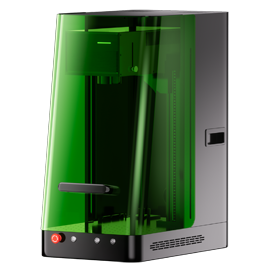
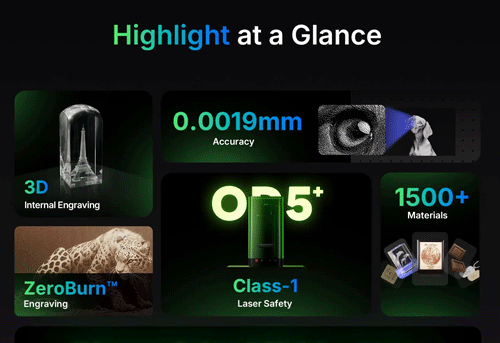
ComMarker Omni X UV Laser Engraver
• 0.0019 mm spot size for fine cutting details
• ZeroBurn™ technology for cleaner edges
• 6W: up to 150 × 400 mm with slide extension
• 12W: up to 250 × 400 mm with slide extension
• Best for: Detailed stencils on paper, plywood, and other compatible materials
Limitations: Can’t cut clear acrylic; cutting thickness is more limited than CO2 or fiber laser engraving machines.
CO₂ Laser: For Non-Metal Stencils
CO₂ lasers typically operate at 10600 nm and are widely used for cutting non-metal materials. They are particularly suitable for materials commonly used for stencils, including acrylic, wood, paper, plastic, and fabric.
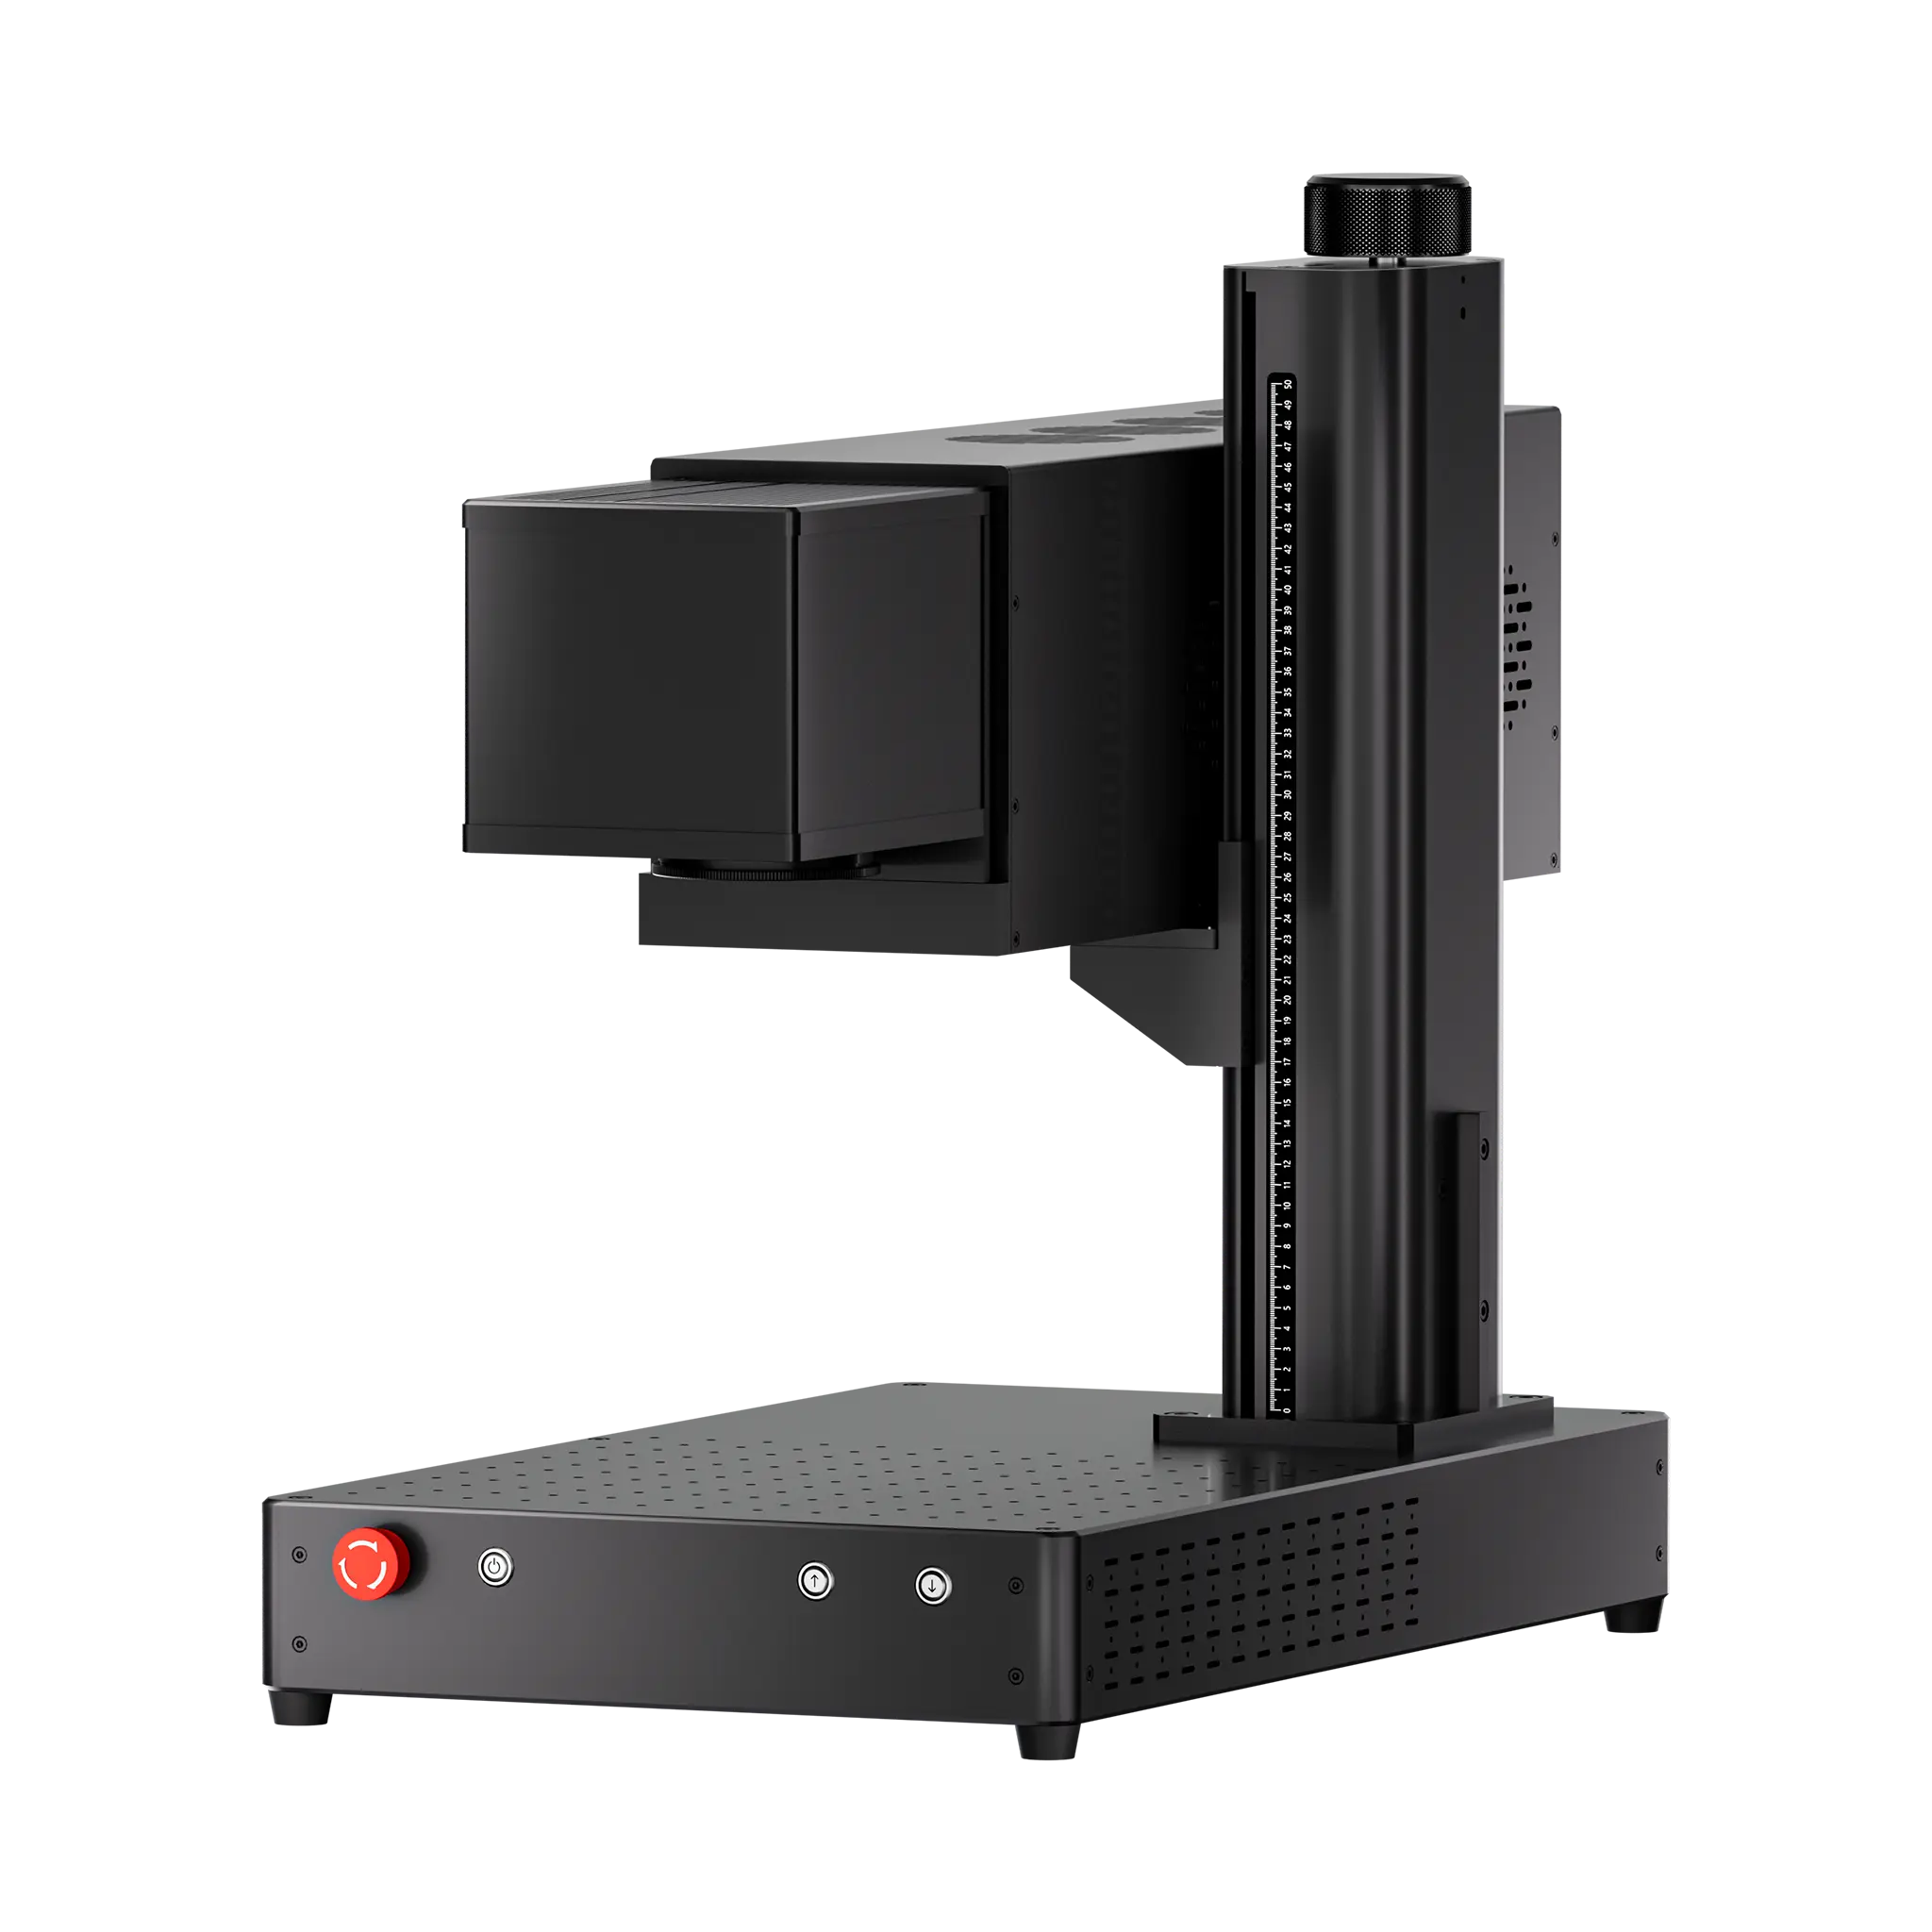
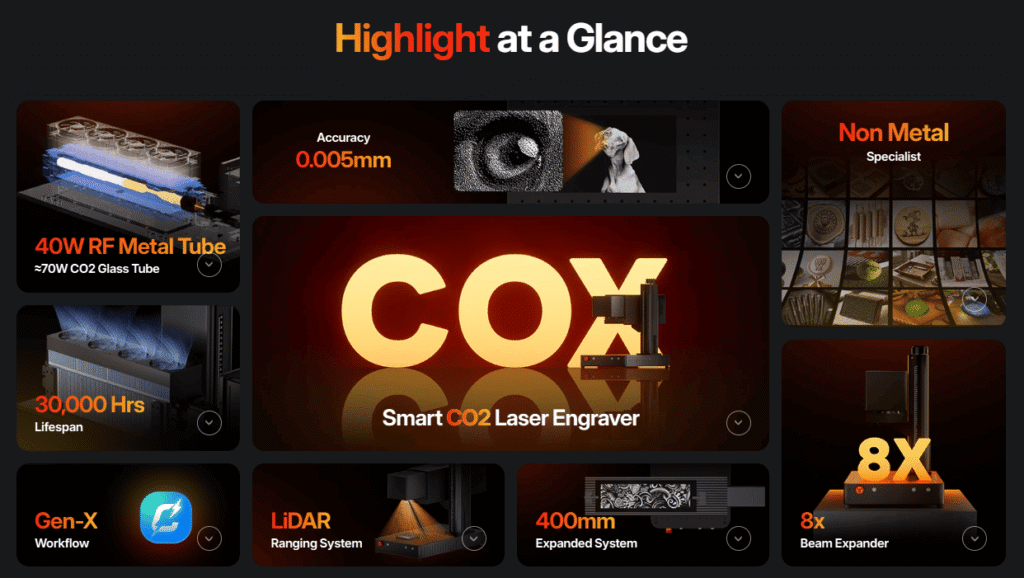
ComMarker COX RF CO2 Galvo Laser Engraver
• 15,000 mm/s max fast engraving speed
• 0.005 mm spot size for precise cutting
• Up to 200 × 400 mm with slide extension
• Best for: Fast cutting on acrylic, plastic, wood, paper, and other compatible non-metals
Limitation: Can’t cut bare metal
Quick Check: Laser Engraver Options for Different Stencil Materials
|
Stencil Material |
ComMarker Titan MOPA Fiber Laser Engraver |
ComMarker Omni X UV Laser Engraver |
ComMarker COX CO2 Laser Engraver |
|
Mylar / Polyester |
× | ✓ | ✓ |
|
Acrylic |
× | Weak | ✓ |
|
Paper / Cardstock |
× | ✓ | ✓ |
|
Wood / Plywood |
× | ✓ | ✓ |
|
Plastic |
× | Weak | ✓ |
|
Metal |
✓ | Weak | × |
* Processing results depend on the specific material, thickness, and laser configuration. Always test the material before production.
How Do Laser-Cut Stencils Work?
Step 1: Make the Design Stencil-Ready
Vector graphics define designs as paths and shapes, allowing the laser to follow precise cutting paths. ComMarker Studio supports common Vector formats including PLT, DXF, AI and SVG for professional workflow.
Look for any enclosed or disconnected areas that would fall out after cutting, such as the centers of A and 4.
Add small bridges between these areas and the main body of the stencil. These bridges leave a small section uncut, keeping the internal pieces attached after the cutting process. In ComMarker Studio, you can use Draw → Boolean → Subtract Top to create the bridge.
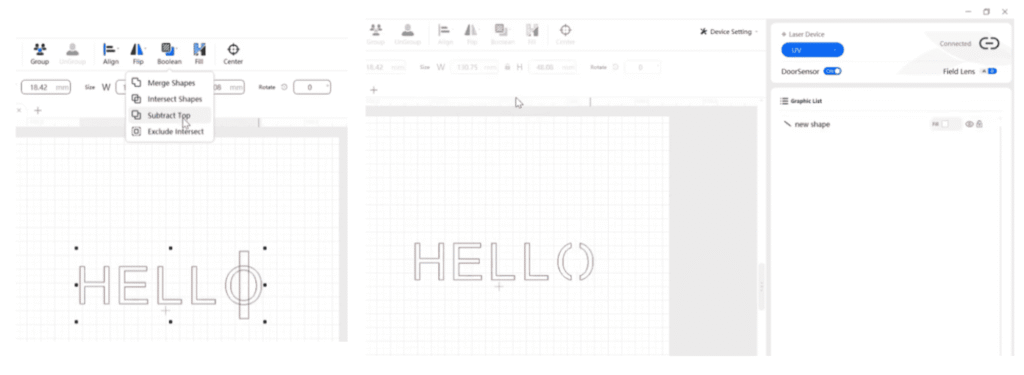
Keep kerf in mind when precision is needed. The laser removes a small amount of material along the cut path, so the final opening may differ slightly from the original size. Extend the design for this difference if necessary.
Step 2: Import the File into Your Laser Software and Size Your Design
Check your machine’s available working area. For larger designs, consider dividing the stencil into sections that can be aligned during application.
Step 3 Place your Material and Set the Cutting Parameters
Set the appropriate speed, power, and number of passes according to your laser, material, and material thickness. You can do a material test to find the best combination of cutting fast and prevent charring.
Secure the material with a sheet holder to prevent the material from shifting, curling, or lifting during cutting. This is especially important for metal cutting.
A preview can help reveal disconnected shapes or other problems before you use any material.
Step 4: Cut and Clean the Stencil
After cutting, remove the stencil from the bed and clean unwanted cutouts.
Can You Make Money Selling Laser-Cut Stencils?
Yes. Laser-cut stencils can be used wherever the same design needs to be applied repeatedly. From food decoration and clothing to wall art and industrial marking, a reusable stencil makes it easy to reproduce logos, patterns, text, and other designs with consistent results.
|
Industry |
Typical Stencil Applications |
|
Food & Beverage |
Coffee and latte art, cake and dessert decoration, cocoa or powdered-sugar designs |
|
Fashion & Textiles |
T-shirt and tote-bag printing, fabric decoration, custom patterns |
|
Art & Decoration |
Graffiti, wall murals, canvas painting, furniture decoration |
|
Industrial |
Warning signs, equipment identification, floor markings, welding and positioning guides |
|
Packaging & Logistics |
Logos, shipping marks, product codes, and text sprayed onto boxes and crates |
|
Automotive |
Vehicle graphics, part identification, and spray-paint patterns |
Final Thoughts
Laser-cut stencils are a simple way to turn a digital design into a reusable template for painting, decorating, marking, and other applications. The key to a successful stencil is choosing a material and laser that match the job.
For metal stencils, the ComMarker Titan provides the power and working area needed for durable metal templates.
For fine-detail work, the ComMarker Omni X combines a 0.0019 mm spot size with ZeroBurn™ technology for precise, clean cuts on compatible materials.
For larger non-metal projects, the ComMarker COX offers fast cutting of materials such as acrylic, plastic, and wood.
With the right material, design, and laser settings, a single stencil can become a practical tool for everything from coffee and cake decoration to clothing, wall art, packaging, and industrial marking.
Related Articles:
 Creative Christmas Laser Engraving Ideas to Boost Your Small Business Holiday Sales
 How One Small Business Boosted Productivity 40% with the Omni 1: A Glass Engraving Success Story
 Why a Laser Engraver is the Smart Choice for Corporate Gifting
 Laser Guide for Nail Art: Easy Way to Mark Press-Ons & Make Stamping Plates