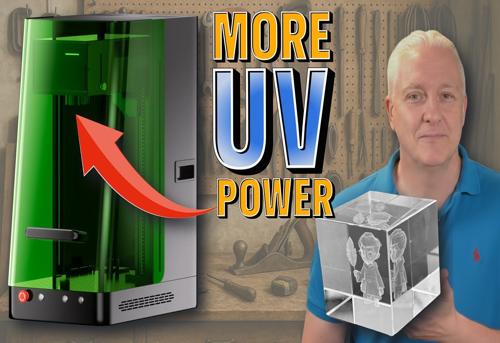
Can a UV Laser Engraver Really Engrave All That? I Tried It.
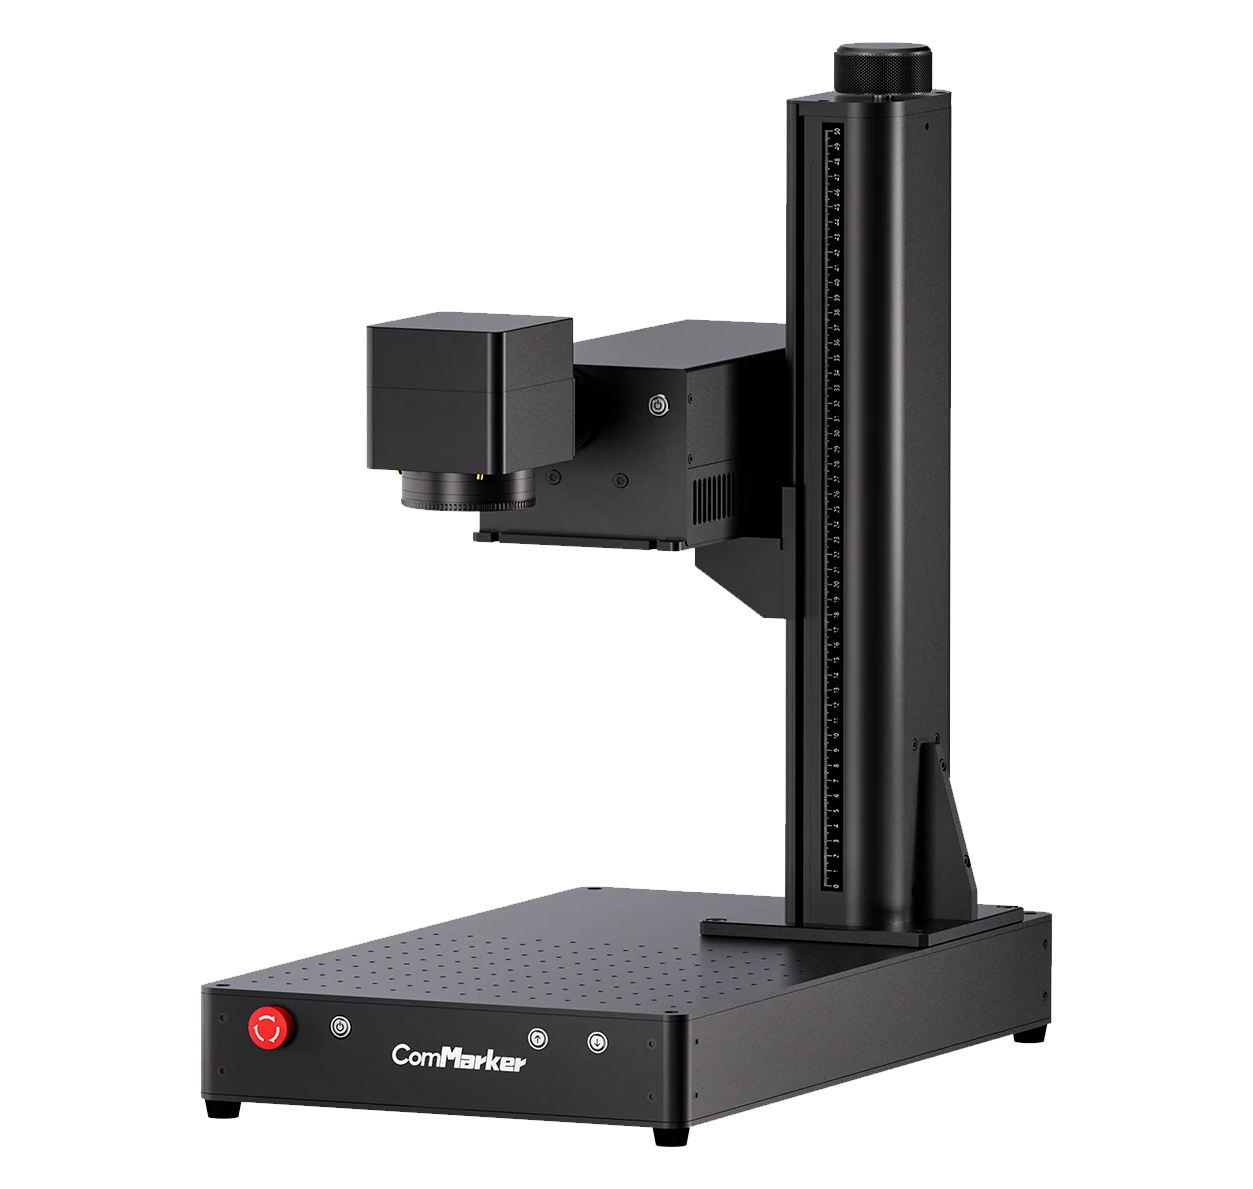
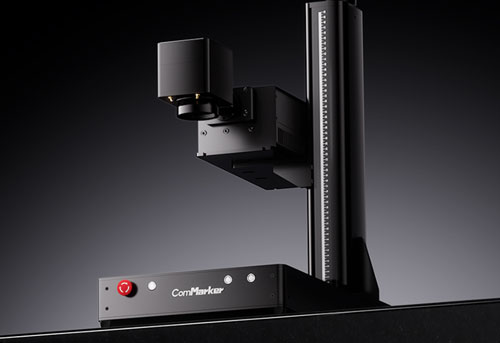
If you’re like me and just got into laser engraving—or you’re considering buying your first laser engraver—you’ve probably wondered: What can I actually engrave with it? I asked myself the same question, especially after getting my hands on the ComMarker Omni 1, a UV laser engraver with a serious reputation.
Instead of reading endless specs and watching promo videos, I decided to test it myself. I engraved my TechNapa logo on everything I could find—plastic, glass, bamboo, acrylic, metal, even a LEGO brick.
Here’s what I found (spoiler alert: this thing surprised me).

#1: Ceramic Tile
Settings:
- Speed: 1000 mm/s
- Power: 80%
- Frequency: 40 kHz
- Pulse Width: 15 ns
- Line Spacing: 0.003
- Mode: Fill
- Passes: 1
The first result? Discreet but effective. After adjusting to 750 mm/s and doing 10 passes, the mark got much deeper and clearer. I later tried 250 mm/s—still not drastic improvement—but once I painted the tile and engraved over it, the contrast was beautiful.
Pro Tip: For more contrast, spray paint the tile black first.

#2: Resin Print Fail
Used parameters meant for silicone (since resin wasn’t on the list). Surprisingly, the result was sharp and legible. No discoloration or melting.
If it’s a failed print, test on it!

#3: Cardboard (White and Brown)
The white cardboard took multiple passes for visible marks. One pass barely showed anything. On Amazon-style brown cardboard, though, even one pass showed a nice white mark. Three passes gave a deeper, brownish finish.
Use brown kraft board for cleaner results with fewer passes.

#4: Colored Acrylic Plate
Using the preset for colored acrylic, the laser cut through beautifully with strong contrast. UV lasers really shine on acrylic.
Acrylic is one of the best materials for UV laser detail.

#5: Baseball Cap (Plastic + Fabric)
On the plastic button top: no problem. The logo came out clean. On the fabric (black cotton preset), it marked—but not boldly. Think “discreet logo in the corner” levels of contrast.
Plastic parts engrave well, fabric needs careful settings.

#6: Bamboo Cutting Board
I used the “bamboo” preset. It took longer than expected but came out sharp, no burning at all. The laser removed just the top layer cleanly—perfect gift potential.
No burn marks, just clean, classy etching.

#7: Pencil (Wood)
Tried the walnut and cork presets. Walnut worked better, but slightly overpowered it. Bamboo setting gave a better balance.
Wood burns fast—lower power or faster speeds help.

#8: Chrome Wrench
Used “stainless steel” preset. Mark was shallow but clearly visible—great for ID tools.
Yes, you can mark your tools without damage.

#9: Faux Leather
Used the leather preset. Result: bold and visible. Edges stayed clean.
Even imitation leather handles laser well.

#10: Painted Slate
Used stone settings. Crisp, deep engraving after painting it black. Impressive detail.
Painted stone plus UV laser equals great contrast.

#11: LEGO Brick (ABS Plastic)
Tiny surface? No problem. Used the ABS setting, scaled the logo down, and it marked clearly.
Yes, you can engrave a LEGO. Just don’t laser your whole collection.

#12: USB Drive (Red Plastic)
Red plastic USB, engraved like a charm. High-contrast white mark stood out perfectly.
Tech meets personalization.

#13: Glass Board
Laser parameters for glass worked perfectly. Despite scratches, the mark was precise and permanent.
Great for testing before you commit to glass gifts.

#14: Electronic Device Housing (Red ABS)
ABS settings worked just as well as with the LEGO. Clean, detailed result.
Ideal for labeling projects or prototypes.

#15: Painted Metal
Even without knowing the exact metal type, using the painted metal preset worked. Took ~40 seconds with multiple passes.
Painted coatings engrave easier than raw metal surfaces.

#16: Scratch-Off Paper
Used paper preset. Marked without peeling the scratch layer too much. Fun for customizing scratch cards!
Laser meets lottery ticket vibes.

#17: Coil Sticker Surface
I engraved a label onto the smooth top of a wire coil—perfect for labeling spools. The finish was crisp and professional.
Great for organizing DIY components.
Is the ComMarker Omni 1 UV Worth It?
After trying this wide variety of materials, my answer is: Absolutely yes. The ComMarker Omni 1 UV laser engraver handled everything I threw at it with minimal fuss. The presets worked in most cases, and where they didn’t, slight tweaks gave me beautiful results.
Do I wish UV engraving were cheaper? Sure. But if you need something versatile and clean—without scorching or burning—this tech is worth the investment.
25 Surprising Materials You Can Engrave with a UV Laser Engraver
Can a UV Laser Engraver Really Engrave All That? I Trie…
Who Should Get a UV Laser Engraver?
If you want to:
- Mark glass, plastic, ceramic, or acrylic
- Avoid burn marks from CO₂ lasers
- Personalize tools, gifts, or electronics
- Offer professional-grade engraving with no smoke
…then a UV laser like the ComMarker Omni 1 might be your new favorite tool.
Check out the ComMarker Omni 1 UV Laser Engraver here: commarker.com
Bonus: Tips for Better Engraving
- Don’t skip framing and focus checks.
- Try painting or masking for better contrast.
- Use the correct material presets—then tweak.
- Keep a spreadsheet of your favorite settings.
- Always test on scrap material first!