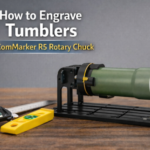
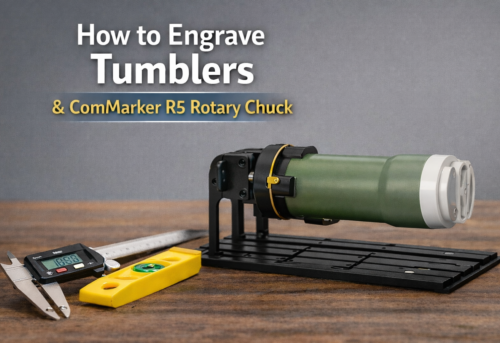
Engraving balls is a unique challenge, especially when dealing with curved surfaces. Whether you’re engraving a baseball, golf ball, or any other spherical object, the ComMarker R5 Rotary Chuck can help you achieve precision and accuracy. The ComMarker Omni X/XE UV laser engraver is the perfect tool for engraving spherical objects, and this guide will show you exactly how to use the rotary chuck for this purpose.
Step-by-Step Guide for Ball Engraving:
-
Prepare Your Ball:
-
Measure the ball’s diameter using a vernier caliper. Accurate measurements are essential for ensuring the engraving fits correctly.
-
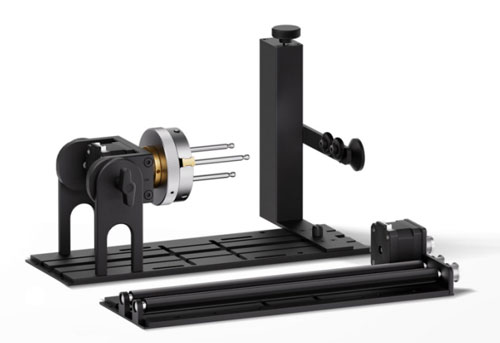
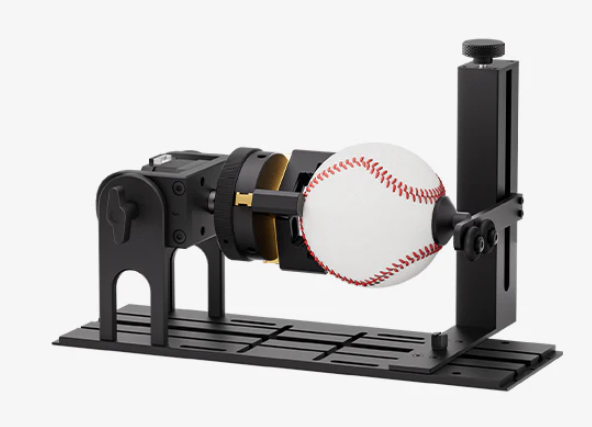
Secure the ball to the ComMarker R5 Rotary Chuck. The chuck provides a stable platform for spherical objects, but you may need a tail support bracket to keep the ball steady during the engraving process.
-
-
Adjusting the Position:
-
Place the ball on the chuck and tighten the screws at the bottom of the support bracket to hold the ball in place.
-
Use the Focus function in the software to ensure that the laser head is set to the correct focal length. Adjust the Z-axis if necessary for optimal focus.
-
-
Setting Up the Design:
-
Import your engraving design into ComMarker Studio. Whether it’s a logo, text, or custom artwork, the software makes it easy to import and adjust designs.
-
Rotate the design if needed and adjust the size to fit the ball’s curvature. This step ensures that the design won’t be distorted when engraved onto the spherical surface.
-
-
Preview and Fine-Tuning:
-
Use the Preview function to check the positioning of the design on the ball. Adjust the position if necessary to make sure the design is aligned properly.
-
For better accuracy, use the preview feature to visually inspect the positioning before beginning the engraving process.
-
-
Engraving the Ball:
-
Once everything is properly aligned, click Start to begin engraving. The ComMarker R5 Rotary Chuck makes the engraving process smooth and efficient, ensuring that the ball stays in place during the entire operation.
-
Depending on the size and complexity of the design, you may need to perform multiple passes for the best results.
-
-
Finishing the Engraving:
-
Once the engraving is complete, loosen the chuck and support the ball with one hand while removing it carefully to avoid any damage.
-
Clean off any dust or debris from the engraving and inspect the ball for any imperfections.
-
Conclusions:
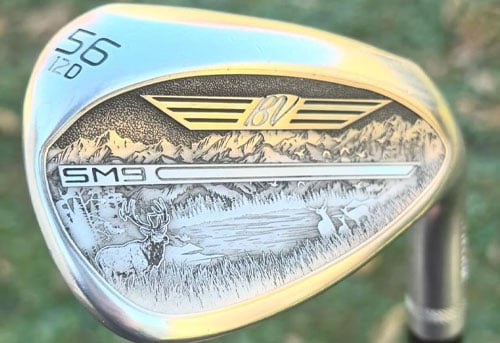
By following these steps, you can easily engrave custom designs onto balls, whether they’re for sports, promotional purposes, or personal keepsakes. The ComMarker R5 Rotary Chuck ensures that your engraving is precise and professional every time.