Just received a knife engraving order, but not sure where to start? Or did your last engraving come out too light, too dark, too deep, or difficult to read?
Knife blades can be laser marked, deep engraved, drilled or cut. Knife handles made from wood, leather, or certain plastics can be laser engraved with text, logos, patterns, and other decorative details,
This guide explains how to laser engrave a knife, how to test your settings, and when Fiber, MOPA Fiber, UV, or CO₂ lasers are suitable.
Before You Laser Engrave a Knife
Before changing any laser settings, check these elements that can affect the result.
Check the Knife Surface
Identify the blade material and finish before testing. Stainless steel, carbon steel, coated blades, and other metal surfaces can respond differently to laser energy.
Also check whether the area you want to engrave is flat, beveled, or curved. A small folding knife may have only a narrow section of usable surface, while a larger fixed blade gives you much more room for artwork.
Secure and Level the Knife
Fix the knife firmly so it cannot move during engraving. More importantly, position the actual engraving surface level. A few millimeters of usable surface can make a major difference when the artwork contains very small text. Use a jig or Flexible Fixture for stable positioning.
Set the Focus for the Desired Result
For small text and fine details, accurate focus helps produce sharper, more readable marks.
For deep engraving, accurate focus concentrates energy for more effective material removal.
For dark or black marking, slight defocus can sometimes create a broader, more even result. However, this is highly material and laser dependent, so test the effect before applying it to the finished knife.
Check Artwork and Placement
For image-based designs, check whether the artwork needs to be inverted, as inversion can change the final positive or negative visual effect.
For very small graphics, do not rely only on camera preview (if you have one). Frame the design and verify its actual position on the blade.
Test on Spare Material First
Different knives may use different steel grades, alloys, coatings, and surface finishes, so settings that work on one material may not work on another knife. Test the same or representative material first.
If the blade is coated, identify the coating and test whether you want to mark the coating itself, remove it, or reveal the metal underneath.
Knife Blade Laser Engraving Guide: Marking, Deep Engraving, Cutting & Relief
There are four common ways to laser process a knife blade: surface marking, deep engraving, laser cutting, and relief engraving.
In the following sections, we’ll explain what each process can create, how it is done, which laser is suitable, and when to choose Fiber or UV based on the desired result.
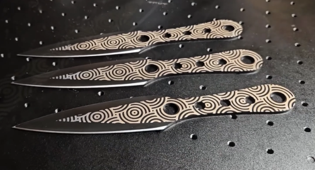
1. Surface Marking: Logos, Names, Codes & Fine Graphics
Surface marking is the simplest and most common knife laser engraving application.
The goal is usually a clear, permanent visual mark rather than significant material removal.
How to Laser Mark a Knife Blade
1.Run a small test pattern using representative material.
2.Secure the knife and position the engraving surface at the correct focus.
3.Place and preview the artwork within the usable flat area.
4.Adjust speed, power, frequency, hatch, line interval or focus according to the required appearance.
5.Start the engraving and clean the blade and evaluate the final contrast, sharpness, and readability.
Should you Choose Fiber or UV for Knife Surface Marking
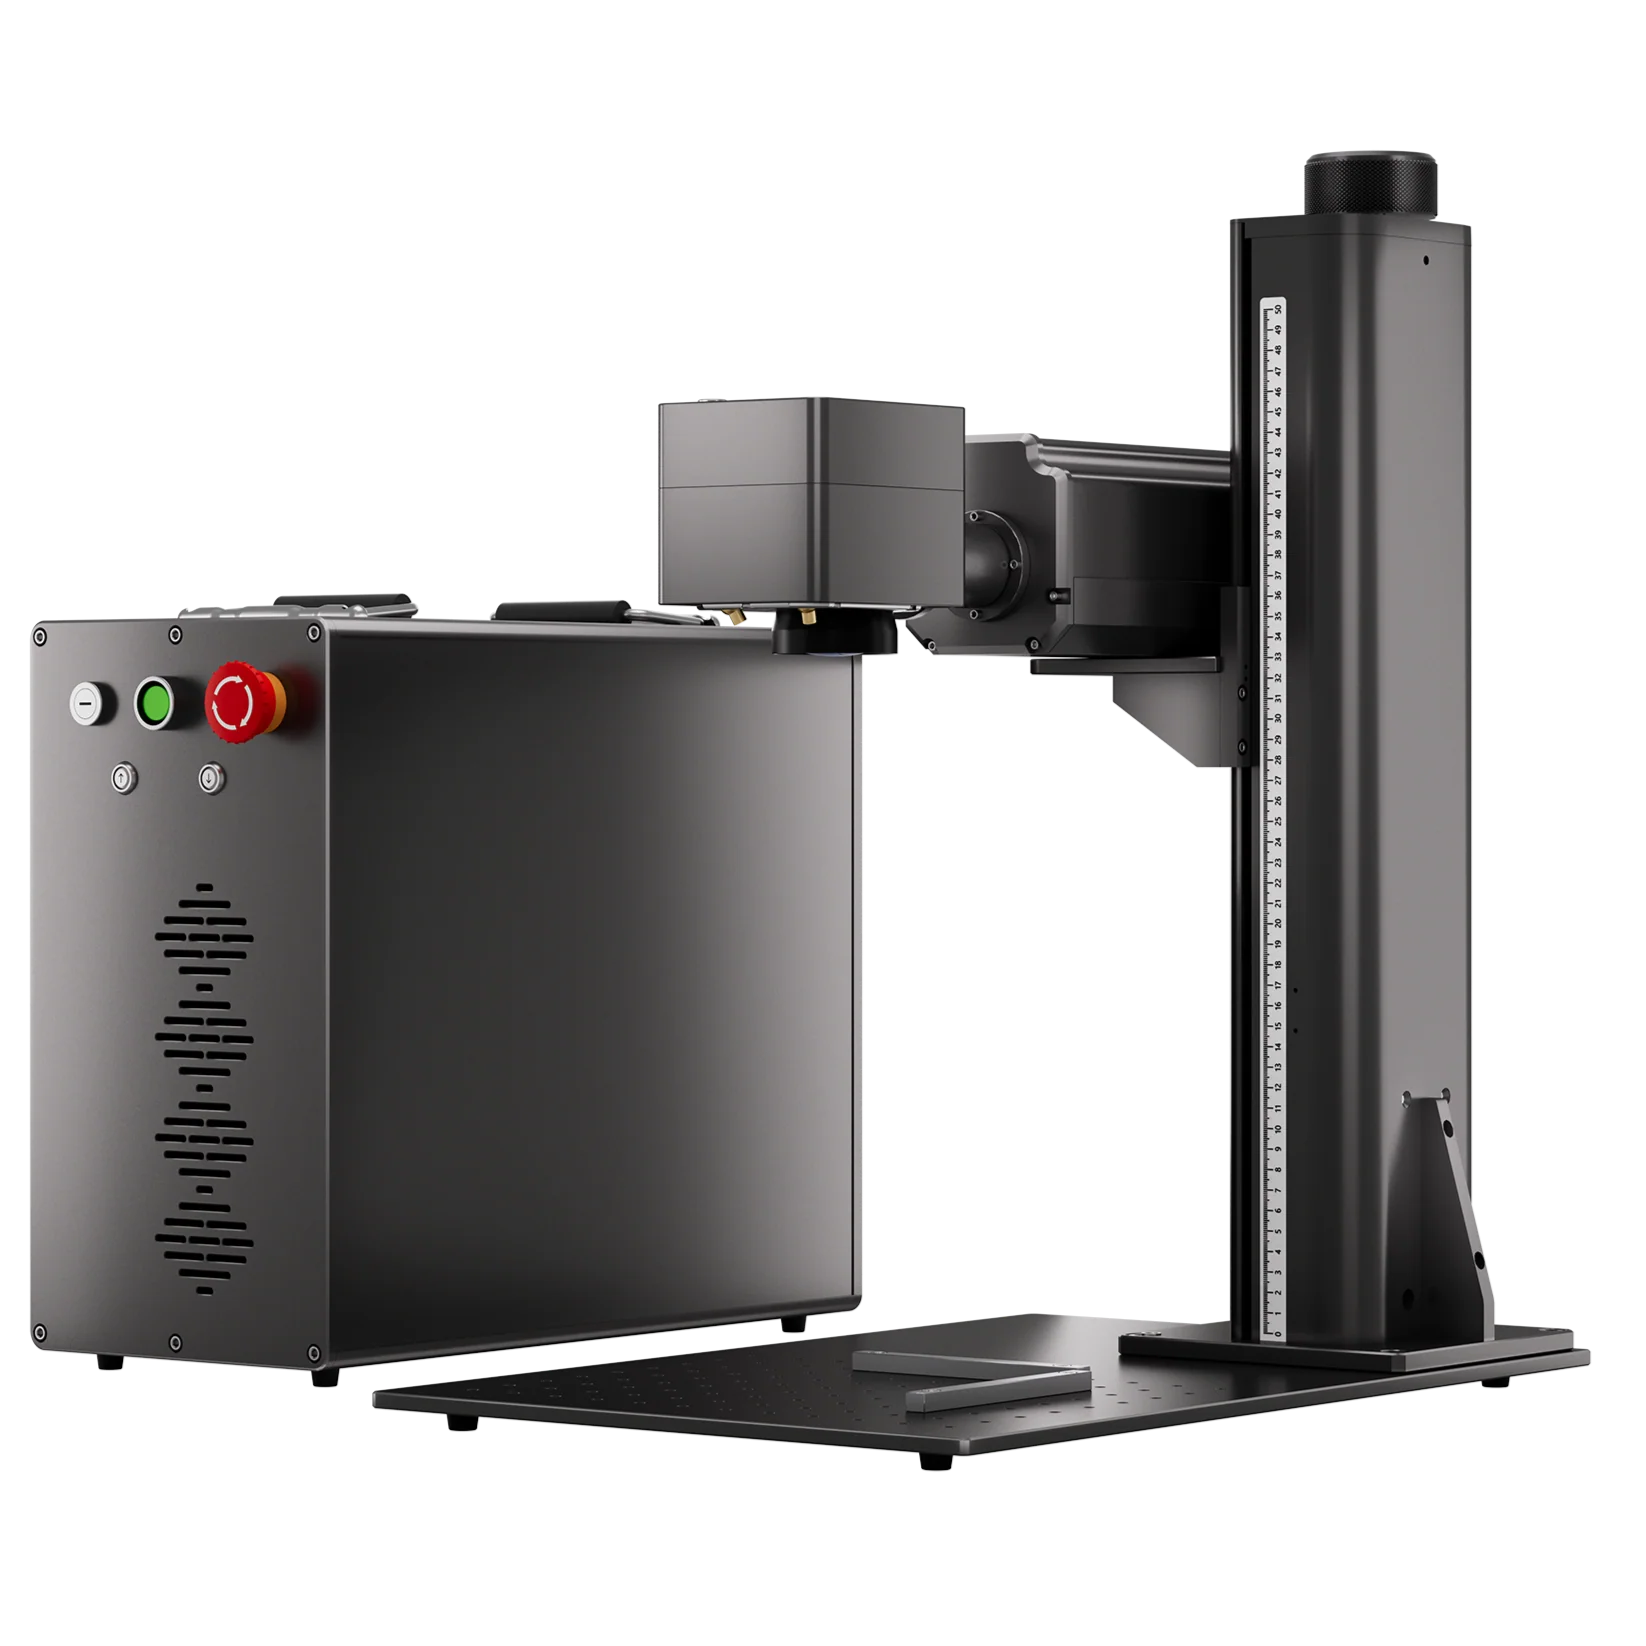
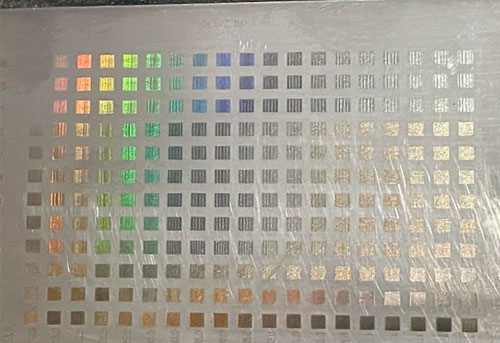
For general metal blade marking, Fiber lasers are suitable for fast marking and touchable engraving on metal, while MOPA Fiber provides additional pulse control for color engraving.
UV lasers can produce a smaller beam spot and lower thermal input than many fiber laser setups, making them particularly favorable when fine detail, very small lettering, or limited engraving space is the priority.
Real-World Example
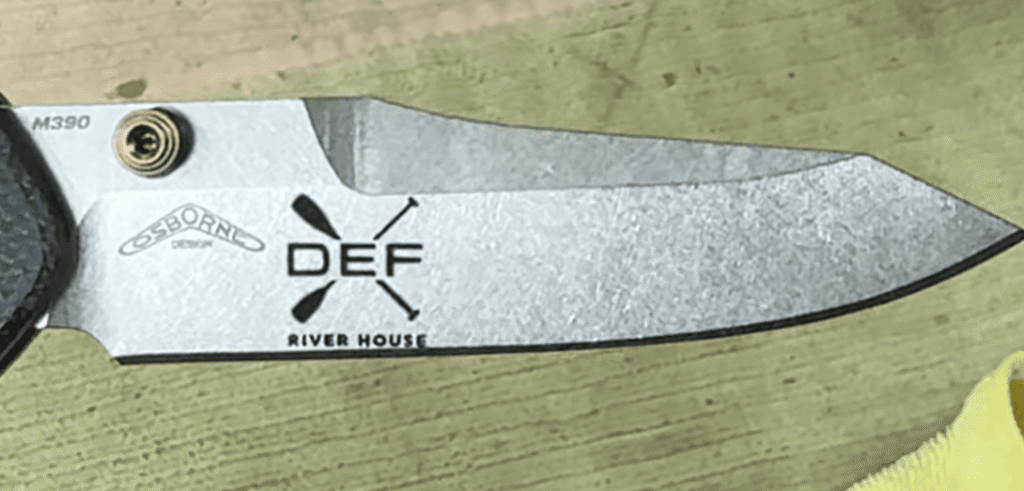
Example 1: ComMarker Omni UV laser Engraving on a Small Folding Knife
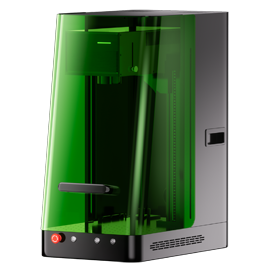
The ComMarker Omni X UV laser offer 0.0019 mm accuracy for 16K HD processing and Class 1 laser safety.
Item: a compact Benchmade Osborne with limited usable engraving space.
Issue: The blade already contained manufacturer markings, leaving only a relatively small area for the customer’s two custom graphics.
Why UV laser: the artwork contained very small lettering and needed to remain readable within that limited space.
Setting: 5W UV model, Speed 40mm/s, Freq 40, Pulse 5, Line Interval: 0.025, Pass 2, 70mm lens
Result: black readable details on small engraving area
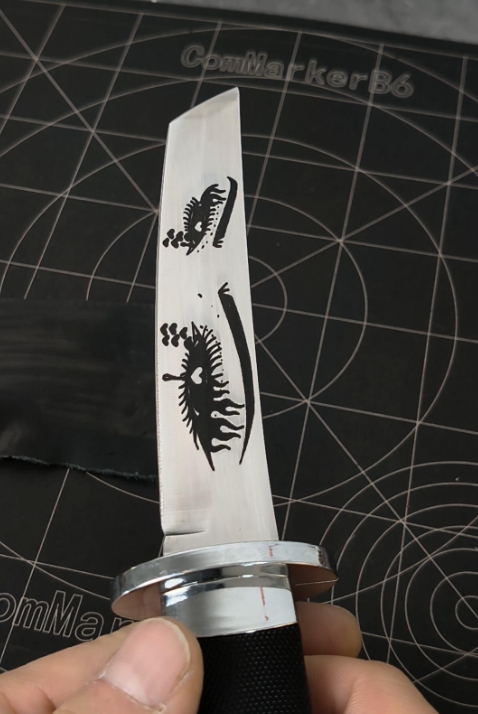
Example 2: ComMarker B6 MOPA Fiber for Black Marking on a Knife Blade
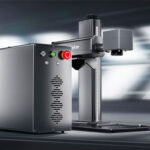
Why B6 MOPA fiber laser: Available in up to 60W configurations, with speeds up to 15,000 mm/s and 0.01 mm spot size. Its MOPA fiber source provides adjustable pulse characteristics for controlled metal marking, while its high scanning speed and fine spot support detailed production work.
Setting: Power 50%, Speed 200 mm/s, Frequency 30 kHz, Pulse Width 200, Line Interval 0.01 mm, Passes 1, raise laser head 2mm for defocus, 150mm lens
Why Is My Knife Mark Too Dark, Too Light, or Uneven?
Check the following:
Blade angle: An angled blade changes the distance between the lens and different parts of the artwork.
Focus: Even a small focus error can affect fine text and narrow lines.
Power and speed: These control how much laser energy reaches the surface.
Frequency and hatch/interval: Depending on the laser source and software, these variables can change the appearance and amount of material affected.
Surface finish: Polished, coated, oxidized, or textured blades may respond differently.
Artwork orientation: An inverted image can produce a completely different visual result when reproducing a reference design.
2. Deep Engraving on Knife Blades: Deep Lettering & Decorative Grooves
Deep engraving removes material from the blade to create a physical recess, the result required both surface finish and engraving depth, so testing is essential.
How to Test and Perform a Knife Deep Engraving
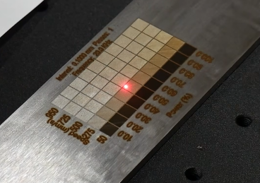
Step 1: Run a Test Grid for the Desired Result
On spare or representative knife metal, create a test grid and compare different speed and power combinations. You can also vary frequency and line interval to refine the result.
The goal is to find a parameter range that produces a clean engraving and acceptable processing time.
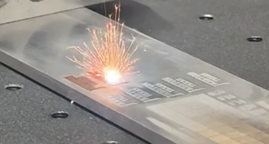
Step 2: Test the Actual Marking Design
After finding a suitable parameter range, engrave the intended artwork or maker’s mark on the test piece. This helps confirm that the selected settings can produce details of the design.
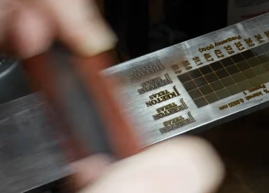
Step 3: Clean and Measure the Engraving
Sand or clean the sample to remove soot and surface residue around the engraving. A mark may look dark or deep before cleaning while having relatively little actual material removal.
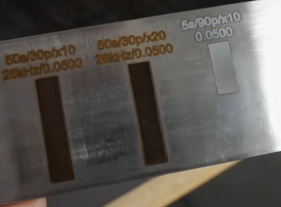
Step 4: Increase Passes and Refine the Parameters
If the measured depth is not sufficient, use additional passes to progressively remove more material.
As the number of passes increases, accumulated heat and repeated material removal can also affect the surface finish. Continue refining the parameters and pass count until the required depth and engraving quality are achieved.
Step 5: Confirm and Transfer the Verified Process to the Finished Knife
Once the parameters, pass count, and resulting depth are repeatable, apply the tested process to the finished knife.
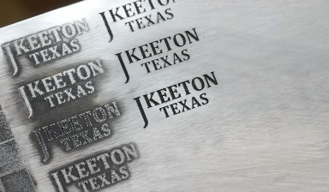
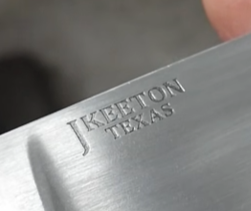
Real-World Steel Knife Engraving
ComMarker B6 MOPA fiber laser 60W: Power: 10%; Speed: 50 mm/s; Frequency: 27 kHz; Pulse width: 150 ns; Line interval: 0.05 mm, 20 pass
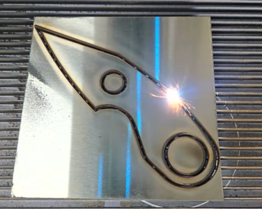
3. Laser Cutting Knife Blanks or Drilling
Laser cutting removes or separates material along a defined contour to create a custom shape.
For knife making, it can be used for small knife blanks, cutouts, and custom metal components.
Because cutting requires substantially more material removal than surface marking, high-power fiber laser systems can improve cutting efficiency and reduce the number of passes required.
For small-batch knife customization, ComMarker Titan 1 is suitable for:
• Up to 200W MOPA Fiber power for faster material removal.
• Metal sheet cutting capacity up to 5 mm thick for suitable materials and configurations.
• Up to 300 × 300 mm working area providing room for small knife blanks and custom metal parts.
• MOPA pulse-width and frequency control for adjusting the process to different metals and cutting conditions.
For larger-volume production or thicker sheet-metal work, a dedicated metal-cutting system remains more suitable.
How to Laser Cut or Drill on a Metal Knife Blank
Step 1: Secure the Material and Focus
Place the metal sheet firmly on a stable holder and bring the cutting surface into focus.
Step 2: Prepare the Knife Blank Design
Import a closed vector outline of the desired knife shape into your software.
For designs with holes or internal cutouts, process the smaller internal features before the outer contour to help maintain alignment.
Step 3: Set the Cutting Parameters
Set the power, speed, frequency, pulse width, line interval, and number of passes according to the metal type and thickness.
Step 4: Preview and Start Engraving
Frame the design to verify its position, then cut the internal features first.
For a small hole, repeatedly scan the required hole geometry until the laser penetrates the sheet.
Cut the outer contour last. Continue the required passes until the knife blank fully separates from the sheet. Monitor heat buildup and the cut edge during the process.
Step 5: Clean and Polish the Blank
Remove loose residue and inspect the cut edge after processing. Sanding, grinding, or polishing can be used to smooth sharp edges and remove burrs before the blank moves to the next knife-making stage.
Real-World Steel Knife Cutting
ComMarker Titan MOPA fiber laser 200W: Speed 1000mm/s, Freq 150, Power 90%, Pulse 350, Line Interval 0.05, 110mm lens.
4. Relief Engraving on Knife Blades for Decorative patterns & 2.5D visual effects
Relief engraving creates 2.5D visual effects by removing material around selected areas while leaving the design raised.
How to Create a Metal Relief on Knife
Step 1: Test the Deep Engraving Parameters
Before engraving the finished knife, test on spare metal using the same deep engraving test method described above. Find a combination that removes the surrounding metal efficiently and cleanly while keeping the engraving within the desired depth.
Step 2: Prepare the Grayscale Artwork
Prepare a grayscale image that defines the different engraving depths. Darker areas can be assigned greater material removal, while lighter areas remain shallower, creating gradual height transitions for a 2.5D effect.
Step 3: Preview the Design and Set the Focus
Position the artwork on the knife blade and frame the design to verify its size and placement before engraving.
Step 4: Engrave the Relief
Start the engraving using the tested parameters and monitor the process as the background material is progressively removed. As the engraved area becomes deeper, check the focus position and adjust it when necessary to maintain effective material removal.
Step 5: Polish and Inspect the Result
Clean the blade and polish or lightly sand the engraved area to remove residue and refine the finish. Inspect the raised design, background depth, edges, and overall 2.5D effect.
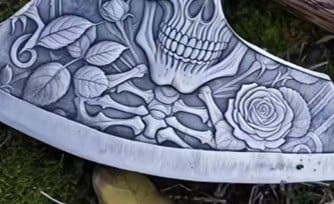
Real-World Steel Knife Relief Engraving
ComMarker Titan MOPA fiber laser 200W: Speed 1000mm/s, Freq 150, Power 90%, Pulse 350, Line Interval 0.05, 110mm lens.
Laser Engraving Knife Handles
Knife handles can be made from wood, plastic, or metal, and the laser that works well on the blade may not produce the same result on the handle.
Wood Handles
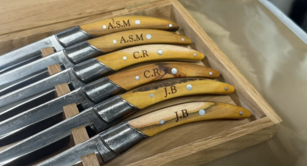
UV lasers can produce clean black marks with fine detail on suitable wood handles. Their small focused spot is useful for detailed lettering, logos, and decorative patterns, while controlled multi-pass processing can also be used for deeper engraving and relief effects.
Real-World Wood Knife Handle Engraving
ComMarker Omni X UV laser 6W: Speed 400mm/s, Freq 40, Pulse 1, Line Interval 0.01, 70mm lens.
Note: Different Wood density, grain, resin content, and color require different setting, use the settings above as a starting point.
Plastic Handles
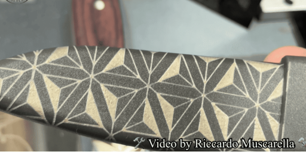
UV lasers are often a strong choice for marking plastic handles when fine detail, clean edges, and low thermal impact are important. Their low heat impact allows high-contrast, detailed marks while reducing the melting, or burrs.
Fiber lasers can also mark some plastics, but their performance is more dependent on the plastic formulation, color, and additives
Metal Handles
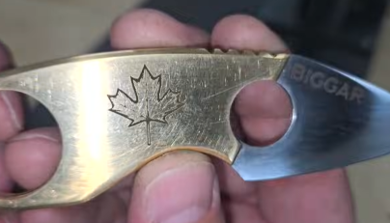
For metal handles, Fiber lasers are generally more suitable when the process requires material removal, deeper engraving, or cutting. Their higher available power makes them practical for removing more metal efficiently.
UV lasers are useful when the priority is fine lettering, intricate graphics, or precise surface marking on a metal handle, particularly when the available engraving area is small or thermal impact needs to be controlled.
Which Laser Is Right for Knife Engraving?
Fiber lasers are widely used for metal marking and deep engraving, while UV systems are useful when the application prioritizes fine detail, small features, or reduced thermal impact.
| Knife Application | Laser Direction |
| General blade marking for Logos, names, serial numbers | Fiber |
| Fine blade marking for Small text, fine graphics | UV |
| Deep or relief blade engraving | Higher-power Fiber |
| Color metal marking | MOPA Fiber |
| Metal knife-blank cutting and drilling | Higher-power Fiber |
| Fine marking on plastic and wood handles | UV |
For more information about choosing a laser engraver for knife engraving, check [5 Must-Have Features for Choosing the Best Laser Engraver for Knife]
Conclusion
Knife engraving can range from a simple blade mark to deep engraving, relief, or even cutting. The right process depends on the knife material, desired depth, detail, and finish. Test on representative material before working on the finished knife, then refine the process until the result is repeatable. With the right laser and a controlled workflow, you can achieve clean, durable results across different knife applications.
FAQ: Common Problems When Laser Engraving Knives
Why Is My Knife Mark Too Dark or Too Light?
Check power, speed, frequency, focus, hatch interval, and surface finish. First determine whether you want a surface mark or an etched recess, because they require different processing approaches.
Do not automatically increase power to make a mark darker. Test on representative material and compare the result after cleaning or light sanding, since soot or residue can make an engraving look deeper or darker than it actually is.
Why Is the Engraving Uneven Across the Blade?
Check whether the blade is truly level at the engraving area. A knife can look flat in its fixture while the blade surface is tilted, curved, or beveled.
Refocus if the engraving crosses different heights, and avoid placing critical details across a changing bevel whenever possible.
Why Is Fine Text Difficult to Read on a Knife?
Check Focus, Final artwork size, Artwork resolution, Beam or spot characteristics, Blade surface and finish. Position relative to the bevelFor extremely small designs or limited engraving areas, a UV laser may be worth considering because its shorter wavelength and small focused spot can support fine-detail marking applications.
A good example is a small folding knife with very limited engraving space, where readability matters more than maximum material removal.
Why Do Wood or Plastic Knife Handles Burn or Deform?
Material response varies significantly.
Wood differs by species, grain, moisture, coating, and finish. Plastics can also behave very differently depending on their formulation, color, and additives.
Start with a test piece from the same or equivalent material and adjust the process rather than transferring settings directly from another handle.
What Safety Precautions Should I Take When Laser Engraving Knives?
Use the appropriate wavelength-rated laser safety eyewear and follow the safety requirements of the machine and material being processed.
Fume extraction or ventilation should also be used as appropriate, especially when processing coatings, plastics, or other materials that may release fumes.