Laser photo engraving is not random. Every result is the outcome of how digital image data is translated into physical energy—dot by dot, line by line, using correct laser photo engraving settings.
If your engravings look blurry, burned, or lack detail, the issue is almost always in one of these three layers:
1.How the image is prepared (Grayscale & Contrast for laser engraving images)
2.How the software converts it (DPI, Dithering, Bitmap Logic, laser engraving image settings)
3.How the machine handles it (Power, Speed, Frequency, Dwell Time)
If your laser photo engravings look blurry or burned, this guide explains exactly why, and how to fix it.
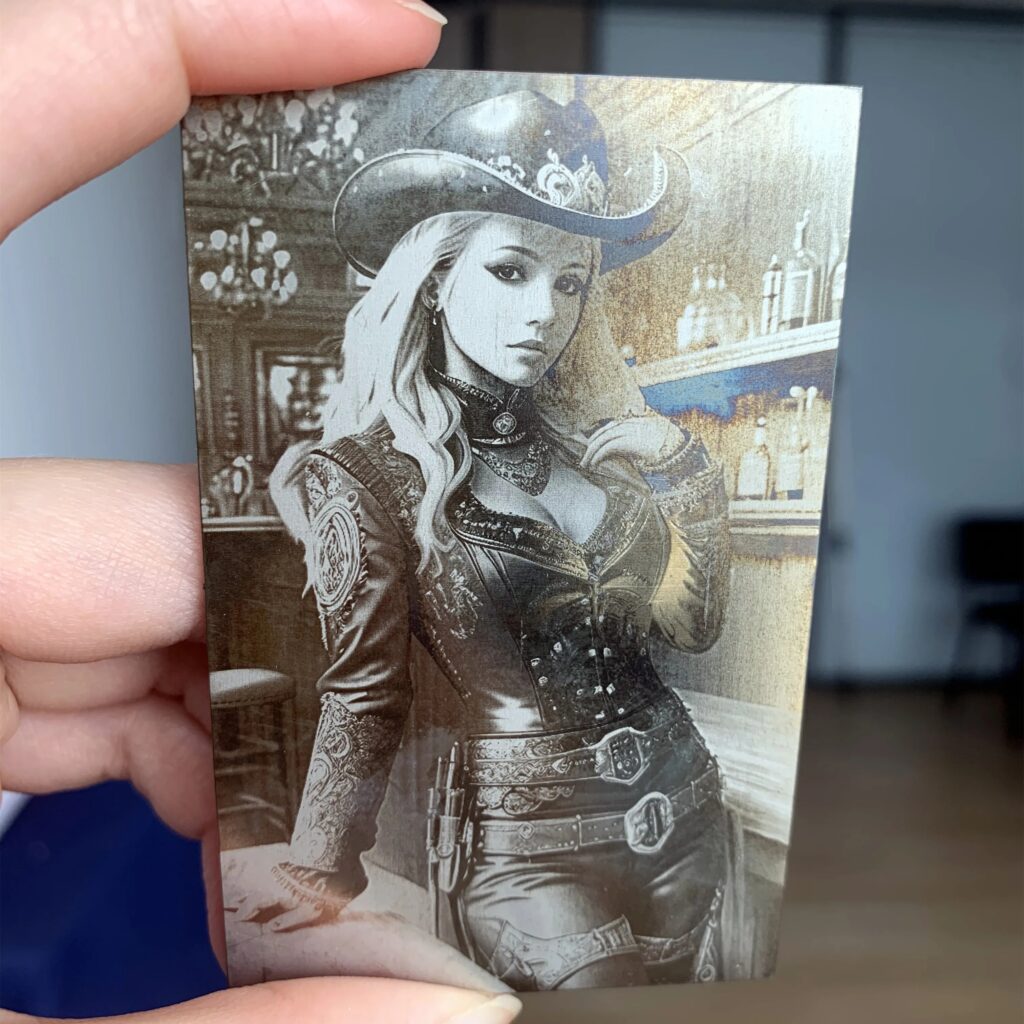
Why Photo Engravings Fail
Before adjusting any laser engraving image settings, understand this:
A laser cannot create detail that doesn’t exist in the image.
Even with a high-end machine, these image problems will always produce bad laser photo engraving results:
• Low resolution → Missing fine details (faces become blobs)
• Flat lighting → No contrast → engraving looks washed out
• Cluttered backgrounds → Subject gets lost
• Over-compressed JPEGs → Artifacts turn into permanent burn marks
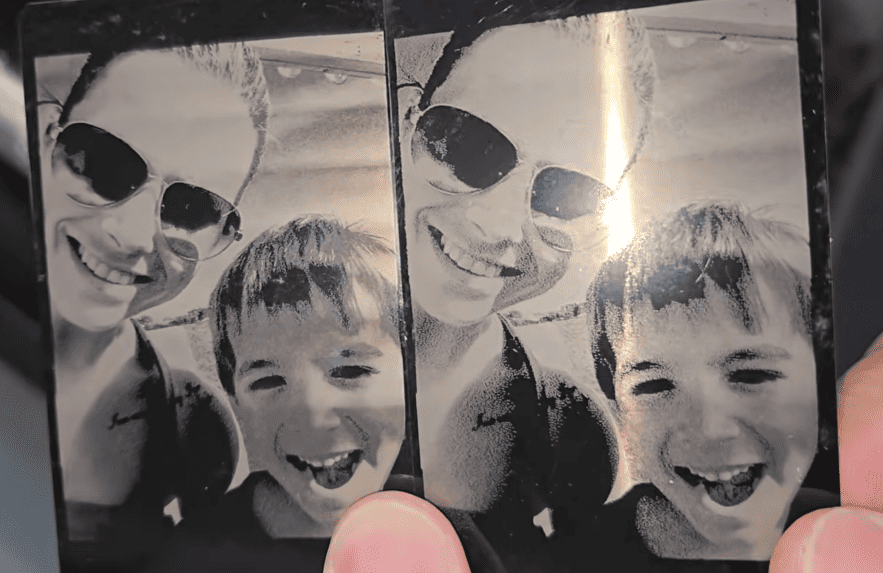
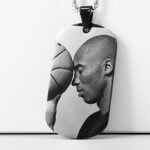
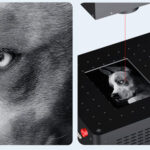
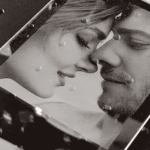
(different photo laser engraving result after adjustment)
Step 1: Prepare a Good Source Image
1.Image Size & Physical Canvas (The Hidden Cause of Pixelation in Laser Photo Engraving)
For commercial laser photo engraving work, image source quality is more important than machine settings in 60% of cases.
If you stretch a low-resolution image across a large engraving area, the laser enlarges each pixel physically. The laser engraving result might get jagged edges, “stair-step” lines, and loss of facial detail.
Recommended baseline:
• Minimum: 1200 px per side
• Ideal: 2000+ px for portraits
• File size: usually bigger than 200KB
2.Grayscale (Why Good Photos Turn into Bad Laser Engraving Results)
When converting to grayscale for laser engraving images, all color information becomes brightness values (luminance). Most photos taken by phone contain too many mid-tones. Lasers cannot reproduce smooth gradients like screens.
How to fix it:
• Increase contrast
• Brighten shadows slightly
• Reduce overall brightness
• Add sharpness
The goal is to create clear separation between light and dark areas.
3.Brightness Mapping (How the Laser “Sees” Your Image in Laser Photo Engraving)
A laser only understands brightness:
• Black (0%) → Maximum energy → Darkest engraving
• White (100%) → No energy → No mark
• Gray (50%) → Medium depth
The brightness you adjust determines how much laser energy each laser point corresponds to, and the amount of energy directly determines the depth and color of the engraving.
Also, remember to decide whether to reverse the colors based on the material reaction (e.g., black to white).
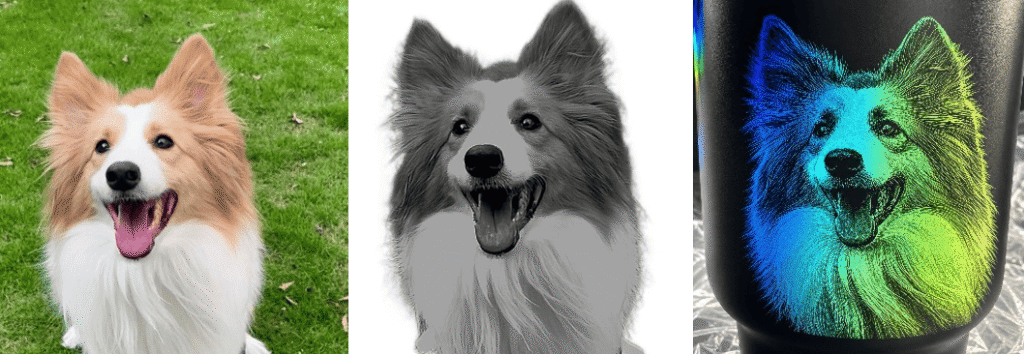
(adjust photo for laser engrave tumbler)
Step 2: Set DPI and Resolution Correctly
DPI: The Most Misunderstood Laser Engraving Image Setting
DPI (Dots Per Inch) means how many engraving lines or dots are packed into one inch of physical space. It directly affects detail level, engraving time, and heat buildup.
Real-world impact:
• High DPI (500+) → More detail, smoother gradients, but higher overburn risk
• Low DPI (200–300) → Faster but less detail and visible scan lines
Key insight:
Spot size is often the real limiting factor of laser photo engraving resolution. If your machine cannot physically support high density, increasing DPI will reduce quality instead of improving it.
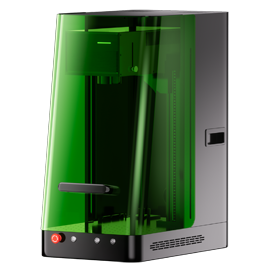
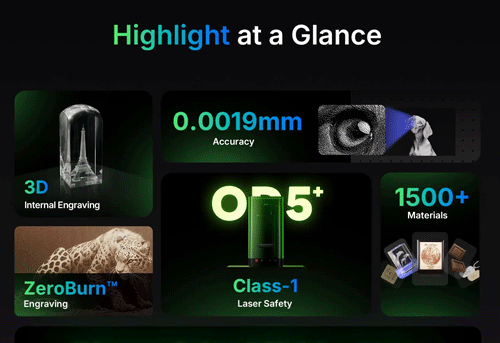
That’s why machines with small spot size such as the ComMarker Omni X UV laser engraver, with a 0.0019mm ultra-fine spot, can handle higher DPI laser photo engraving settings and produce significantly sharper photo engravings.
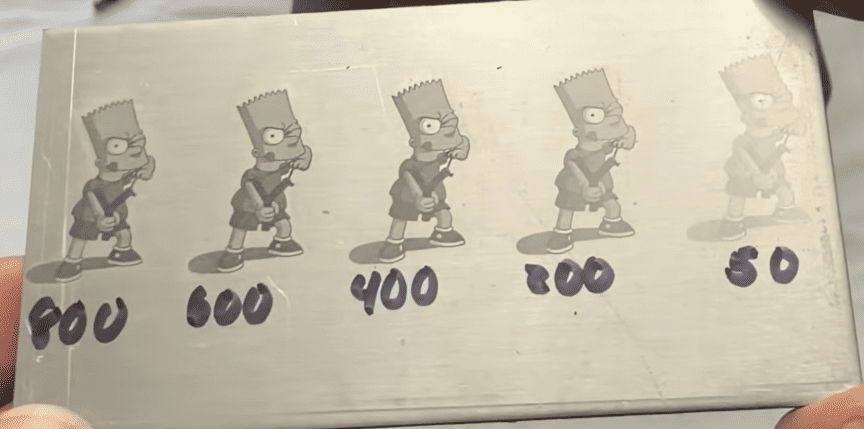
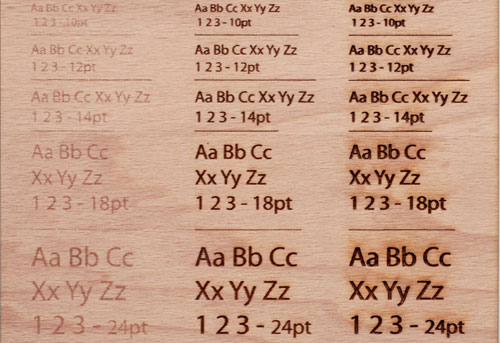
(different laser engraving result on different DPI)
Step 3: Optimize Laser Parameters (Power, Speed, Frequency, Pulse Width)
1.Power (Intensity)
• Higher power → darker / deeper engraving
• Lower power → lighter result
2.Frequency (Pulse Density in Laser Photo Engraving)
Frequency controls how many pulses are fired per second.
• Higher frequency → smoother gradients
• Lower frequency → sharper but grainier
3.Dwell Time (Critical for Laser Photo Engraving Consistency)
Dwell time refers to time spent at each point (μs).
• Longer dwell → darker engraving
• Shorter dwell → lighter
Different materials need different dwell settings.
For example, with a ComMarker Omni X 6W UV laser engraver (70mm lens), aluminum engraving needs 100μs, while acrylic requires 400μs. Check ComMarker Material Settings for more laser photo engraving settings.
4.Pulse Width & Frequency (MOPA Control)
A pulse is a single burst of laser energy. Pulse Width (ns) means how long each burst lasts Its pared with Frequency (kHz) of how many bursts are fired per second
For MOPA systems:
• Shorter pulse width → higher peak power (sharper, clean engraving with less heat effect);
• Longer pulse width → increased thermal accumulation (softer edges or darker marking)
5.Speed (Exposure Control)
• Slower speed → more energy → darker result
• Faster speed → lighter engraving
Speed and power must always be balanced in laser photo engraving settings.
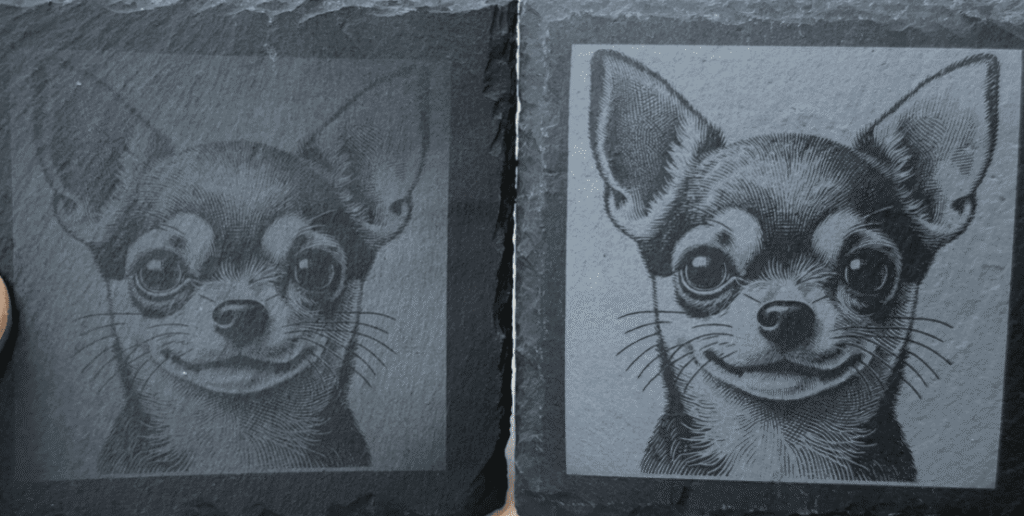
(laser engraving slate result with different laser power)
Possible Photo engraving failure and solve solution
|
Problem |
Cause |
Solution |
|
Blurry faces |
Low DPI |
Increase DPI |
|
Burned edges |
Too much power |
Lower Power |
|
Horizontal lines |
Wrong interval |
Decrease Line Interval |
|
Grainy image |
Wrong dithering/ High Frequency + Low Resolution |
Use Jarvis |
|
Lost highlights |
Contrast too high/ Low DPI + High Contrast |
Reduce Contrast |
|
Washed-out engraving |
Image too bright/ High Speed + Low Power |
Darken Midtones, or reduce speed and power |
Why Jarvis?
• Smooth Gradients: An advanced error-diffusion algorithm that delivers the most natural-looking textures and tone balance without harsh grid lines.
• Flawless Detail: Perfectly balances sharp details and subtle shadows, making it the gold standard for intricate photo portraits.
• Consistent Output: Replaces unpredictable power fluctuations (like Grayscale mode) with highly controlled dot patterns. This prevents uneven burn marks on natural materials like wood and stone.
Material Impact on Photo Engraving
Different materials require different approaches:
• Wood: Use light wood (maple/birch), high contrast images, fine intervals
• Acrylic: Use cast acrylic, run test grids to avoid cracking
• Metal: 600+ DPI for detail, adjust power based on coating
• Glass: 300+ DPI, often invert image, UV laser preferred
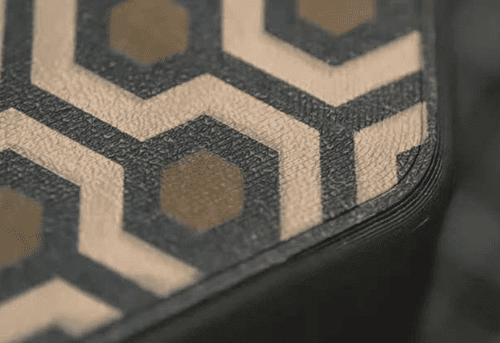
• Leather: Moderate power, avoid overburn
• Tumblers: Use rotary, remove coating cleanly
• Leaves: Use UV laser for delicate detail preservation
For more detailed material and parameter relationships, see the full blog here:How to Get Better Photo Laser Engraving Results with Image Prep & Settings
Hardware Limits (Lens, Spot Size, Beam Quality)
Field Lens: Hidden Resolution Limiter in Laser Photo Engraving
Even with the same machine and DPI, a smaller field lens can significantly improve laser photo engraving quality.
• Small field lens (e.g., 110mm):Smaller spot size → Higher energy density → Sharper details
• Large field lens (e.g., 200mm): Larger spot size → Lower precision → Better for large-area marking
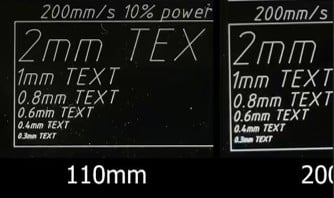
(lens and precision)
This effect is most noticeable in fiber laser engraving systems.
Why most laser engravers fail at photo engraving
At some point, settings are no longer the problem, the hardware is.
If your engravings consistently lack detail or look inconsistent, the limitation is likely:
• Spot size too large
• Beam unstable
• Software translation poor
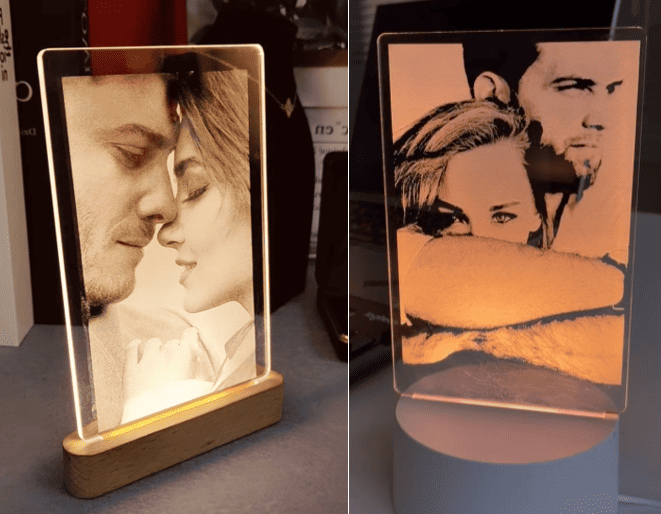
(UV vs CO2 laser engraving acrylic)
Why ComMarker Omni X Produces Better Photo Engraving Results
For users who need consistent photo engraving at scale, the ComMarker Omni X is designed specifically to eliminate these limitations:
• Ultra-fine 0.0019mm spot: Supports true high-DPI engraving
• UV (355nm) cold processing: No burn distortion, cleaner grayscale
• 10,000 mm/s galvo speed: Stable high-speed output
• ImagePlus™ software enhancement: Better grayscale translation
Entry-level diode or CO₂ machines simply cannot achieve the same level of precision in photo engraving.
Final Summary: Stop Guessing, Start Controlling
Photo laser engraving is a complete system:
1.Image → Defines available detail
2.Software → Converts it into instructions
3.Machine → Executes physical output
When one fails, the result fails.
When all three are optimized, results become predictable.
Once you understand this chain, you stop guessing settings and start producing professional results consistently.