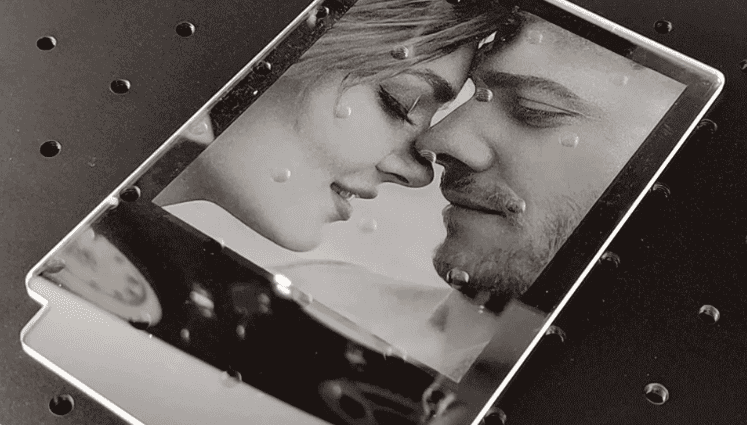
Photo engraving on acrylic is one of the most satisfying laser projects you can create. When done correctly, the engraved image glows with crisp white detail, creating a professional gallery-like effect.
Achieving that clean, sharp result depends on using the right acrylic, preparing the image properly and applying proper engraving settings.
Here’s a practical workflow adjusting the image for acrylic laser engraving photo and tips for best laser engraving acrylic result.
Choosing the Right Acrylic
Cast vs Extruded Acrylic
There are two major types of acrylics:
| Feature | Cast Acrylic | Extruded Acrylic |
| Engraving Appearance | Bright frosty white engraving | Dull gray or cloudy engraving |
| Laser Reaction | Stable during engraving | More prone to melting or bubbling |
| Surface Finish | Smooth and High contrast | Can become uneven and Lower contrast |
| Material Cost | More expensive | More affordable |
| Recommended for Acrylic Photo Laser Engraving? | Yes. Strongly recommended | Not ideal |
Why Image Quality Matters for Laser Engraving Acrylic
The most important decision happens before the laser even turns on.
Laser photo engraving creates images by burning tiny dots onto the material. If the image is blurry, compressed, low-resolution, those weaknesses become much more obvious after engraving.
A good photo gives the laser enough information to preserve skin detail, hair, clothing texture, and facial expression.
 |
 |
| Good (large and clear) | Bad (small and blurry) |
Acrylic engraving works best when the photo has:
• Strong tonal range
• Sufficient image size (at least 1200px on the longest side)
• Clean shadows and highlights
• Minimal compression (avoid small or heavily compressed files, such as images under 100–200 KB)
If your image looks blurry or contains large flat areas with no visible detail after adjustment below, the image quality may be too low for engraving.
In this case, try finding a higher-resolution version or improve it using AI image tools before processing.
Step-By-Step Image Adjustment for Laser Engrave Acrylic
What You Need:
• The qualified image
• Photoshop or another image editing tool
• If you don’t have editing software, you can still do basic adjustments using your computer and phone
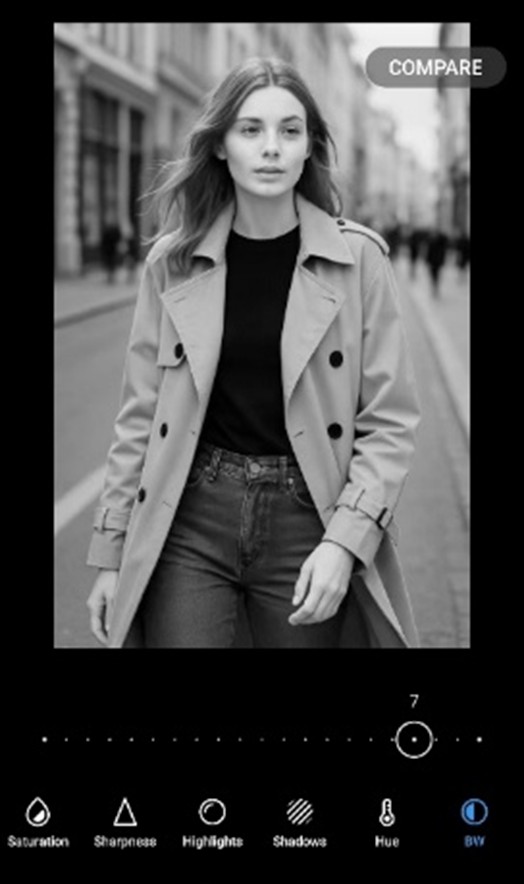
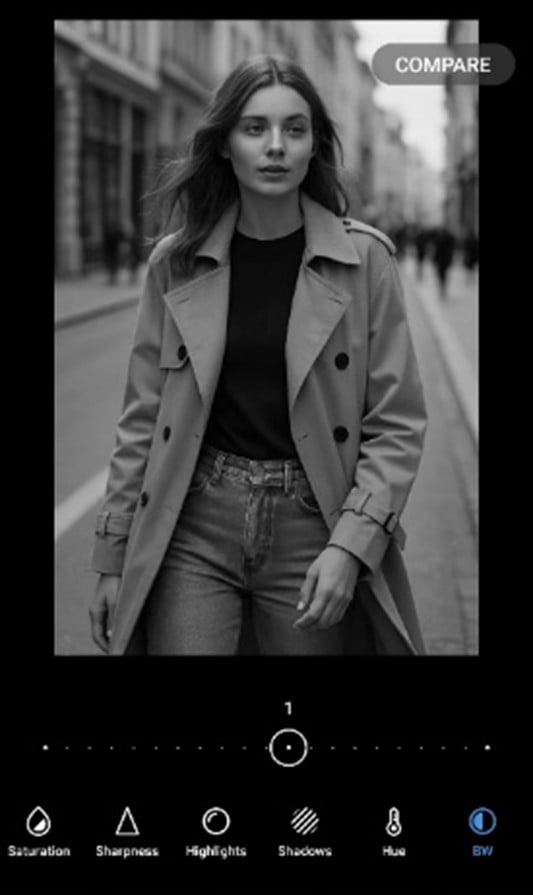
Step 1: Convert to Grayscale
Converting to grayscale (black and white) simplifies editing, makes tonal adjustments easier and helps preview engraving behavior. When adjusting grayscale levels with your software, avoid settings that cause facial features, textures, or shadows to disappear.
 |
 |
| Good | Bad |
Step 2: Adjust Contrast
Laser engraving struggles with extreme black-and-white contrast.
Therefore, we need fewer pure blacks, pure whites and more midtones.
In practice, this means:
• brighter dark areas (shadows) to recover detail
• darker bright areas (highlights) to stop them from blowing out.
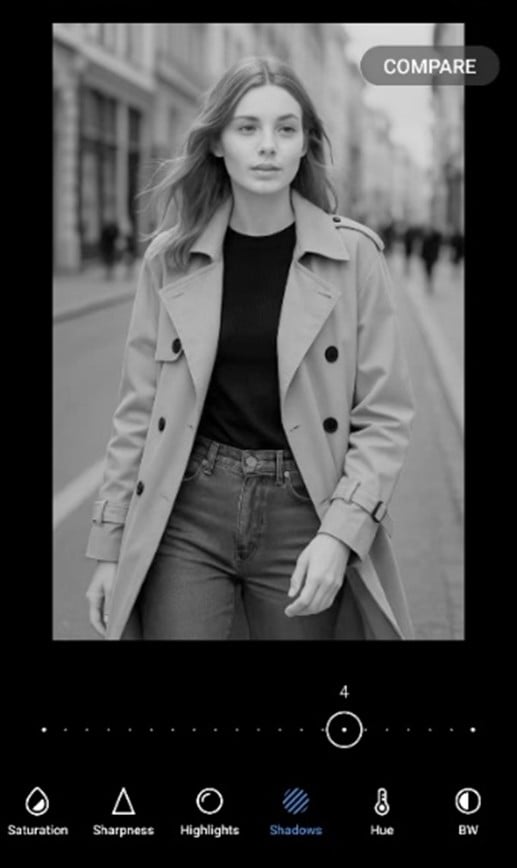 |
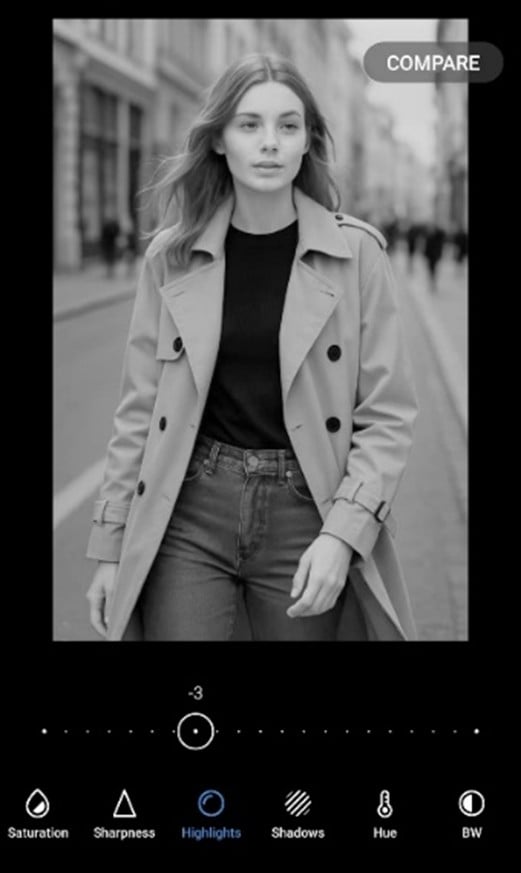 |
| Light shadows up | Darker the highlights |
Step 3: Sharpen the Image
Digital photos are naturally soft. Increasing Sharpness to 100% helps create visible edge separation that lasers reproduce much better. This helps with hair, clothing texture, facial lines, and edges.
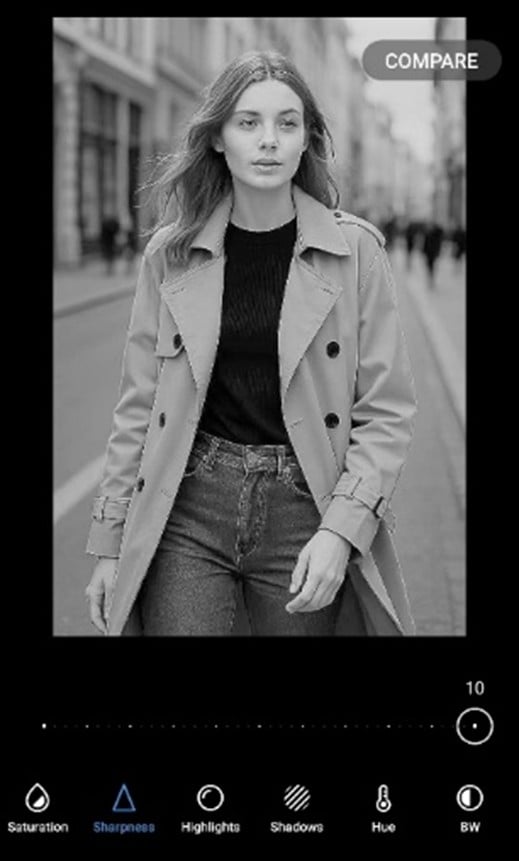 |
 |
| Sharpen the image | Final image sample |
You can repeat Steps 1, 2, and 3 until you get the most of the desired details. If the image details look a little exaggerated, that is normal. The engraving process usually softens them back into a more balanced result.
If your image still looks blurry or contains large flat areas with no visible detail after completing all steps, it means the source image does not contain enough information for a successful engraving. Do replace it with a better-quality image or improve it using AI tools.
Step 4: Invert (Negative) the Image
Because on acrylic, the laser turns engraved areas white. By inverting the image first, the laser engraves the correct dark areas of the original photo and recreates them as white details on the acrylic.
Best Laser Engraver for Acrylic Photo Engraving
Choosing the right laser engraver for acrylic also matters
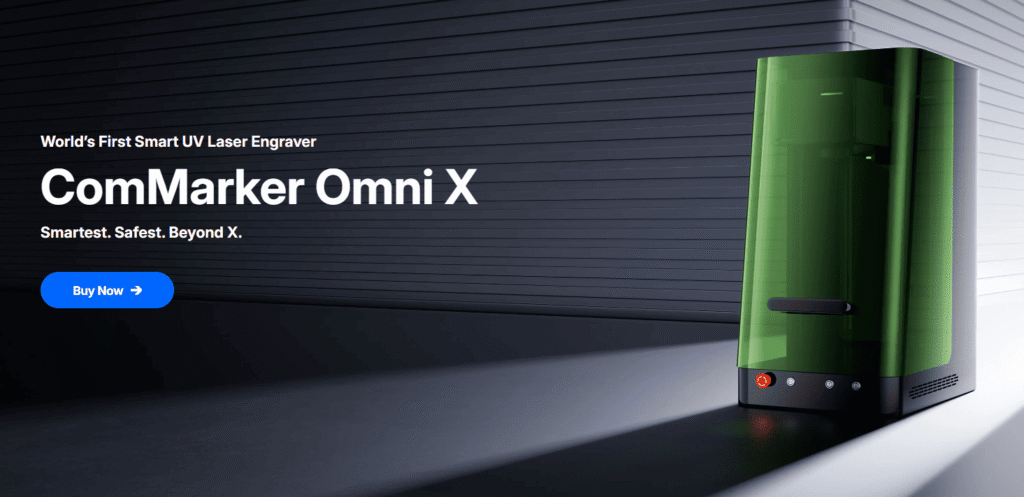
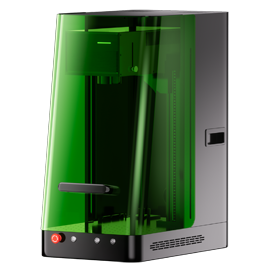
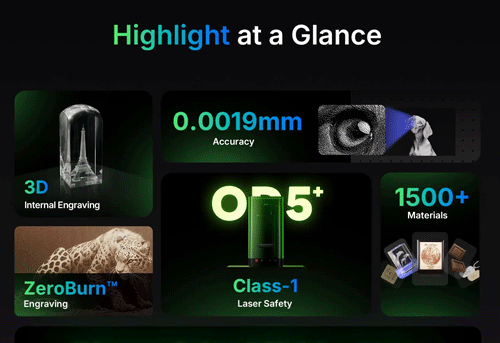
ComMarker Omni X UV Laser Engraver (Best for High-Detail Photo Engraving)
0.0019 mm laser spot supports 16K HD engraving detail
Produces very sharp, high-contrast premium photo results
Zeroburn technology to prevent melting and protect your material
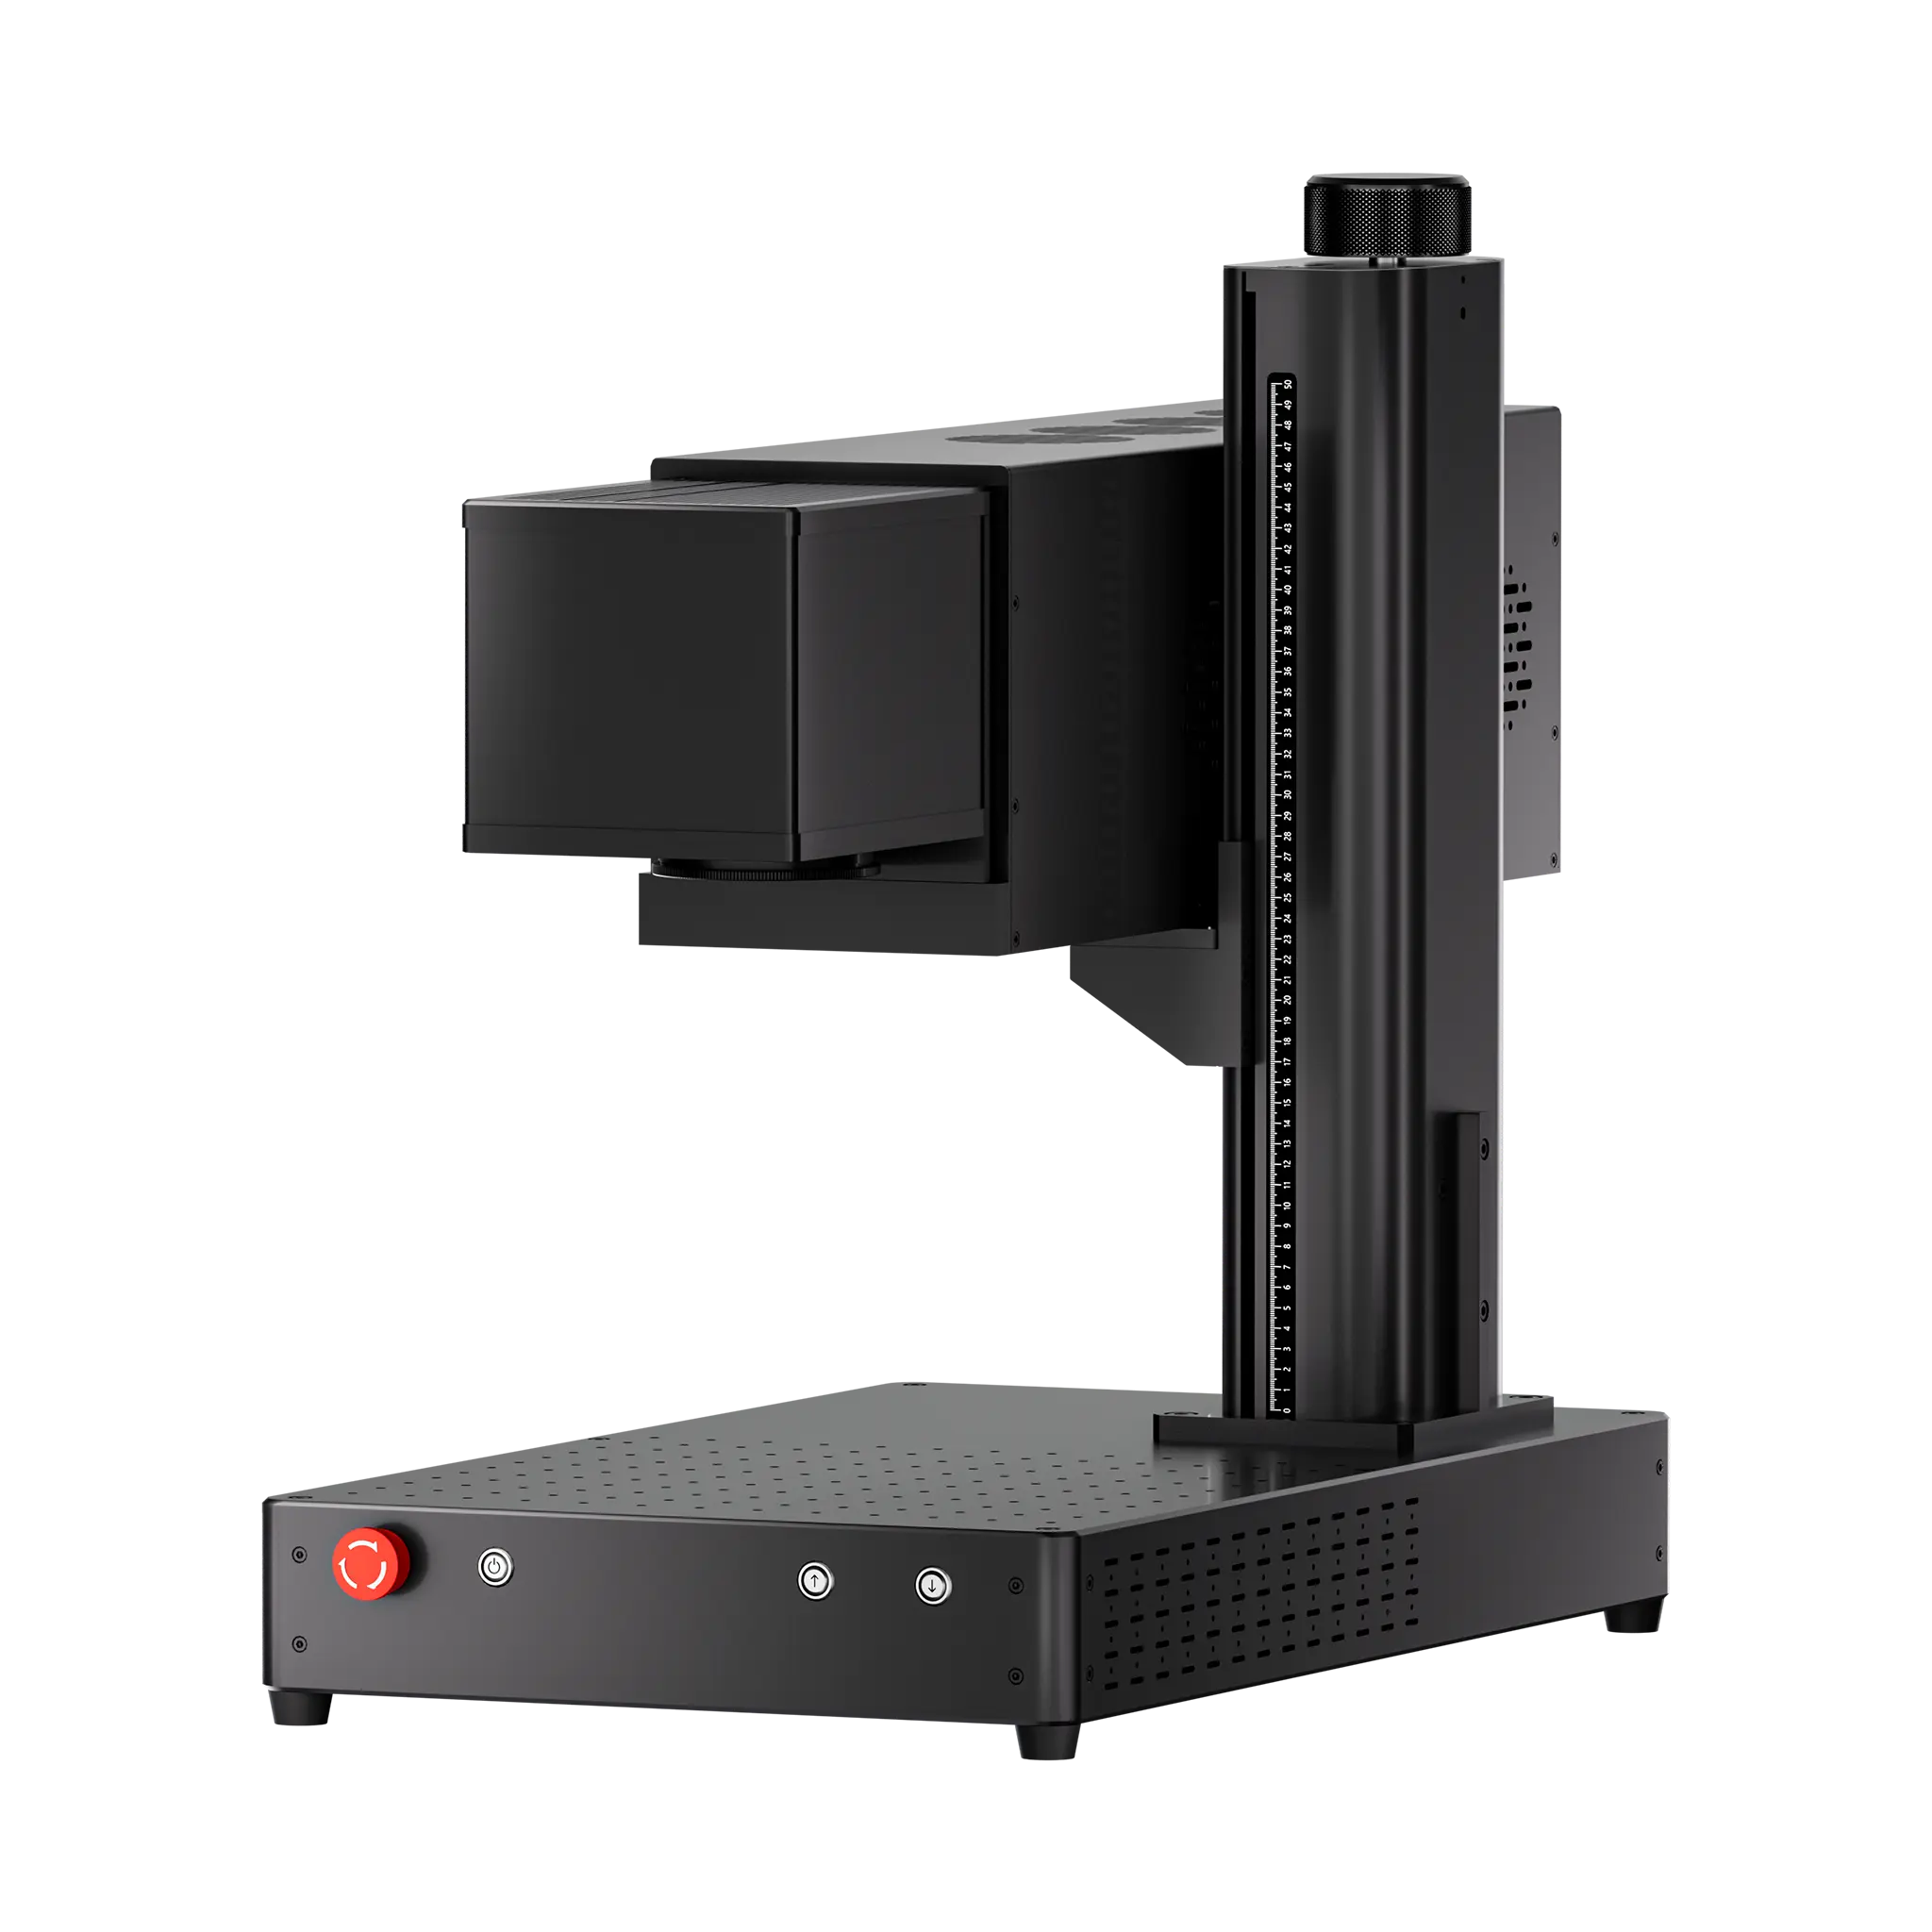
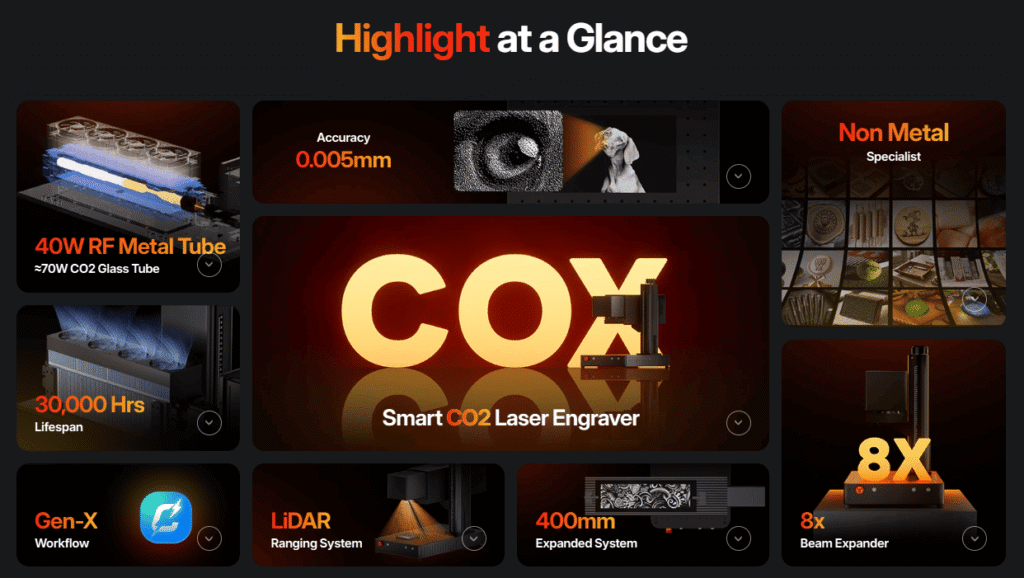
ComMarker COX CO2 Laser Engraver (Best for Cutting + Engraving Acrylic)
Can cut all types of acrylic (clear, black, colored)
Up to 15000 mm/s fast engraving speed
0.005 mm spot size for clear engraving
Strong efficacy for production and batch work
Fiber Laser: Limited Use for Acrylic
Fiber lasers are primarily designed for metal laser engraving, not laser engrave plastic. But if you have a fiber laser engraver and hope to try acrylic, there is still chances you can get some surprising results.
Tips for Laser Engraving Acrylic Photo
Keep Acrylic Perfectly Flat
Acrylic laser engraving quality is extremely sensitive to focus consistency. You can use a level to check if the material is flat.
Remove Only One Protective Film
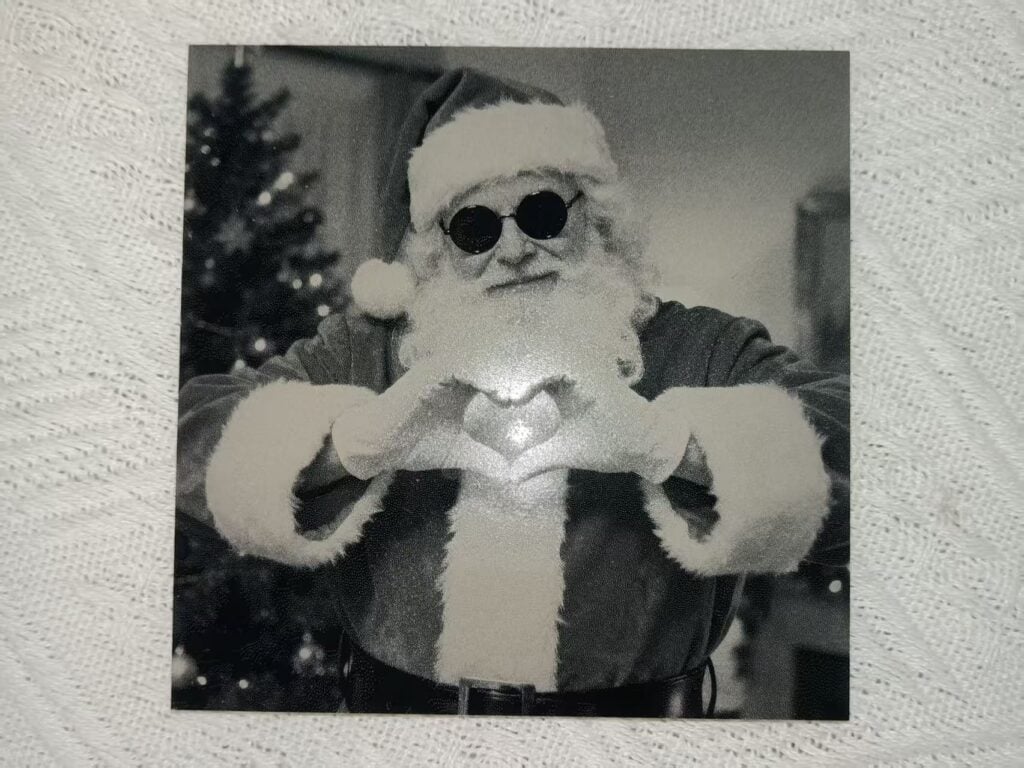
If you have film on the acrylic, remove the film from the engraving side and leave the opposite side until engraving is complete.
Finding the Correct Laser Settings
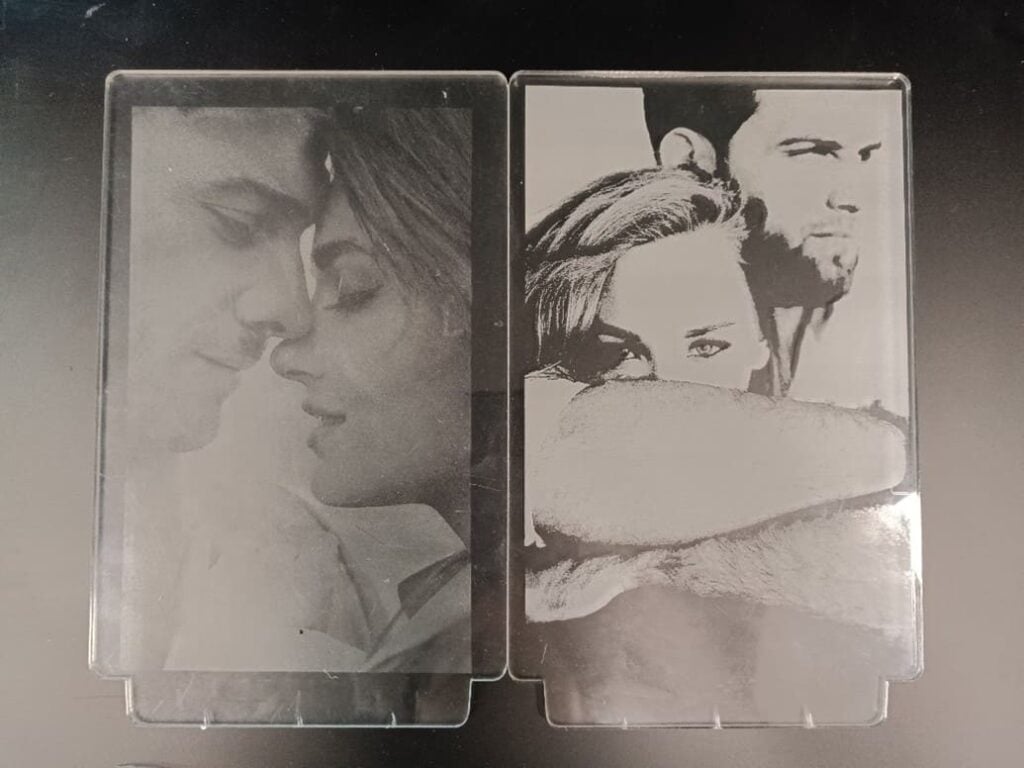
The engraving depth has a direct impact on the final photo quality on acrylic.
• If the engraving is too deep, it can reduce clarity and fine detail;
• If it is too shallow, edge definition may be lost.
Meanwhile, every machine and acrylic composition differs, so material testing is essential.
Recommended Testing Method
Before engraving the full image:
1. Create a small square, or crop a piece of your image with rich details (eyes, etc) to engrave
2. If the engraving result is too deep, reduce power and increase speed
3. The best setting is when you get the sharpest edge
Example Settings for different laser types
5W UV laser engraver acrylic settings (150 mm lens)
Speed 3600 , Freq 40, Pulse 1.
6W ComMarker Omni X UV laser engrave acrylic(150 lens):
Black Acrylic Photos: Dewell Time 500 Freq 40 Pulse 12 DPI 400 Passes 1
Transparent Acrylic Photos: Dewell Time 400 Freq 40 Pulse 1 DPI 400 Passes 1
40W ComMarker COX CO2 Laser Engraver (200 lens):
Black Acrylic Photos: Dewell Time 80 Freq 15 Power 30 DPI 300 Passes 1
Transparent Acrylic Photos: Dewell Time 80 Freq 15 Power 50 DPI 400 Passes 1
20W ComMarker B6 MOPA Fiber laser engraver:
Black Acrylic Photos: Speed 4000, Power 10%, Freq 30, Pulse 10. Mode: Jarvis
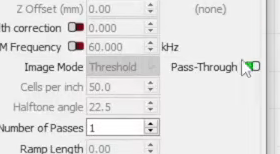
Activate the Pass-Through Option in LightBurn
Otherwise, the software may reprocess the image.
Final Thoughts
Good acrylic photo engraving depends on image quality, proper photo adjustment, and correct laser choice. With the right workflow, you can achieve cleaner details, smoother gradients, and sharper engraving results.
Press your laser engraver on and turn your images into real engraved results!