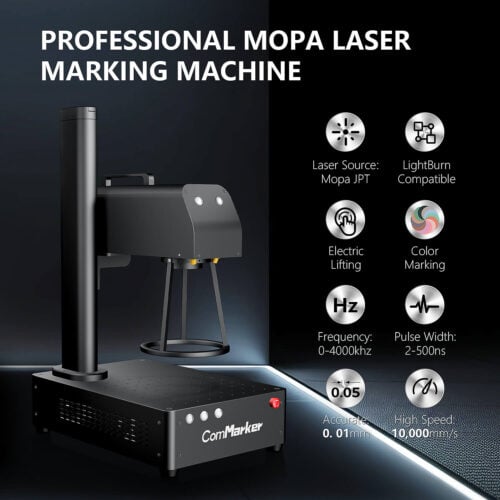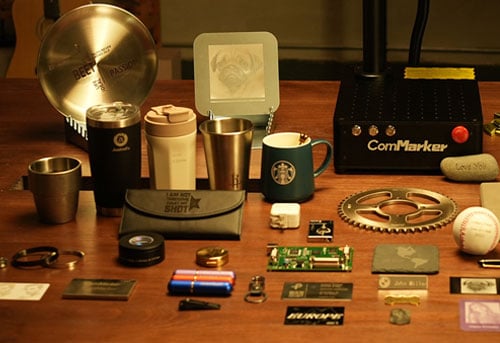
When laser engraving photos, many people focus only on finding the best laser engraving settings. While partly true, but the image adjustment is equally important for achieving good engraving results.
Laser engraving works best with images that have clear contrast, simplified details, clean backgrounds, and strong edges.
In this guide, we will share a practical adjustment workflow for you to get the best photo for laser engrave tumbler and metal cups.
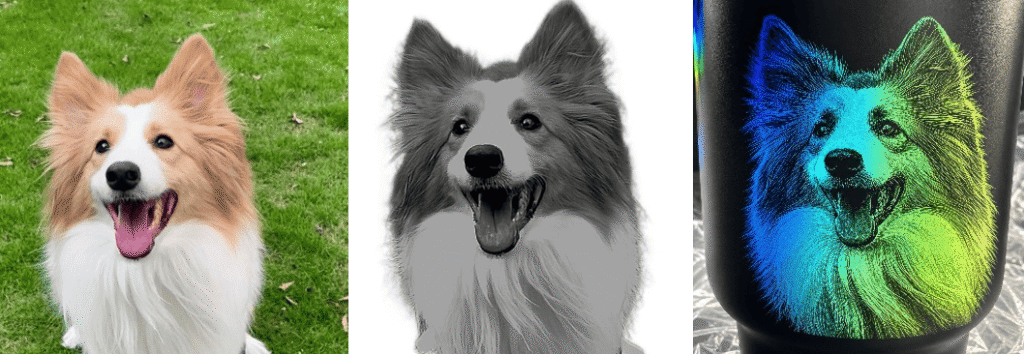
Why Photos Need Adjustment and Basic Adjustment Principles
1. Feature of Laser Engravers for Photos
A laser can only express an image through differences in depth and brightness.
Black means deeper engraving; white means no engraving and gray means partial engraving
2. The Problem with Normal Photos: Too Much Mid-Gray
Phone photos usually have soft shadows, low contrast and lots of mid-tone gray
But lasers cannot reproduce these smooth gradients very well. If you engrave it directly, you get lost details and dirty-looking output
In other words, laser engrave metal need clear black-and-white separation, not soft transitions.
3. Remove the Backgrounds if Allowed
If the background is cluttered, the laser will distribute details across the entire image, making the main subject (face/design) relatively less clear. If possible, keep only the subject for cleaner and better engraving results.
Step by Step Guide: How to Adjust a Photo for Laser Engrave Tumbler
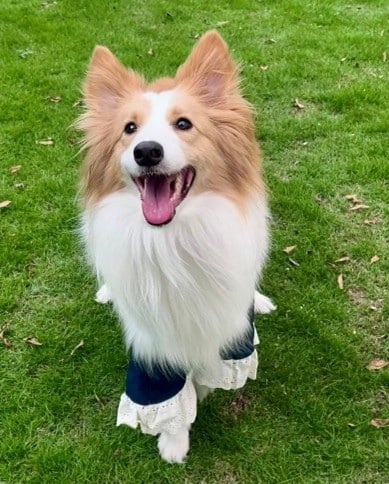
What You Need: Your phone or Photoshop; the image (we did a pet photo laser engraving)
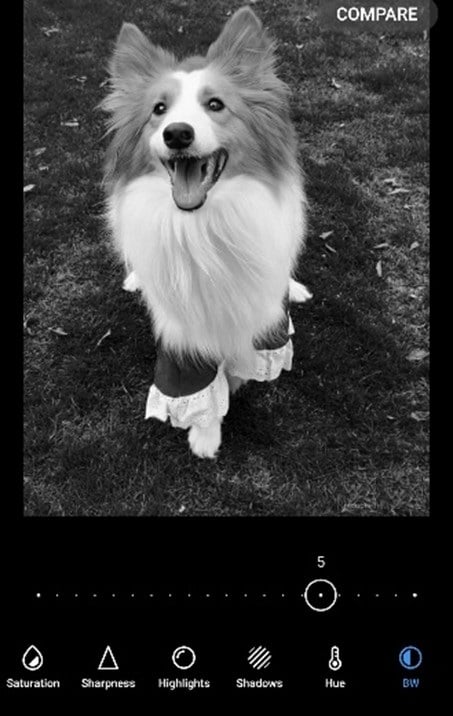
Step 1: Make the Image Black and White
Don’t overdo it or the details may lost. Pick a balance where the important details remain visible.
 |
 |
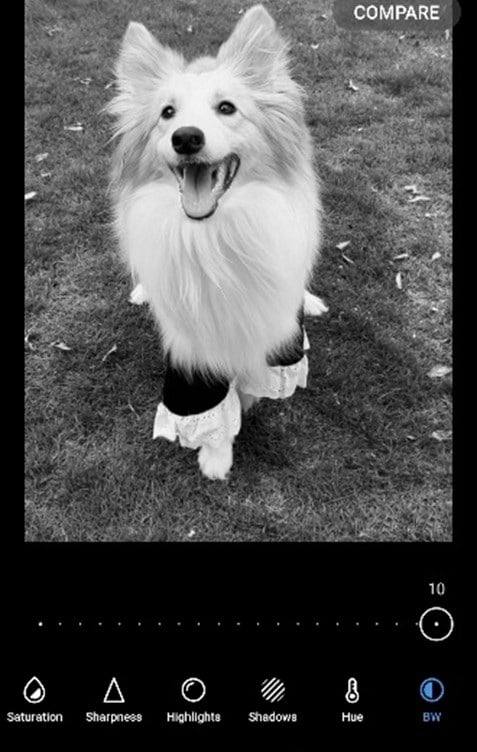 |
| Original | Good | Details Lost |
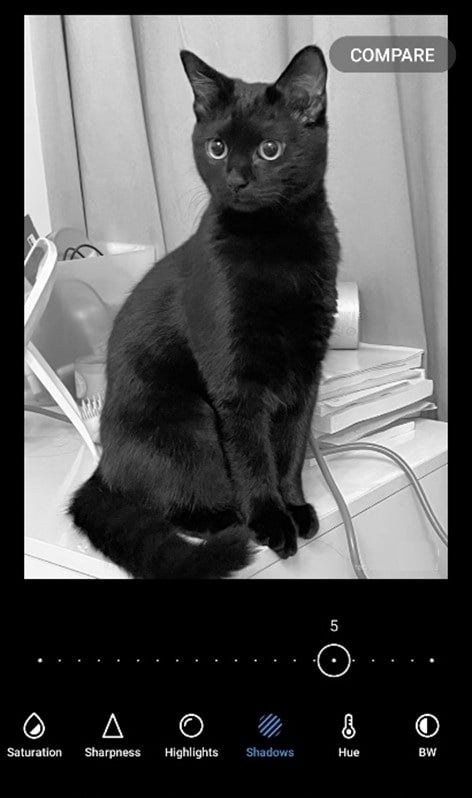
Step 2: Brighten the Shadows
This brings out hidden details. You can increase it to 100%, or stop when you feel the details are clear enough.
 |
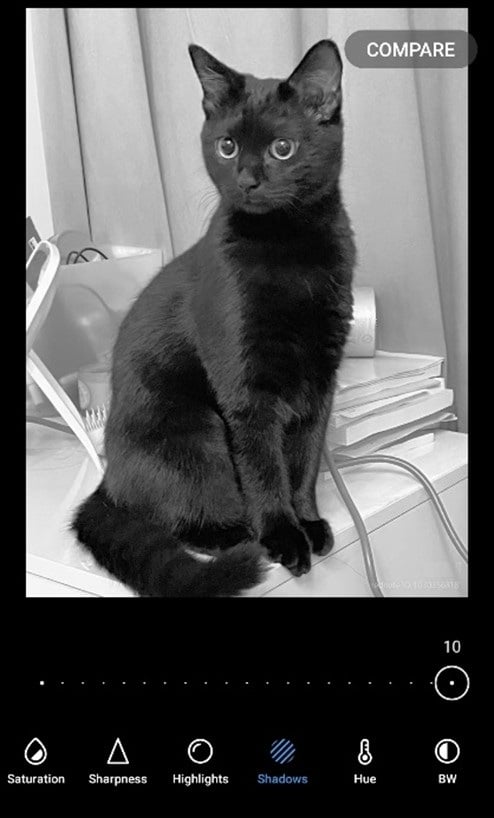 |
| Good | Too Much |
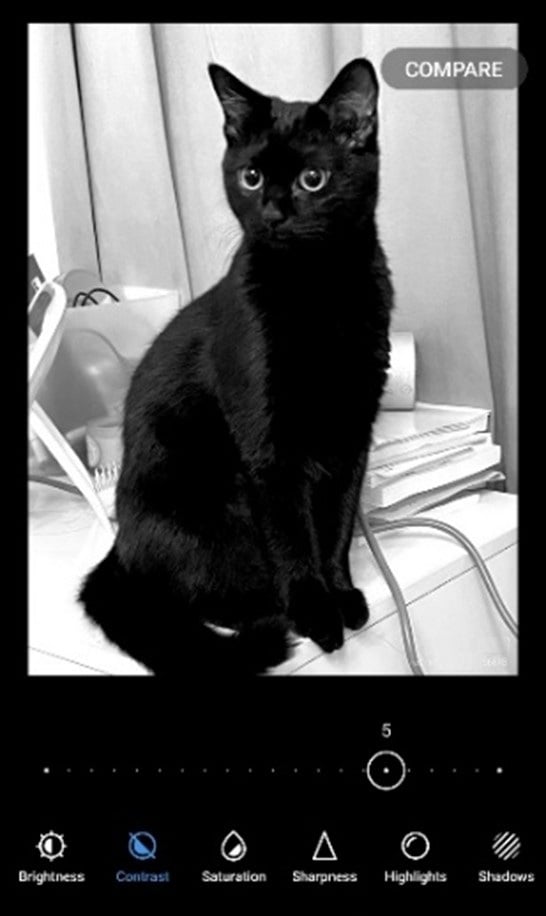
Step 3: Increase Contrast
Increase the contrast to around 50%. This is the zone where you keep the most details while making the pixels pop.
 |
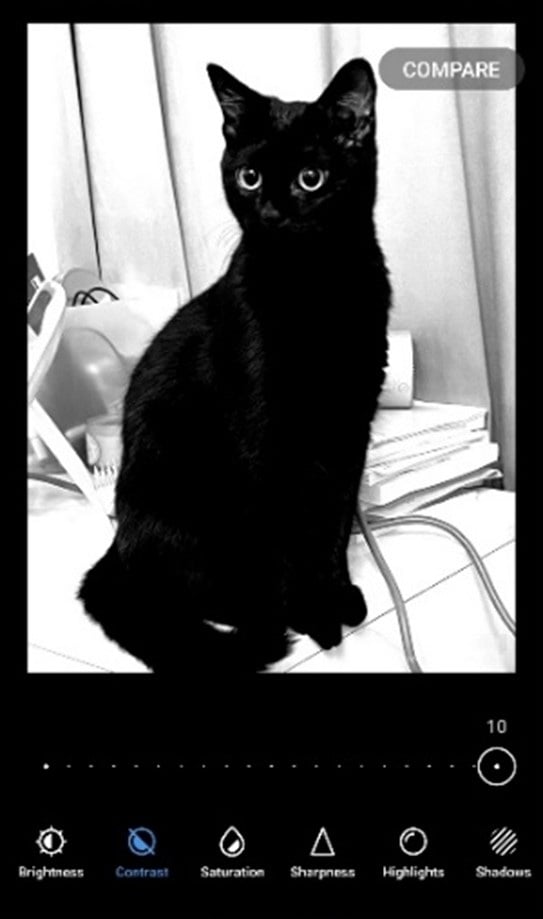 |
| Good | Details Lost |
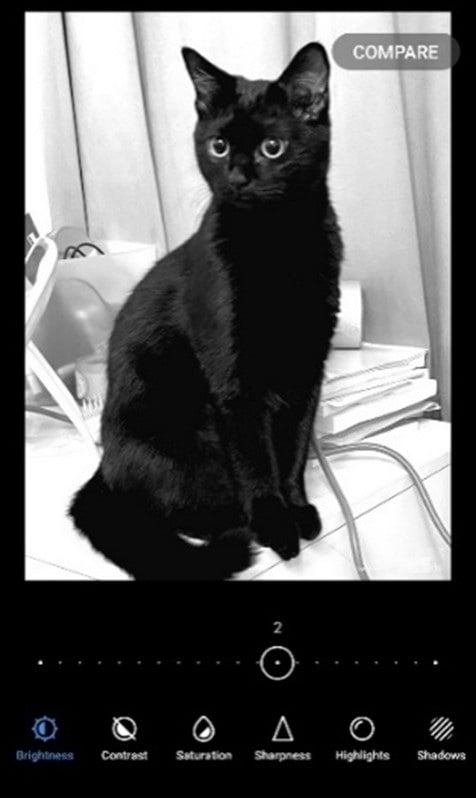
Step 4: Adjust Brightness
Lower the brightness when engraving a bright object. This helps keep the engraving deep and visible.
However, when engraving a black object, you can keep the brightness unchanged or even make the image brighter.
 |
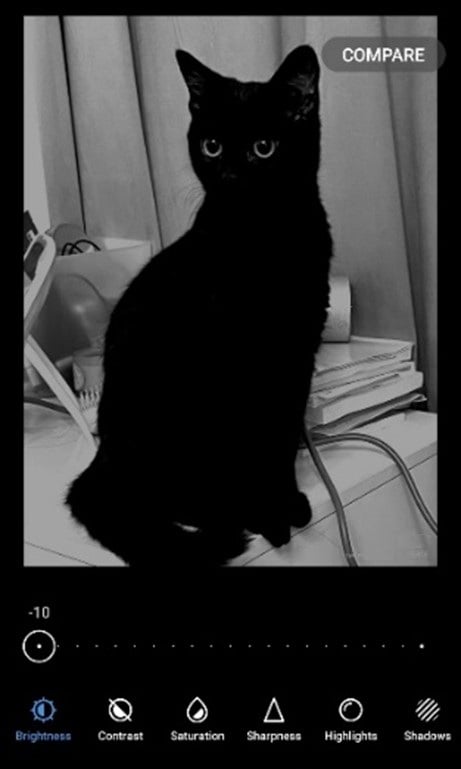 |
| Good | Details Lost |
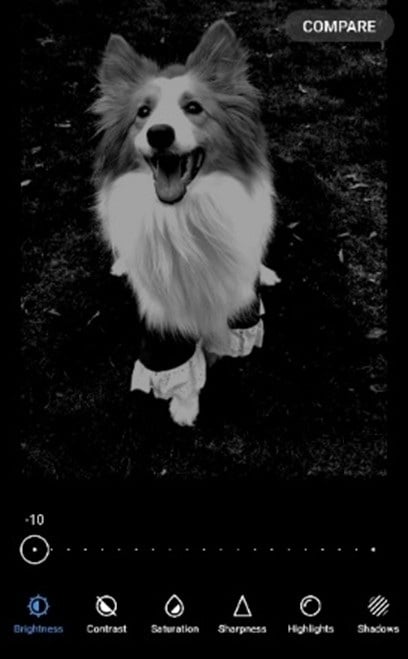 |
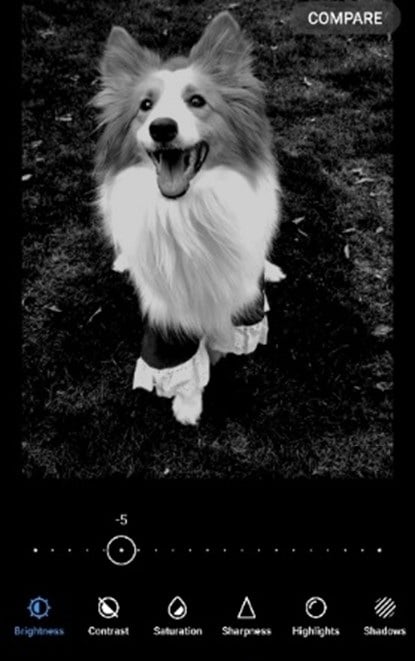 |
| Sharper Final Engraving Result | Brighter Final Engraving Result |
Step 5: Increase Sharpness
Increase the sharpness to the maximum. This strengthens edges, improves clarity, and prevents blurry engraving.
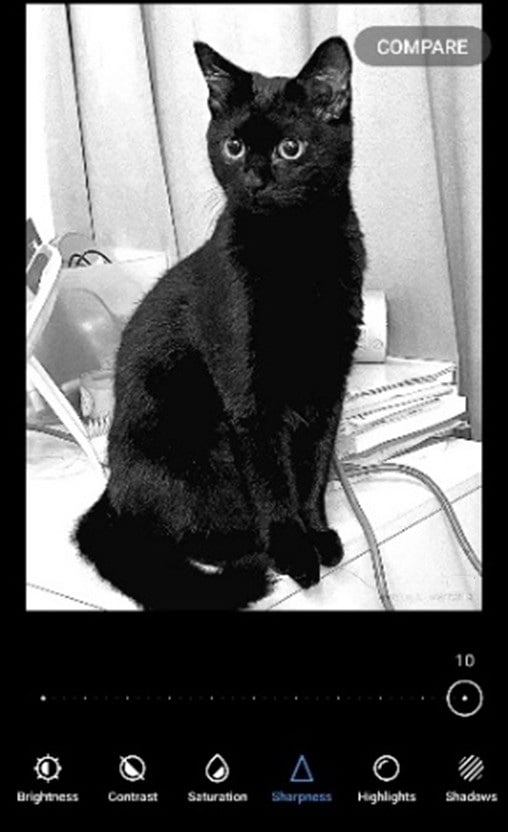 |
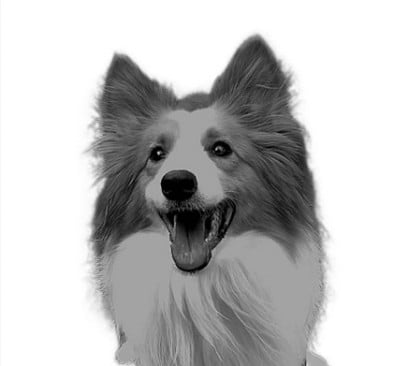 |
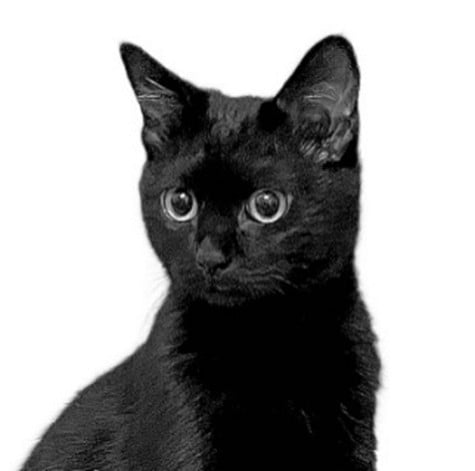
Step 6 (Optional) Remove the Background and Crop the Image
This highlights the subject and guides the visual focus toward the main object.
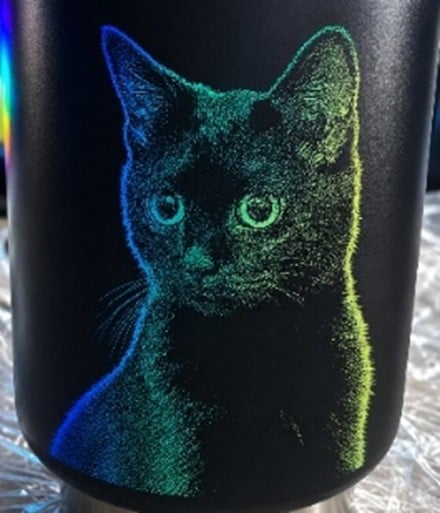
Invert the image now or later in the laser engraving software.
Add a border to the picture for sharper result.
 |
 |
Best Laser Engraver for Tumbler Engraving
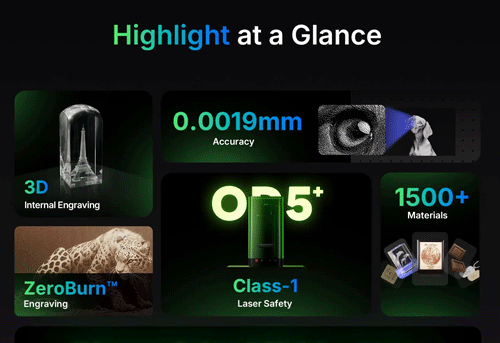
ComMarker Omni X UV Laser Engraver
• UV laser engraver operating with a 0.0019 mm laser spot
• Offers 16K HD detailed photo engraving
• Produces extremely fine details and sharp edges on coated tumblers and bare metal tumblers
• Causes minimal damage on delicate tumblers for a lower loss rate
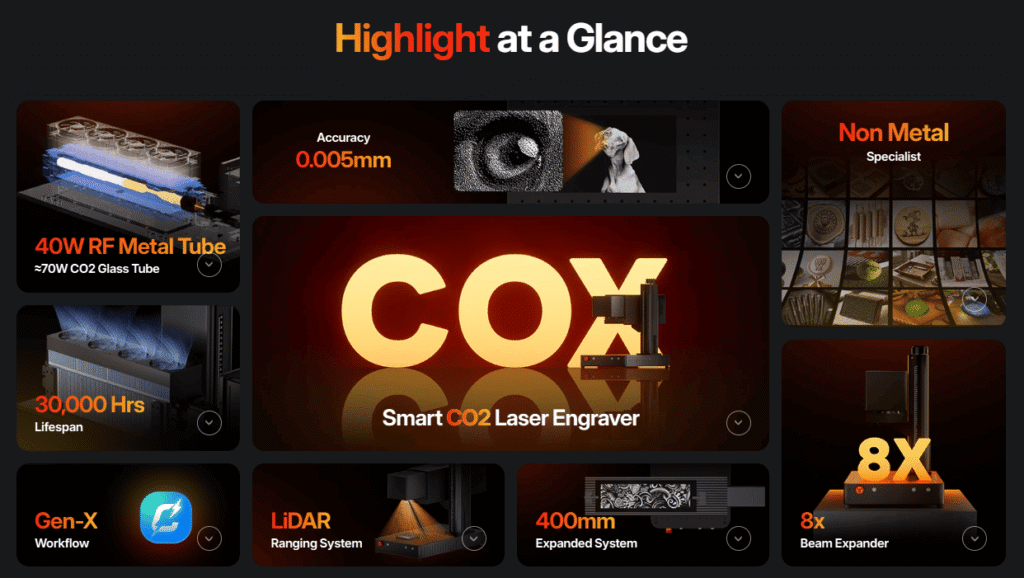
ComMarker COX RF CO2 Laser Engraver
• Fast engraving speed up to 15,000 mm/s
• 0.005 mm laser spot capable of clear photo engraving
• Removes coating layers cleanly without affecting the metal underneath
• Suitable for powder-coated tumblers and high-speed production engraving
How to Use a Rotary for Laser Engraving Tumblers
Final Thoughts
Photo laser engrave on metal tumblers is about matching the best settings and using the proper photo. By adjusting contrast, brightness, shadows, sharpness, and background details properly, you can transform an ordinary photo into a clean, sharp, and professional engraved tumbler.