Wood laser engraving photo is affected by grain direction, density, resin content, moisture, and even the way the board was stored can all affect the final result. That is why experienced laser users adjust the image, test the material, and fine-tune their parameters based on how that specific wood reacts to the laser.
This guide explains how to choose the right wood, prepare your images properly, and find best laser engraving settings so you can achieve cleaner, sharper, and higher-contrast photo engravings.
Why different Wood performs differently on Laser Photo Engraving?
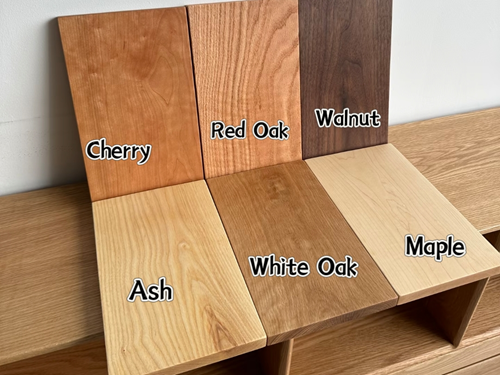
The quality of a laser-engraved photo depends heavily on the wood’s natural color, grain structure, density, and resin content.
Light-colored woods with fine and even grain usually produce the cleanest photo engraving results. Maple, basswood, and quality plywood are commonly used for photo engraving because they engrave evenly and provide stable contrast.
In contrast, while walnut’s dark surface can reduce engraving visibility and detail. In other words, the wood itself directly affects engraving sharpness, contrast, and tonal range.
Choosing the Best Laser Engraver for Wood Photo Engraving
Different laser engravers create different levels of detail, contrast, and heat impact on wood.
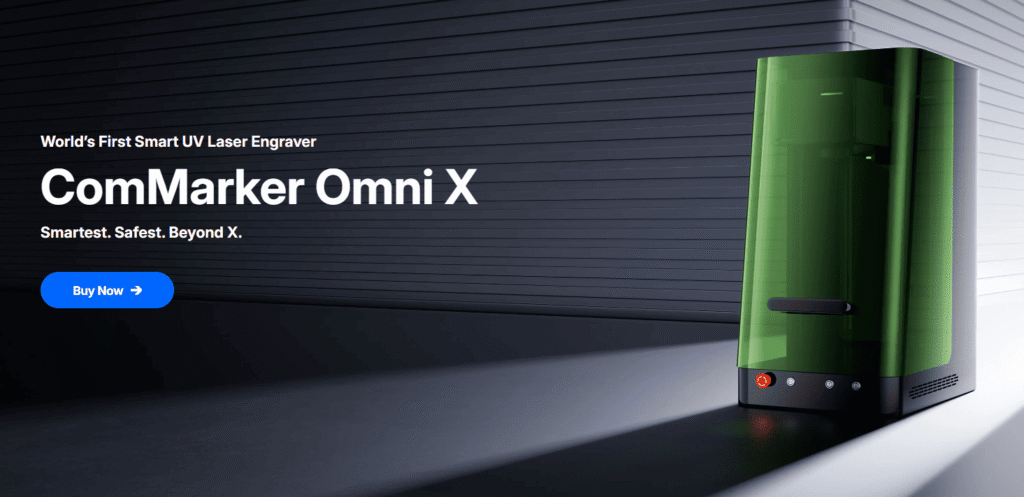
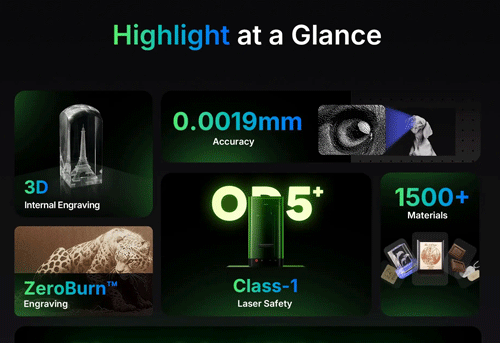
ComMarker Omni X UV Laser Engraver
UV lasers are one of the best options for wood photo engraving for its 0.0019mm spot size and low heat impact produce 16K HD details and smooth grayscale transitions.
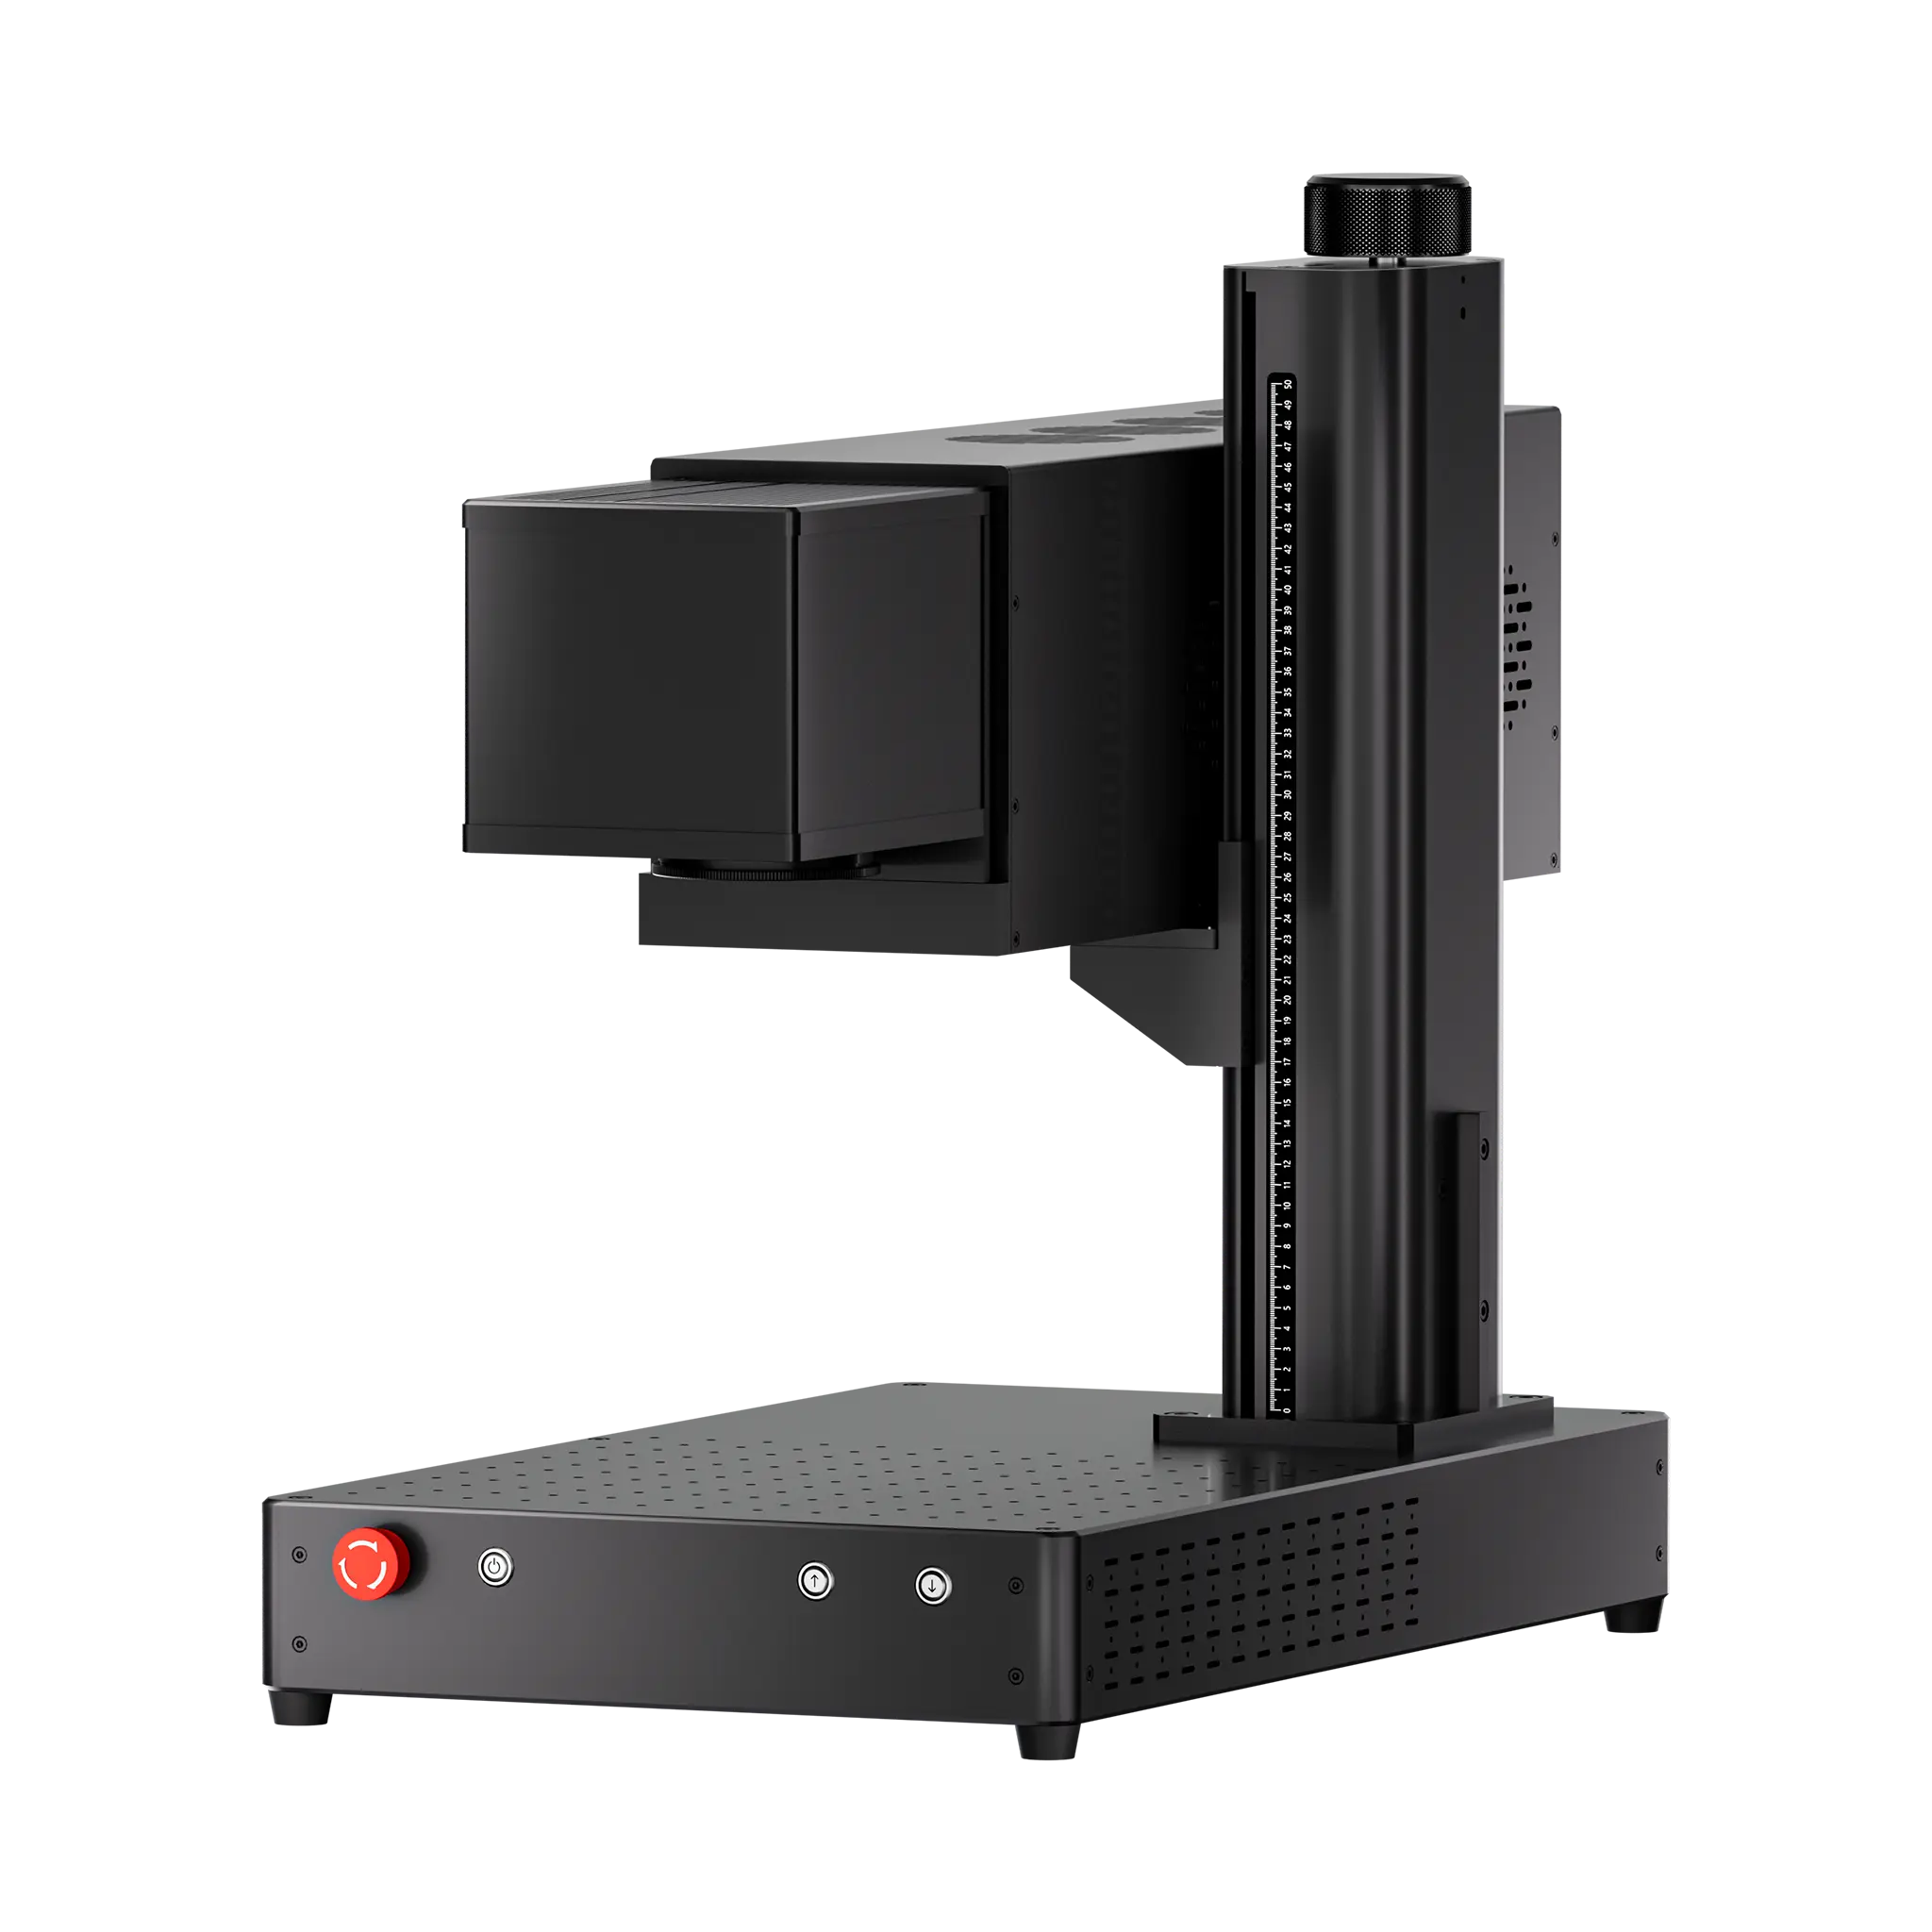
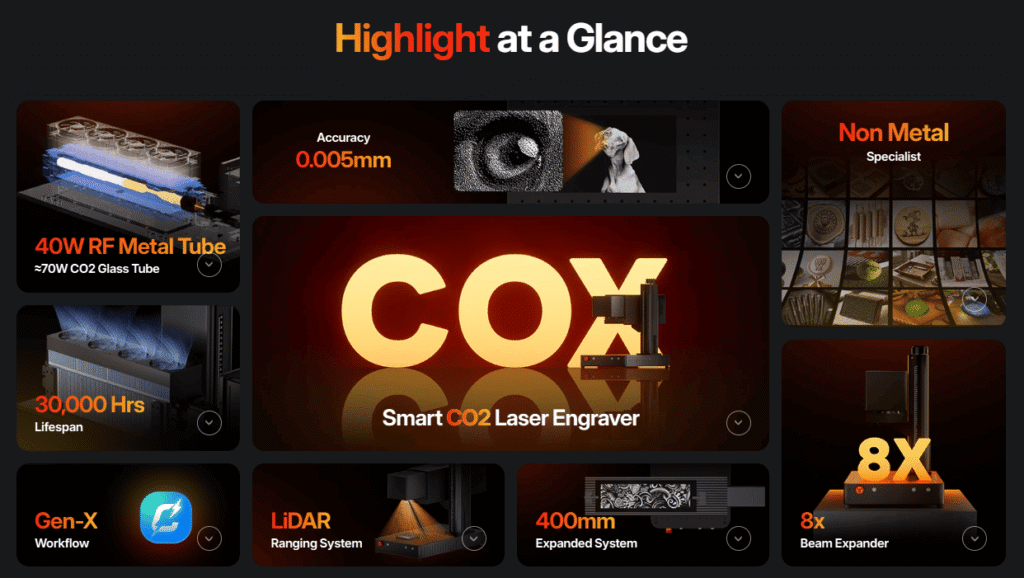
ComMarker COX CO2 Laser Engraver
CO2 lasers are the most common choice for wood engraving for their affordability and strong wood compatibility. However, their heat-based processing creates larger burn areas, so photo engraving usually requires more careful setting adjustments.
Diode Laser Engravers
Diode lasers are popular wood laser engraving machine for beginners. They can engrave wooden photos, but their larger spot size (0.04 mm) limits engraving detail compared to UV and CO2 lasers.
Laser Engravers not suitable for wood engraving: fiber laser engravers
Fiber lasers’ high-energy beam tends to burn the wood instead of creating controlled grayscale detail.
How to Prepare Photos for Wood Laser Engraving
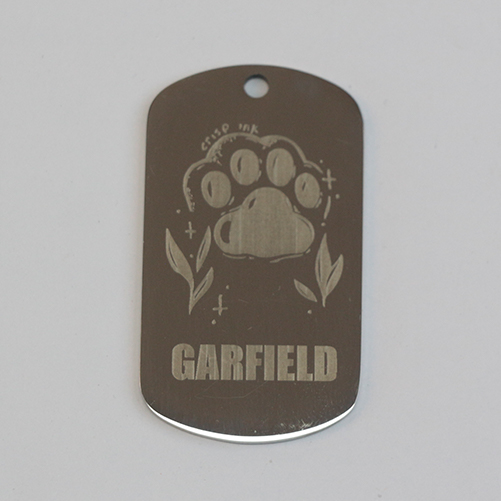
Wood engraving creates burn marks instead of true grayscale pixels, so photo preparation should focus on strong contrast and clean details rather than extreme realism.
Choose the Right Photo
Bright images with clear lighting and a simple background usually engrave much better than dark or cluttered photos. Portraits work best when the face stands out clearly from the background.
Adjust Contrast Carefully
Low-contrast images often look flat and washed out on wood. Too much contrast can destroy shadow detail and create large burned areas. The goal is clear separation between highlights, midtones, and shadows without making the image look harsh.
Don’t Over-Sharpen
A small amount of sharpening helps preserve facial details like eyes and hair. Too much sharpening creates harsh edges that burn unevenly on wood.
Different Woods Need Different Image Styles
Maple and basswood usually work best with softer grayscale transitions and more natural edits. Pine and walnut often need brighter highlights and stronger local contrast to keep details visible against the wood grain and darker surface.
| original photo | photo adjusted for laser engrave |
 |
 |
How to find the best setting for photo laser engraving on wood
Don’t Test the Hard Way
You’ve probably heard people say “just run a material test,” but testing every possible setting combination can take forever and burn through a ton of material.
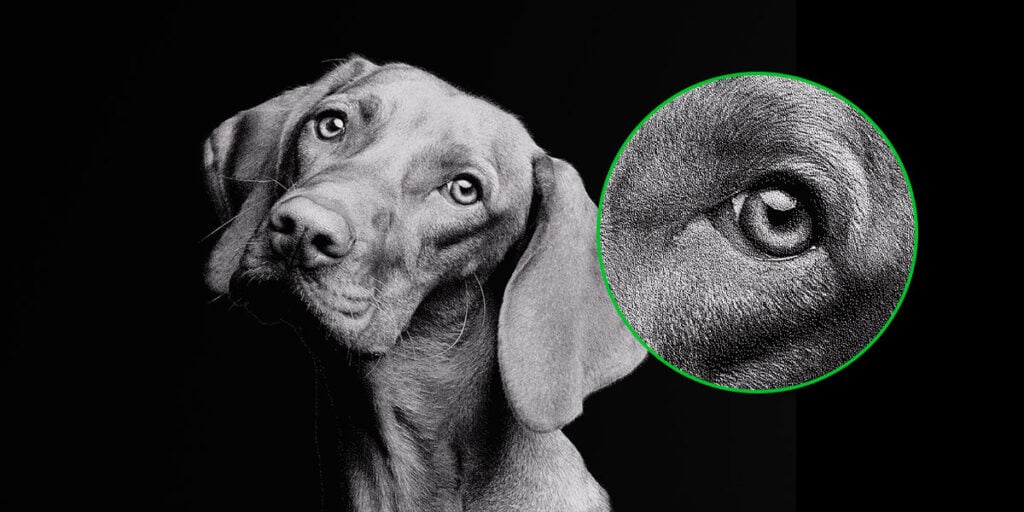
Instead of engraving the entire image every time, crop a small but important section first — usually the eyes, hair, or another detailed area.
This small test quickly shows:
• whether DPI is too high,
• whether the wood grain is destroying detail,
• whether the image contrast still needs adjustment.
Use Recommended Settings as a Starting Point
Online settings are only a baseline. Wood moisture, density, and resin content can change from board to board, even within the same wood type.
Start with recommended settings, then test nearby speed, power, and DPI combinations to find the cleanest result on your specific wood.
Recommended Starting Settings for Different Woods
12W UV Laser Engraver 250mm Lens:
Plywood: Dewll Time 300; Freq 50; Pulse 12; DPI 400
40W CO2 Laser Engraver-200mm Lens:
Plywood: Speed 80, Freq 15,Power 40, DPI 300
10W Diode Laser Engraver:
Basswood:Power 60%, Speed 3000 DPI 254
Plywood:Power 65%, Speed 3000, DPI 254
Pine:Power 50%, Speed 3500, DPI 254
How to Adjust Settings Based on Engraving Results
Blurry Engraving
Usually caused by DPI set too high, too much power, or heavy wood grain interference.
Higher DPI does not always improve detail. When scan lines overlap, contrast disappears and faces become muddy.
Shadows Too Dark
Lower the laser power slightly or brighten dark areas in the image before engraving.
Flat or Low-Contrast Results
Increase local contrast and improve midtone separation instead of simply increasing laser power.
Recommended DPI for Different Woods
• Maple: usually performs best around 300–318 DPI
• Basswood: often works better around 254–300 DPI
• Plywood: similar to basswood, but cheap plywood may need extra testing
• Pine: usually benefits from lower DPI and lower power to avoid blurry scan line overlap
UV laser engravers can usually handle higher DPI because of their smaller spot size and lower heat impact.
Engraving Mode Can Completely Change the Result
Bitmap mode control how grayscale is converted into laser dots and contrast.
Jarvis: Creates smooth grayscale transitions and natural-looking details. Recommended for maple, basswood, and most portrait engravings.
Stucki: Produces slightly sharper facial features and stronger contrast while still keeping smooth tones.
Floyd–Steinberg: Creates higher contrast and more visible texture, making it useful for pine and woods where subtle details may disappear.
Grayscale: Uses actual laser output variation instead of dot patterns, allowing smoother shading and more realistic results. However, it requires careful testing because wood does not always react evenly to power changes.
If you are unsure where to start, Jarvis is usually the safest choice for most wood photo engraving projects.
Final Thoughts
Successful photo engraving with laser is about understanding how the material reacts and adjusting your workflow accordingly.
The wood species, the image preparation, the machine feature, and the laser settings all work together to determine the final result.
Treat every wood type as a different material, test small areas first, and adjust based on how the wood actually reacts to the laser. Once you understand how different woods handle heat and contrast, producing clean, detailed laser photo engravings becomes far more consistent.