Getting clean and deep engravings on metal requires balance between laser power, scanning speed, frequency, hatch spacing, pulse width, focus position, and processing strategy.
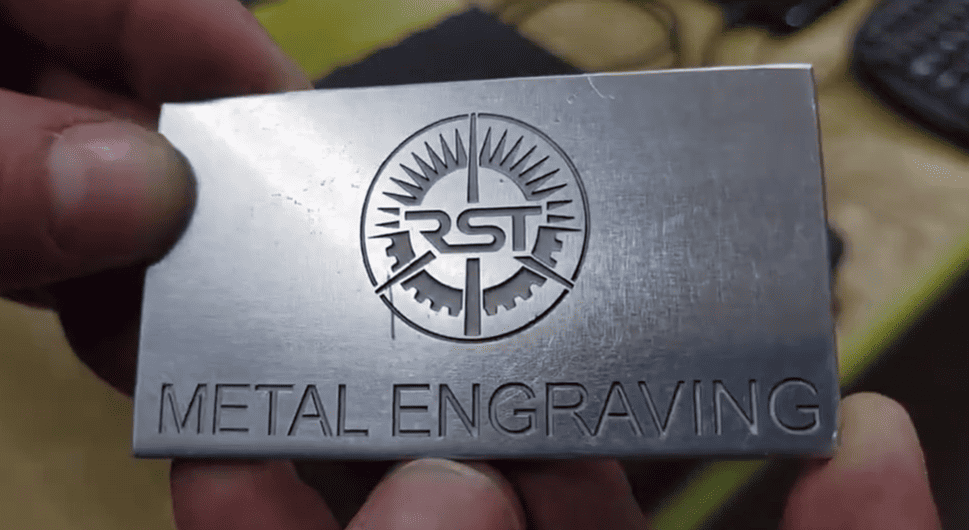
With the right parameters, a fiber laser can create deep, permanent engravings on stainless steel, aluminum, brass, and other metals with excellent edge quality and repeatability.
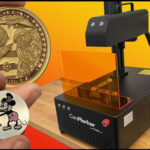
This guide explains how each parameter affects engraving depth and how to optimize settings for different materials and depth requirements with ComMarker Titan MOPA fiber laser engraver.
What Is Deep Metal Engraving?
Deep metal engraving is a laser process that removes material layer by layer to create a permanent, tactile cavity in metal.
Unlike surface marking, which only affects the top layer, deep engraving physically cuts into the material.
Depth comparison:
• Surface marking: ~0.01–0.03 mm
• Standard engraving: ~0.05–0.1 mm
• Deep engraving: 0.1 mm and deeper
How to Optimize Settings for Deep Metal Engraving
Summary first: Ranking of Parameter Impact on Deep Engraving
Based on experimental studies, the influence of each parameter on final engraving depth can be ranked as:
Power > Speed > Frequency > Hatch Spacing
This means:
• Power determines how much energy is delivered.
• Speed controls how much energy is concentrated in each area.
• Frequency and pulse affect single-pulse energy.
• Hatch spacing controls exposure density and bottom surface quality.
A typical deep‑engraving parameter set might be: high power (80–95%) + medium‑low speed (300–1000 mm/s) + low frequency (20–50 kHz) + small hatch spacing (0.01–0.03 mm) + multiple passes + dynamic focus adjustment.
The optimal combination changes depending on the material and required depth.
Detailed Explanation for Different Setting
1. Laser Power
Principle
Laser power determines the total energy delivered to the material surface per unit time. Higher power means higher energy density in the laser beam, which vaporizes/melts a larger volume of material per unit time.
Experimental data
Under the same processing time and number of scans, a 100W laser can achieve depth roughly 1.7 times that of a 60W laser (148.97 μm vs. 88.82 μm).
Important notes
More power is not always better. Excessively high power causes overheating, burning, or deformation on the surface.
For high‑power lasers (e.g., 200W), deep engraving usually does not require 95%–100% full power – too much power creates excessive heat build‑up in a short time, leading to spatter and poor edge quality.
A better practice is to start at 60%–80% power and adjust according to the material’s actual response.
Special note for MOPA lasers
MOPA fiber lasers allow independent adjustment of power, pulse width, and frequency. This means you can tune power without affecting pulse width or frequency, offering truly tailored parameter matching for different metals.
2. Speed
Principle
Speed determines how long the laser beam dwells on the material surface. Lower speed deposits more energy per unit area, removing more material in a single pass.
Experimental data
Tests with ComMarker laser machines show that as scanning speed increases, engraving depth decreases. Typical speeds for deep work range from 300 to 1500 mm/s. Excessively low speeds (e.g., <100 mm/s) cause excessive heat‑affected zones, over‑melting, and poor quality.
3. Frequency (kHz)
Principle
Frequency determines the number of pulses emitted per second. Lower frequency = higher pulse energy, stronger pulses; higher frequency = lower pulse energy but denser pulses.
Experimental data
Tests show that as frequency increases, engraving depth decreases.
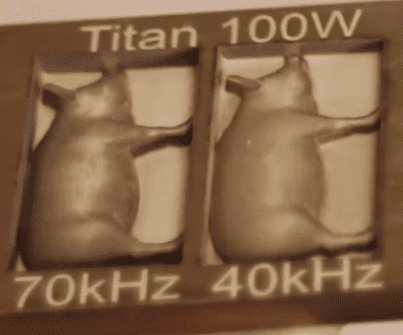
• On brass, increasing frequency from 40 to 70 brings 0.5mm extra engraving depth.
• On aluminium , 100 kHz makes the greatest depth of 2.43 mm, while at 600 kHz, effective deep engraving on aluminium is no longer possible.
Frequency and surface quality
• Higher frequencies (80–150 kHz) generally yield smoother marks, suitable for fine marking and surface finishing.
• Lower frequencies (20–50 kHz) produce stronger pulses with greater impact per shot, ideal for depth‑oriented engraving.
⚠️ Important tip
For traditional Q‑switched lasers (non‑MOPA), frequency and pulse width are coupled. Each pulse width has a corresponding base frequency.
Below the base frequency, output power drops; above it, peak power decreases. For example, 240 ns pulse width corresponds to a base frequency of ~10 kHz, while 160 ns corresponds to ~105 kHz.
Therefore, you cannot simply assume lower frequency engraves deeper, you must select the appropriate frequency based on your specific laser model and pulse width.
4. Hatch Spacing (Line Interval)
Principle
Hatch spacing is the distance between adjacent scan lines in the fill pattern. Smaller spacing increases the density of laser exposure per unit area, making the laser act on the material more times and thus deepening the cut. A typical rule of thumb is to set hatch spacing at 1/3 to 1/2 of the beam spot diameter.
Experimental data
Tests show that at a hatch spacing of 0.01 mm, engraving depth is maximum for aluminium, brass, stainless steel, and carbon steel. As hatch spacing increases, depth decreases.
Efficiency trade‑off
As spacing increases from 0.01 mm to 0.1 mm, processing time for 100 passes gradually shortens; however, when spacing exceeds 0.04 mm, the reduction in time becomes less significant. This suggests:
• Maximum depth: use 0.01–0.02 mm spacing
• Balanced depth and efficiency: use 0.03–0.04 mm
• Rough/fast work: use 0.05–0.1 mm
• Cross‑hatching:For greater depth requirements, alternating hatch angles (e.g., 0° and 90°) is recommended to minimise grooving and achieve a flatter bottom surface.
5. Number of Passes / Layers
Removal per pass
Typical single‑pass removal depth for fiber laser deep engraving is in the range of 0.01–0.1 mm, depending on power, speed, and material. Reaching a depth of 1 mm usually requires 10 to 100 or more passes.
Layer count and quality
More layers mean finer removal per layer, yielding smoother transitions on the bottom. However, with very high layer counts, single‑pass power should be reduced slightly to avoid excessive burning or overheating.
Layered strategy
For depths exceeding 0.5 mm, it is advisable to adopt a grouped scanning strategy (e.g., run 3–5 layers, pause to allow cooling and slag removal, then continue). This prevents slag build‑up and quality degradation caused by heat accumulation.
6. Focus Adjustment (the Most Critical and Most Overlooked Parameter)
Principle
The laser focus point has the highest energy density. As engraving depth increases, the material surface moves further away from the focal plane – if you do not adjust the focus accordingly, the laser operates in a defocused state with much lower energy density, drastically reducing depth efficiency.
Optimal defocus amount
Experiments show that a certain negative defocus (focus below the material surface) is necessary for best results. Specifically:
• Aluminium and brass: defocus = ‑3 mm
• Stainless steel and carbon steel: defocus = ‑2 mm
Dynamic focus‑lowering strategy
As depth increases, you need to gradually lower the Z‑axis (or shift the focus downward). Lower the focus by 0.05–0.1 mm after every fixed number of layers (e.g., every 50–100 layers).
7. Pulse Width (Parameter for MOPA Lasers)
For MOPA fibre lasers, besides the six parameters above, pulse width (Q‑pulse width / pulse duration) is a seventh critical variable.
Principle
Pulse width determines how long each laser pulse lasts. Longer pulse width = higher single‑pulse energy = stronger material removal capability.
Experimental data
Tests show that as pulse width decreases, engraving depth also decreases. Larger pulse width yields stronger deep‑engraving performance. For depth‑oriented applications, it is recommended to use 200–400 ns or even wider pulse widths. At 240 ns, depths are maximal for all tested materials.
⚠️ Coupling with frequency
As mentioned before, for non‑MOPA lasers, pulse width and frequency are coupled – changing pulse width alters the base frequency. The advantage of MOPA lasers is that pulse width and frequency can be adjusted independently, something traditional Q‑switched lasers cannot do.
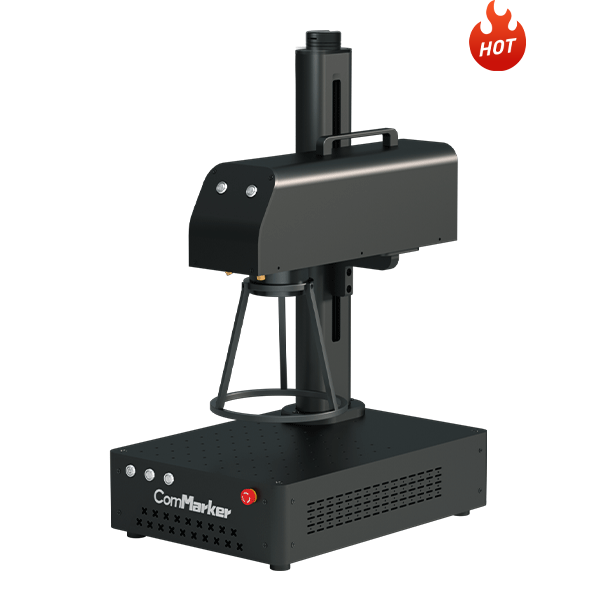
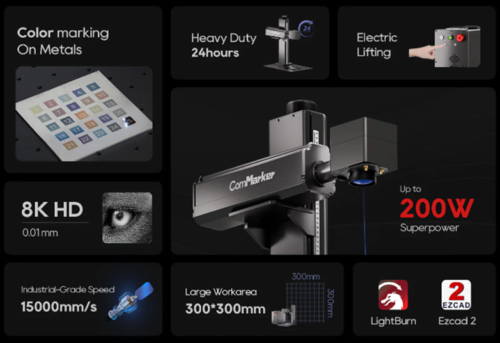
Why Choose the ComMarker Titan 200W for Metal Engraving?
• Unmatched depth : Up to 200w power to bring 25× more efficient than 20W systems. Easily achieves 0.5 mm+ deep engraving and can even cut through 5 mm metal (stainless steel, brass, aluminium).
• Speed that scales: Jobs that take 8 hours on low‑power lasers finish in minutes. 24 hour stable operation capability make batch production and same‑day orders realistic.
• MOPA precision: Independent pulse width and frequency control delivers both aggressive material removal and smooth surface finishes.
• Industrial reliability: Electronic Z‑axis, changeable lenses, build to support continuous multi‑pass work with consistent, repeatable results.
How to Perform Deep Metal Engraving with the ComMarker Titan 1
To get the best results with the ComMarker Titan 1 for deep metal engraving, follow these steps:
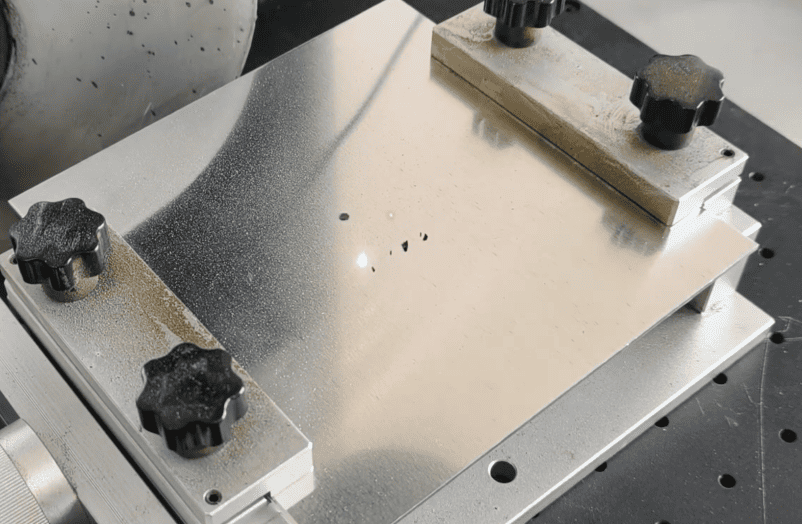
Step 1: Choose the Right Material
First, ensure that the material you are working with is suitable for deep engraving. The ComMarker Titan 1 works well with metals like brass, aluminum, and stainless steel, making it perfect for industrial applications and artistic projects.
Step 2: Use the Appropriate Lens
When deep engraving, choose the appliable small lens (eg, choose 110mm instead of the 2oomm for a coin). This helps ensure power strength.
Step 3: Use Proper Settings
Sample laser engraving settings to use a 60w MOPA fiber laser engraver for brass deep engraving
Lens: 150mm
Engraving Pass:
- Speed: 2000 mm/s
- Power: 95%
- Frequency: 100 kHz
- Pulse Width: 200 ns
- Line Interval: 0.025 mm
- Layers: 256
- Mode: 3D Slice
Cleanup Pass:
- Every 10 layers
- 30% power
- 80 kHz frequency
Step 4: Adjust Focus for Deeper Engraving
Once your settings are adjusted, make sure to focus the laser on the material’s surface properly. The ComMarker Titan 1 comes with an intuitive Z-axis focus adjustment to help you fine-tune the focus and achieve the deepest engravings.
Step 5: Design for Depth (How Deep Engraving Actually Works)
Deep engraving is built layer by layer. Run a material test to measure how much depth is achieved in a certain amount of pass, and set the laser accordingly.
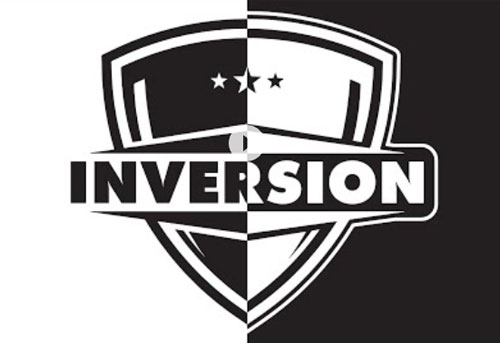
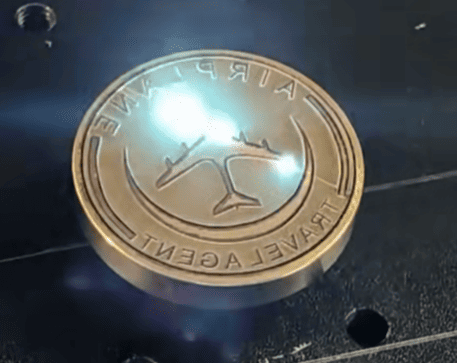
You can also reverse this process. Instead of engraving the text itself, you can repeatedly engrave the surrounding area, leaving the text raised. This creates an embossed or relief effect, where the design appears elevated from the surface.
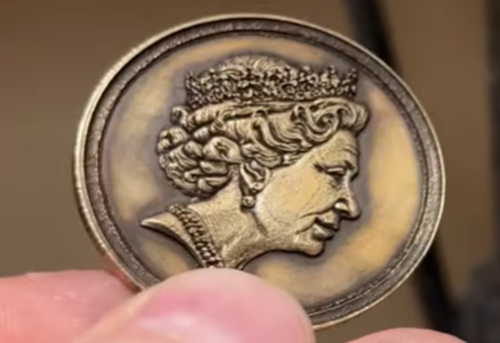
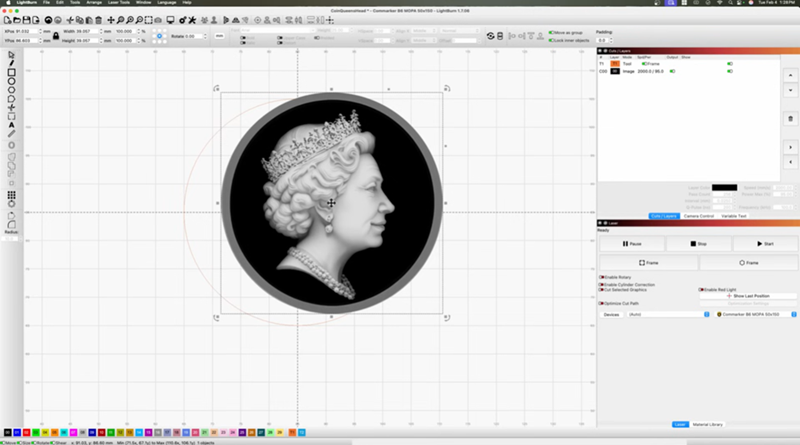
For more advanced results, use grayscale images. The laser adjusts its scanning area based on brightness: darker areas engrave deeper, while lighter areas are less touched. This allows for smooth depth transitions and makes it possible to create realistic 3D relief engraving effects.
 |
 |
In some cases, if you continue the process long enough, you can even cut through or drill into the material following the design path. This is the fill strategy commonly used in laser metal cutting workflows.
 |
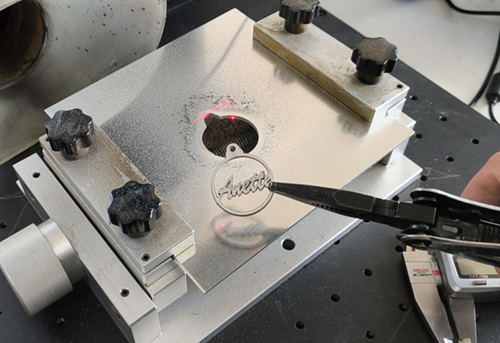 |
Step 6: Start the Engraving and Monitor the Process
Lower the laser head approximately every 30 minutes to maintain optimal focus
Polish the final engraving with rotary tool or sand paper for cleaner result.
Tips: How to Get Best Results when using Fiber Laser for Deep Metal Engraving
-
Test before the final engraving: Always run a few tests on scrap metal before moving to the actual project. This helps you fine-tune the settings and avoid wasting material.
-
Use the correct lens: The 110mm lens offers more precision for detailed work and faster deep engraving.
-
Choose the right metal: Softer metals like aluminum are easier to engrave, while harder metals like stainless steel may require more power or additional passes.
-
Work in a well-ventilated area: Metal engraving often produces fumes, so ensure you have proper ventilation or a fume extraction system in place.
-
Choose a high-power fiber laser engraver
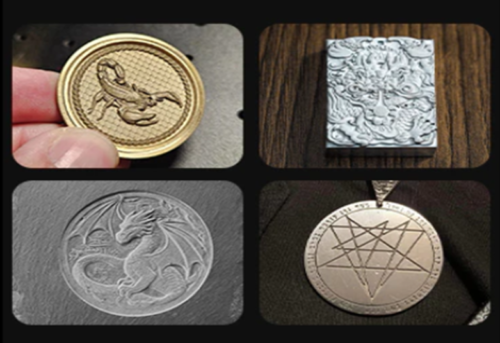
What can you make with Deep Metal Engraving
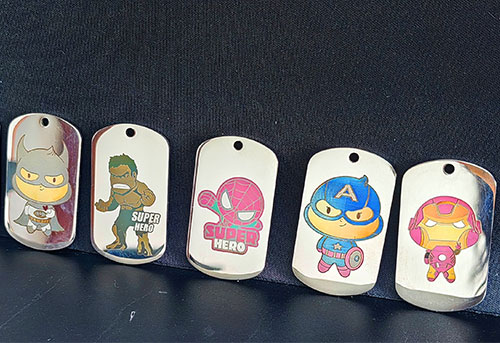
-
Challenge Coins: Perfect for gifts or online sell. Check guide on how to engrave coin with fiber laser engraver→
-
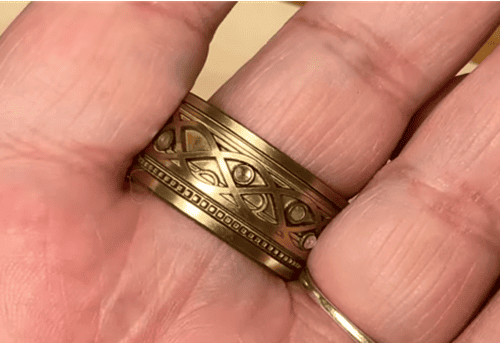
Personalized Jewelry: ComMarker Titan could cut and deep engrave metal, so you can make unique jewerly that actually sell. Check guide on how to make personalized ring with fiber laser engraver→
- Personalized Parts with Logos and Serial Numbers: Mark or Deep engrave designs on golf clubs→
-
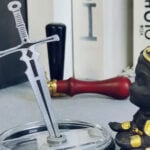
Stamp for leather and food: Press marks. Check guide on how to make personalized stamp with fiber laser engraver→
Conclusion
The ComMarker Titan 200W laser engraver is a powerful tool for deep and precise metal engraving. By using material tests and adjusting settings based on your material type, you can achieve high-quality, professional results in a fraction of the time compared to lower-powered machines.
Whether you’re engraving metal for personal projects or professional applications, the ComMarker Titan offers the strength and precision needed to bring your designs to life.