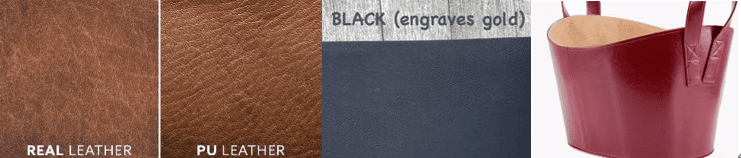
PU leather is a common material in laser leather engraving work because it is affordable, versatile, and widely used for wallets, patches, bags, accessories, and promotional goods.
However, how to engrave PU leather safely, what laser works best, how to stop melting, how to clean the result when laser engraving PU leather? This guide answers the questions people most often ask when they engrave PU leather.
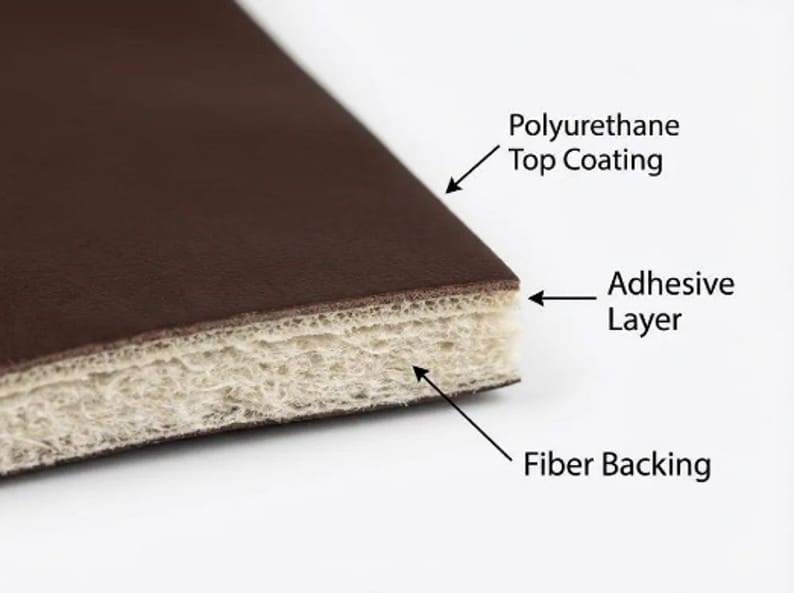
What makes PU leather different?
People often confuse PU leather with laser engraving leatherette or faux leather, but for laser engraving, the important thing is that PU is a specific synthetic material, not a vague label. That matters because some synthetic “leather-like” products are laser-friendly, while others are not.
What result can you expect from laser engrave PU leather?
PU leather is not of one single look or feel. That is why two PU sheets can react very differently when laser engraving.
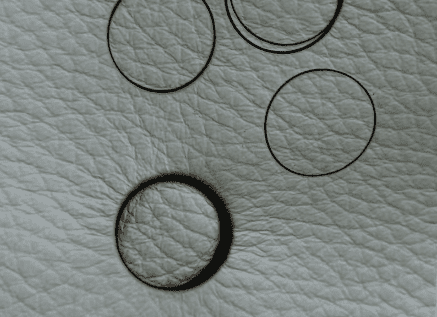
1.Surface gloss change / reflective effect
On some smooth PU leather, the laser changes the surface finish, so the engraved area may look glossier, shinier, or slightly different in reflectivity.
This part is an implication based on PU being a coated synthetic material and on the fact that different finishes behave differently under laser heat.
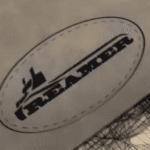
2.Surface marking / black marking
The laser can create a dark surface mark without fully cutting through or fully stripping the coating.
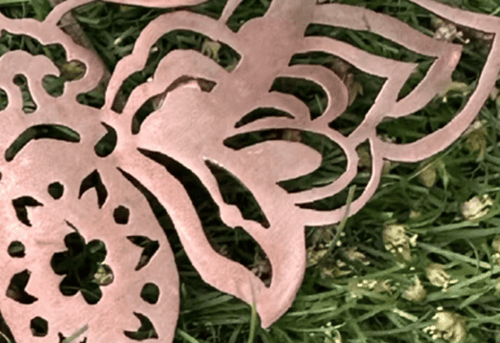
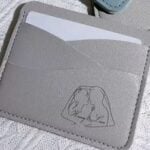
3.Remove coating / reveal contrast
The laser removes the top coating and reveals a different color or base layer underneath, creating a clean two-tone contrast effect.
Some laserable PU leather is engineered with a contrasting core layer. In these materials, the laser removes the top coating to expose the hidden color beneath, showing silver, gold, or black.
4.Cutting
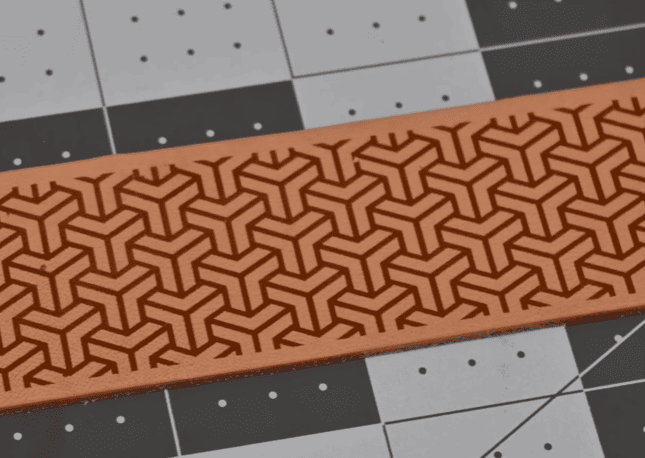
Some PU leather can also be cut into shapes such as patches, labels, tags, belts, or outlines.
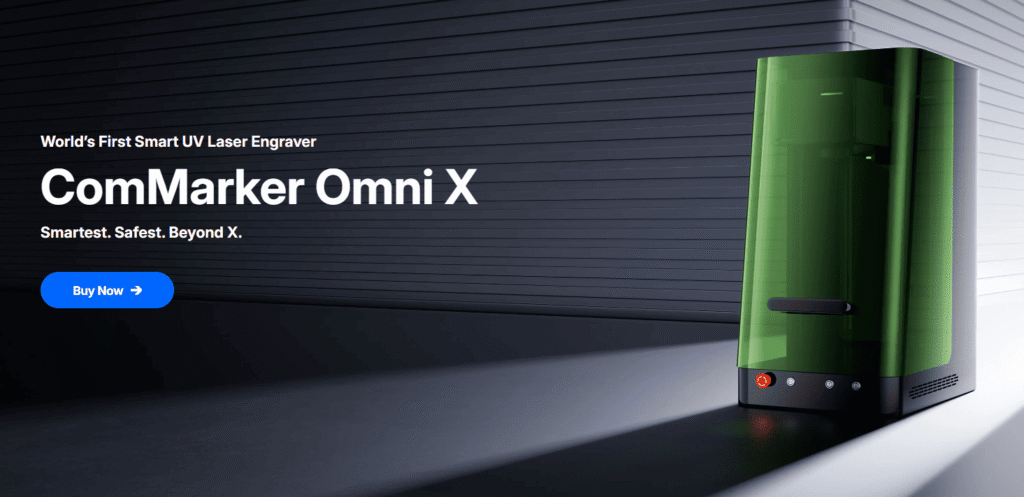
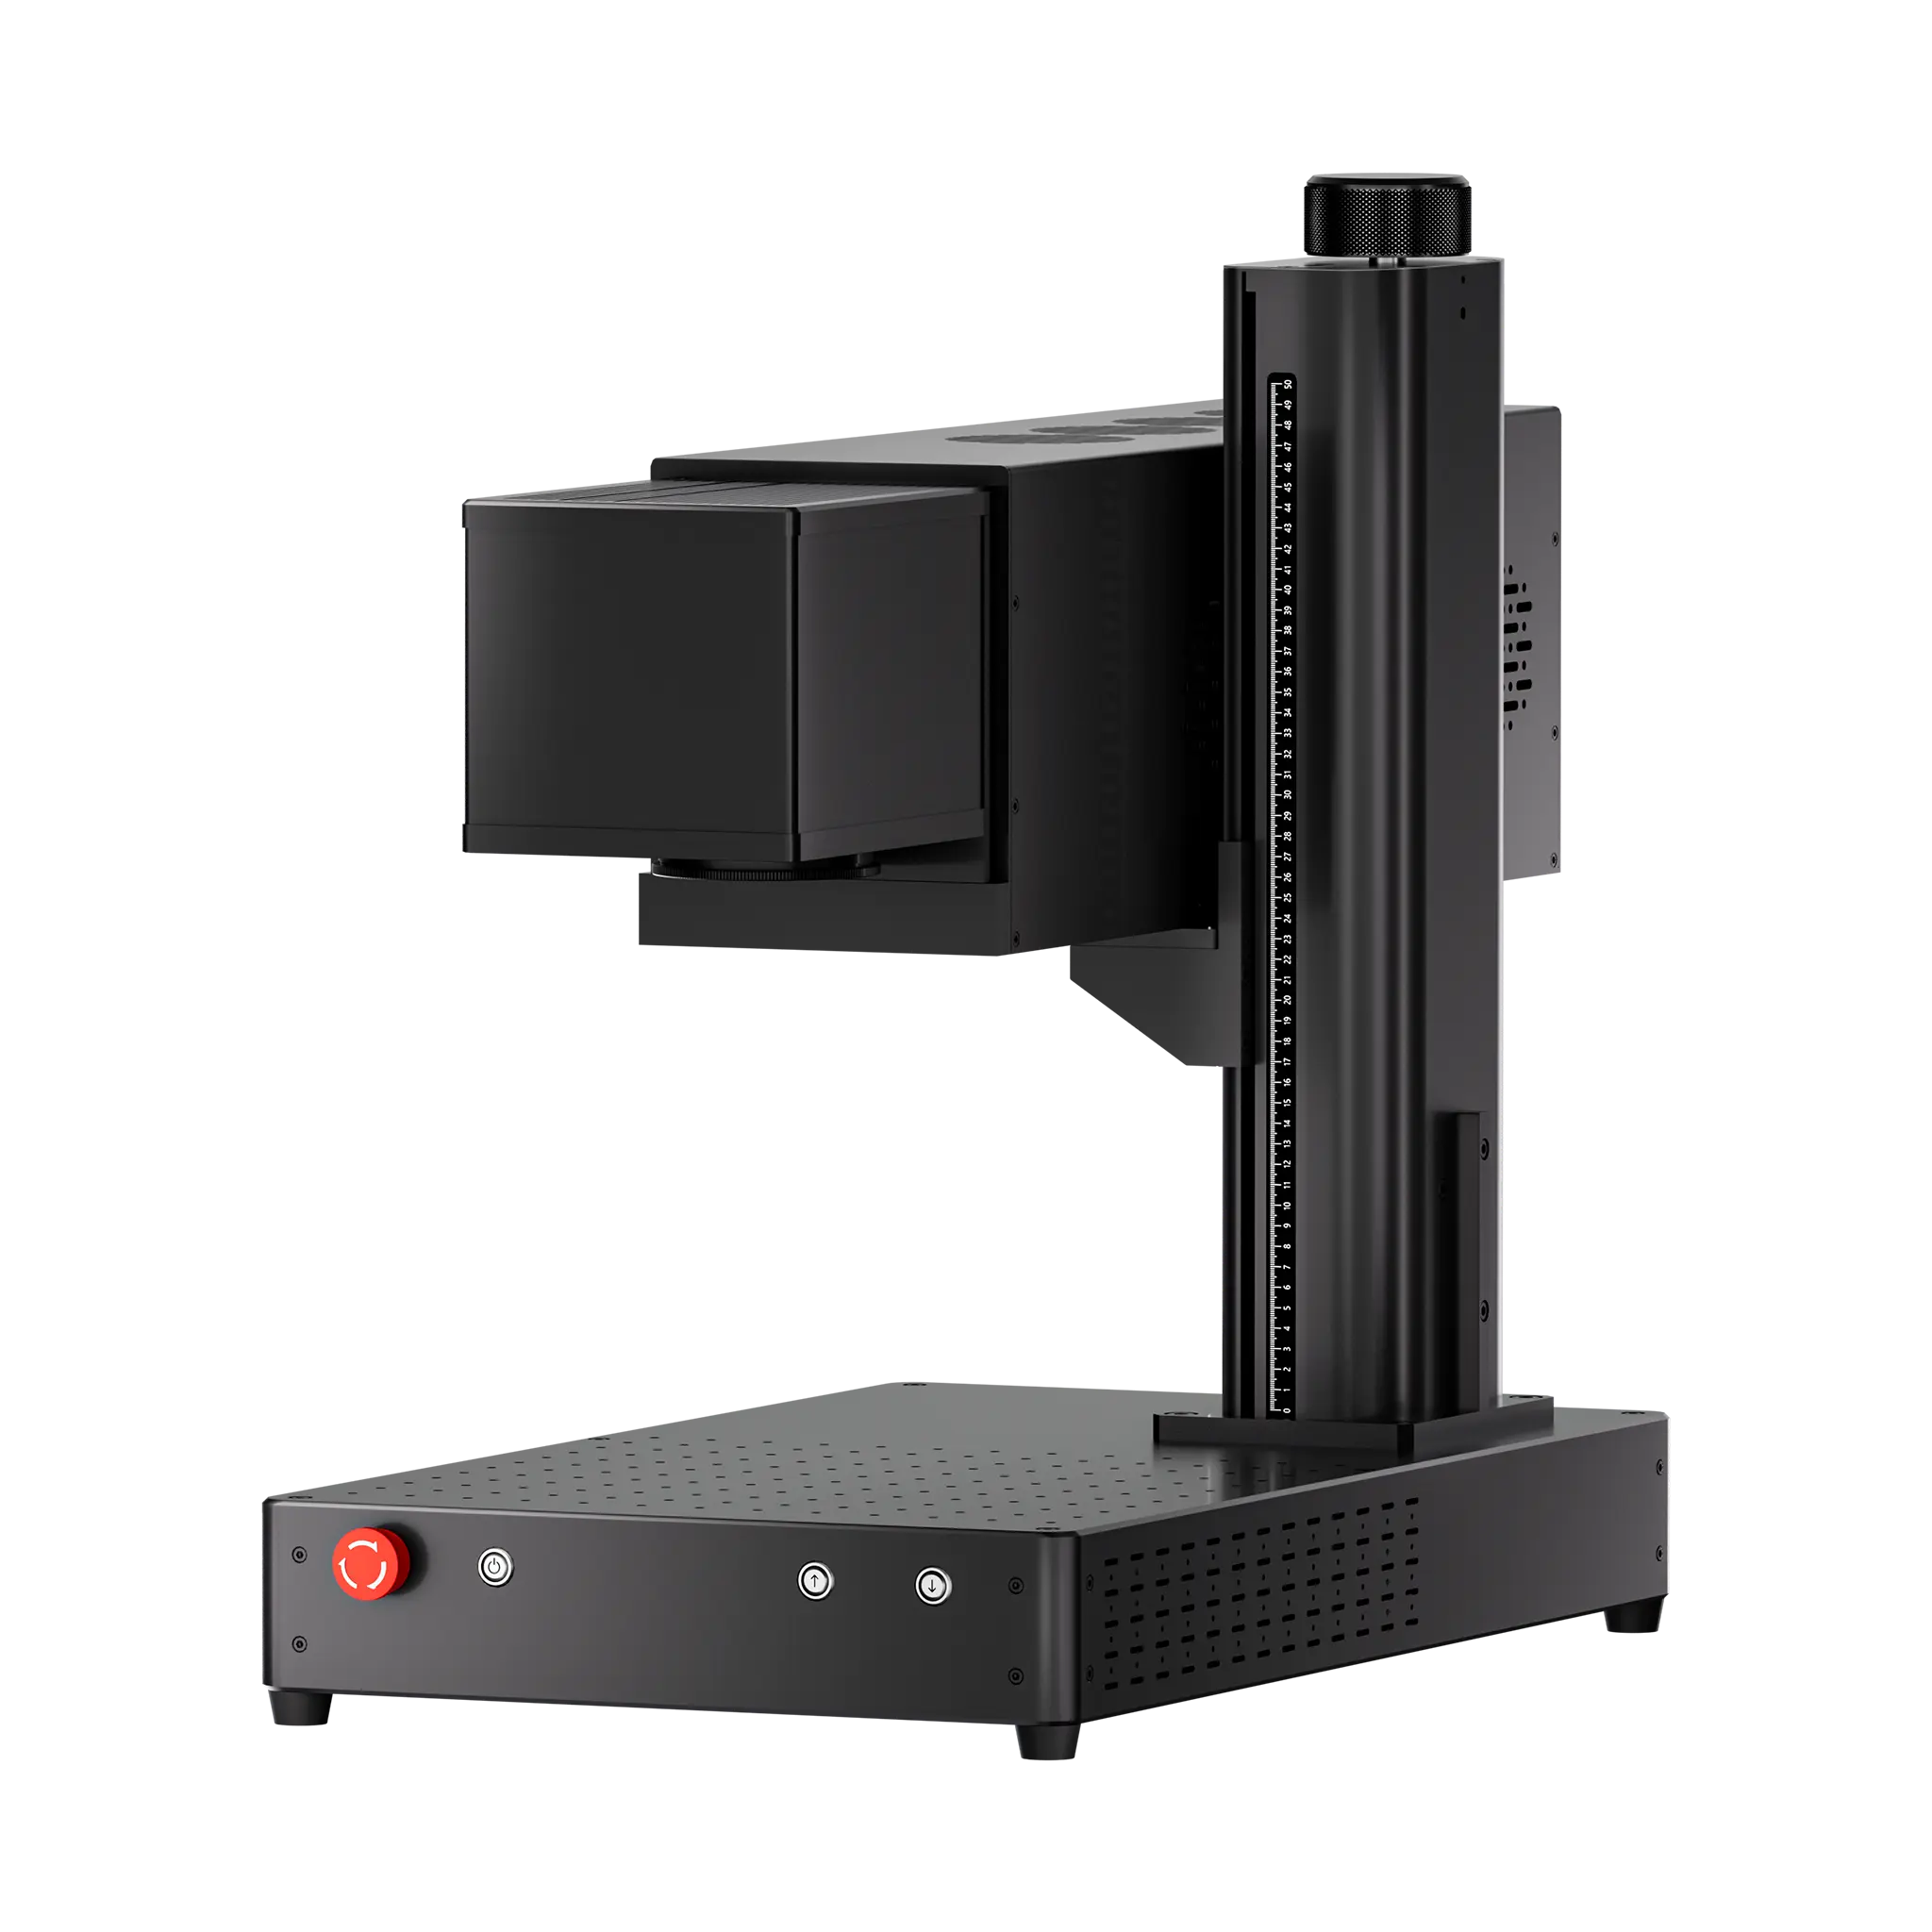
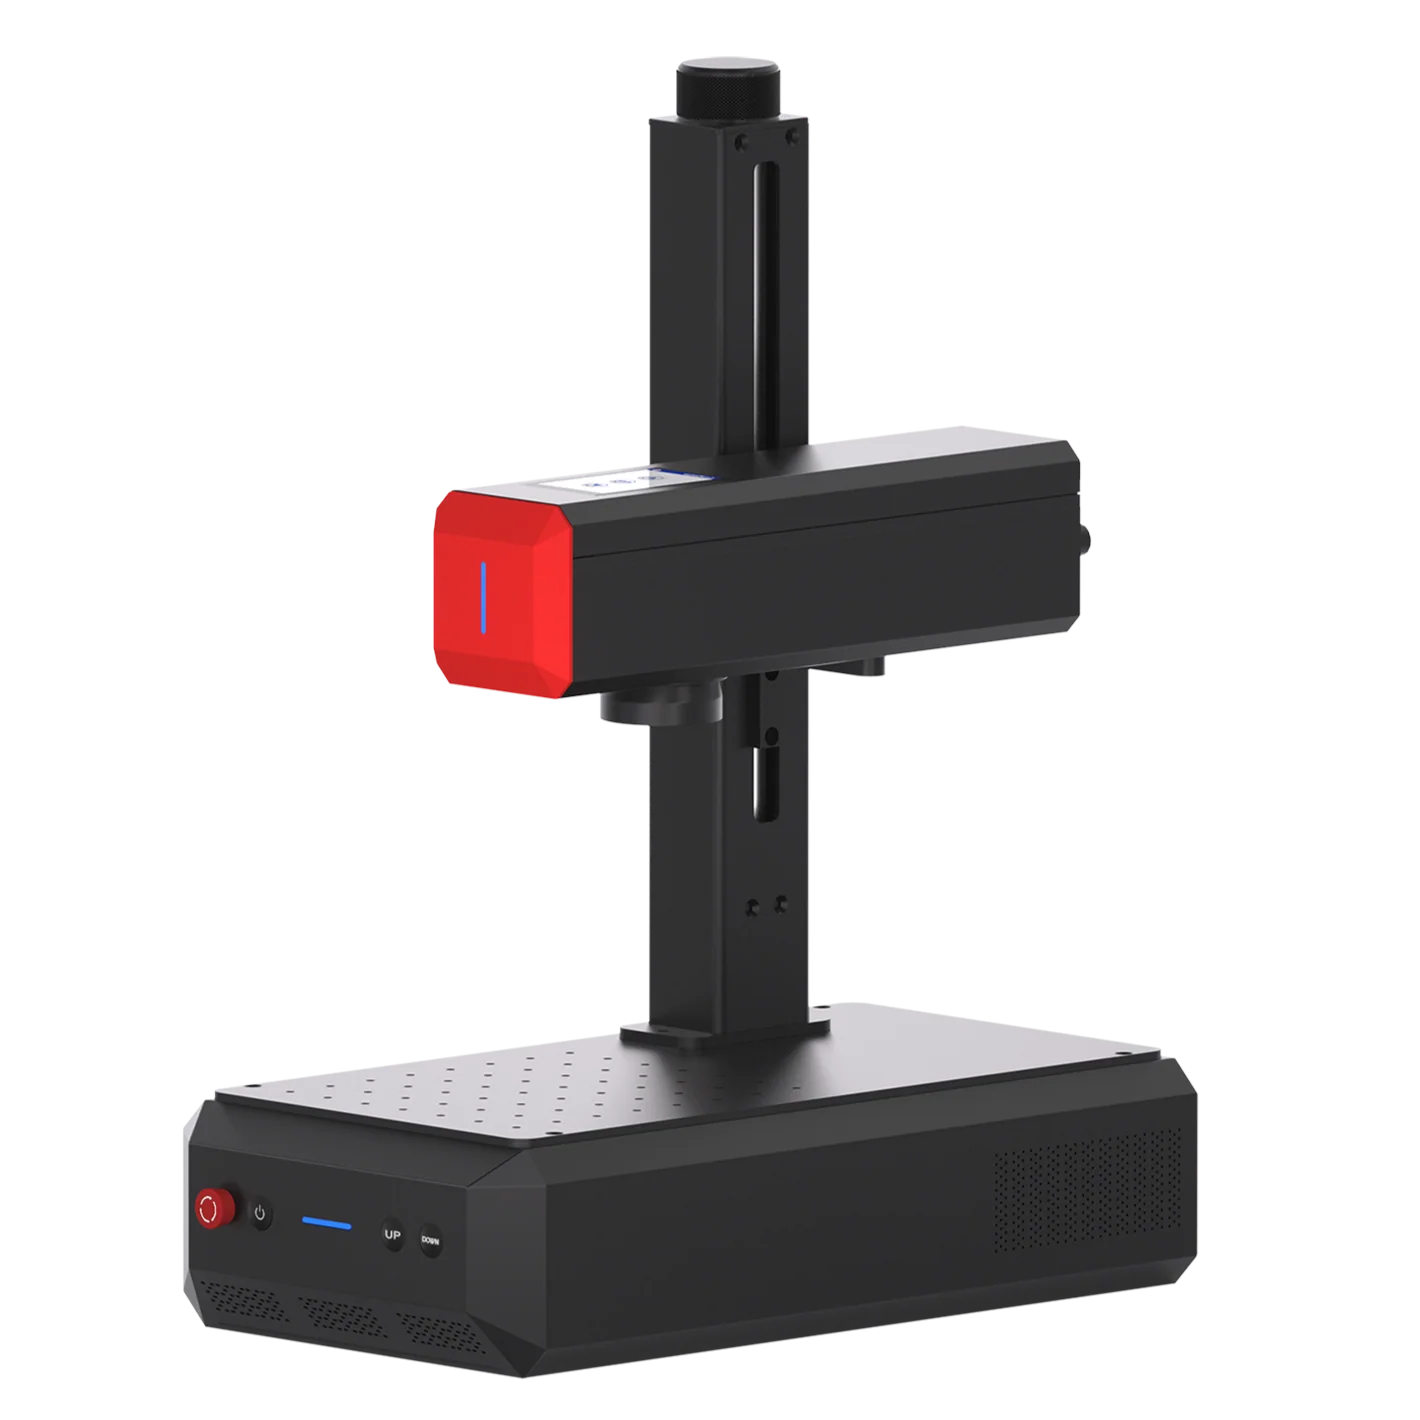
What’s the best laser engraver for PU leather?
| Machine | Price | Speed | Precision | Capability to mark | Capability to cut | Notes |
| ComMarker Omni X UV | From $3,699 | 10,000 mm/s | 0.0019 mm spot size | 10/10 | 8/10 | Crisp detail, high contrast, minimal damage; 16K HD accuracy
|
| ComMarker COX CO2 | From $2,999 | 15,000 mm/s | 0.005 mm accuracy | 8/10 | 5/10 | Sharp result with high contrast; fast cutting
|
| ComMarker B6 MOPA Fiber | From $2,599 | 15,000 mm/s | 0.01 mm spot size / 8K HD precision | 6/10 | 5/10 | Vintage-style results; needs more precise settings control
|
| Diode Laser | Around $150 | Around 800 mm/s | 0.05–0.2 mm spot size | 6/10 | 5/10 | Acceptable for basic marking and testing; hobby-user level.
|

Settings for Laser engrave PU leather
60W MOPA Fiber Laser Engraver (150 mm lens):
Brown PU leather (Black mark) Frequency 200; Q Pulse 200; Passes 1; Speed 690; Power 10%
40w CO2 Laser Engraver (200 mm lens)
Brown PU leather (Black mark): Speed 1500; Freq 15; Power 20%, Line Distance: 0.05
5W UV laser engraver (150 mm lens)
PU leather (polish surface): speed 1000, Freq 30, Pulse 200, Line interval 0.05.
Brown PU leather (Black mark): Speed 750; Freq 40; Pulse 1; Line Interval 0.03, Pass 2.
10W blue diode laser:
Brown PU leather (Black mark):80% Power, 400 Speed, 1 Pass, 120; Line Interval 0.01
Tips for laser engraving PU leather
1.The Use of Frequency
Higher frequencies generally produce smoother and more controllable marks, while lower frequencies deliver stronger, more aggressive engraving that can easily burn the material.
2.Create Better Results with a Two-Layer Engraving Process
Instead of using a single aggressive pass, consider splitting the engraving into two stages. The first pass removes or breaks through the PU coating, while the second pass refines the details and improves surface quality.
For example, with a 30W fiber laser engraver, you can use:
500 mm/s, 25% power, 40 kHz to break through the surface coating.
500 mm/s, 25% power, 200 kHz as a cleaning pass to refine the mark and improve detail.
3.Adjust Parameters Based on Image Size
Large graphics often require different settings than small logos or text. When engraving a large area, the laser beam spends less time in any single location. As a result, higher power may be needed to maintain consistent contrast.
4.Test Every New PU Leather Batch
PU leather is not a standardized material. Different manufacturers, colors, coatings, and even production batches can react differently to the same laser settings. A parameter set that works perfectly on one sheet may produce weak marks or excessive melting on another. A few minutes of testing can save hours of rework later.
5.Avoid Heat Buildup and Material Shrinking
On PU leatherette, using low-power multi-pass cutting can cause edge shrinkage and dimensional distortion because the thermoplastic surface repeatedly absorbs heat.
If you are using a Galvo CO2 Laser for PU laser cutting, a faster cut with sufficient power often produces more accurate dimensions and cleaner edges than many low-power passes. Use low frequency can prevent shrink.
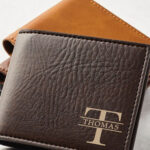
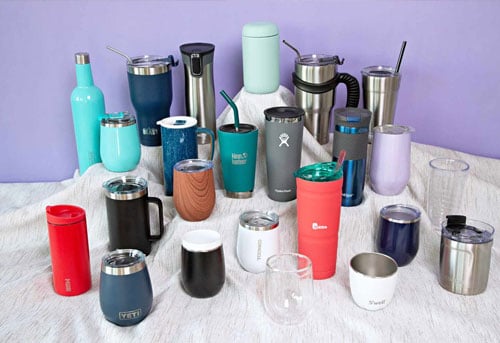
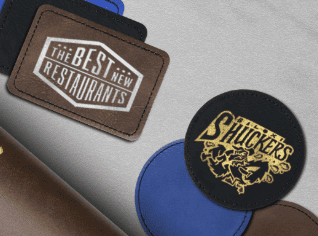
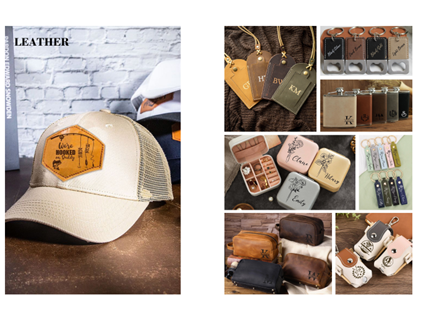
What can you make with laser engraved PU leather?
PU leather is popular for practical, sellable products such as laser engrave wallets , custom leather journals, keychains, handbags, small accessories, branded patches laser engraved for business, and decorative panels.
Final answer
PU leather is an affordable, versatile laser engraving material that can produce a wide range of laser engraving effects, from dark markings to high-contrast color reveals.
Whether you use a UV, CO₂, fiber, or diode laser, a few minutes of testing can help you achieve cleaner engravings, better contrast, and fewer wasted materials. With the right settings, you will get great results for patches, wallets, keychains, bags, and personalized products.